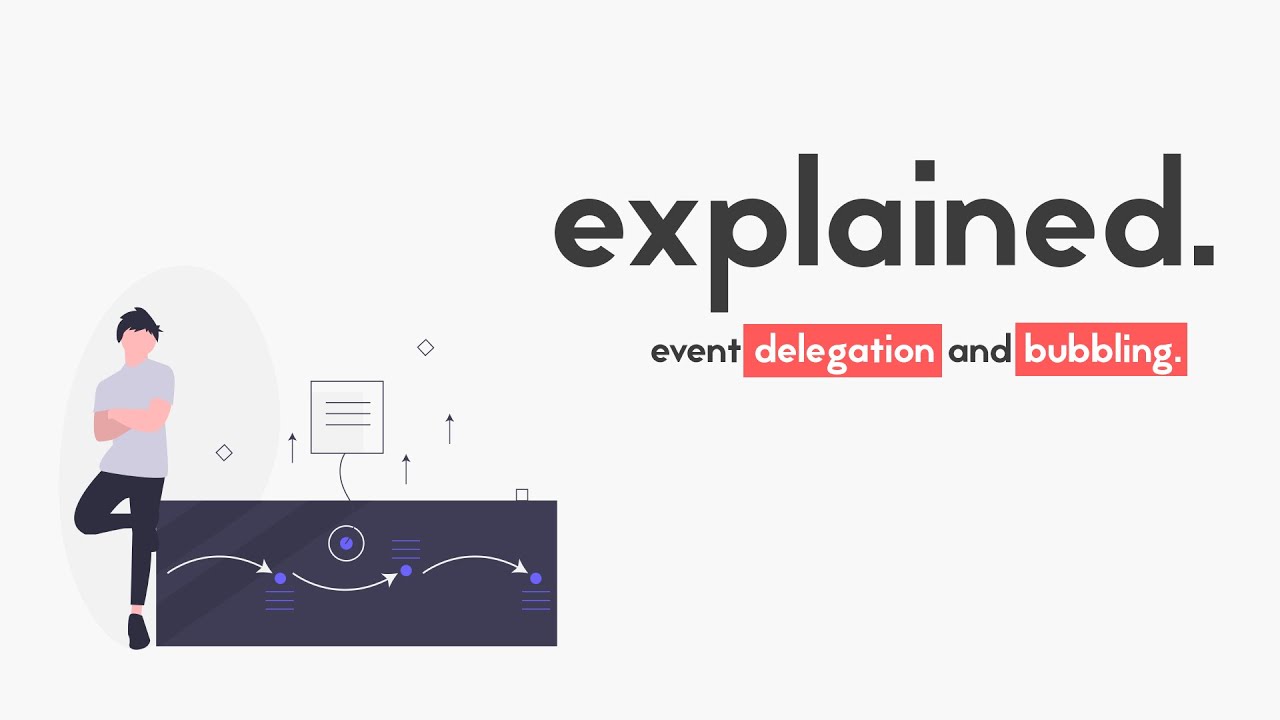
Handling events is a crucial part of any modern web application. Every developer who works with JavaScript in the browser would benefit from having a deeper knowledge of how events work, what is event bubbling and how to use delegation to optimize the event handling in an app. Well, this is exactly what we are gonna see in this article. So, have a good read!
Events
Before diving into the concepts of event bubbling and delegation, let’s review the basics first. In JavaScript, when users interact with the page, their actions are captured in form of events. As you probably already know, in order to do something in response to an event, you need to register a listener (in JS’s world, you can freely call it a handler as well). Let’s say you want to handle the click event on an Undo button. This could be done like this:
Ok, now let’s remove the distractions and check out an even simpler example:
document.querySelector('#undo').addEventListener('click', (e) => {
  console.log('This is the button id:', e.target.id);
});
The above code is really straightforward.
- First, we get a reference to the button by using document.querySelector
- Then, we register a handler for the click event on this button
- Within the handler function, we receive a parameter that is an object containing data about the triggered event.
- Among this object’s properties, there is one called target, which is a reference to the element that triggered the event.
- We’re getting the id property of this button and logging it.
Event bubbling
Let’s say you have the following HTML structure on a given page:
<header id="header">
    <div id="account_links">
        <a href="#" id="signup">Sign up</a>
        <a href="#" id="signin">Sign in</a>
    </div>
</header>
Then, you write some code to handle the click event for both Sign in and Sign up links:
document.querySelector('#signup').addEventListener('click', () => {
  console.log('Sign up button click');
});

document.querySelector('#signin').addEventListener('click', () => {
  console.log('Sign in button click');
});
Besides, for some reason, you also want to handle the click event for the header and the account_links div:
document.querySelector('#header').addEventListener('click', () => {
  console.log('Header click');
});

document.querySelector('#account_links').addEventListener('click', () => {
  console.log('Account links click');
});
What will happen when you click on the header? And the account_links div? How about the two links? Well, you can check it by yourself with this live example:
If you interacted with the above sandbox, you probably have noticed some things:
- When you click on the white part, nothing happens.
- If you click on the green part, only the header click event is triggered.
- When you click on the yellow part, it triggers the click event for both account_links div and header.
- If you click on any of the two links, it triggers the click event for the account_links div, the header and the link itself.
So, what does this mean? Well, this behavior is called event bubbling.
What is event bubbling?
Event bubbling is the propagation of an event from its origin towards the root element. In other words, if an event occurs on a given element, it will be triggered on its parent as well and on its parent’s parent and all the way up, until the html element. If any of these elements has one or more registered listeners, they will be called. Therefore, the bubbling effect is only noticeable when at least one ancestor of the event’s origin has a listener for the same type of event. Otherwise, the propagation will happen silently, since there’s no listener to be called.
All of this is easy to see in the previous sandbox. When you click on the Sign in link, for example, not only its listener is executed, but the listeners of its ancestors as well. Besides, since the body (the white part) has no registered click handlers, nothing happens when you click directly on it.
If you want to prevent bubbling from occurring, you can use the stopPropagation method:
document.querySelector('#signin').addEventListener('click', (e) => {
  e.stopPropagation();
  console.log('Sign in button click');
});
In the above example, when the user clicks on the Sign in button, only its own listener(s) will be executed. Therefore, the click event won’t be propagated to its ancestors.
Event delegation: the reason
Modern applications heavily rely on events to provide interactive interfaces to users. It’s really common to have to handle events triggered on several elements in a web page. If you have, for example, a color palette component and you need to perform some action when the user clicks on a given color, you could just add a click handler to each individual color in the palette. This could be easily done during the initialization of the component. Let’s see a live example:
While the approach we’ve adopted is viable, it’s not as optimized as it could be. Our palette has 150 colors and, as a consequence, we are attaching 150 listeners to handle all of them. Besides, if our component had a feature that allowed the user to add custom colors, we would need to add our listener to each new color added to the palette.
Well, all of this look like a silly concerns, since computers are much faster nowadays. We don’t need to worry about optimizations so insignificant anymore, right? Wrong. The faster computers get, the more complex applications become as well. Every performance gain matters. Ok, but how to solve this problem? How to handle events for dozens, hundreds or even thousands of elements without adding individual handlers to each one of them?
Event delegation
To solve the problem mentioned in the above section, we will put together everything we have learned so far to make use of a technique called event delegation. In simple words, it leverages the bubbling effect to extract the handling logic of an event to a common ancestor of the elements where this event is triggered. In our previous sandbox, instead of adding listeners to the 150 li‘s, we would add only a single listener to the #palette element. This way, every time the user clicks on a color, the bubbling effect causes the event to propagate to the #palette element, triggering the execution of its listener. You can identify each color by using the e.target property, as we did in the original color palette sandbox. Let’s see an updated live example:
Conclusion
- When users interact with a web page, their actions are registered in form of events
- A listener receives an object parameter, which contains data about the triggered event
- Event bubbling is the propagation of an event from the element where it happened towards the root element
- Event delegation makes it possible to handle events triggered by many elements in a single place.
Do you want to become a JavaScript master? If so, you need to check out Mosh’s JavaScript course. It’s the best JavaScript course out there! And if you liked this article, share it with others as well!
#javascript #webdev