How to Setup Ruby on Rails and and Postgres on Docker
Setting Up Ruby on Rails With Postgres Using Docker. No more struggling with installs. This makes getting up and running simple
I used to teach web development with Ruby on Rails in a technical boot camp. Almost everyone struggled with installing Ruby, Rails, and Postgres together and getting them up and running.
It used to take a considerable amount of time, so I’ve written a Docker Compose file to start everything up with a single command. Here are the file and the magic it does. I’m going to explain everything in the Docker Compose file and Docker file after you go through the following video. This shows how easy it is to run your development environment.
For those who don’t know Docker or Docker Compose, you can learn about them here. It’s perfectly okay not to know them — you can still use the demo code to start a Rails project with Postgres up and running. I’m attaching a similar Docker Compose file and Docker file for working with Express at the end of the piece.
Let’s first move to run this on your system.
Clone this repo — here
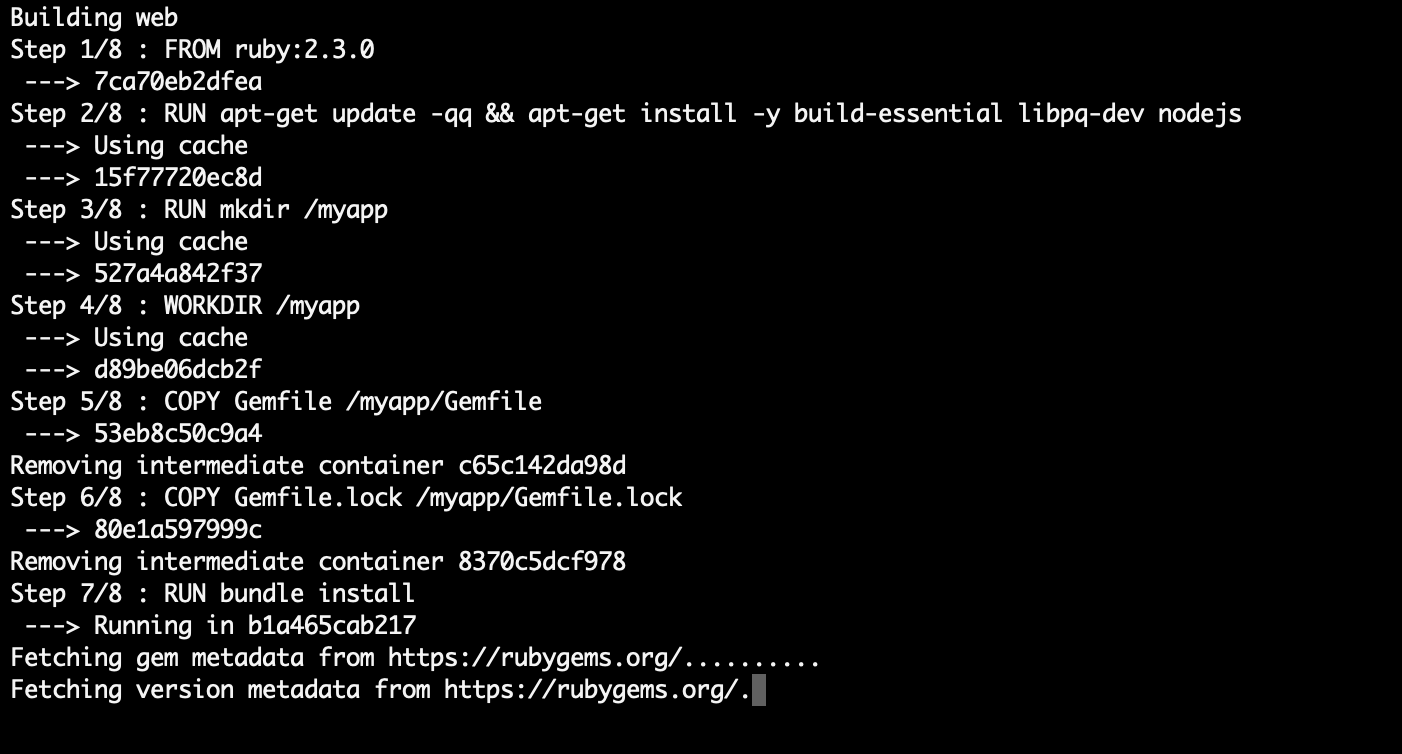
Go to the root folder and run docker-compose up. This may take a while if you are running it for the first time. It should look something like the following:
docker-compose up
This would run two containers. One would be a web service running Rails, and the other would be a Postgres database attached to your web service.
As we all know, we need to run rake db:create, rails db:migrate, and many other magical Rails commands. There should be a way to connect to the web container. We can do it very easily, just in two steps.
First, run docker ps command to list all the containers that are currently running. Refer to the image down below.
docker ps

As we can see, there are two containers running. To connect to a particular container we’ll run docker exec -it 1597728759c0 sh. The string is the container id. This will connect us to the container, just like we SSH into another machine.
docker exec -it 1597728759c0 sh
Now we’ll run rake db:create and rake db:migrate to run db migrations on our db server.
rake db:create

rake db:migrate
Go to http://localhost:3000/ and see if everything is working.
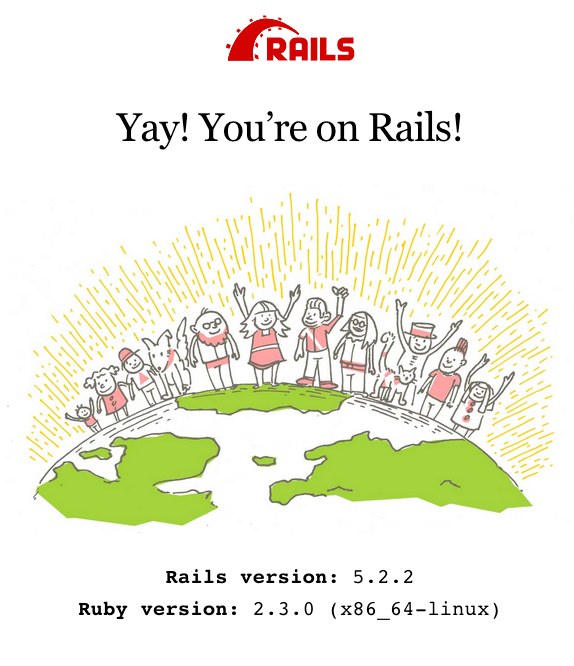
I have already created a blog scaffold in the current repo. Visit http://localhost:3000/blogs to see if it works on your system.
Let’s See How It All Works
There are three files that we look at to see how everything works. First is the Dockerfile of the Rails project, second is the docker-compose.yml file, and the third is the database.yml file that configures our database connections.
FROM ruby:2.3.0
RUN apt-get update -qq && apt-get install -y build-essential libpq-dev nodejs
RUN mkdir /myapp
WORKDIR /myapp
COPY Gemfile /myapp/Gemfile
COPY Gemfile.lock /myapp/Gemfile.lock
RUN bundle install
CMD ["rails", "server"]
What this file does is it makes the container out of the image (i.e., the Dockerfile) that runs Ruby and installs all the dependencies required to run the project. And when a container is created, we run the server.
Second, we’ll look into the docker-compose file.
version: '3'
services:
  db:
    image: postgres
    volumes:
      - ./tmp/db:/var/lib/postgresql/data
  web:
    build: .
    volumes:
      - .:/myapp
    ports:
      - "3000:3000"
    depends_on:
      - db
The first line specifies the version of Docker Compose.
From the second line, we describe two services (containers) that we want to run. First one is our database and the service name is db. That’s run by the Postgres image that’s publicly available on Docker Hub. It was automatically downloaded for us.
The second is our web service. For that, we need to build an image. That will be built by the Dockerfile mentioned above.
We want our app to restart and reflect code changes. That’s why we have connected the root folder of our app to the working directory in the Docker container as a volume. As soon as you change your code on your system, the container will read the changes and restart the server. You can go about doing your development without worrying about your environment.
We should be able to access the container from our machine. Hence we specify ports by binding port 3000 of my system to port 3000 of the Docker container.
Lastly, our container running Rails should be able to access our database. Hence our service depends on the db service. And the db host for my web service container would simply be db.
Let me show you the database.yml file:
# SQLite version 3.x
#   gem install sqlite3
#
#   Ensure the SQLite 3 gem is defined in your Gemfile
#   gem 'sqlite3'
#
default: &default
  adapter: postgresql
  encoding: unicode
  host: db
  username: postgres
  password:
  pool: 5

development:
  <<: *default
  database: myapp_development


test:
  <<: *default
  database: myapp_test

production:
  <<: *default
  database: myapp_production
As you can see, the host mentioned is simply the string db, and all ports of the db container are accessible directly to our web container, though they are not accessible to our local machine.
The volume mapped in the db container makes sure that the data is persistent even if we stop the db container.
Summary
If you want to get started as quickly as possible, just copy Dockerfile and docker-compose.yml to your own project and change the db host in database.yml. You’ll be up and running in no time, on any machine that supports Docker.
Thank you for reading!
#Docker #Ruby #Rails #Postgres #Programming