Getting Started
Create a new SwiftUI project in Xcode. Make sure you’re running macOS Catalina (or later) and have Xcode 11 (or later) installed. (That allows you to use SwiftUI.)
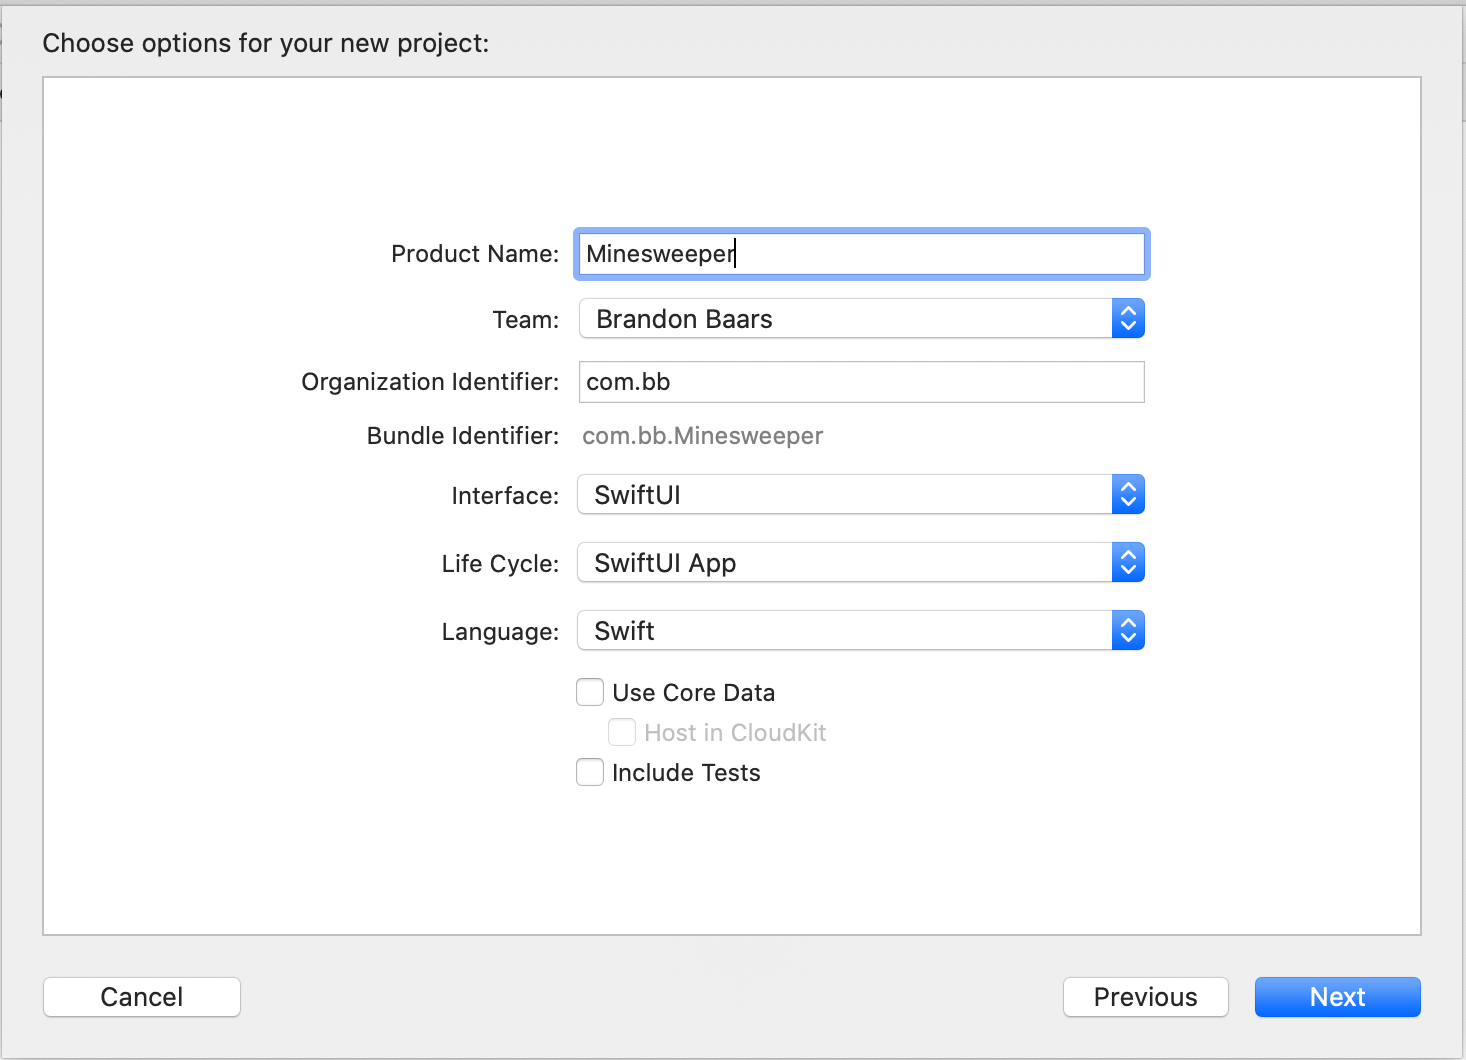
Open Xcode → File → New → Project
I called mine Minesweeper, but feel free to name it whatever you’d like.
Make sure you have User Interface set to SwiftUI.
Implementation
For the images, they’re all from commons.wikimedia.org. The images can also be found in my github repo.
Let’s start off by defining the requirements for how our game will work.
We want to state how big our grid will be, the number of bombs, and then calculate the size of each cell depending on this information and the size of the users device.
Right click on the top level folder (Minesweeper) → **New Group **and name it ‘Model’.
Right click on the newly created Model folder and create a new Swift file and name it GameSettings.swift
This file will house the game settings that were mentioned above. It **_could _**be used to set this information through the UI, but for the sake of this tutorial we will leave it as default values.
The above code keeps track of all the settings of our app.
There is no real reason for the use of @Published here. If we wanted to add these settings to the UI and have it automatically update the UI, then it’s needed. (I left it in case someone wanted to expand on this).
Our next design decision to to create a Game.swift class. This class will hold all of our game logic.
Let’s create that file now. Right click on Model and create a new Swift file and name it Game.swift .
Add the following code to the newly created file.
So far all we’ve done is added a Game class that inherits from ObservableObject . This will allow this class to essentially ‘publish’ changes that the UI can ‘listen’ in on and update automatically.
Please Note
At the time of writing SwiftUI does not handle nested objects with @Published . You might be tempted to think that if something in the GameSettings class changes, it will publish the update and then this class, Game, will observe and also publish those changes. This, unfortunately is not the case and I will touch on this later on. .
Each square in the board is essentially its on Cell and will have a corresponding CellView.
Let’s start with creating our Cell class and then move on to the CellView.
Create a new Swift file in the Model folder and name it Cell.swift .
#swift #ios-app-development #ios-apps #swiftui #ios