How to Run Python Scripts
Typically, every novice learns to write a Python script on the command line first, then moves to execute the script from the command line wherein the script is usually written in a text editor and is run from the command line.
Computers cannot understand code in the way humans write it and hence, you need an interpreter between the computer and the human written code. The job of the interpreter is to convert the code into a format that computers can then understand and process.
The interpreter processes the code in the following ways:
-
Processes the Python script in a sequence
-
Compiles the code into a byte code format which is a lower-level language understood by the computers.
-
Finally, a Python Virtual Machine (PVM) comes into the picture. The PVM is the runtime powerhouse of Python. It is a process that iterates over the instructions of your low-level bytecode code to run them one by one.
Like Scripts, you have a have something called Module which is a Python script imported and used in another Python script.
The Python script is saved with a .py extension which informs the computer that it is a Python program script. Unlike Windows, the Unix based operating systems such as Linux and Mac come with pre-installed Python. Also, the way Python scripts are run in Windows and Unix operating systems differ.
Note: For all users, especially Windows OS users, it is highly recommended that you install Anaconda, which can be downloaded from this website. You can follow along with the instructions given in this DataCamp tutorial, which are specific to Windows operating system.
To install Python3 on a Windows operating system, please feel free to check out this link.
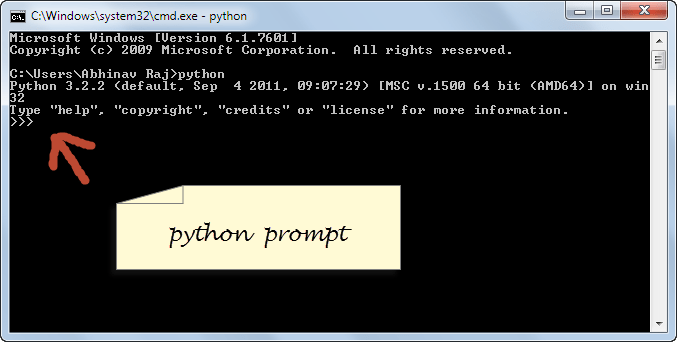
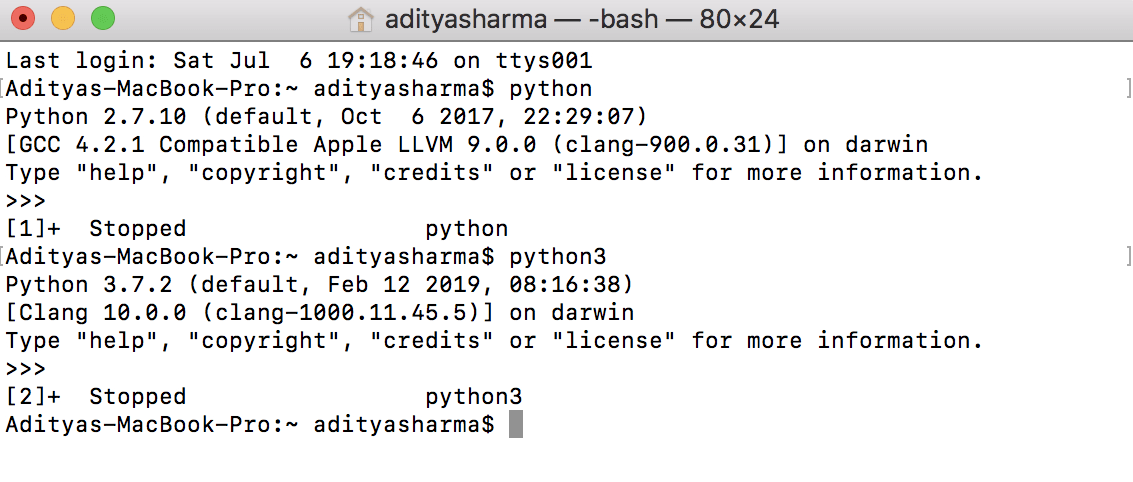
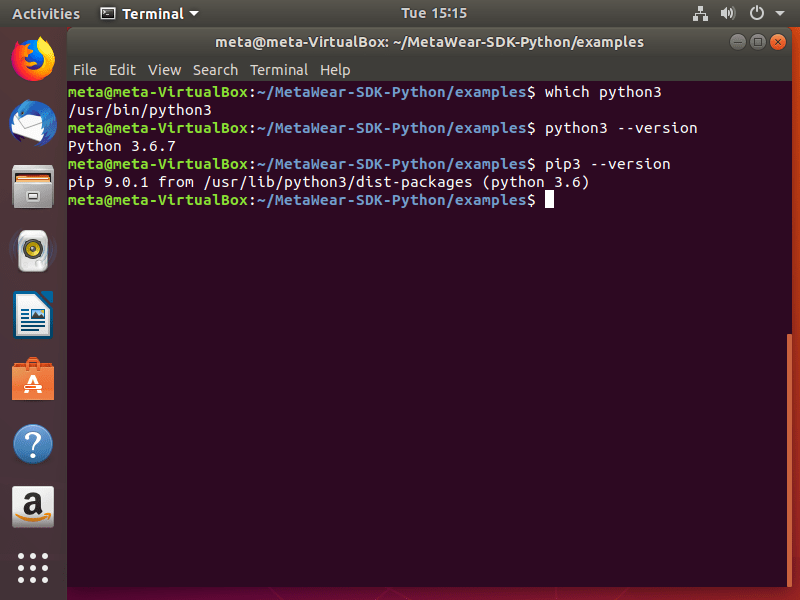
Command-line interpreter for Python can be accessed on the various operating systems in the following ways:
-
Processes the Python script in a sequence
-
Compiles the code into a byte code format which is a lower-level language understood by the computers.
-
Finally, a Python Virtual Machine (PVM) comes into the picture. The PVM is the runtime powerhouse of Python. It is a process that iterates over the instructions of your low-level bytecode code to run them one by one.
 (Source)
-
Processes the Python script in a sequence
-
Compiles the code into a byte code format which is a lower-level language understood by the computers.
-
Finally, a Python Virtual Machine (PVM) comes into the picture. The PVM is the runtime powerhouse of Python. It is a process that iterates over the instructions of your low-level bytecode code to run them one by one.
-
Processes the Python script in a sequence
-
Compiles the code into a byte code format which is a lower-level language understood by the computers.
-
Finally, a Python Virtual Machine (PVM) comes into the picture. The PVM is the runtime powerhouse of Python. It is a process that iterates over the instructions of your low-level bytecode code to run them one by one.
 (Source)
Note: In this tutorial, you will be learning using the Mac OS Terminal.
So without further ado, lets get started!
Writing the Python Script in Terminal
Let’s see how we can code and generate the output in the terminal itself. To accomplish this, first, you will type python3, which means you will be using Python3 version.
After which you can code typically as you would in a text editor or an IDE (integrated development environment), though you will not be getting the functionalities in the terminal as you would get with an IDE.
You will start with the evergreen Hello, World! example and let’s see how the output looks like in the terminal.

Isn’t it nice how by just opening the terminal and typing Python3 you can code in Python? Let’s try some more examples.
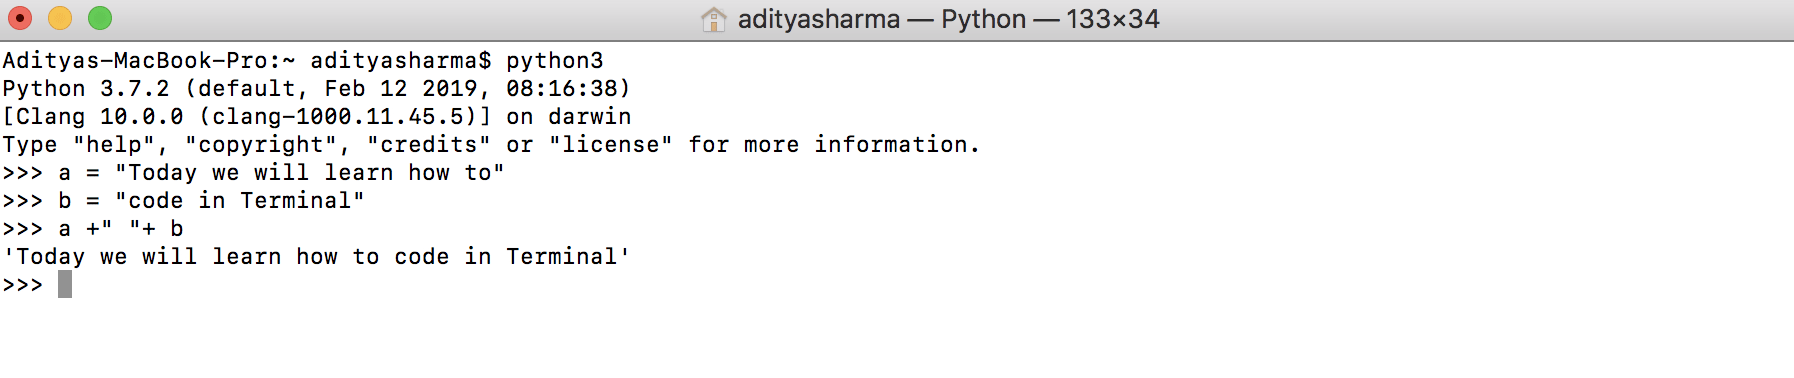
One thing to notice in the above example is, without even typing the print statement you were able to get the output.
Let’s complicate the code a bit and lets you use the NumPy (Numerical Python) library to create two arrays and apply a few mathematical operations on it. For a little background on numpy, it is a Python programming library which has the capability of dealing with large, multi-dimensional arrays and matrices, along with an extensive collection of high-level mathematical functions to operate on these arrays.
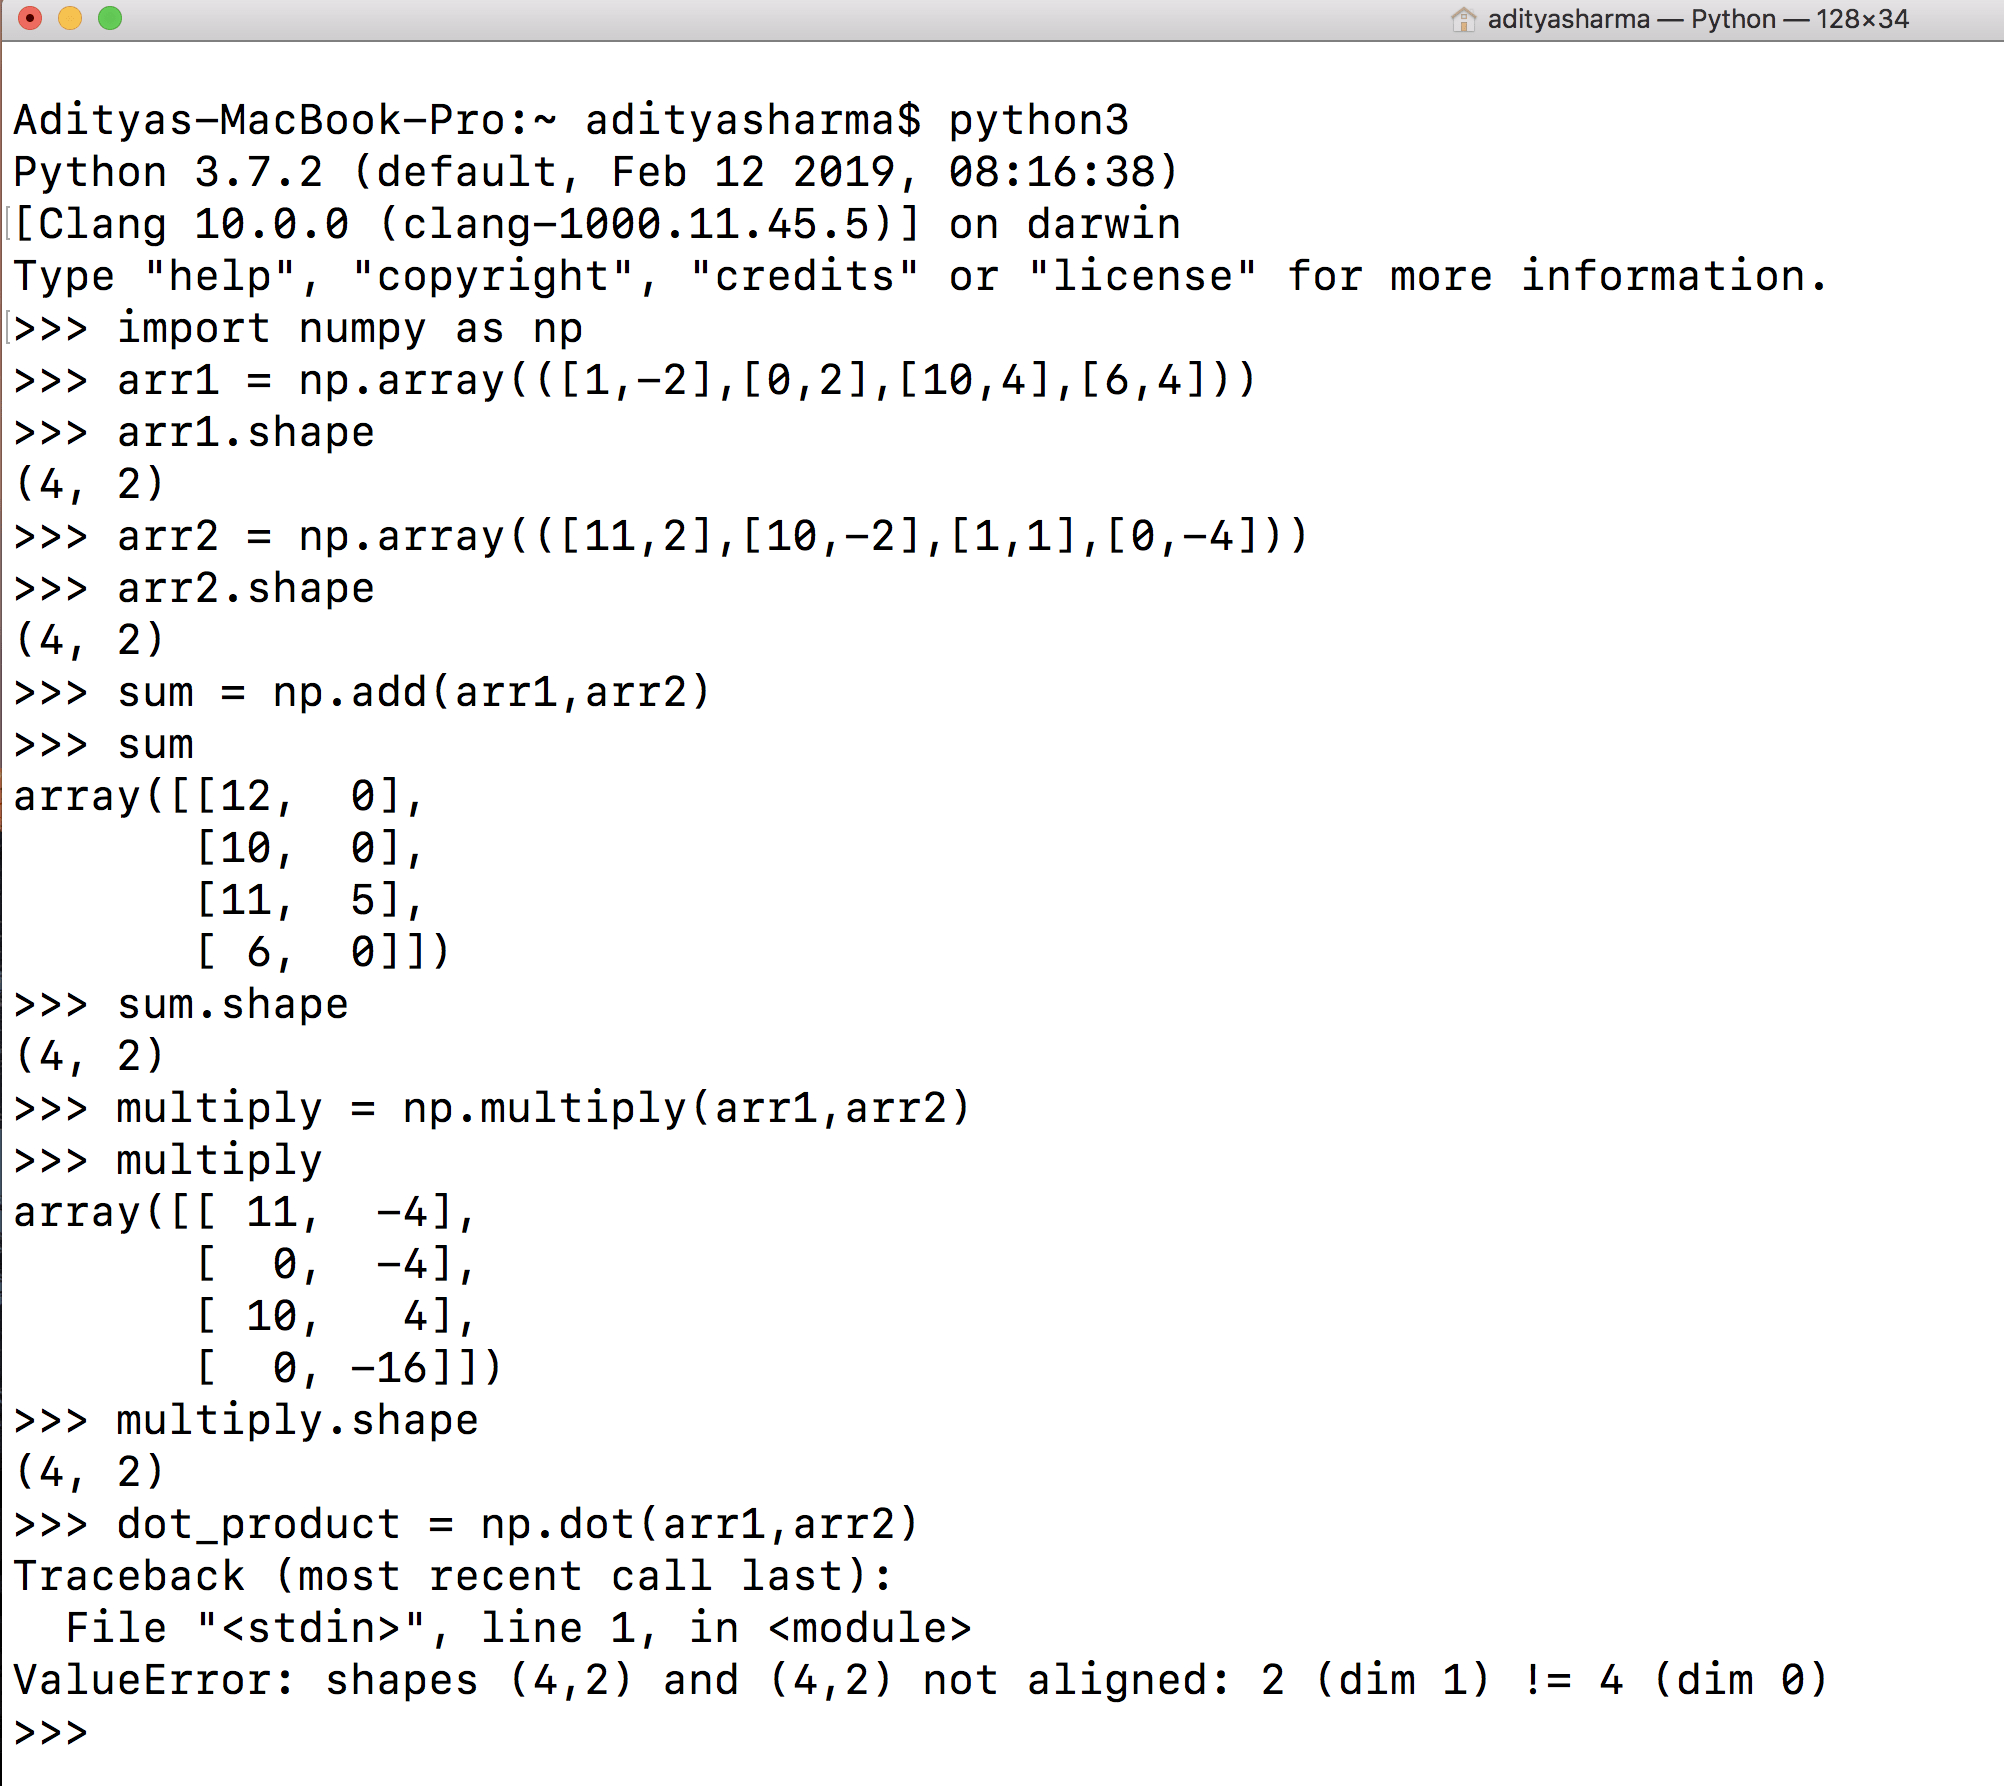
You can observe from the above figure that using numpy; you were able to create, add, and multiply two numpy arrays within the terminal. One thing to note here is that the multiplyfunction in numpy does an element-wise multiplication while dot function takes the dot product of two matrices. To accomplish the np.dot command, you need to make sure that the columns of the first matrix are equal to the rows of the second matrix and hence, the value error.
Running the **.py** script from the Terminal
Running the Python script from the terminal is very simple, instead of writing the Python script in the terminal all you need to do is use a text editor like vim, emacs or notepad++ and save it with a .py extension. Then, open the terminal and go to the directory where the code resides and run the script with a keyword python followed by the script name.
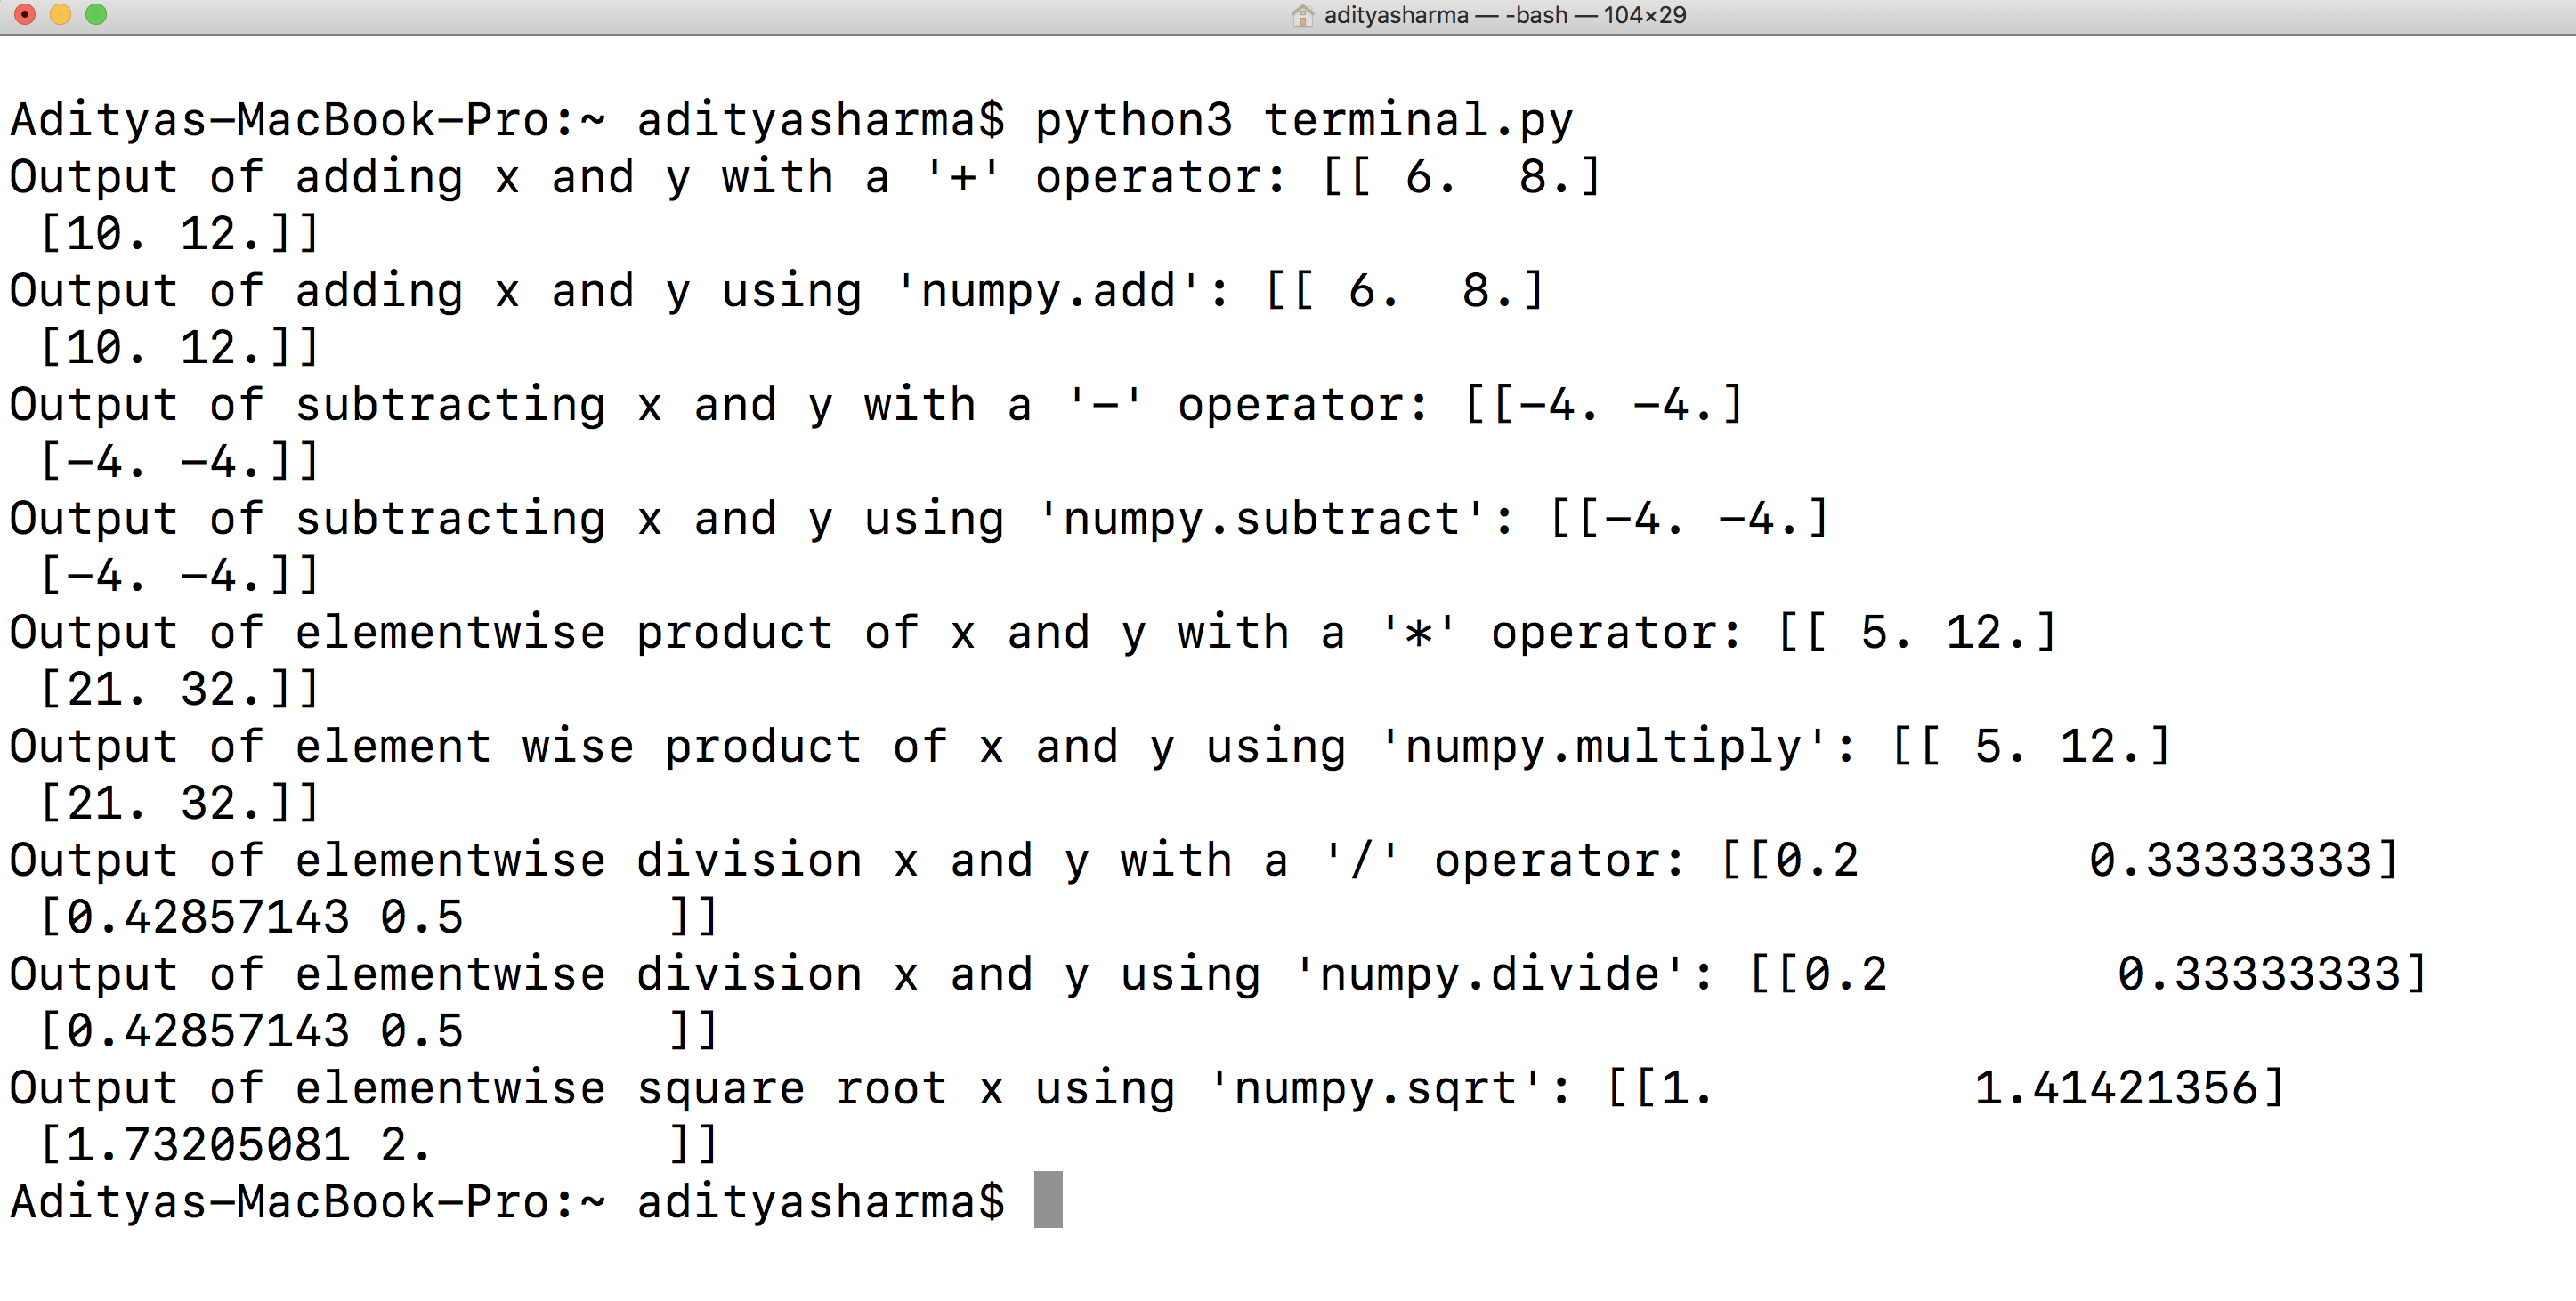
To create the terminal.py file, use vim in the terminal with the program name as vim terminal.py and paste the below code in it. To save the code, press esc key followed by wq!. And finally, to run that script all you need to do is type python3 terminal.py and within less than a second you will see the output as shown above.
The following is the code which was used in the above example.
import numpy as np


x = np.array([[1,2],[3,4]], dtype=np.float64)
y = np.array([[5,6],[7,8]], dtype=np.float64)


# Elementwise sum; both produce the array
# [[ 6.0  8.0]
#  [10.0 12.0]]
print("Output of adding x and y with a '+' operator:",x + y)
print("Output of adding x and y using 'numpy.add':",np.add(x, y))


# Elementwise difference; both produce the array
# [[-4.0 -4.0]
#  [-4.0 -4.0]]
print("Output of subtracting x and y with a '-' operator:",x - y)
print("Output of subtracting x and y using 'numpy.subtract':",np.subtract(x, y))


# Elementwise product; both produce the array
# [[ 5.0 12.0]
#  [21.0 32.0]]
print("Output of elementwise product of x and y with a '*' operator:",x * y)
print("Output of element wise product of x and y using 'numpy.multiply':",np.multiply(x, y))


# Elementwise division; both produce the array
# [[ 0.2         0.33333333]
#  [ 0.42857143  0.5       ]]
print("Output of elementwise division x and y with a '/' operator:",x / y)
print("Output of elementwise division x and y using 'numpy.divide':",np.divide(x, y))


# Elementwise square root; produces the array
# [[ 1.          1.41421356]
#  [ 1.73205081  2.        ]]
print("Output of elementwise square root x using 'numpy.sqrt':",np.sqrt(x))
Output of adding x and y with a '+' operator: [[ 6.  8.]
 [10. 12.]]
Output of adding x and y using 'numpy.add': [[ 6.  8.]
 [10. 12.]]
Output of subtracting x and y with a '-' operator: [[-4. -4.]
 [-4. -4.]]
Output of subtracting x and y using 'numpy.subtract': [[-4. -4.]
 [-4. -4.]]
Output of elementwise product of x and y with a '*' operator: [[ 5. 12.]
 [21. 32.]]
Output of element wise product of x and y using 'numpy.multiply': [[ 5. 12.]
 [21. 32.]]
Output of elementwise division x and y with a '/' operator: [[0.2        0.33333333]
 [0.42857143 0.5       ]]
Output of elementwise division x and y using 'numpy.divide': [[0.2        0.33333333]
 [0.42857143 0.5       ]]
Output of elementwise square root x using 'numpy.sqrt': [[1.         1.41421356]
 [1.73205081 2.        ]]
Passing Command Line Arguments to Python Script
Command line arguments make life a lot easier, many times in production-ready code command line arguments are used. It makes the code output reproducibility efficient. For example, let’s say your code has a lot of user inputs or files that are being read, then by using command line arguments you will not have to go into the code to do all of these changes in case you need to change the file name or a variable input.
To accomplish this, you will make use of the sys module, which is an in-built Python module. Within sys, you have argv which gives you the list of command-line arguments passed to the Python program. sys.argv reads the command line arguments as a list of items where the first item/element in that list can be accessed as sys.argv[1] while first argument, i.e., sys.argv[0]is always the name of the program as it was invoked.
Let’s take a simple example and see how it works.
Note: The command line argument is read as a string by Python, so make sure to convert it as an integer in case you are dealing with numbers.
Much like the previous example, save the below lines of code in an editor as command_line.pyand to run the code type python3 command_line.py 10 where 10 is the command line argument.
import sys
num = sys.argv[1]
for i in range(int(num)):
    print (i)
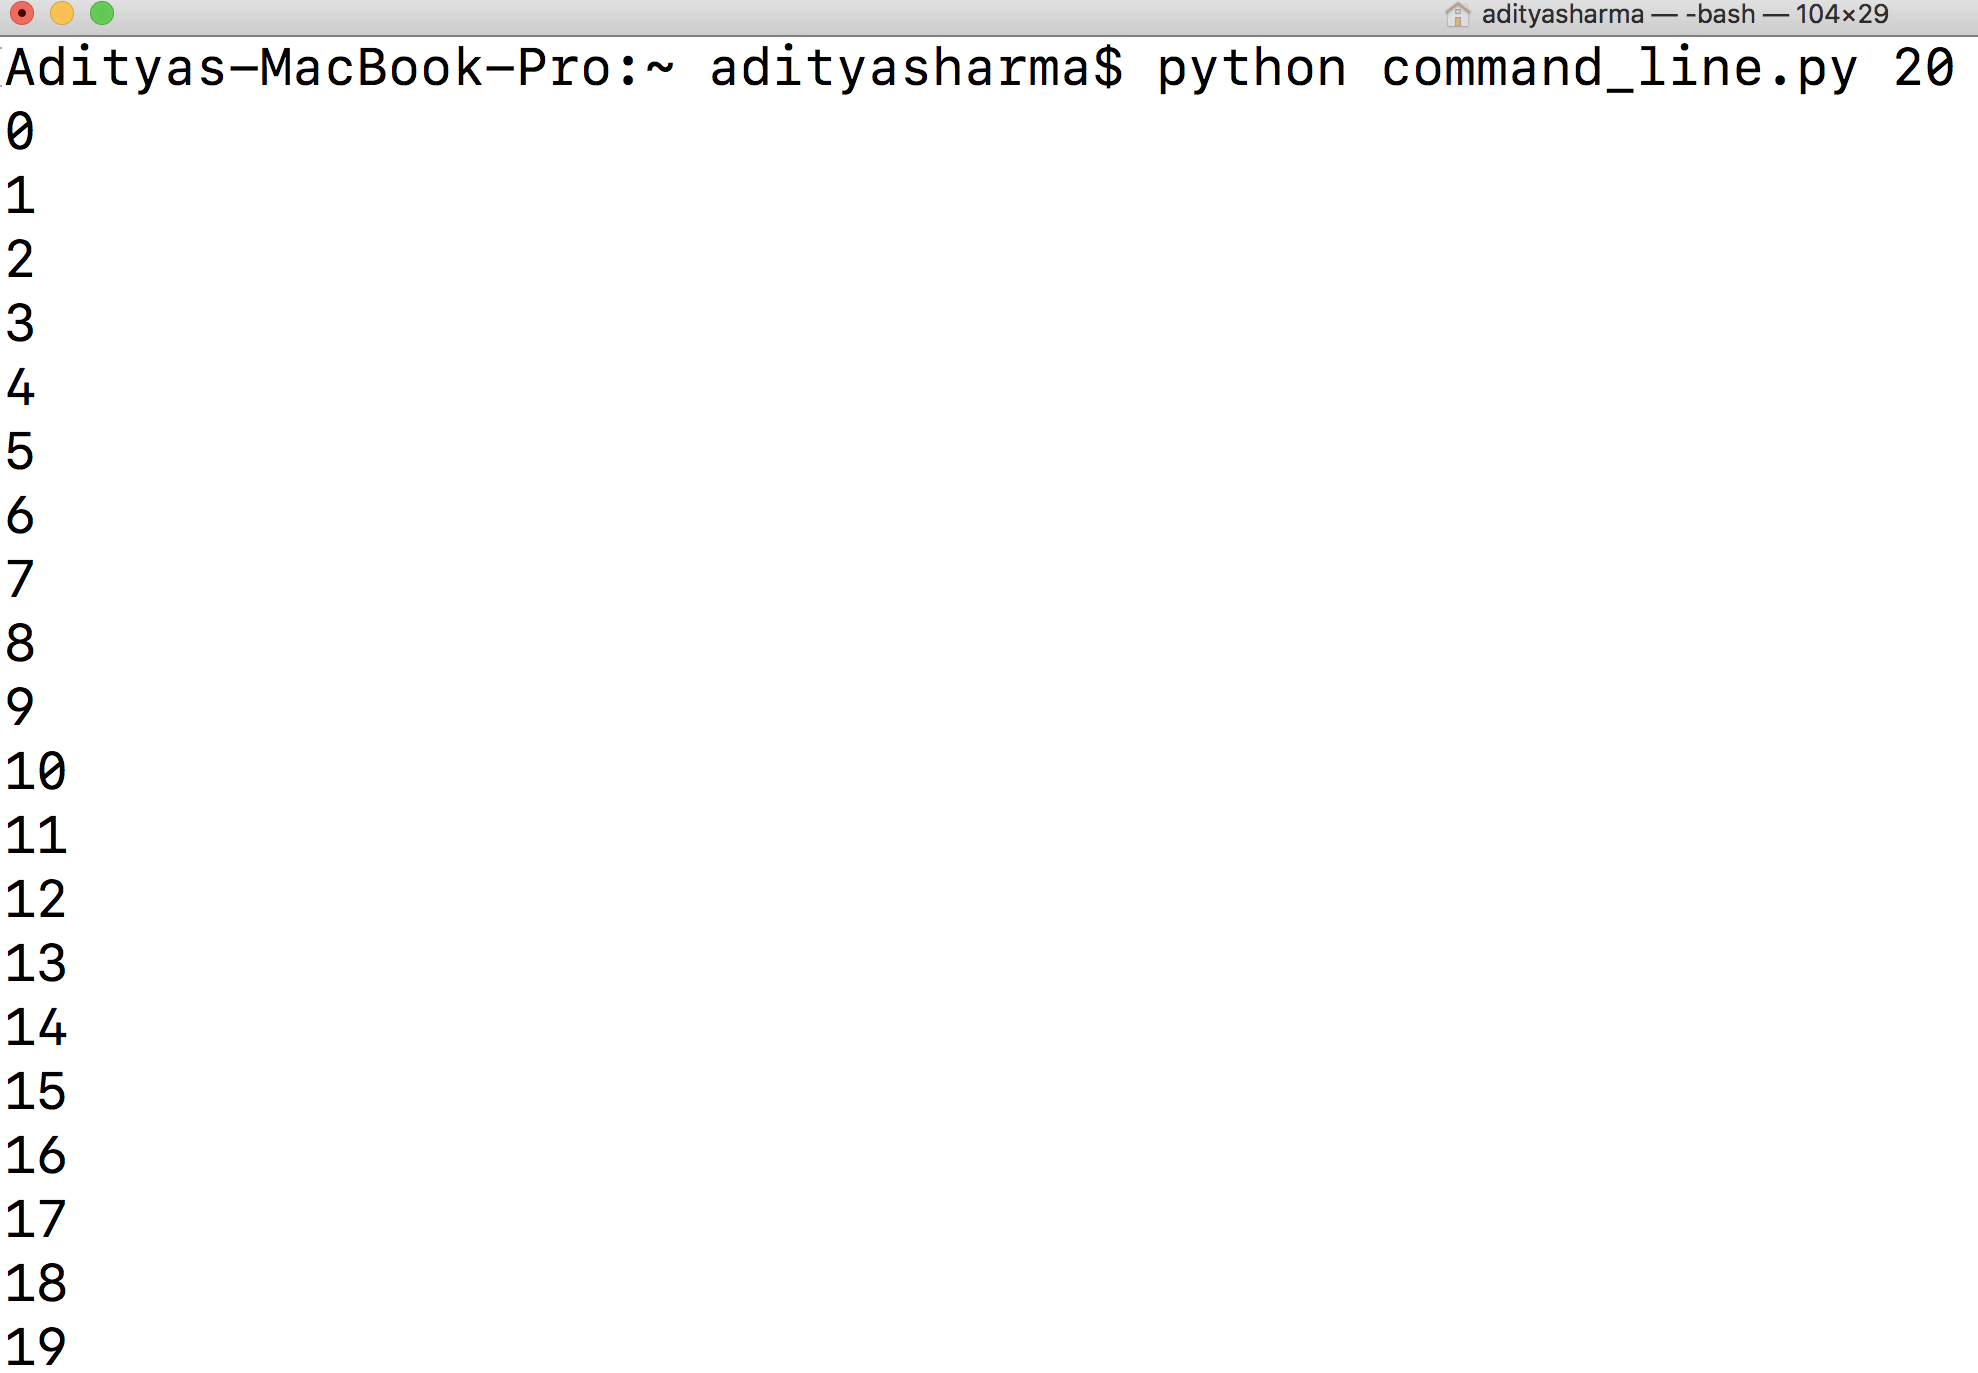
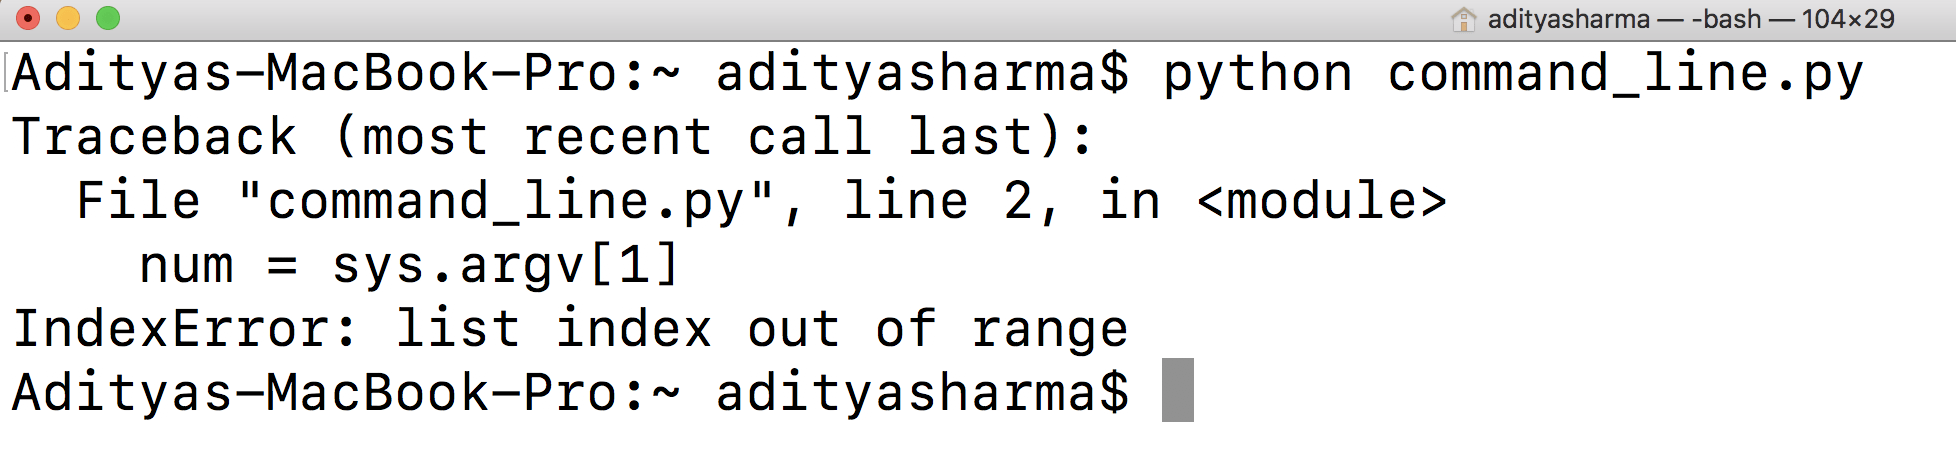
What if you do not provide any command line argument?
You will get an error list index out of range which also reinforces that sys.argv reads as a list of items. To avoid such errors, you need exceptional handling, which is out of the scope for this tutorial.
Writing the Output of Python Script to a File
Finally, as a bonus lets see how you can save the output of the Python script in a txt file with using the > key. Yes, one mere character, isn’t that amazing?
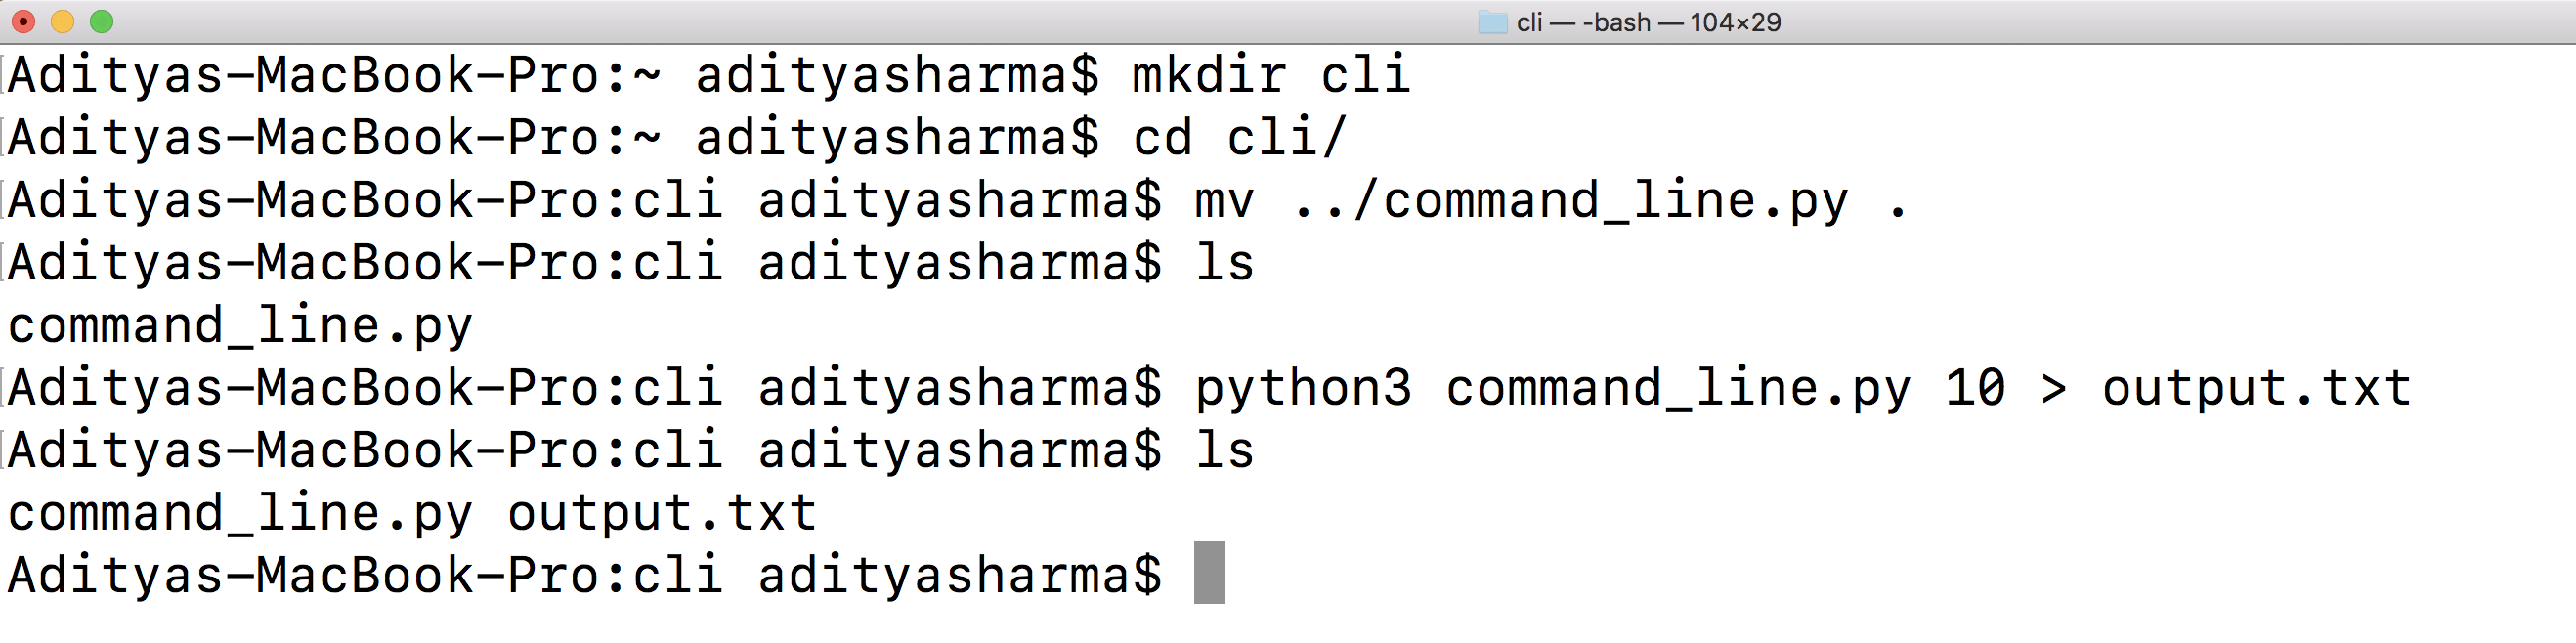
You will first create a folder cli and move the command_line.py code in the cli folder. Then, you will check what all is there in that folder, to make sure there is no txt file already existing.
Then, you will type python3 command_line.py 10 > output.txt and finally check the content of the cli folder. Now, you should be able to see the output.txt file.
Let’s open and see the content of the output.txt file.
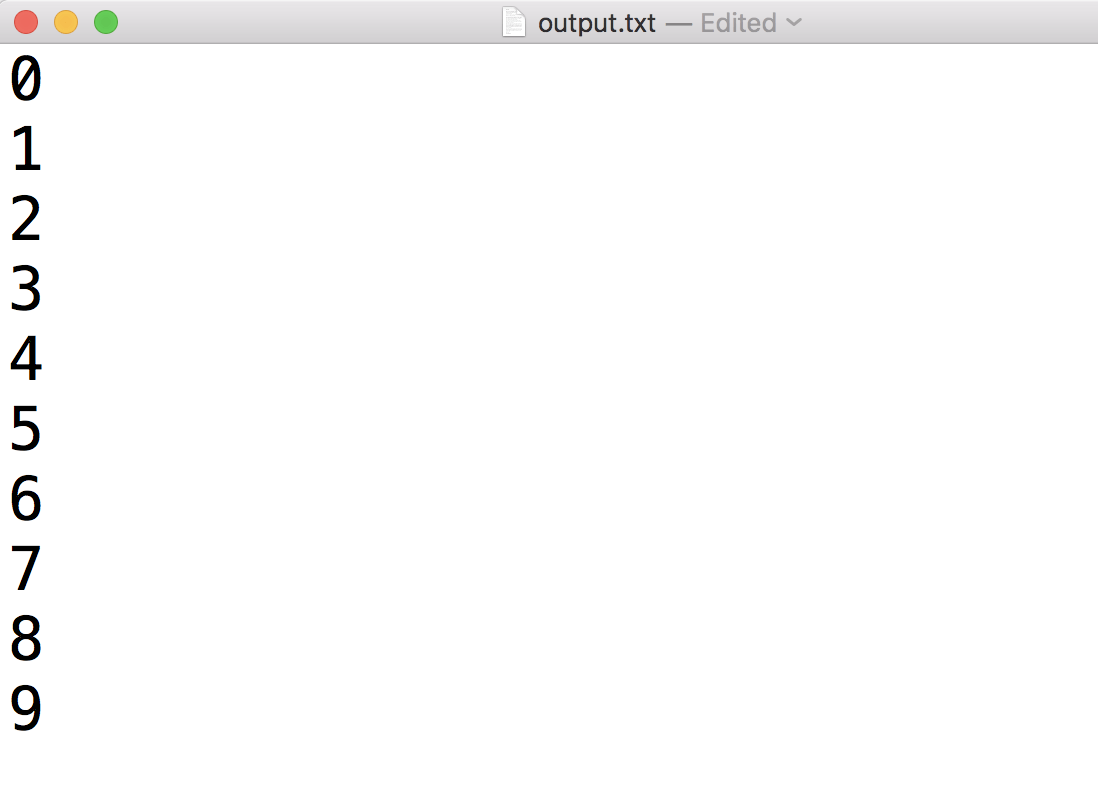
Voila! From the above output, you can see that the 0-9 digits have now been written in a text file using just a > sign.
Conclusion
Congratulations on finishing the tutorial.
There is still a lot to be explored like GUI based execution in Python, running Python scripts interactively, running scripts from a file manager or from an IDE. Specific to command line execution you might want to experiment on the Windows command prompt and see how it is different from a Unix based operating system.
Further reading:
☞ Python programming using Trio and Asks
☞ Self-driving cars with Carla and Python p.2
☞ Programming Autonomous self-driving cars with Carla and Python
☞ 5 Best Python Switch Case Example
☞ Using Django DRF JWT Authentication with Django Channels
☞ Building A Logistic Regression in Python
☞ The Battle: TensorFlow vs. Pytorch
#python