If you’re building a cross-platform mobile app, it’s a good idea to base your app’s UI/UX on Material Design, Google’s own design language, which it uses in all its mobile apps. Why? One of the best reasons is that many of the most popular mobile apps heavily use Material Design concepts: Whatsapp, Uber, Lyft, Google Maps, SpotAngels, etc. This means your users are already familiar with the look and feel of Material Design, and they will quickly and easily understand how to use your app if you adhere to the design language of their favorite, most commonly used apps.
The heavy hitter of Material Design component libraries on React Native is react-native-paper, and this guide will focus on using react-native-paper to set up a starter app with the some of the most prominent and recognizable Material Design features: Hamburger Menu, Drawer Navigation, FAB (Floating Action Button), and Contextual Action Bar.
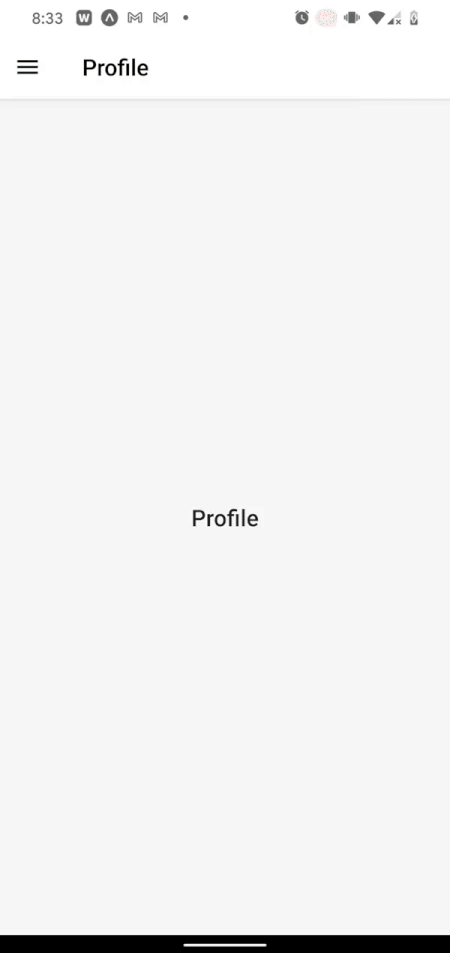
Demo
This is what the starter app I’m going to build will eventually look like. As you read through the guide, you can reference the full code of this demo, which resides in the following GitHub repo: material-ui-in-react-native.
Setup
First, I’ll initialize my React Native app using Expo. You don’t have to use Expo, it just helps me get started so I can focus on the UI in this example.
#react #react-native