Hi everyone! 👋 I was working on a React project these last couple of weeks and I had to implement login functionality. I searched around and most of the solutions I found relied on Redux or some other huge dependency that I wasn’t already using in my project. I didn’t want to introduce a big dependency so decided to continue looking. In the end, I found a wonderful library by Oleg Babichev that allowed me to implement the login functionality on the front-end fairly easily. The backend for the login was based on Flask and flask-praetorian. flask-praetorian allows us to use JWT for auth and handles most of the hard logic itself. We just need to define some endpoints and some basic logic.
In this article, I am going to take you from a fresh React project to a project with a fully functional login backed by flask-praetorian. I hope this article helps you fill all the knowledge gaps that you might have.
Note: All the code from this article can be found in this GitHub repository.
New React project
I am assuming that you already have npx installed and have access to the create-react-app command. Let’s start by creating a new sample-app project:
$ npx create-react-app sample-app
This command will take some time but you will end up with a sample-app folder with the following structure:
.
├── README.md
├── package.json
├── node_modules
│   └── ...
├── public
│   ├── favicon.ico
│   ├── index.html
│   ├── logo192.png
│   ├── logo512.png
│   ├── manifest.json
│   └── robots.txt
├── src
│   ├── App.css
│   ├── App.js
│   ├── App.test.js
│   ├── index.css
│   ├── index.js
│   ├── logo.svg
│   ├── serviceWorker.js
│   └── setupTests.js
└── yarn.lock
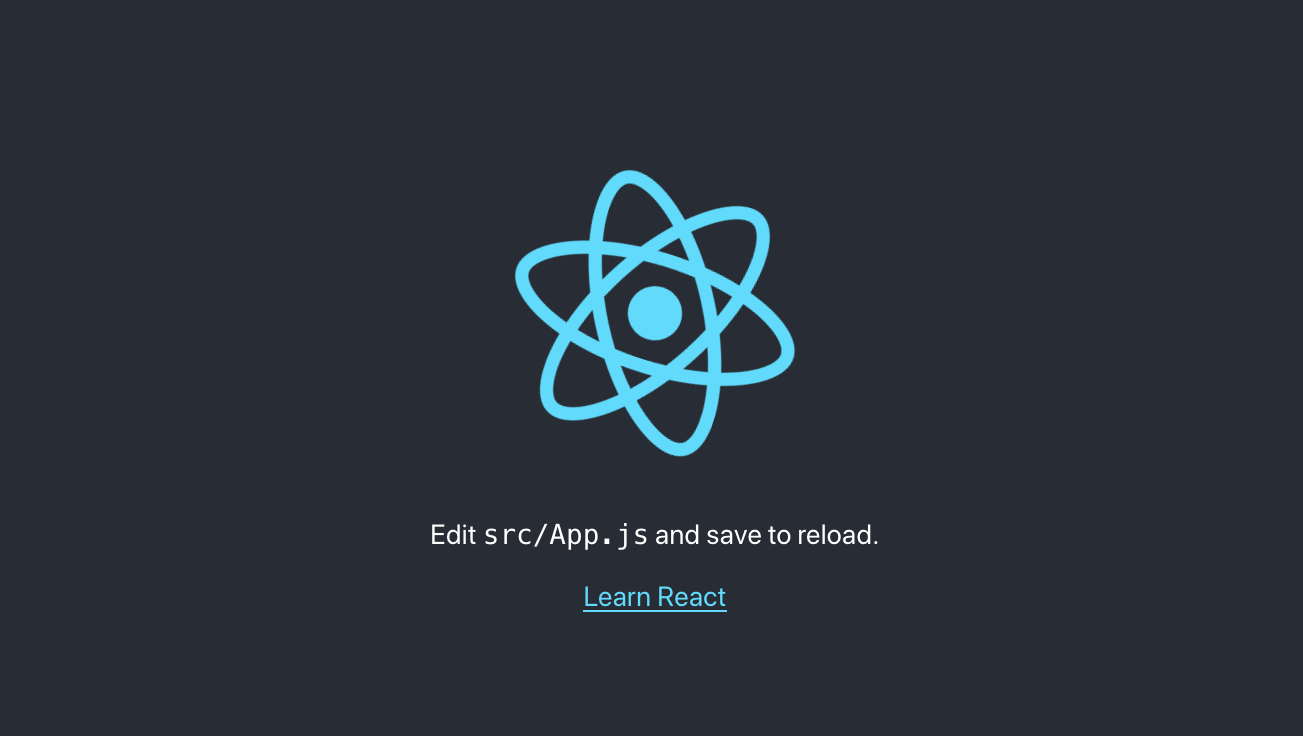
Now let’s start the development server for our React app:
$ yarn start
Sweet! You should see something similar to this:
Setting up Flask API
Now that we have the basic React app working, it is time to set up the Flask project that is going to serve as our API backend. We will create an api folder inside the sample-app folder and this is where all of our Flask (Python) code is going to be stored. While we are at it, we will also set up a virtual environment inside the api folder and activate it.
$ mkdir api
$ cd api
$ touch api.py
$ python3 -m venv env
$ source env/bin/activate
Our folder structure will look something like this now:
.
├── README.md
├── package.json
├── node_modules
│   └── ...
├── api
│   ├── env
|   │   └── ...
│   └── api.py
├── public
│   ├── favicon.ico
│   ├── index.html
│   ├── logo192.png
│   ├── logo512.png
│   ├── manifest.json
│   └── robots.txt
├── src
│   ├── App.css
│   ├── App.js
│   ├── App.test.js
│   ├── index.css
│   ├── index.js
│   ├── logo.svg
│   ├── serviceWorker.js
│   └── setupTests.js
└── yarn.lock
#flask