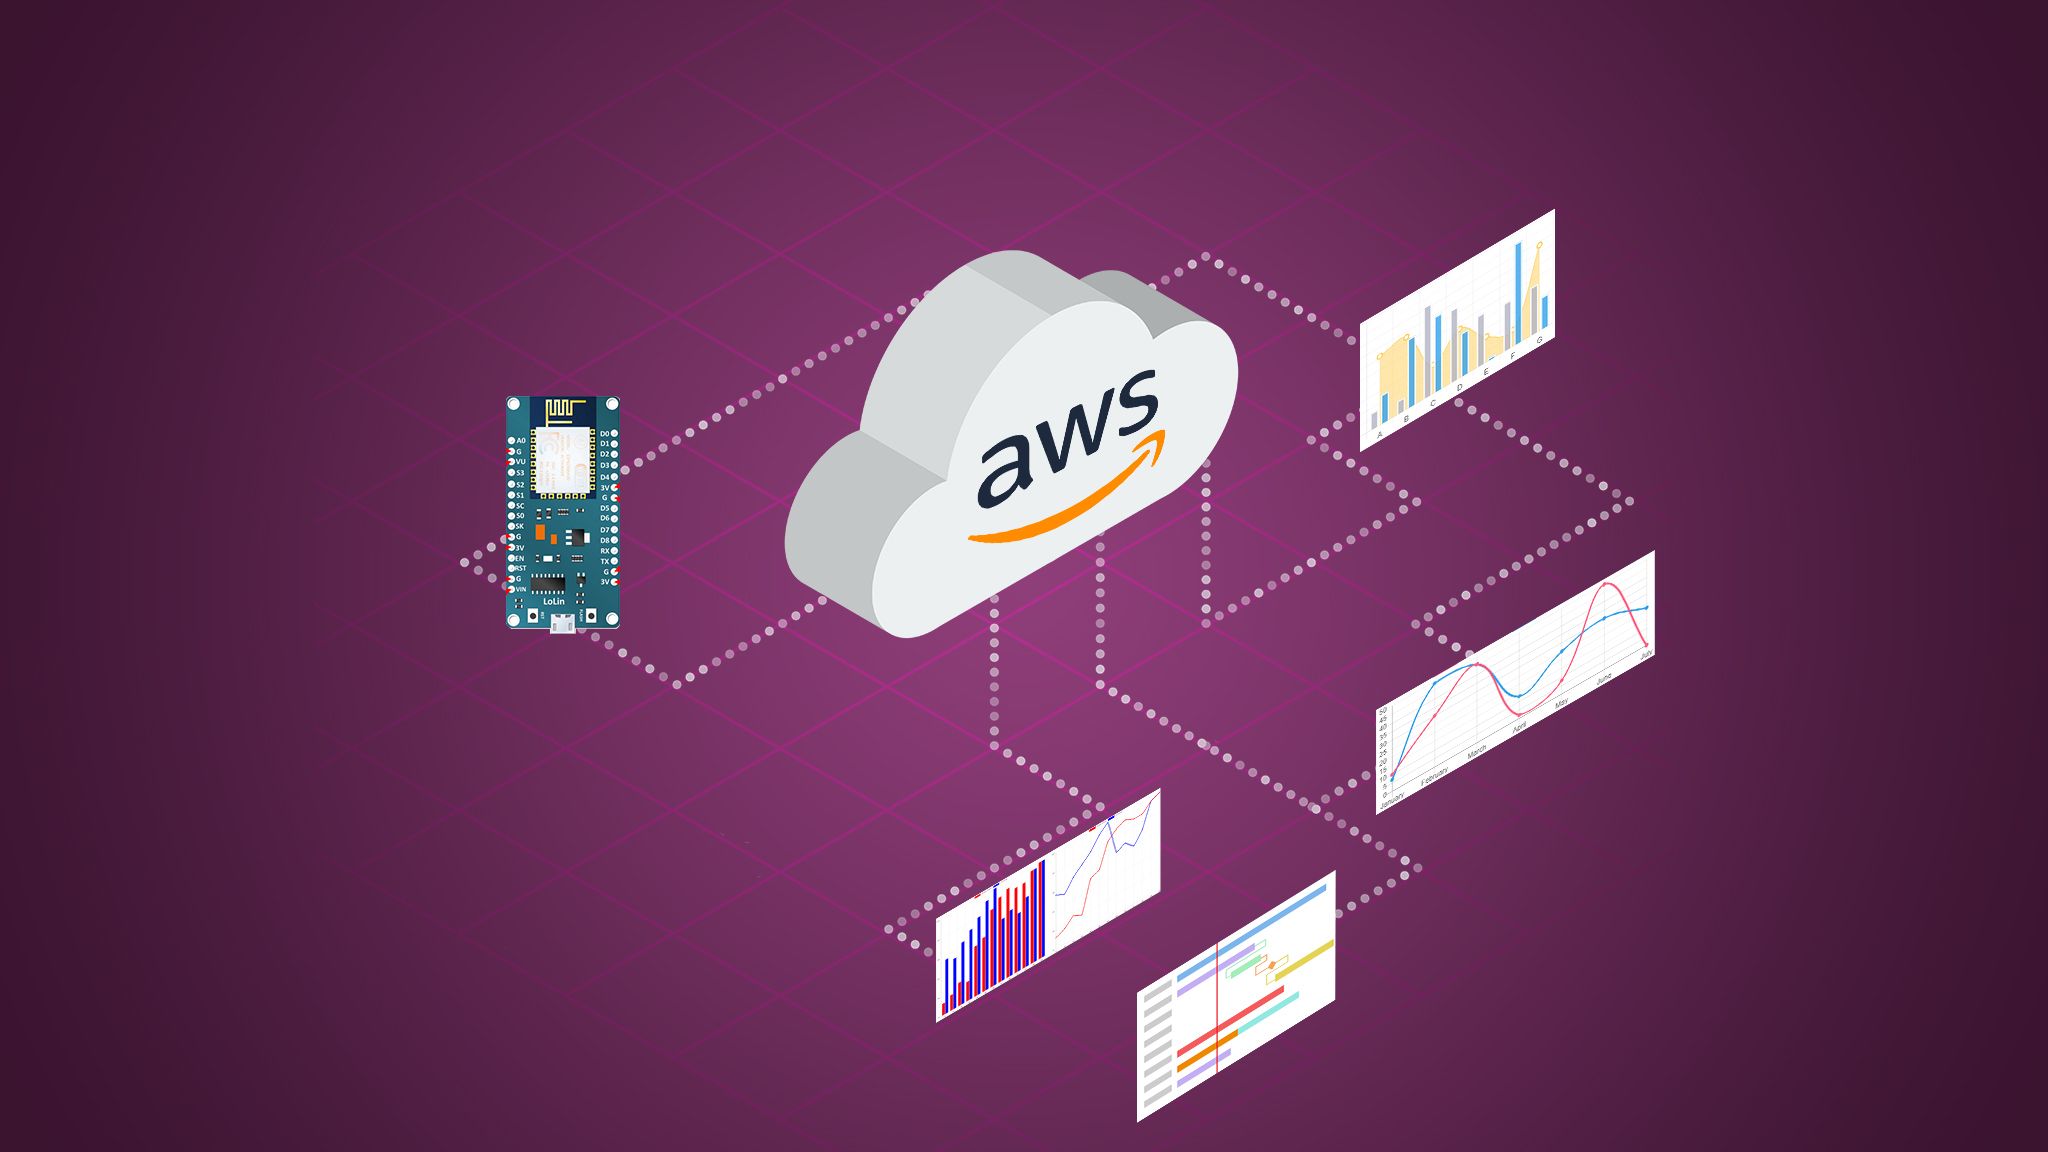
This IoT walk-through lab will show you how to send IoT data from your ESP8266 or ESP32 device, through AWS API Gateway, to Lambda, to a data lake in S3, and finally design a static web page for IoT data visualization.
You may be asking, “why would you want to deploy a HTTP API when AWS has a well functioning MQTT broker on AWS IoT Core?” Well, there are a few good reasons that we may want to send our IoT data through AWS API Gateway directly rather than through AWS IoT Core.
As an example, I had a student who was using a SIM7000A cellular modem for his ESP32. The hardware abstraction layer on his device was poorly integrated so MQTT(s) wouldn’t work, but HTTP worked well on his device. For this reason a AWS serverless design flow, utilizing the HTTP protocol instead of MQTT, can make sense. Some other possible reasons for using HTTP rather than MQTT are:
- Your embedded device may not be capable of MQTT(s).
- You may want to utilize REST instead of MQTT(s), and don’t mind losing the key advantage of sending IoT data through AWS IoT Core (lightweight duplex communication).
- You may simply want to take advantage of the built-in features of API Gateway such as caching, throttling, velocity templates, payload modeling, and payload transformations.
After having said all this, 90% of my course curriculum on Udemy still goes through AWS IoT Core. However, it is important to understand how to handle these exceptions. In an effort to explore these interesting IoT scenarios I have designed this tutorial and walk-through IoT lab on AWS to better help you understand this serverless IoT implementation on AWS. It is important to note that the ESP32 has better built in security than the ESP8266, so the Arduino sketches at the end of the tutorial will reflect these differences.
It is also worth noting that charges for the AWS services used in this tutorial are free, or minuscule as a serverless design without a lot of compute usage. S3, Lambda, and API Gateway are all extremely inexpensive for prototyping and testing for non-commercial loads. It’s unlikely the following lab will cost you more than a few cents even if you are no longer on the “AWS free tier.”
Prerequisites for the tutorial
- An AWS free tier or normal AWS account
- Ability to navigate between AWS services
- An ESP8266 or ESP32 development board
- The free Arduino IDE with the device libraries and board manager for your ESP 8266 or ESP32 device
How it works - Serverless IoT
Deploy the Serverless IoT infrastructure
When teaching AWS Serverless for IoT I often find myself working backwards in order to have AWS serverless design flows make the most sense.
- You will create a S3 bucket as the final repository of your IoT Data.
- You will create a Lambda function to send your IoT data from API Gateway to S3.
- You will configure API Gateway to handle incoming data from our Arduino sketch.
- You will create an API Key to secure your deployed URL created in API Gateway.
- You will copy the provided Arduino sketch for your ESP8266 or ESP32 and provide your own API Gateway URL.
- You will change the permissions on your IoT data bucket and web page bucket from private to public.
- You will copy the provided ‘index.html’ file to visualize your IoT data on a static web host held in a second S3 bucket.
Create a S3 bucket to hold your IoT Data
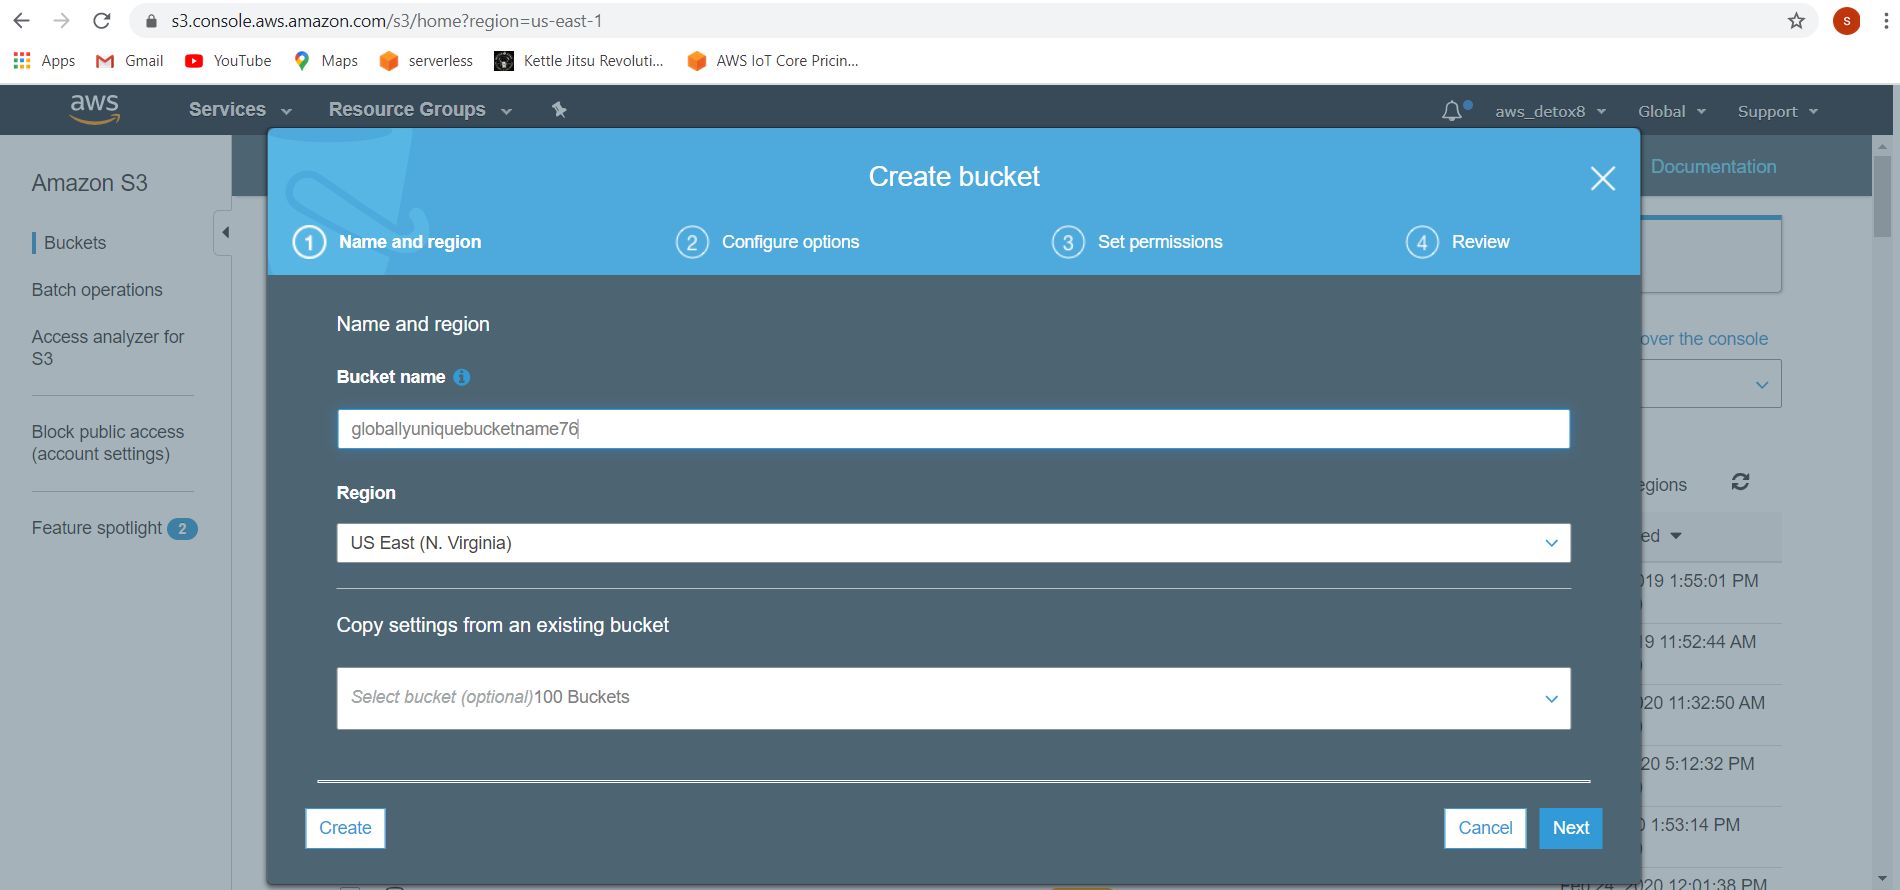
Create a new S3 bucket in the region of your choice. Choose a globally unique name for your bucket and make sure to keep the region consistent between AWS services.
✅ Step-by-step Instructions for S3
1. Navigate to the AWS S3 console
2. Create a new S3 Bucket in the same region you decide to use consistently throughout this lab. Name your bucket something globally unique (this AWS requirement is so every bucket has its own static URL)
3. You don’t need to set ACL’s, Bucket policy’s or CORS at this time, so just select “Create”.
4. Finally create and save a folder/partition within your newly created S3 bucket. Name the folder whatever you like.

We are now ready to move on the to creating a lambda function to enhance our IoT data and dispatch it to our newly created S3 bucket.
Create your Lambda function in Node.js

Lambda programmed in Node.js will be used to format, enrich, and dispatch our incoming JSON payload, sent through API Gateway, to our S3 bucket to hold our IoT sensor data readings
✅ Step-by-step Instructions for Lambda
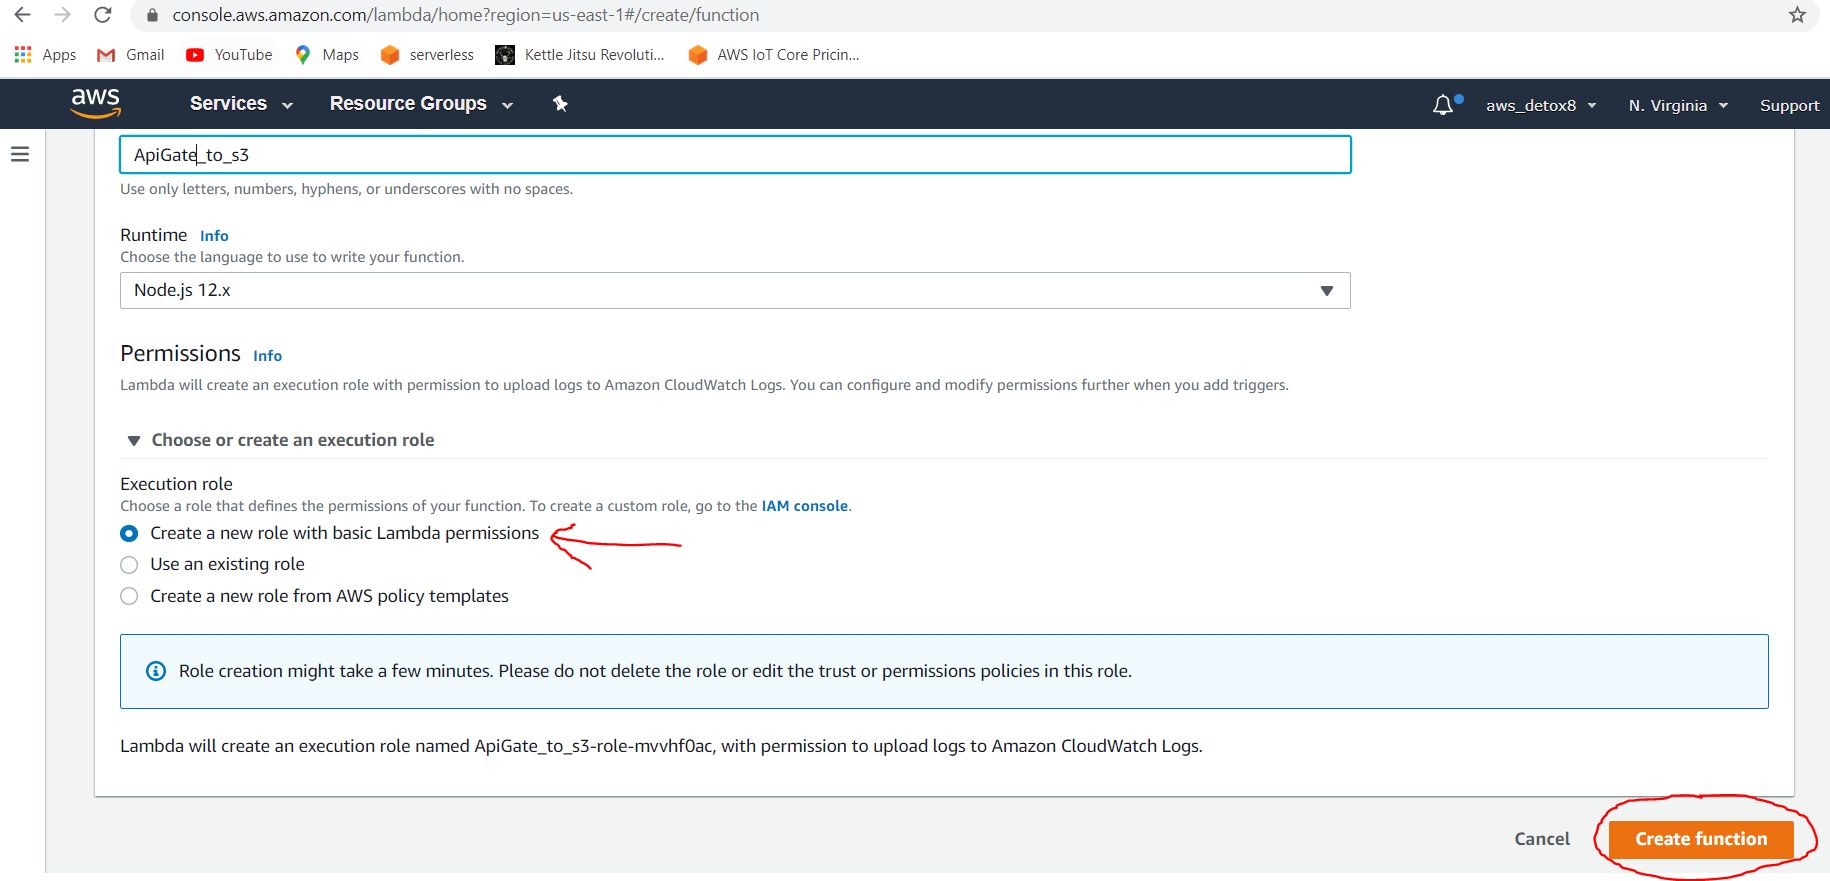
1. Navigate to the Lambda console and create a new Lambda function (“Author from scratch”) in the AWS Region of your S3 bucket.
2.Choose the latest runtime of Node.js .
3. Chose a new basic execution Role
4. press button to create your lambda function
5. Paste the Node.js code listed below into your lambda function console. Make sure to add your own bucket name and folder name that you created in the previous section where indicated in the lambda code. Uncomment the (event) line of code but keep the (event.queryStringParameters) line of the code commented out for now. We will want to see the entire test payload “event” (object) at this point in the lab. Later, when we utilize our device, we will limit the incoming IoT payload to just the query string parameters.
After pasting in the code listed below, save your lambda function.
#aws-iot-tutorial #aws-lambda #aws-s3 #aws-api-gateway #aws-iot #arduino #esp32 #esp8266