In this second article, we will go through the preparation and deployment of the OpenShift Service Mesh Control Plane. You will see the different configuration options used while deploying your Service Mesh Control Planes, including how you should set it up for production environments (spoiler: that’s not the default configuration), and how to deploy them in your OpenShift cluster.
I will try to include a little bit more information than the current official OpenShift Documentation, but mostly all content of this article can be found there. I will add some screen captures and specific examples that you might find useful and we’ll also perform a review of what the Operator installs and configures in your cluster.
If you missed the introduction, where you can review what’s the reason why Service Mesh exists, take a look at it here:
Is OpenShift Service Mesh installation and usage different from upstream ISTIO?
In part I of this series of articles you have seen how OpenShift Service Mesh is using upstream ISTIO project as the main component. Now you might be wondering if there is any customization that makes different either the installation or the usage. Well there are differences in some aspects if you compare OpenShift Service Mesh with default ISTIO upstream deployment (here you find more details):
- Installation: Upstream ISTIO has multiple ways of being installed, one of them is the Operator based installation which simplify the lifecycle management of the ISTIO deployment. This is the mode that OpenShift uses to deploy Service Mesh too, but in ISTIO upstream you use the
istioctlclient and in OpenShift you will be using the Operator Lifecycle Manager and Operator Hub to install and manage the operator. - Multitenancy: Upstream ISTIO deployments are, by default, not multitenant, although you can deploy it following some steps to gain some soft-multitenancy. In contrast, when you deploy Service Mesh in OpenShift, you will get by default a multitenant setup of ISTIO as we’ll see below.
- Sidecar injection: Upstream Istio default installation automatically injects the sidecar into pods within the projects you have labeled, but OpenShift Service Mesh requires you to specify an annotation. That makes it possible to fine select which services will be included in the Mesh.
- Istio RBAC: OpenShift Service Mesh provides all upstream RBAC possibility but also extends the ability to match request headers by using a regular expression, we will see it when start playing with OpenShift Service Mesh features.
- SSL libraries: OpenShift Service Mesh replaces BoringSSL with OpenSSL.
- Network configuration: Red Hat OpenShift Service Mesh includes CNI plug-in, which provides you with an alternate way to configure application pod networking. The CNI plug-in replaces the
init-containernetwork configuration eliminating the need to grant service accounts and projects access to Security Context Constraints (SCCs) with elevated privileges. The usage of this CNI plug-in has also implications when secondary interfaces with Multus are configured as we will see in the “Data Plane” section of this blog series. - Not supported features (OpenShift 4.5): OpenShift Service Mesh does not support QUIC-based services and the usage of Secret Discovery Service (SDS) functionality. It also does not support to include external elements (ie. virtual machines) in the Mesh network.
How do I install Service Mesh in OpenShift?
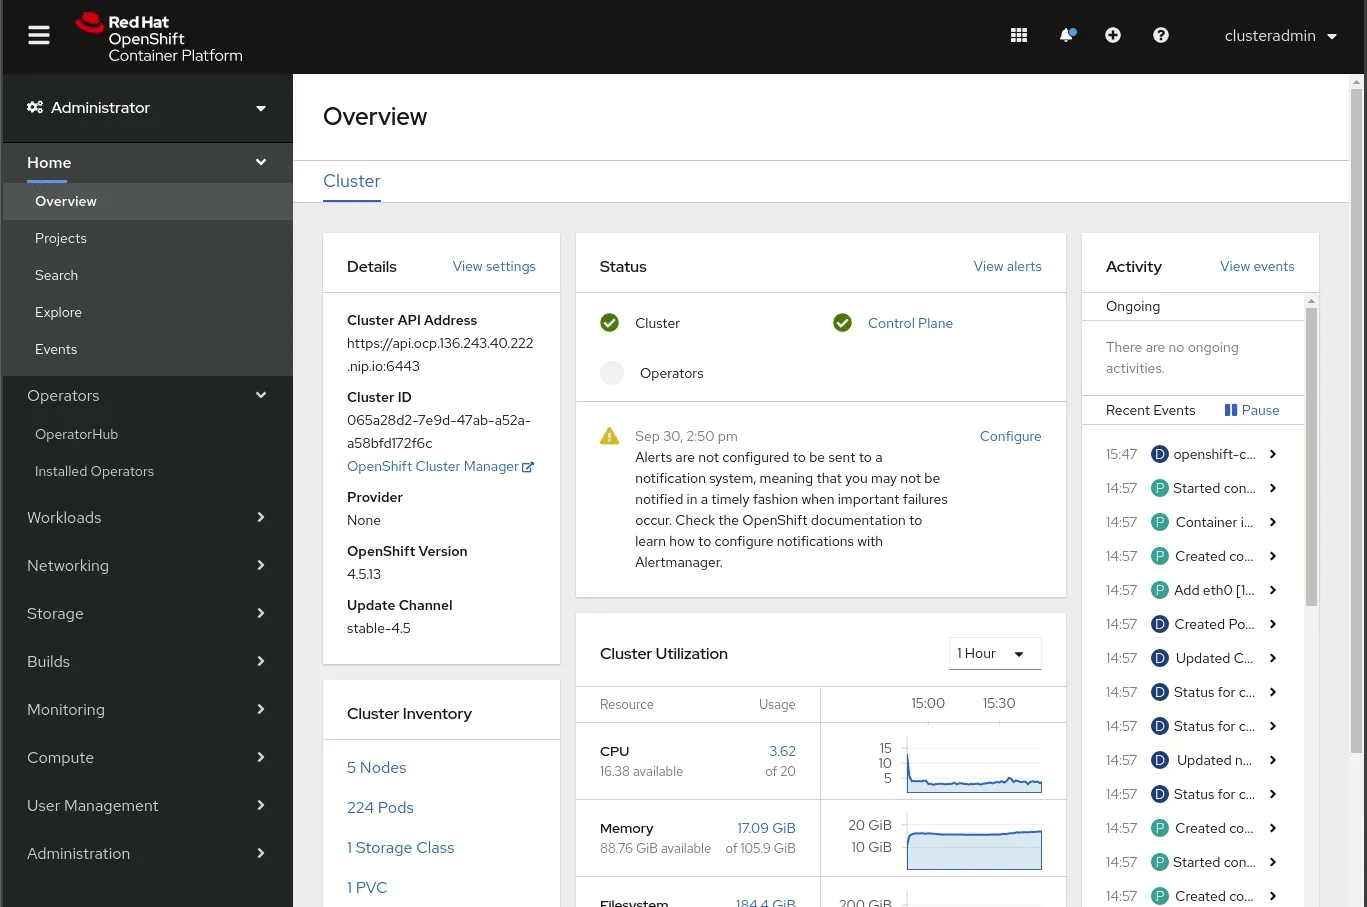
You have two different ways to install OpenShift Service Mesh: using the Web Console or using the CLI. In this article, we’ll use the Web Console, but if you want to review some CLI tips&tricks I would recommend you take a look at the “Security Zones in OpenShift worker nodes” blog series.
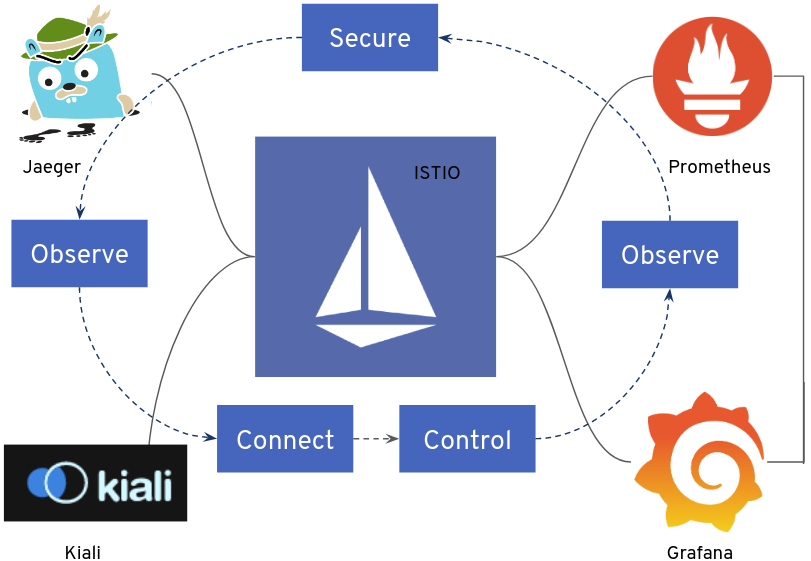
If you remember from Part I, OpenShift Service Mesh comprehends multiple pieces, including ISITO, Jaeger, Kiali, Prometheus and Grafana.

Thanks to Operators the deployment and lifecycle management (ie. updates) of all these different pieces are quite easy, and thanks to the OpenShift Operator Lifecycle Manager and the Operator Hub, the user experience is much better than looking for the upstream Operators and deploying them manually.
Let’s take a look at the steps to install OpenShift Service Mesh
1. Install the required operators
In our case, in OpenShift 4.5 (maybe in the future this will be simplified), we’ll have to deploy (as _cluster-admin _user) some operators as a pre-requirement before installing the OpenShift Service Mesh operator. If you want to be under support, do not install the “community” versions of the Operators):
Keep the default selected options during the operators. You might want to select Manual updates to be sure that the Operator won’t upgrade the service until someone manually launches the upgrade if you feel that could mean a more stable environment.
#maistra #openshift #kubernetes #mesh #istio