Being a container-orchestration system for automating application deployment, Kubernetes is adopted and highly practiced by many teams and that is where namespaces emerge. Namespaces in Kubernetes enables smooth and secure management with effective usage of isolated resources without overlapping.
As it becomes important for a cluster manager or a cluster-admin to split numerous cluster components or objects or resources into smaller distinct groups.
What is a Namespace?
A namespace can be considered as a logically isolated virtual cluster inside the Kubernetes cluster which is from each other.
Each Kubernetes namespace provides a different scope which means that using the combination of an object name and a Namespace, each object gets a unique identity across the cluster.
It helps a lot when multiple teams are using the same cluster and there is a potential of ambiguity. It can be seen as a virtual wall between multiple clusters.
Lets look for namespaces in Kubernetes
To list the namespaces in your cluster you can use the following command.
$ kubectl get namespaces
OR
$ kubectl get ns
 Namespaces in Kubernetes
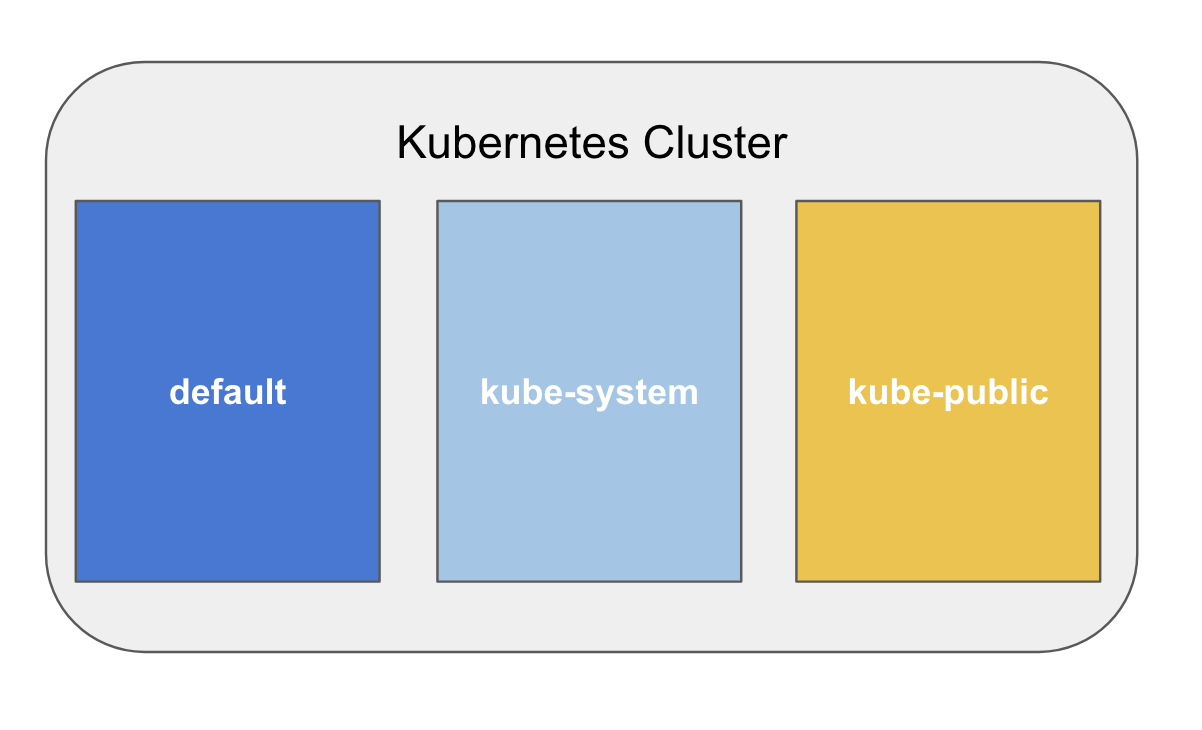
By default, a Kubernetes cluster has following namespaces:
- default: it has unbounded CPU and memory requests/limits and used by default for creating resources.
- kube-public: its a namespace for resources that are publicly readable by all users and is reserved for cluster usage.
- kube-system: used by Kubernetes systems/control plane.
Creating namespace in Kubernetes
You can use either the ad-hoc command or the config file to create a namespace.
//creating namespace with single command
$ kubectl create namespace dev-ns
namespace/dev-ns created
Also you can use the below example to create a namespace
apiVersion: v1
kind: Namespace
metadata:
  name: prod-ns
  labels:
    team: prod
Now let’s create resources
Namespace is specified under the metadata, otherwise the default is used .
apiVersion: v1
kind: Pod
metadata:
  name: nginx-pod
  namespace: dev-ns
  labels:
    app: nginx
spec:
  containers:
  - name: nginx-container
    image: nginx
Now lets get the pods and see the output
// as namespace is not specified while getting pods
$ kubectl get pods
No resources found in default namespace.

$ kubectl get pods --namespace dev-ns
NAME        READY   STATUS    RESTARTS   AGE
nginx-pod   1/1     Running   0          2m37s
#devops #tech blogs #tutorial #kube-public #kubernetes