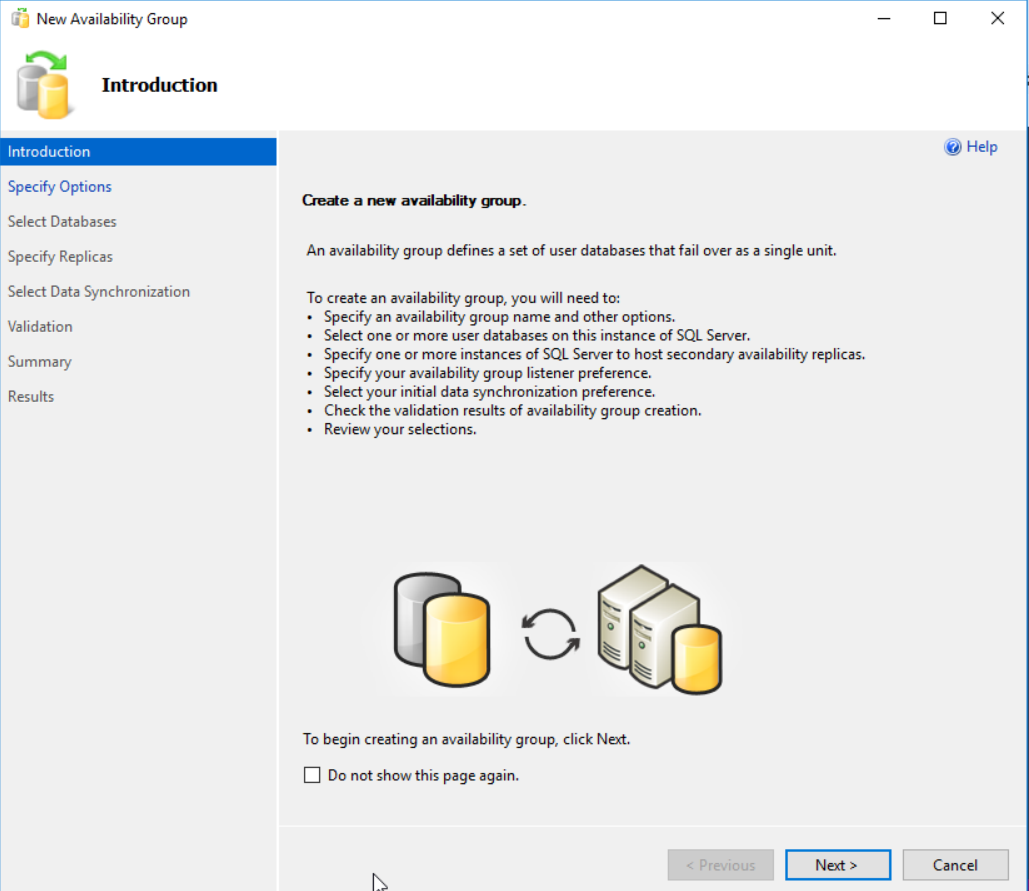
In this article, we will proceed with configuring a SQL Server Always On Availability Groups and perform failover validations.
You should go through the following articles and build the infrastructure before proceeding with this article.
- Configuration of virtual machines on Oracle VirtualBox with Windows Server 2016
- It configures the domain controller and active directory features.
- Add the virtual machines to the domain created above.
- Windows failover cluster configurations
- iSCSI target and initiator configurations
- File share witness confirmation as Cluster quorum
Install SQL Server 2019 on Windows Server 2016 for SQL Server Always On availability groups
SQL Server 2019 is the latest version available for SQL Server. It has several new features along with the enhancements to existing ones.
You can check out SQL Server 2019 articles on SQL Shack to learn more about SQL Server 2019 features.
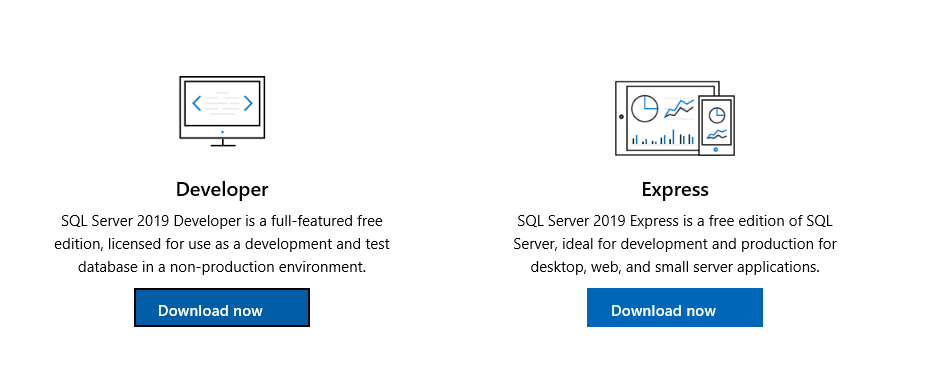
SQL Server 2019 provides developer edition to use for development and test purpose without any license cost.
Open the Microsoft URL and click on download now for developer edition.
It downloads a setup file. Launch it, and you get the below options.
- **Basic: **It installs SQL Server 2019 with the default configuration of the SQL Server database engine
- **Custom: **In this option, we can select the features, configure them in the installation wizard
- **Download media: **It downloads the ISO or CAB file for the SQL Server set up
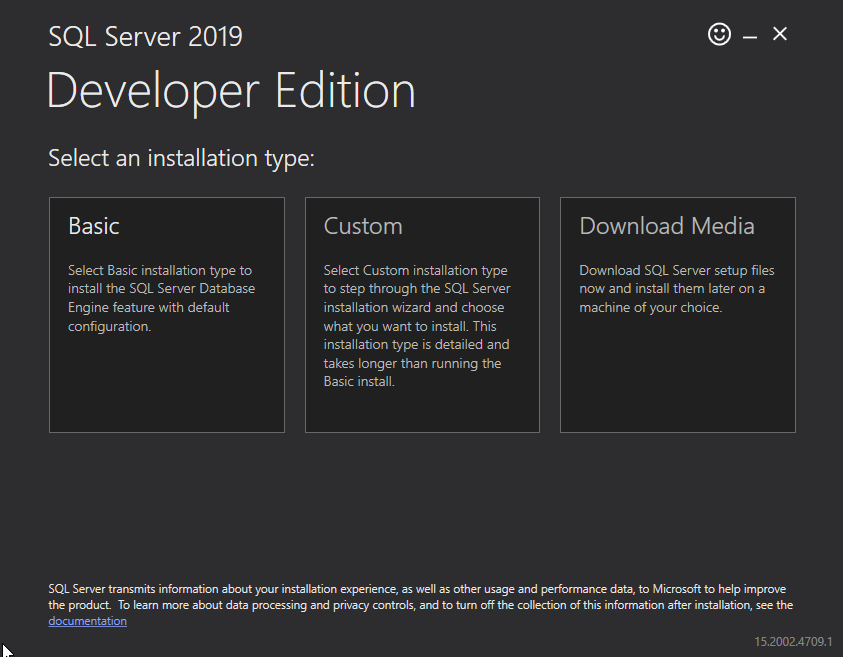
It is a better idea to download the media first and then perform the installation. You can share the media across different servers as well as it avoids issues due to network fluctuations.
Next, specify the file type, directory and language of the setup.
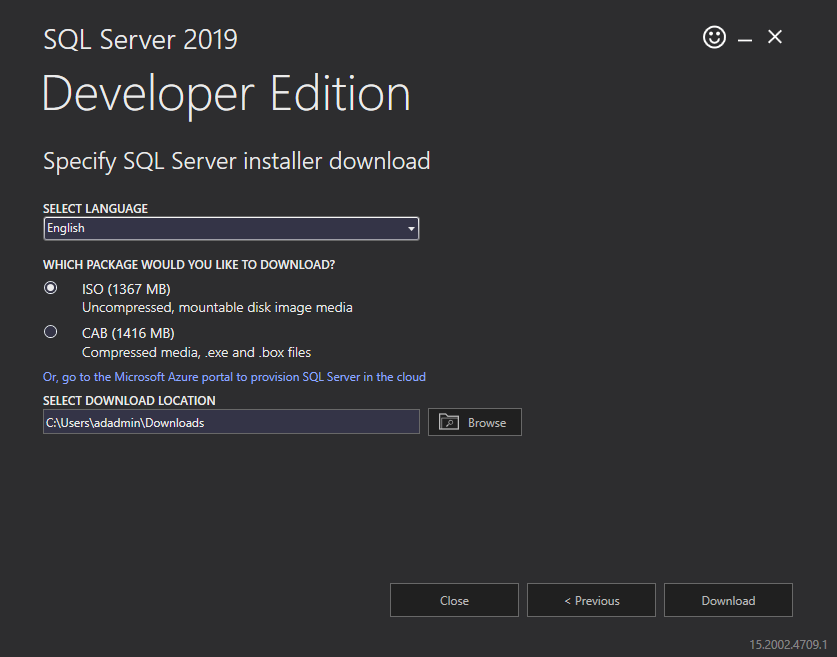
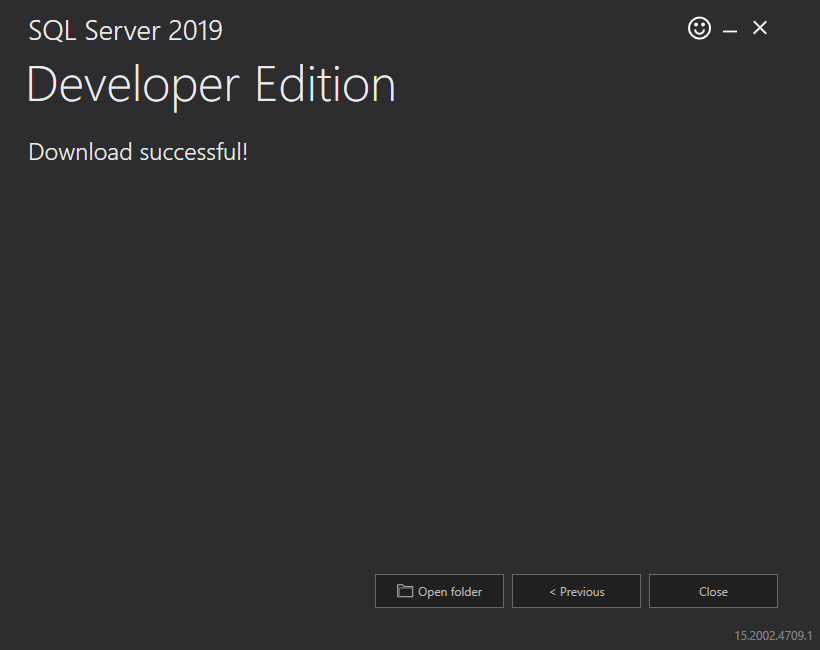
Click on Downloads, and it gives you ISO file, but it might take time depending upon your network bandwidth.

It downloads the SQL Server 2019, as shown below.
Install SQL server 2019 on SQLNode1
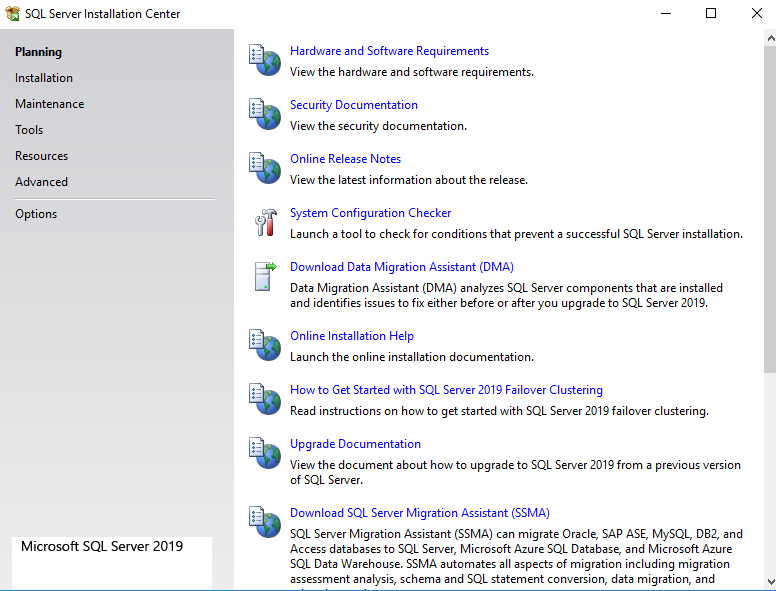
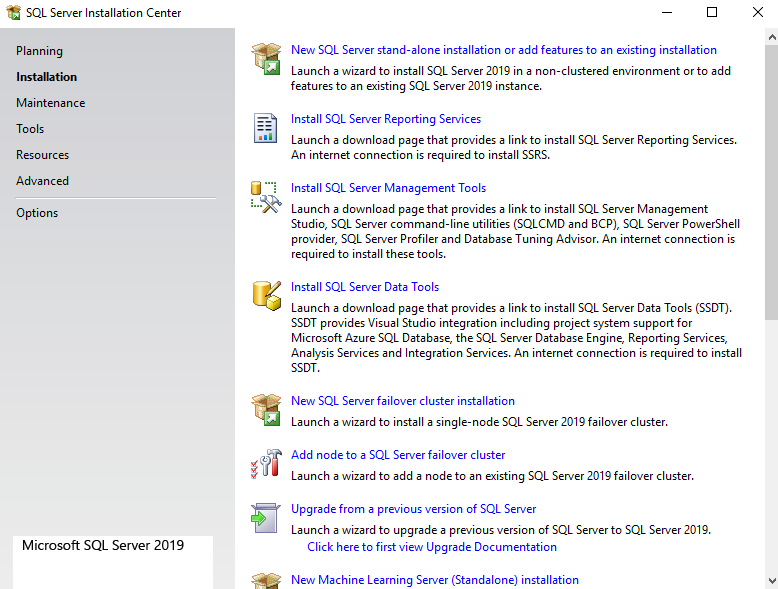
Click on setup.exe, and it opens the SQL Server Installation Center.
Navigate to** Installation -> New SQL Server standalone installation.**
In a SQL Server Always On, we install the SQL as a standalone component on all the nodes. It does not require a SQL Server in a failover cluster mode.
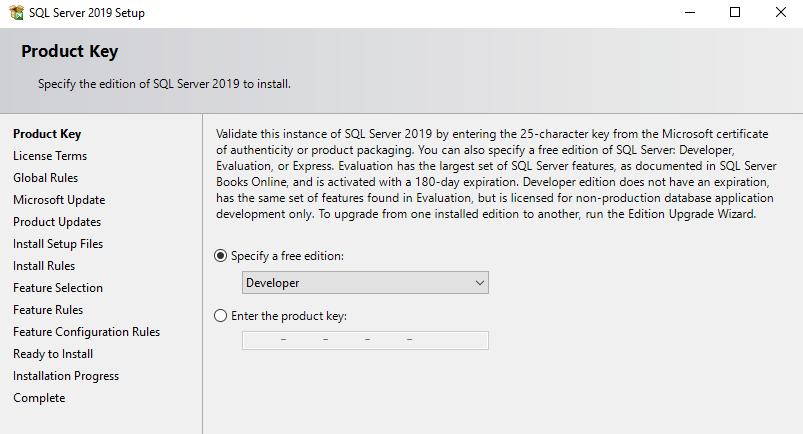
Select the edition of SQL Server 2019. We choose the Developer edition in this demo.
Accept the Microsoft software license terms and privacy agreement.

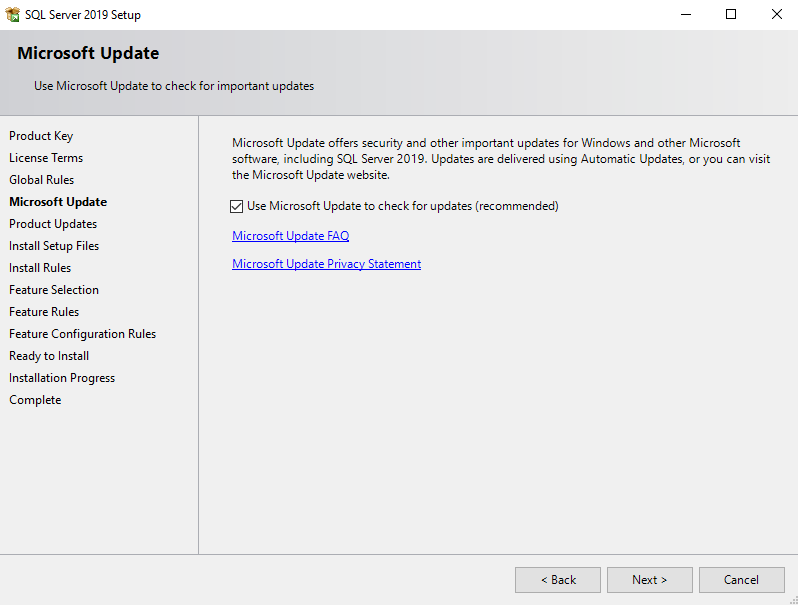
The nextstep of Microsoft update is optional. We can ask Microsoft update to check updates for Windows, Microsoft software along with SQL Server 2019. It requires an active internet connection on the server.
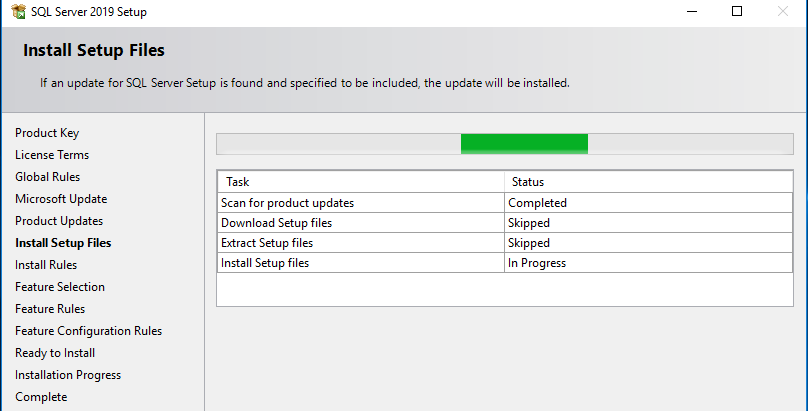
It installs the required setup files.
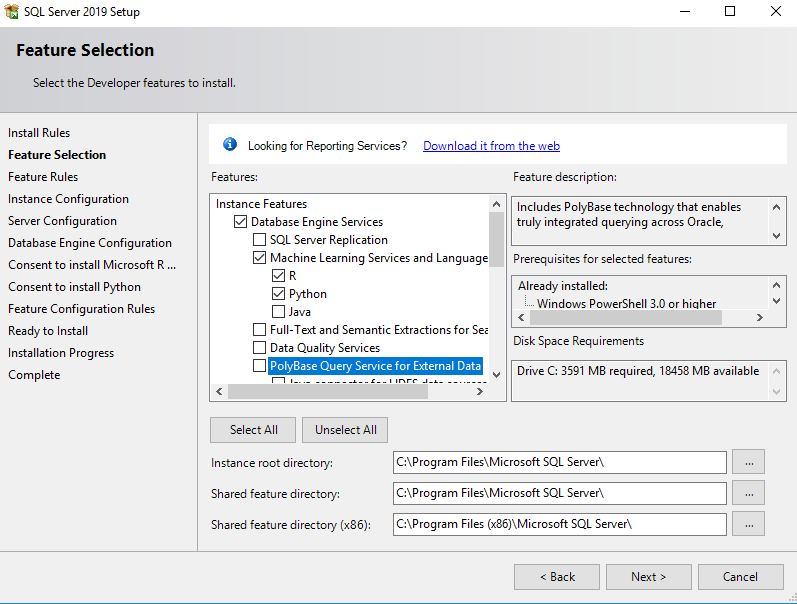
In the next screen, we configure the following options.
- **Feature selection: **Here, we select the features we want to install in the virtual machine. Select the database engine services from the instance features
- **Instance root directory: **Specify a root directory for your SQL Server installation. As per best practice, you should not install it in the root directory where the Windows OS file exists. Similarly, configure the shared feature directory
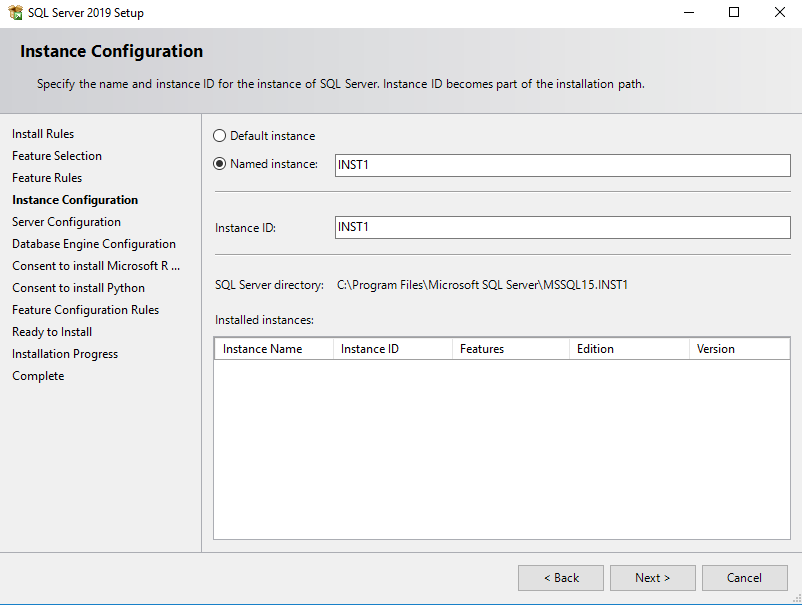
Specify a SQL instance name as a named instance. You can give the SQL instance name to reflect your environment and application.
It creates the instance-specific directory in the specified instance root path.
On the next page, we configure the service account for running the SQL Services. Ideally, you should run the SQL Services with a separate service account in the active directory.
Let’s hold SQL Server installation at this moment (do not cancel) and connect to the active directory server.
Create a service account in the active directory
Type dsa.msc in the Windows start -> run and launch the active directory users and computers.
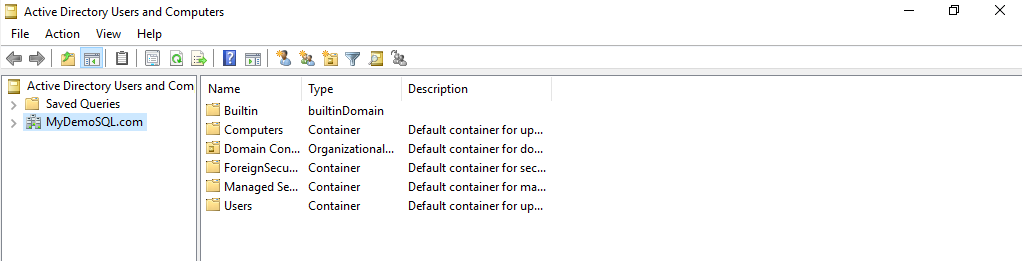
Right-click on Users folder and create a new user with a unique service account information.

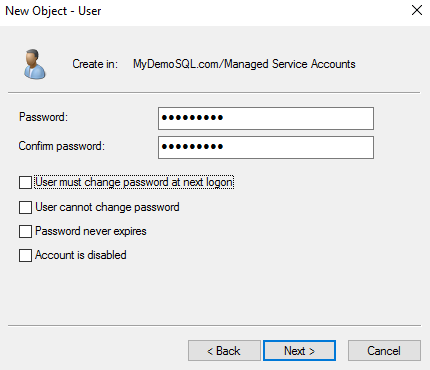
As per best practice, you should use the following things in the SQL Server service account.
- A complex password (alphanumeric password)
- Its password should not expire
- User cannot change the password after the first logon
Once the user is created, add the user to the administrator group on the respective node.
#alwayson availability groups #installation #setup and configuration #sql server 2019 #sql