I took Nyran Moodie’s course on Test Automation University: Automated Visual Testing with WebdriverIO.
If you want the explicit link to the course, here it is https://testautomationu.applitools.com/automated-visual-testing-javascript-webdriverio/index.html.
Course Introduction
If you use WebdriverIO regularly, and you are unfamiliar with the basics of using Applitools for automated visual testing, you will appreciate this course. Nyran focuses you on how to add visual test automation with Applitools to your WebdriverIO tests.
Nyran expects you to know WebdriverIO. If you want to learn WebdriverIO, check out Julia Pottinger’s excellent course — UI Automation with WebdriverIO on Test Automation University.
Nyran uses JavaScript for his examples and Visual Studio Code as his IDE. In case you didn’t know, you can use Applitools with a range of test languages. No matter what your test language of choice or IDE, I think you will find Nyran’s code and coding approach fairly intuitive.
Course Structure
Nyran breaks the course into eight main chapters. He gives this description in the course overview:
- 1 — I am going to start by giving you an introduction to visual testing.
- 2 — We are going to look at how we can get our environment set up to start using Applitools eyes.
- 3 — We are going to create and run our first visual test using Applitools
- 4 — I want to introduce you to the different match levels that Applitools has and the concept of viewport sizes
- 5 — I will be talking about checkpoints.
- 6 — I will be looking at how we can organize our visual tests using batches
- 7 — We will look at how we can analyze our test results using the Test Manager.
- 8 — We will be looking at the integration and collaborations that Applitools provides.
Each of these chapters provides a methodical approach to getting going with Applitools. I’ll give a quick overview of each.
If you read this review or take the course, you know why visual testing. Your UI and end-to-end tests result in the rendered output. You can write all the functional tests that grab locators, enter data, effect action, and cause the appropriate output locators to have the appropriate values. But, until you look at the result, you cannot tell if the input and output conform to design and usability expectations.
Nyran did not explain the most frequently-experienced reason for visual testing — unintended consequences of code changes over time. Our experience shows us that most expected application changes get tested, but unintended changes cause problems.
Nyran does a nice job explaining how to get started. You need an Applitools API key, which you can get from the Applitools console. Nyran explains why you set up a local environment variable for your API key (so you do not need to include your API key in your test code directly). He also points to the GitHub repo he uses for all the examples in the course.
Chapter 3 involves the first coding examples for setting up Applitools. With a simple:
npm install @applitools/eyes.webdriverio
You get the the node instructions for installing the Applitools Eyes to your WebdriverIO setup. After this, you can install the Applitools Eyes service to your tests. He shows code examples of what test code looks like when calling Applitools:
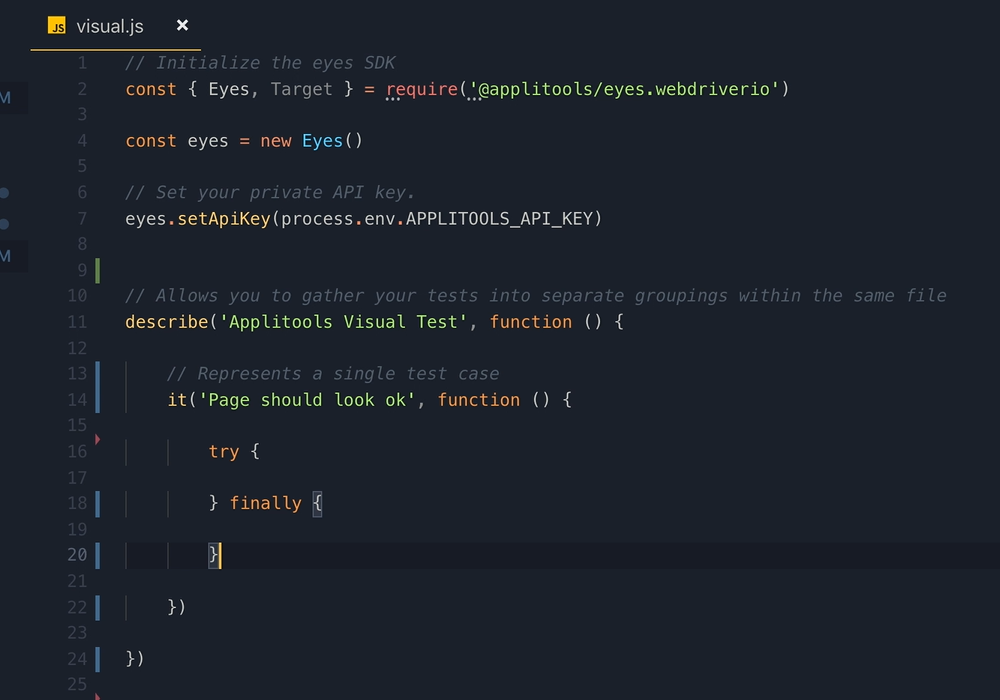
#performance #testing #automation #automated testing #webdriver #visual testing #automated testing best practices #webdriver io #ui automation tools