If you are new to Vue and want to refresh your basics, this fun exercise will help you build an interesting game.
In this post, I will take your through the step by step process of building a memory card game in VueJS.
Here is what you can expect to learn by the end of this article:
- How to use the v-for directive to loop through Array of Objects.
- Dynamic class & style binding using the v-bind directive
- How to add Methods and Computed Properties.
- How to add reactive properties to an object using Vue.set
- How to use the setTimeout method to delay JavaScript execution.
- Shallow cloning vs Deep Cloning of Javascript objects.
- How to use the Lodash utility library.
Let’s dive into the steps.
Getting Ready - Including Libraries
The first step is simple: just import the libraries from the CDN into our basic HTML5 markup so that we can get started with our tiny little project.
<!DOCTYPE html>
<html lang="en">
<head>
    <meta charset="UTF-8">
    <meta name="viewport" content="width=device-width, initial-scale=1.0">
    <title>Memory Card Game</title>
    <link rel="stylesheet" href="https://stackpath.bootstrapcdn.com/bootstrap/4.4.1/css/bootstrap.min.css"
    integrity="sha384-Vkoo8x4CGsO3+Hhxv8T/Q5PaXtkKtu6ug5TOeNV6gBiFeWPGFN9MuhOf23Q9Ifjh" crossorigin="anonymous">

    <!-- development version, includes helpful console warnings -->
    <script src="https://cdn.jsdelivr.net/npm/vue/dist/vue.js"></script>
</head>
<body>

</body>
</html>
Allow user to see the card grid
Next up, let’s define the necessary HTML markup, CSS styling, and a basic Vue instance so that the user can see the card grid.
Vue Instance
Let’s create a new Vue instance and define the single data property named cards which holds the list of cards.
let app = new Vue({
    el: '#app',
    data:{
            cards: [
                {
                    name: 'Apple',
                    img: 'apple.gif',

                },
                {
                    name: 'Banana',
                    img: 'banana.gif',

                },
                {
                    name: 'Orange',
                    img: 'orange.jpg',

                },
                {
                    name: 'Pineapple',
                    img: 'pineapple.png',

                },
                {
                    name: 'Strawberry',
                    img: 'strawberry.png',

                },
                {
                    name: 'watermelon',
                    img: 'watermelon.jpg',

                },
            ],
    },
});
Each object in the array contains two properties: the name of the image (which will be used to perform matching) and the image of the card.
HTML MarkUp
Since we now have the data ready in our Vue instance, we can use the v-for directive in VueJS to loop through it.
    <div id="app">
    <div class="row">
        <div class="col-md-6 col-lg-6 col-xl-5 mx-auto">
             <div class="row justify-content-md-center">
                    <div v-for="card in cards" class="col-auto mb-3 flip-container">
                    <div class="memorycard">
                        <div class="front border rounded shadow"><img width="100" height="150" src="/assets/images/memorycard/pattern3.jpeg"></div>
                        <div class="back rounded border"><img width="100" height="150" :src="'/assets/images/memorycard/'+card.img"></div>
                    </div>
                 </div>
            </div>
        </div>
    </div>
    </div>
We have used some basic Bootstrap markup and the v-for directive of VueJS to loop through the cards and show them in the grid format.
Each memory-card is made up of two parts:
- front: This contains a common pattern image for all the cards (default card view)
- back: This contains the actual card image (needs to be hidden by default)
Let’s add in some basic CSS so that we only show the front part of the card (common design pattern):
    .flip-container {
        -webkit-perspective: 1000;
        -moz-perspective: 1000;
        -o-perspective: 1000;
        perspective: 1000;
        min-height: 120px;
        cursor: pointer;
    }
    .front,
    .back {
        -webkit-backface-visibility: hidden;
        -moz-backface-visibility: hidden;
        -o-backface-visibility: hidden;
        backface-visibility: hidden;
        -webkit-transition: 0.6s;
        -webkit-transform-style: preserve-3d;
        -moz-transition: 0.6s;
        -moz-transform-style: preserve-3d;
        -o-transition: 0.6s;
        -o-transform-style: preserve-3d;
        -ms-transition: 0.6s;
        -ms-transform-style: preserve-3d;
        transition: 0.6s;
        transform-style: preserve-3d;
        top: 0;
        left: 0;
        width: 100%;
    }
    .back {
        -webkit-transform: rotateY(-180deg);
        -moz-transform: rotateY(-180deg);
        -o-transform: rotateY(-180deg);
        -ms-transform: rotateY(-180deg);
        transform: rotateY(-180deg);
        position: absolute;
    }
Refresh the page and you should see six cards stacked up in the grid format facing the front. The actual card image is hidden on the back.
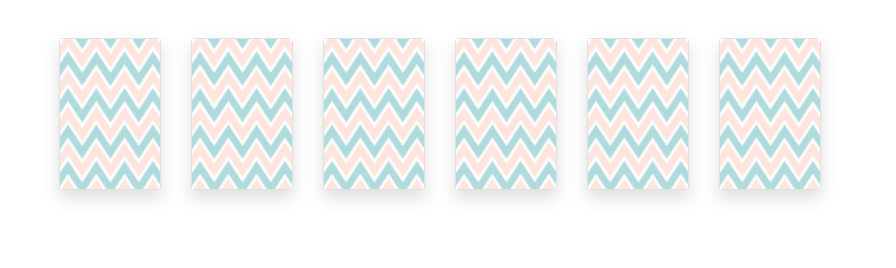 Front side of card (Looped through v-for directive)
Let’s flip the cards
Next up, let’s bind an event to our cards so that when it’s clicked it should flip and show the image behind it.
Let’s modify our original cards array to add another property to each card. This will determine if the card is currently flipped.
Add the following CSS. When the flipped class is added to the class it will show the card image. It also gives us a nice turn effect.
    .flip-container.flipped .back {
        -webkit-transform: rotateY(0deg);
        -moz-transform: rotateY(0deg);
        -o-transform: rotateY(0deg);
        -ms-transform: rotateY(0deg);
        transform: rotateY(0deg);
    }
    .flip-container.flipped .front {
        -webkit-transform: rotateY(180deg);
        -moz-transform: rotateY(180deg);
        -o-transform: rotateY(180deg);
        -ms-transform: rotateY(180deg);
        transform: rotateY(180deg);
    }
Let’s use the Vue created lifecycle event to add the new property and add a flipCard method to flip the card
    created(){
        this.cards.forEach((card) => {
            card.isFlipped = false;
        });
    },

    methods:{
        flipCard(card){
            card.isFlipped = true;
        }
    }
First we’ll bind the click event to cards to invoke the flipCard method. Then we’ll also use the v-bind directive to bind the flipped class to the card.
...
<div v-for="card in cards" class="col-auto mb-3 flip-container" :class="{ 'flipped': card.isFlipped }" @click="flipCard(card)">
 ...
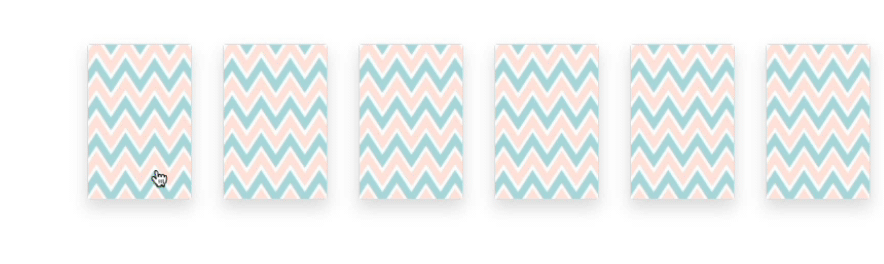
Sounds about right – let’s see if the cards flip on a click.
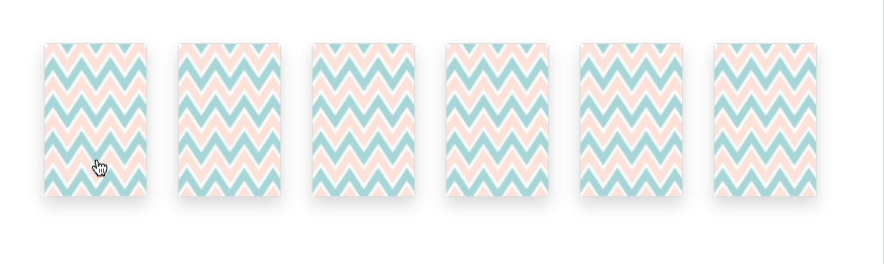 Card not flipping on clicking
It didn’t work. Why not?
Let’s go back to our created lifecycle method, where we looped through the list of cards and added a new property named isFlipped. It looks alright – but Vue didn’t like it.
For the new object properties to be reactive, you have to add them to the object using the Vue.set method.
    created(){
        this.cards.forEach((card) => {
            Vue.set(card,'isFlipped',false)
        });
    },
Now the cards should flip on click:
Alrighty, great job. Let’s move on to the next one.
#game-development #javascript #vue