This is my personal experience in setting up Sonarqube for our Angular application in a local dev-environment and it sticks to that narrowing scope. This doesn’t talk about what is Sonarqube or how to use the reports of Sonarqube.

Photo by Lindsay Henwood on Unsplash
Step 1: Run Sonarqube locally
The easiest and quickest way to get sonarqube up and running locally is to run it in a docker container,
docker run -d --name sonarqube -p 9000:9000 sonarqube:latest
Once the container is up and running we should be able to access sonarqube with the below URL and log in with admin/admin default credentials
Note: Do not rush to hit the URL, find it not working, and kill the docker container. It generally takes a few seconds to get sonarqube up and running.
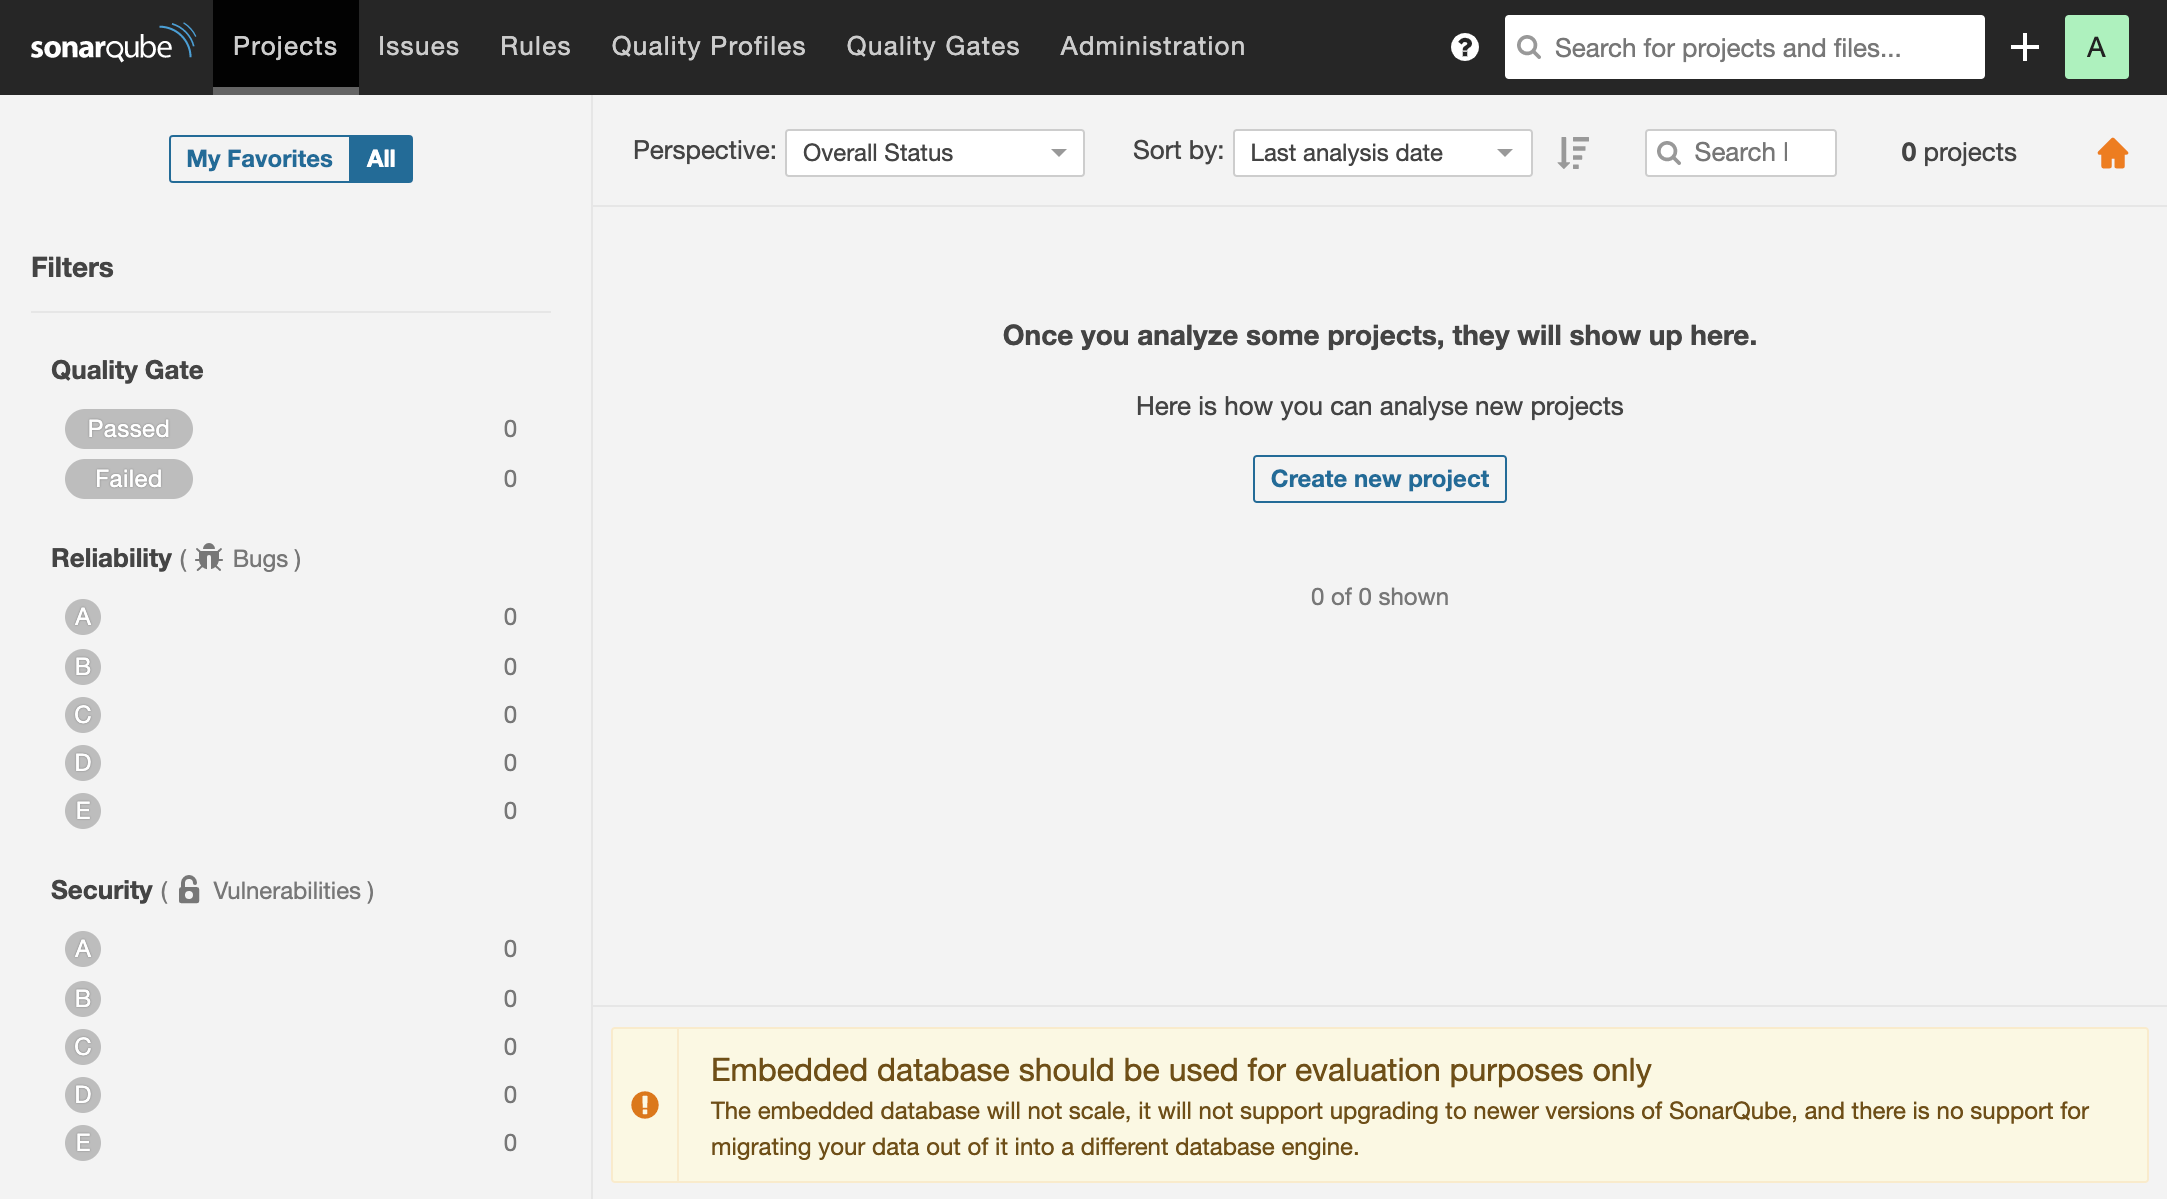
Fig1: Sonarqube instance running locally
There are two different ways we can attach an Angular project to the sonar instance.
- Connecting it from the sonar console.
- Running the sonar scanner from the project to be scanned.
Here I will run through the second approach.
Step 2: Configure the Angular project
There are specific scanners for different build tools, but for Angular(Typescript) based application we should use base sonar-scanner npm package. Let’s add it to our Angular application.
npm i sonar-scanner --save-dev
We should then add the properties file (sonar-project.properties) mentioned below at the root of the application. This defines the sonar instance, source file path, test file extensions, and the report files. The explanation for all possible properties can be found in this link.
	sonar.host.url=http://localhost:9000
	sonar.login=admin
	sonar.password=admin
	sonar.projectKey=my-angular-app
	sonar.sourceEncoding=UTF-8
	sonar.sources=src
	sonar.tests=src
	sonar.exclusions=**/node_modules/**
	sonar.test.inclusions=**/*.spec.ts
	sonar.typescript.lcov.reportPaths=coverage/lcov.info
	sonar.testExecutionReportPaths=reports/ut_report.xml
While most of the properties are obvious will add a few details for some of them.
sonar.source
This refers to the path where our source files reside.
sonar.tests
This refers to the path where our test files reside. This will help in scanning execution reports.
sonar.test.inclusions
This refers to the pattern of file extension for the test files and makes sure our test files are included for the analysis. This sonar documentation link has additional details on targetting the files to be included and excluded for scanning.
sonar.typescript.lcov.reportPaths
This refers to the lcov.info(code coverage report) file created by third-party karma plugins. Make sure the following properties in karma.conf.js are set-up appropriately so that the coverage report gets created under the root of the angular application.
dir: require('path').join(__dirname, 'coverage'),
Note: The default will be …/coverage which will create the report outside of the Angular application root folder.
sonar.testExecutionReportPaths
This refers to the test execution report file created again by third-party karma plugins. Sonarqube does not have direct support for scanning the test execution report, and this can be achieved by open-source npm library karma-sonarqube-unit-reporter.
The following quick few steps will add this reporter to our application. Let’s start by adding the npm library to our application.
npm i karma-sonarqube-unit-reporter --save-dev
And continue to make the following additions in karma.conf.js to add this reporter.
	    plugins: [
	      require('karma-sonarqube-unit-reporter')
	    ],
	    sonarQubeUnitReporter: {
	      sonarQubeVersion: 'LATEST',
	      outputFile: 'reports/ut_report.xml',
	      overrideTestDescription: true,
	      testPaths: ['./src'],
	      testFilePattern: '.spec.ts',
	      useBrowserName: false
	    },
	    reporters: ['sonarqubeUnit'],
#sonarqube #code-coverage #static-code-analysis #dev-environment-setup #angular