My favourite field of computer science would definitely be video game development. I spend a few hours each weekend working on shader effects, physics engines and all sorts of other game subsystems. So when people started asking us for Raygun support for Unity 3D, of course I jumped at the opportunity to sneak in some video game development during work hours! Shout out to the Unity 3D team for creating a fantastic product. I found the editor very easy to use for this blog post without needing a single peek at the documentation. Raygun4Unity will be in open beta very soon.
Set up
Before we begin, lets take a quick look at the Unity editor. After creating a new project for a 3D game, you’ll see something like this (without the temporary cube that I’ve added):
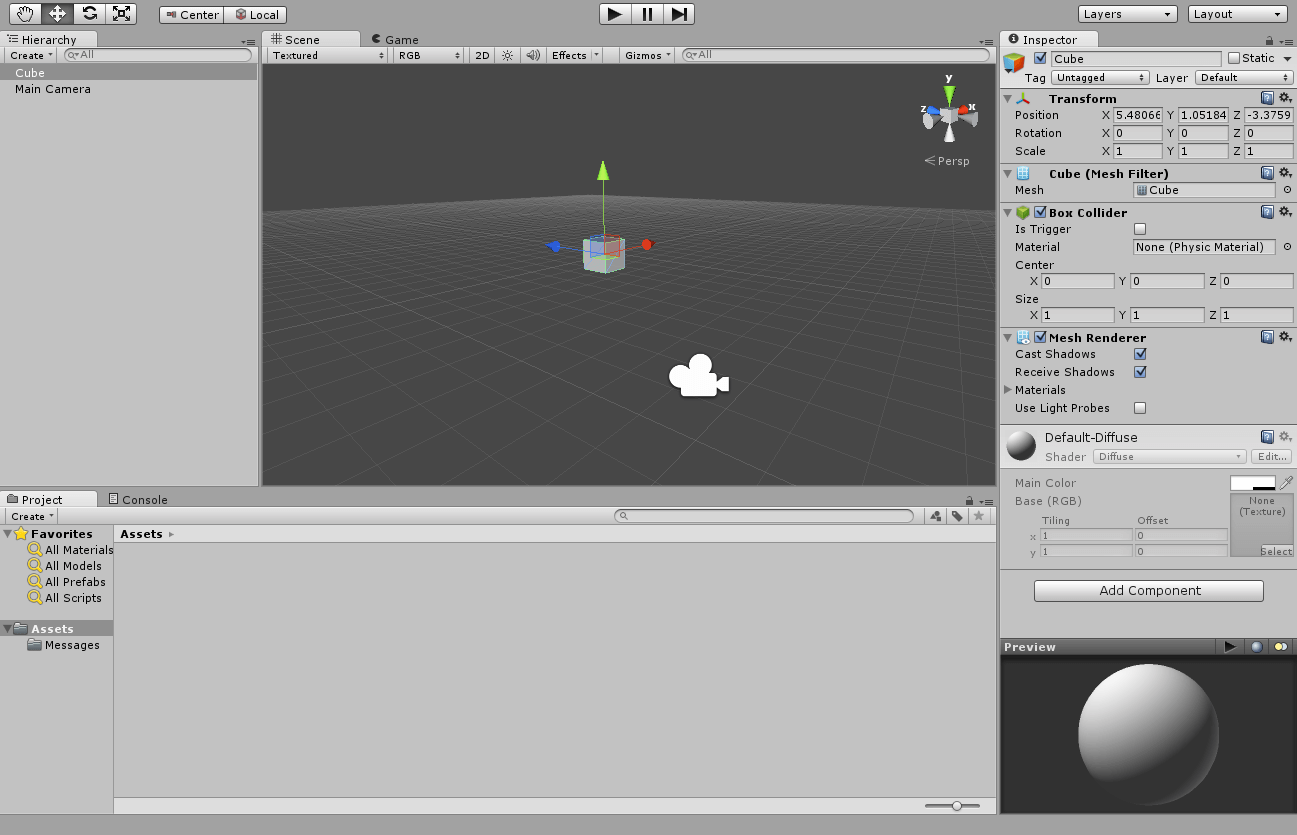
Right in the center of course is the 3D scene viewer. Here you can see your scene taking shape in real time as you make changes to it. The 3D scene viewer is interactive, allowing you to click objects to display handles. These handles can be dragged to translate or rotate the object – as you’d expect from any decent 3D editor.
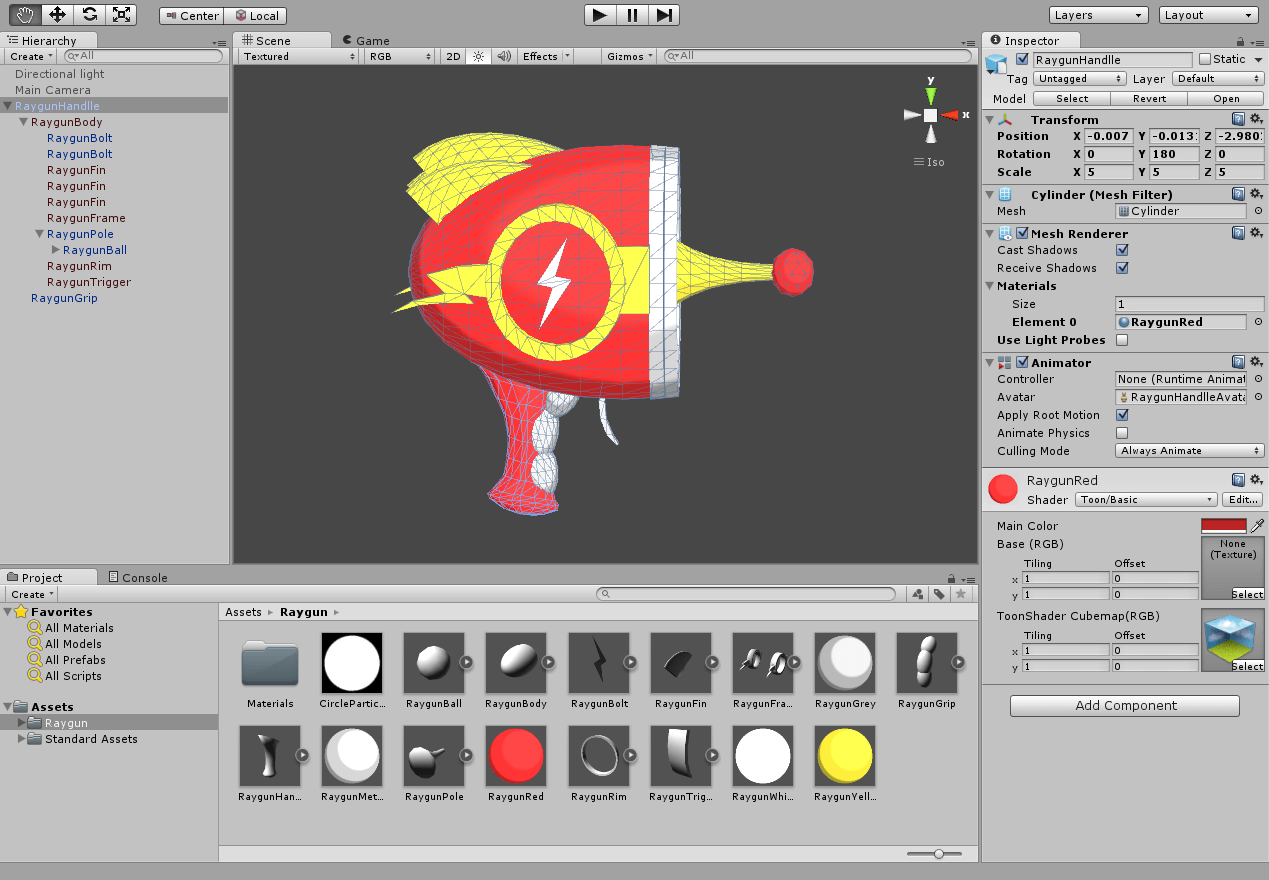
On the left hand side you’ll see the Hierarchy tab which shows the nested structure of all the game objects you’ve added to the scene including cameras and lights. This is also useful for selecting objects that you need to manipulate, but can’t click on them in the 3D scene viewer if they are being covered by other objects.
On the right hand side is the Inspector panel which displays all the details about the currently selected object – which could be a game object in the scene or even an asset.
Finally, along the bottom is the Assets pane where you can navigate the assets directory and view all the 3D meshes, textures and materials. I like how assets are visually displayed (which you’ll see soon), making it very easy to find what you’re looking for. To keep things simple for this blog post, I dumped all the assets in a single folder called Raygun.
While working on this blog post, I had the 3D scene viewer in isomorphic mode. This can be done by clicking the text in the top right corner of the 3D scene viewer just below the axis control. The great thing about isomorphic mode is that when you click-drag the right mouse button, the camera will swivel all the way around the object you are editing. (In perspective mode, the camera rotates on the spot by default, or you can hold Alt + left mouse drag to swivel). In any mode, click-dragging the middle mouse button can be used to pan.
#unity #raygun