Get image RGB using PIL(Pillow) and modify using NumPy
When we want to edit a piece of photo, we usually come up with some professional tools such as PhotoShop. Even though there are a lot of much easier for use tools having a fair amount of features that could satisfy most of our needs, we still usually need to download, install and spend a little bit of time to learn how to use it.
However, if you are a programmer, or even better a Python developer, it might be much easier to edit your photos in Python. Or, maybe just for fun, it is still cool to understand how an image is represented in numbers and how to modify these low-level features to achieve high-level requirements.
In this article, I will demonstrate how to use two libraries in Python — PIL and NumPy — to achieve most of the basic photo editing features in only 2–3 lines of code.
Preparation

We don’t actually need to do any preparation, because the library Pillow is built in the relatively newer Python. Also, I believe you must have NumPy in your Python environment if you program in Python because it is one of the most fundamental libraries that we must have.
What we need to do is just import these two libraries.
from PIL import Image
import numpy as np
For the Pillow library, we only need its Image module. Also, if you are not familiar with Pillow, please be noted that the package we imported PIL is actually different from its library name. This is not uncommon, but just be aware of that.
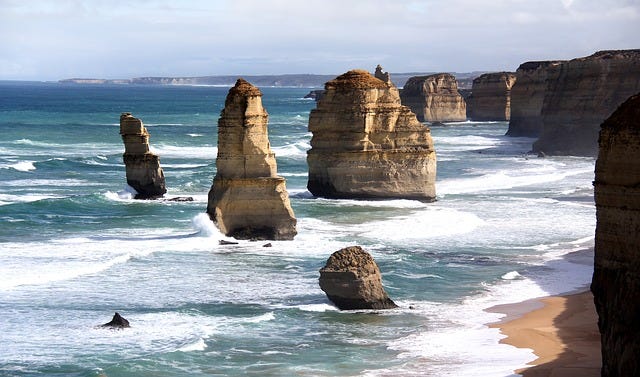
Then, we need a photo to edit. One of my favourite place on this planet is the Twelve Apostles on the Great Ocean Road at Victoria, Australia. So, let’s use a photo from there. Thanks to JVAstudio on the website Pixabay, we have such an amazing one.
#programming #numpy #photography #python #photoshop