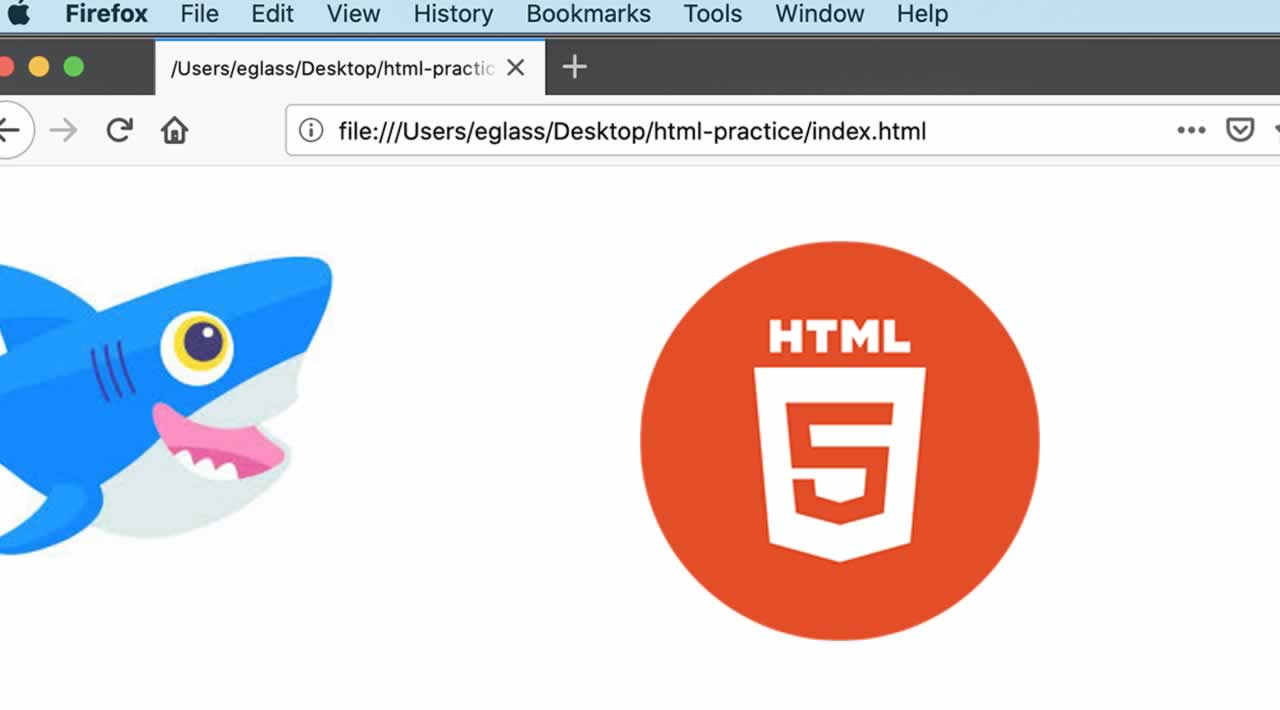
This tutorial series will guide you through creating and further customizing this website using HTML, the standard markup language used to display documents in a web browser. No prior coding experience is necessary but we recommend you start at the beginning of the series if you wish to recreate the demonstration website.
At the end of this series, you should have a website ready to deploy to the cloud and a basic familiarity with HTML. Knowing how to write HTML will provide a strong foundation for learning additional front-end web development skills, such as CSS and JavaScript.
In this tutorial, we’ll learn how to use HTML to add images on a website. We’ll also learn how to add alternate text to images to improve accessibility for site visitors who use screen readers.
Images are added to an HTML document using the <img> element. The <img> element requires the attribute src which allows you to set the location of the file where the image is stored. An image element is written like this:
<img src="Image_Location">
Copy
Note that the <img> element does not use a closing </img> tag. To try using the <img> element, download our image of Sammy the Shark and place it in your project directory html-practice.
Note : To download the image of Sammy the Shark, visit the link and CTRL + Left Click (on Macs) or Right Click (on Windows) on the image and select “Save Image As” and save it as small-profile.jpeg to your project directory.
Next, erase the content of your index.html file and paste <img src=”Image_Location”> into the file. (If you have not been following the tutorial series, you can review instructions for setting up an index.html file in our tutorial Setting Up Your HTML Project.
#html #webpage
