Nobody knows what the future holds — but Deno looks promising
What in the World is Deno?
Deno is a command-line runtime for JavaScript that runs on the V8 engine and is written in the Rust programming language.
It works in a similar way to Node.js, but when Node was released in 2009 it was created with the current version of JavaScript in mind. JavaScript has evolved a lot from the 2009 iteration and there are many more conveniences with the JavaScript we know today.
Deno looks to solve a lot of the problems that Node has — security, the module system (that giant node_modules folder), and having browser compatible APIs.
Let’s go over some of its cool features!
TypeScript
Out of the box, Deno has the JavaScript extension TypeScript built into it. For those who are unfamiliar with TypeScript, check out the docs here. But being able to use the Compiler, static checking, and TypeScript modules in our projects is a huge plus!
De-Centeralized Package Management
As things are right now with npm, it’s a centralized repository, which means you communicate with a server in order to get Node modules. With Deno that giant list of files in that node_modules folder and the package.json to manage dependencies are things of the past! packages are now imported from a URL:
import clc from 'https://deno.land/x/color/index.ts'
Once we import our modules from the web and run our program, they are cached to the hard drive once it’s loaded.
Security
One thing Deno does better than Node is security. Whenever you run an application that accesses your file system or the internet, it’s required to first allow the permission to do those things when you run the program. For example, say we’re writing a program that creates a new file for us and the content for that file is text of a greeting:
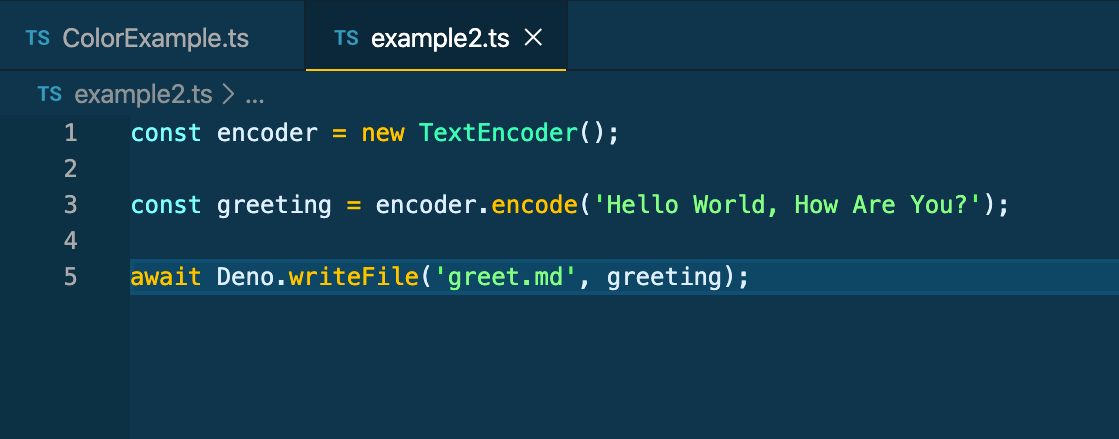
We run our code in our console by executing deno run example2.ts:

We‘re hit with a PermissionDenied error. This is the security measure put in place by Deno. To resolve this error we need to run it again with the--allow-write flag by giving permission to write a new file. Although this may seem tedious at first and take time to get used to, it’s a good security measure to prevent corrupted files from harming your device.
ES Modules
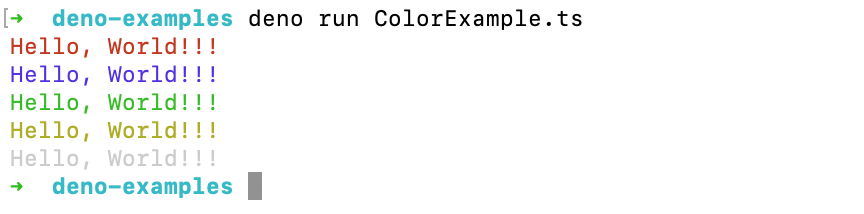
Back to how Deno handles modules. Let’s say we want to use a cool third-party module that will change the color of our console text. No need to run npm install anymore, just simply import { example } from 'https://deno.land/x/path-of-module-here.ts' run your code, Deno works it’s magic and that’s it, the module has been implemented!
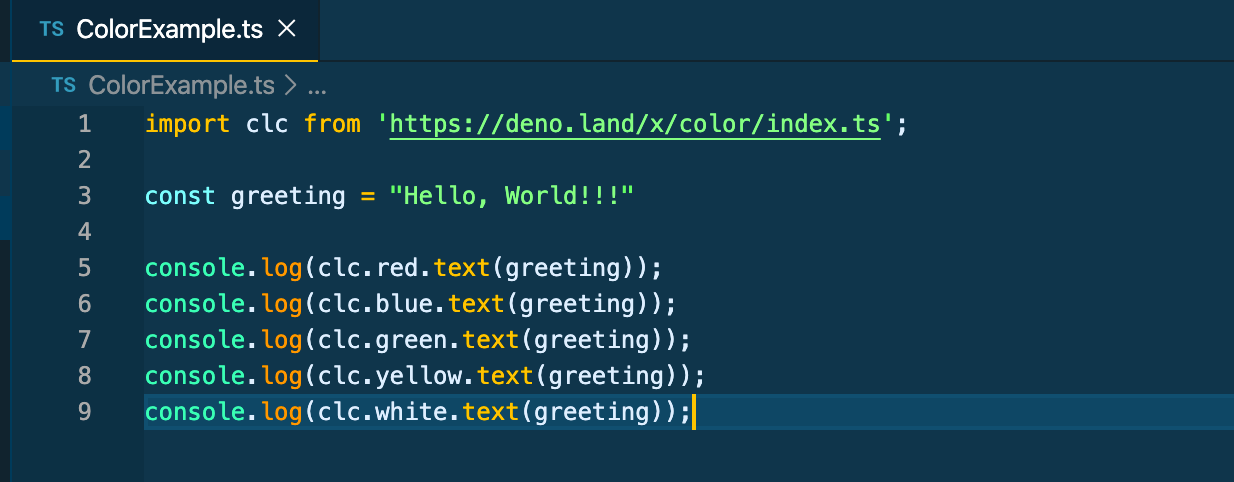
importing third-party module that can change the color of text in console
Top-Level Await
Because Deno runs off of the V8 engine we have access to top-level await. Typically, we use await within an async function:
async function foo() {
 const bar = await Promise.resolve(console.log('Success!'))
}
But with top-level await, we can make use of await within the global scope:
import { readJson } from 'https://deno.land/std/fs/mod.ts';

const foo = await readJson('./foo.json');
For more info on top-level await, check out the docs here.
Testing
Deno also comes with its own built-in test runner that can be used for testing JavaScript or TypeScript code. To set up a test you use the Deno.test syntax:
//example_test.ts

Deno.test("test example", () => {
  const x = 5 + 5;
  if (x !== 10) {
    throw Error("x should be equal to 10");
  }
});
Here we’re creating a test where if x is equal to anything other than 10, it gives an error stating that x should be equal to 10. To run this test we input deno test example_test.ts to the console.
Standard Library
On top of the third-party modules, Deno has some pretty nifty standard library modules. You can check them out here.
Let’s use one of them now to start a server! So in our list of standard libraries we want to tap into the HTTP library ([deno.land](https://deno.land/)`` /``[std](https://deno.land/std)`` /``[http](https://deno.land/std/http)) and import the server URL.
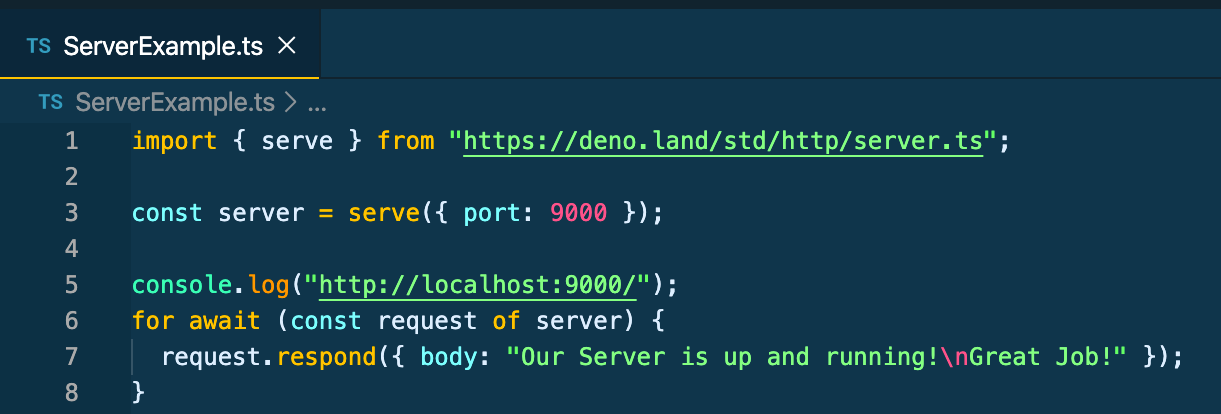
We assign our server to port 9000, console.log to confirm our server is running, then use for await syntax to get the request object and add a response. Let’s run our file in the terminal (don’t forget to add the permission) and see what we get.
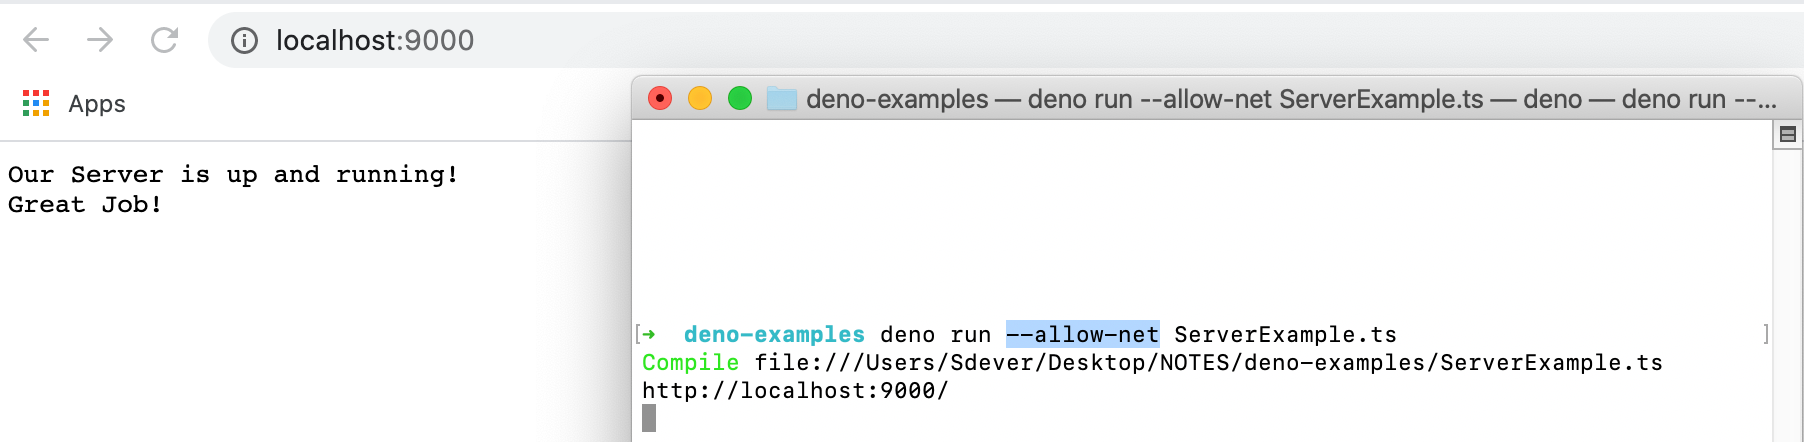
We run our code, check out our server by going to localhost:9000 and awesome it works!
#deno #node #javascript #developer
