It was really exciting to hear about Apple’s new framework called SwiftUI at WWDC 2019. This article is a quick guide to get started with SwiftUI.
At first, we’ll take a look at how views in SwiftUI are created, laid out, and presented. Then, we’ll examine how the state is being managed with SwiftUI. And finally, we’ll take a look at how SwiftUI and UIKit play together.

This world is so exciting!
Views in SwiftUI
With UIKit, we had different ways to build user interfaces. Many discussions were held about whether to build UIs programmatically or by using Interface Builder. With SwiftUI, those problems are gone. We finally have a declarative way to write UI in code — and to preview it side by side with the code.
Basic SwiftUI view
A SwiftUI view is just a usual .swift file with two structures.
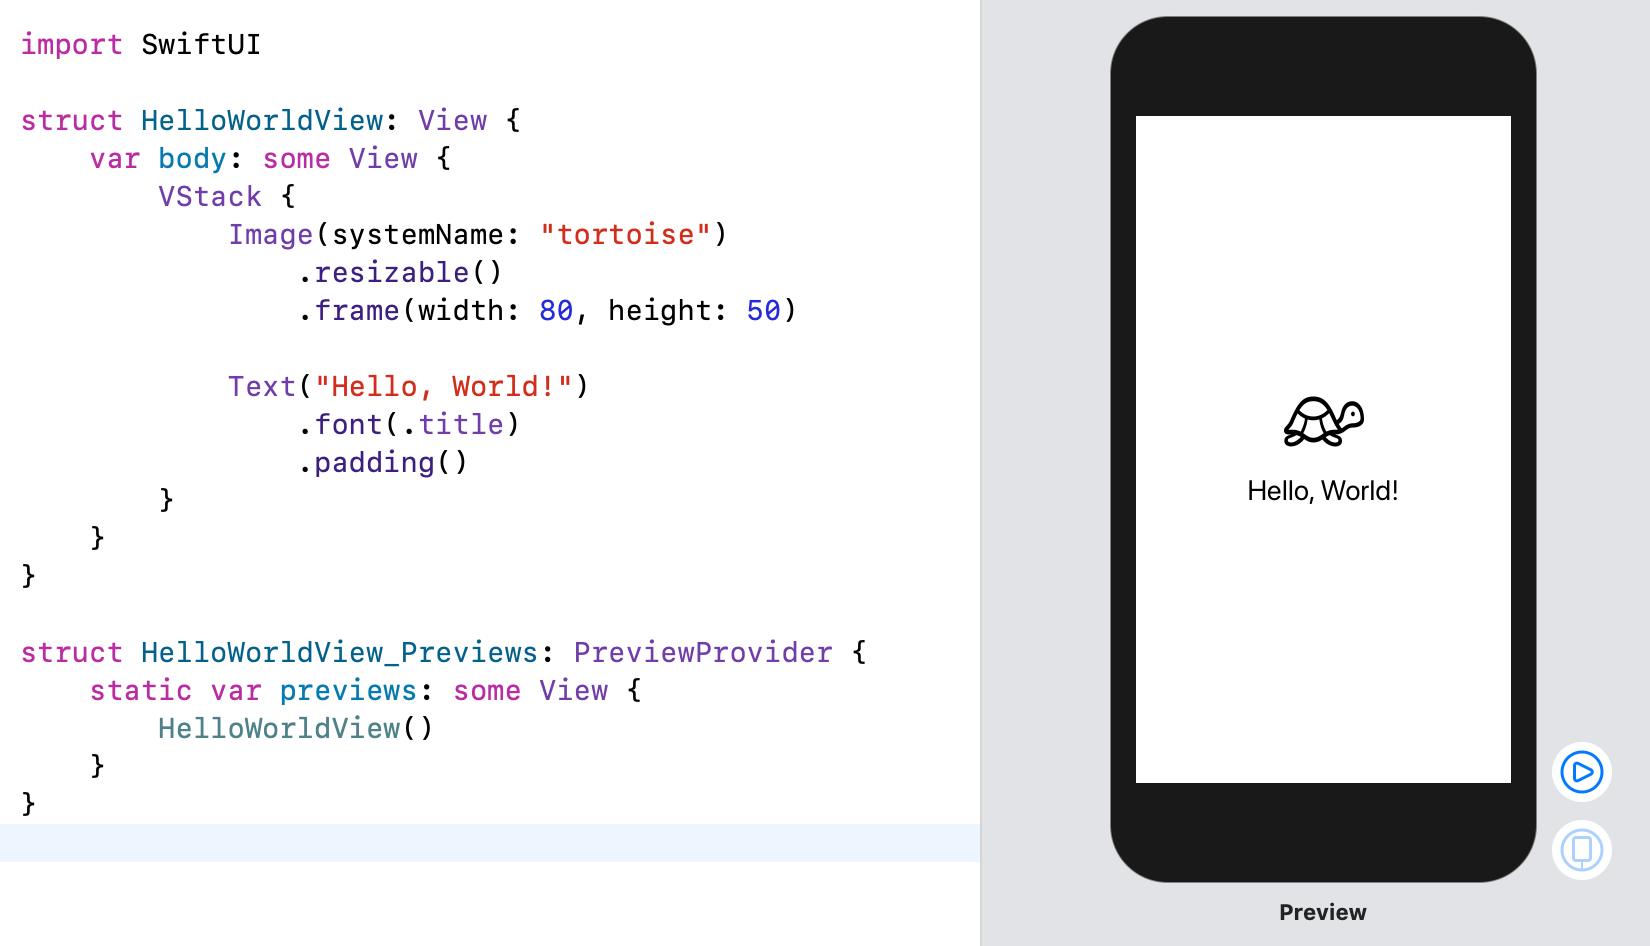
A basic SwiftUI view example
Aligning views
When implementing SwiftUI views, we don’t have to set up constraints like we do with UIKit views. Instead, SwiftUI figures out the intrinsic size of each view and positions it by default in the center of its parent view without resizing it.
The core concept for aligning views in SwiftUI is by using stacks, the VStack for vertical or the HStack for horizontal alignment.
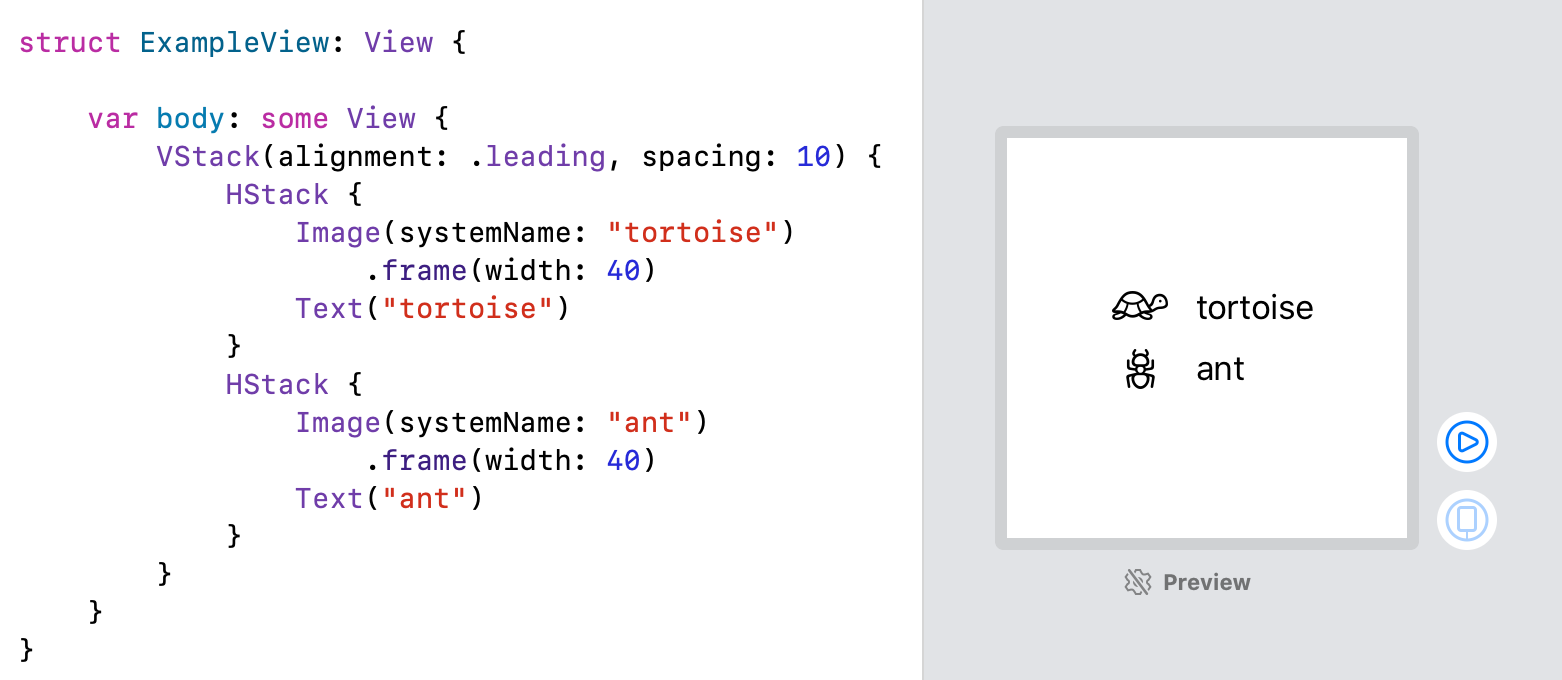
Using HStack and VStack to align views
As shown in the example, we can nest different stacks to achieve the desired result, the concept is really intuitive.
Additionally, there are different modifiers we can use on each view to align and position them. For example, the frame(width:height:alignment:) wraps the view into a container of the given size and aligns the view within this container.
#swiftui #swift #mobile #programming #ios