How to build Real-Time PWAs Using Vue CLI 3.0
PWA is an acronym of the progressive web application. This term was initially coined by Google to use it as a modern web feature to interact with the users, exclusively on mobile devices. PWA is designed to deliver an app-like experience to its users with advanced web capabilities. You can deploy your application as a PWA as well as native application to leverage the benefits of both the channels. PWA is supported on web technology as a service worker, push notifications, and app manifests. If you want to check out the complete list of PWA tips and technologies, see the PWA checklist from Google.
Progressive web application and Vue.js is a perfect combination
Just like ReactJS, Vue is a user interface framework that is used to build progressive web applications. Vue.js let you make use of advanced technology available in the industry, and this is the reason it has received tremendous exposure due to its scalability and simple learning curve. Vue.js has numerous favorable features, and amongst them, the component system is another significant concept that allows building large-scale applications.
Vue is specially designed from scratch to be incrementally adoptable. Though there are numbers of technologies available in the market to make a reliable, robust, and user-friendly application, however; Vue is extensively used across the web development needs. If you are already familiar with the MVC software design pattern, then Vue.js can be your landscape combining other tools. Vue.js is widely considered as a lightweight alternative to AngularJS. There are numbers of reasons, Vue.js is growing, and its popularity is increasing day by day, but some of the core reasons are its available tools and active support of the community.
How To Create PWA Using Vue
Start with the installation of Vue CLI. open the terminal window, and enter the given details.
npm, install -g @vue.cli
If you have a different preference, then you can use Yarn as a package manager.
yarn global add @vue/CLI
I am assuming that you already have Vue CLI version 3 or higher installed. If you don’t have an idea about the version you are using, enter the following command.
Vue --version
If your version is not updated to 3, run the above-given command and install the latest version to work with Vue.
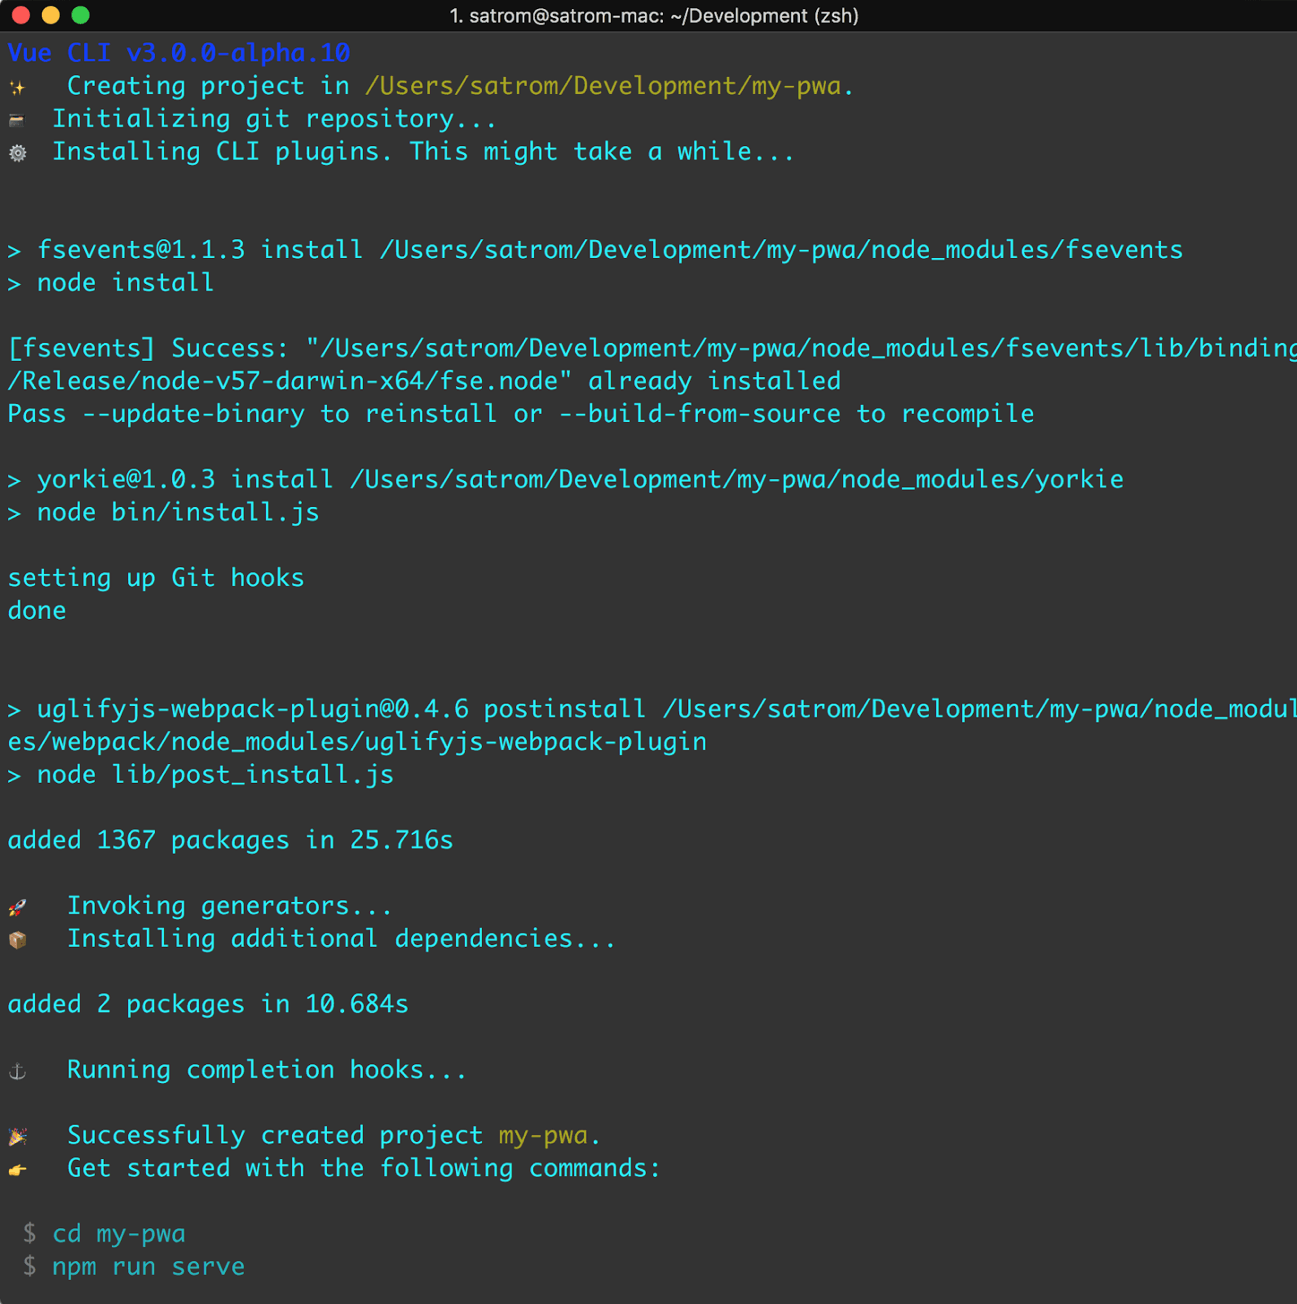
After you have installed the CLI, run the “vue create” command, and when prompted, select the “Manually select features” option. Next, you will see this screen:
Right after you install CLI, run the Vue create command, and manually select the features option. So, you will have this screen on your desktop:

Once you made your choice, press the enter to continue. If the wizard asks to use the history mode for the router? Your answer should be no. For other questions, accept the default options.
Vue file contains three different sections acknowledged by XML tags:
- < template > – HTML template to render the component
- < style > – CSS that is applied to that component
- < script lang=“ts” > – contains the component’s logic implemented in TypeScript code
Choose the PWA Support option, as well as other functions that are mandatory in your application.
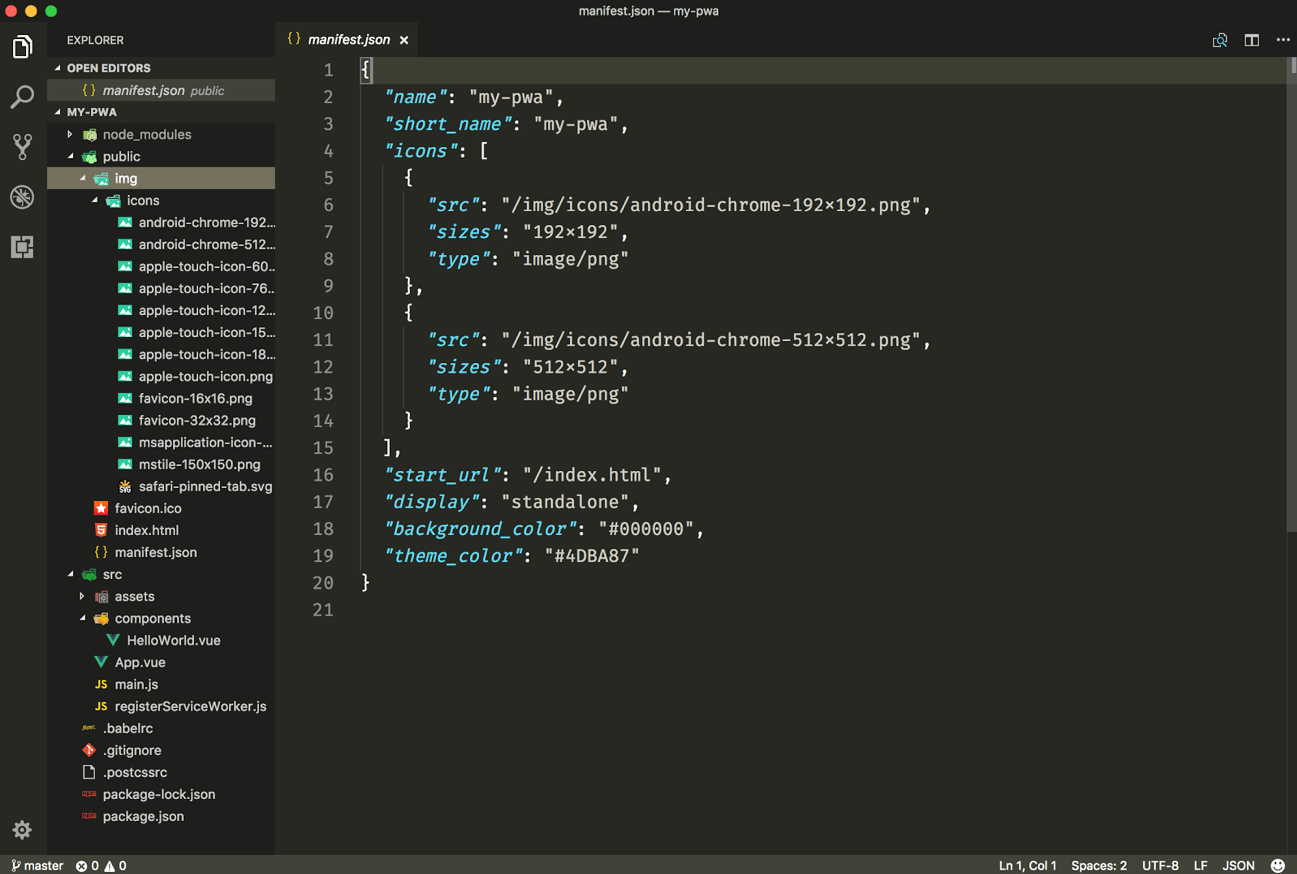
The next step is, open your application directory in your favorite text editor. If you browse the directory, you will come across a couple of items that are significant for building PWA including, service worker registration, manifest.json file, a favicon, and mobile-friendly images.
Add the PWA Support
PWA always depends on an active service worker, so build an app for production before testing the PWA functions such as notifications. Here is how the vue.config.js should look like now:
// vue.config.js
module.exports = {
  PWA: {
    workboxPluginMode: 'InjectManifest',
    workboxOptions: {
        swSrc: 'src/service-worker.js'
    },
    themeColor: '#1da025'
  },
}
Wrapping Up
The PWA support adds a manifest.json file to the public/ directory in your project. This manifest file needs to be updated with the required information of the application. The progressive web application makes your app available offline, so the PWA support also adds the registerServiceWorker.js file in the directory of your project. After a successful production, your app will have a service-worker.js file, and here all the offline magic happens.
Since 2018, PWAs have become mainstream, and with the refining support across all mobile browsers, it has become convenient and adaptable to build your next application. With the help of Vue, you can quickly get started with your next PWA in a few minutes. I have written this blog as a helpful guideline for beginners. In case, if you have any further questions, suggestions, or feedback, please discuss in the comment section below.
#vue-js #pwa #web-development #javascript