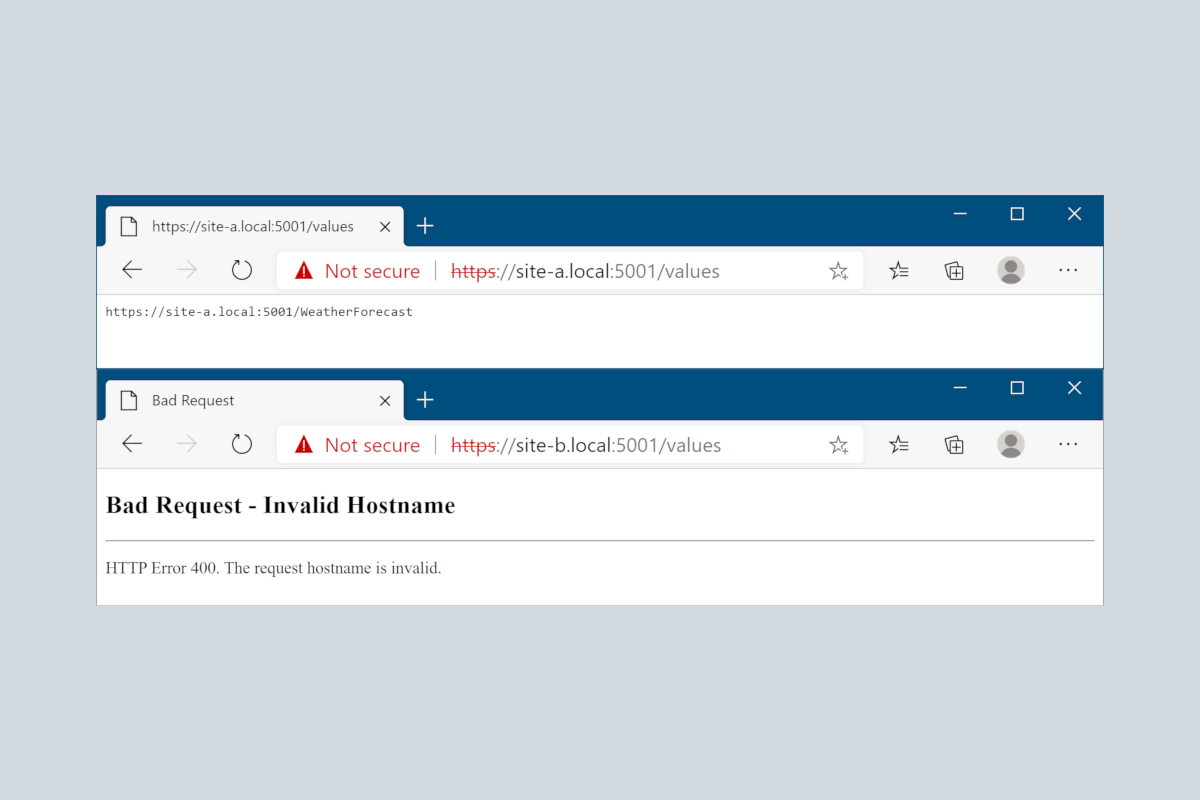
Host filtering, restricting the hostnames that your app responds to, is recommended whenever you’re running in production for security reasons. In this post, I describe how to add host filtering to an ASP.NET Core application.
What is host filtering?
When you run an ASP.NET Core application using Kestrel, you can choose the ports it binds to, as I described in a previous post. You have a few options:
- Bind to a port on the loopback (localhost) address
- Bind to a port on a specific IP address
- Bind to a port on any IP address on the machine.
Note that we didn’t mention a hostname (e.g. example.org) at any point here - and that’s because Kestrel doesn’t bind to a specific host name, it just listens on a given port.
Note that HTTP.sys can be used to bind to a specific hostname.
DNS is used to convert the hostname you type in your address bar to an IP address, and typically port 80, or (443 for HTTPS). You can simulate configuring DNS with a provider locally be editing the hosts file on your local machine, as I’ll show in the remainder of this section
On Linux, you can run sudo nano /etc/hosts to edit the hosts file. On Windows, open an administrative command prompt, and run notepad C:\Windows\System32\drivers\etc\hosts. At the bottom of the file, add entries for site-a.local and site-b.local that point to your local machine:
# Other existing configuration
# For example:
#
#      102.54.94.97     rhino.acme.com          # source server
#       38.25.63.10     x.acme.com              # x client host

127.0.0.1  site-a.local
127.0.0.1  site-b.local
Now create a simple ASP.NET Core app, for example using dotnet new webapi. By default, if you run dotnet run, your application will listen on ports 5000 (HTTP) and 5001 (HTTPS), on all IP addresses. If you navigate to https://localhost:5001/weatherforecast, you’ll see the results from the standard default WeatherForecastController.
Thanks to your additions to the hosts file, you can now also access the site at site-a.local and site-b.local, for example
#asp.net core #hosting #security
