How to Use Jekyll with Bootstrap 4
In theory, it’s just putting HTML, CSS, and JavaScript on a page. In practice, however, it quickly starts becoming complicated — there’s needless copying of code from the head across every page, manually compiling SCSS into CSS, sorting through thousands of lines of repeating code.
And then, if you or the client ends up needing a blog, you throw up your hands and just build a clunky WordPress site.
Jekyll is a static site framework that simplifies all of these steps and allows a developer to focus on the most important part of development — writing meaningful code.
Besides, it’s 2020, and if your New Year’s resolution was to stop using WordPress, it’s not too late to make it happen now.
Why Use Jekyll
Jekyll websites are, as the official documentation puts it :
You can build the basic structure of a site in under an hour and have the site deployed by the afternoon.
Jekyll sites are incredibly fast — at the end of the build process, the framework outputs a folder with a static site that can be added to any hosting provider, via shell access, FTP, or cPanel.
Most of all, Jekyll websites are simple to update and maintain. The framework is built to separate the design and data (like a modern JavaScript framework, but simpler). Therefore, changing a menu, updating a list, or adding a new post is effortless.
Getting Started
The first and only step before working with Jekyll is to download Ruby. You don’t need to learn or really know the language itself, but the framework is built using the Ruby language and Jekyll itself is a Ruby gem. While every Mac already comes with Ruby installed, I recommend getting the latest stable version via rbenv. Once set up, simply install the Jekyll and Bundler gems and you are ready to build your first site:
gem install bundler jekyll
Step 1. Create the Application
If you’ve ever worked with Ruby on Rails, Jekyll projects start out in a very similar way.
The bundle init command helps create a Ruby Gemfile to manage the different Jekyll dependencies. (Think of Ruby gems as Wordpress plugins or npm packages).
We’ll add a few gems at the end to help with things like SEO or generating a sitemap.
jekyll new PROJECT_NAME --blank
cd PROJECT_NAME

bundle init
The last step of the setup is adding the Jekyll gem to the Gemfile anywhere below the first line. Then, run the bundle command to add the gem to the site.
#Gemfile
gem "jekyll"

#terminal
bundle
Start the server and your site is live!
jekyll serve --livereload
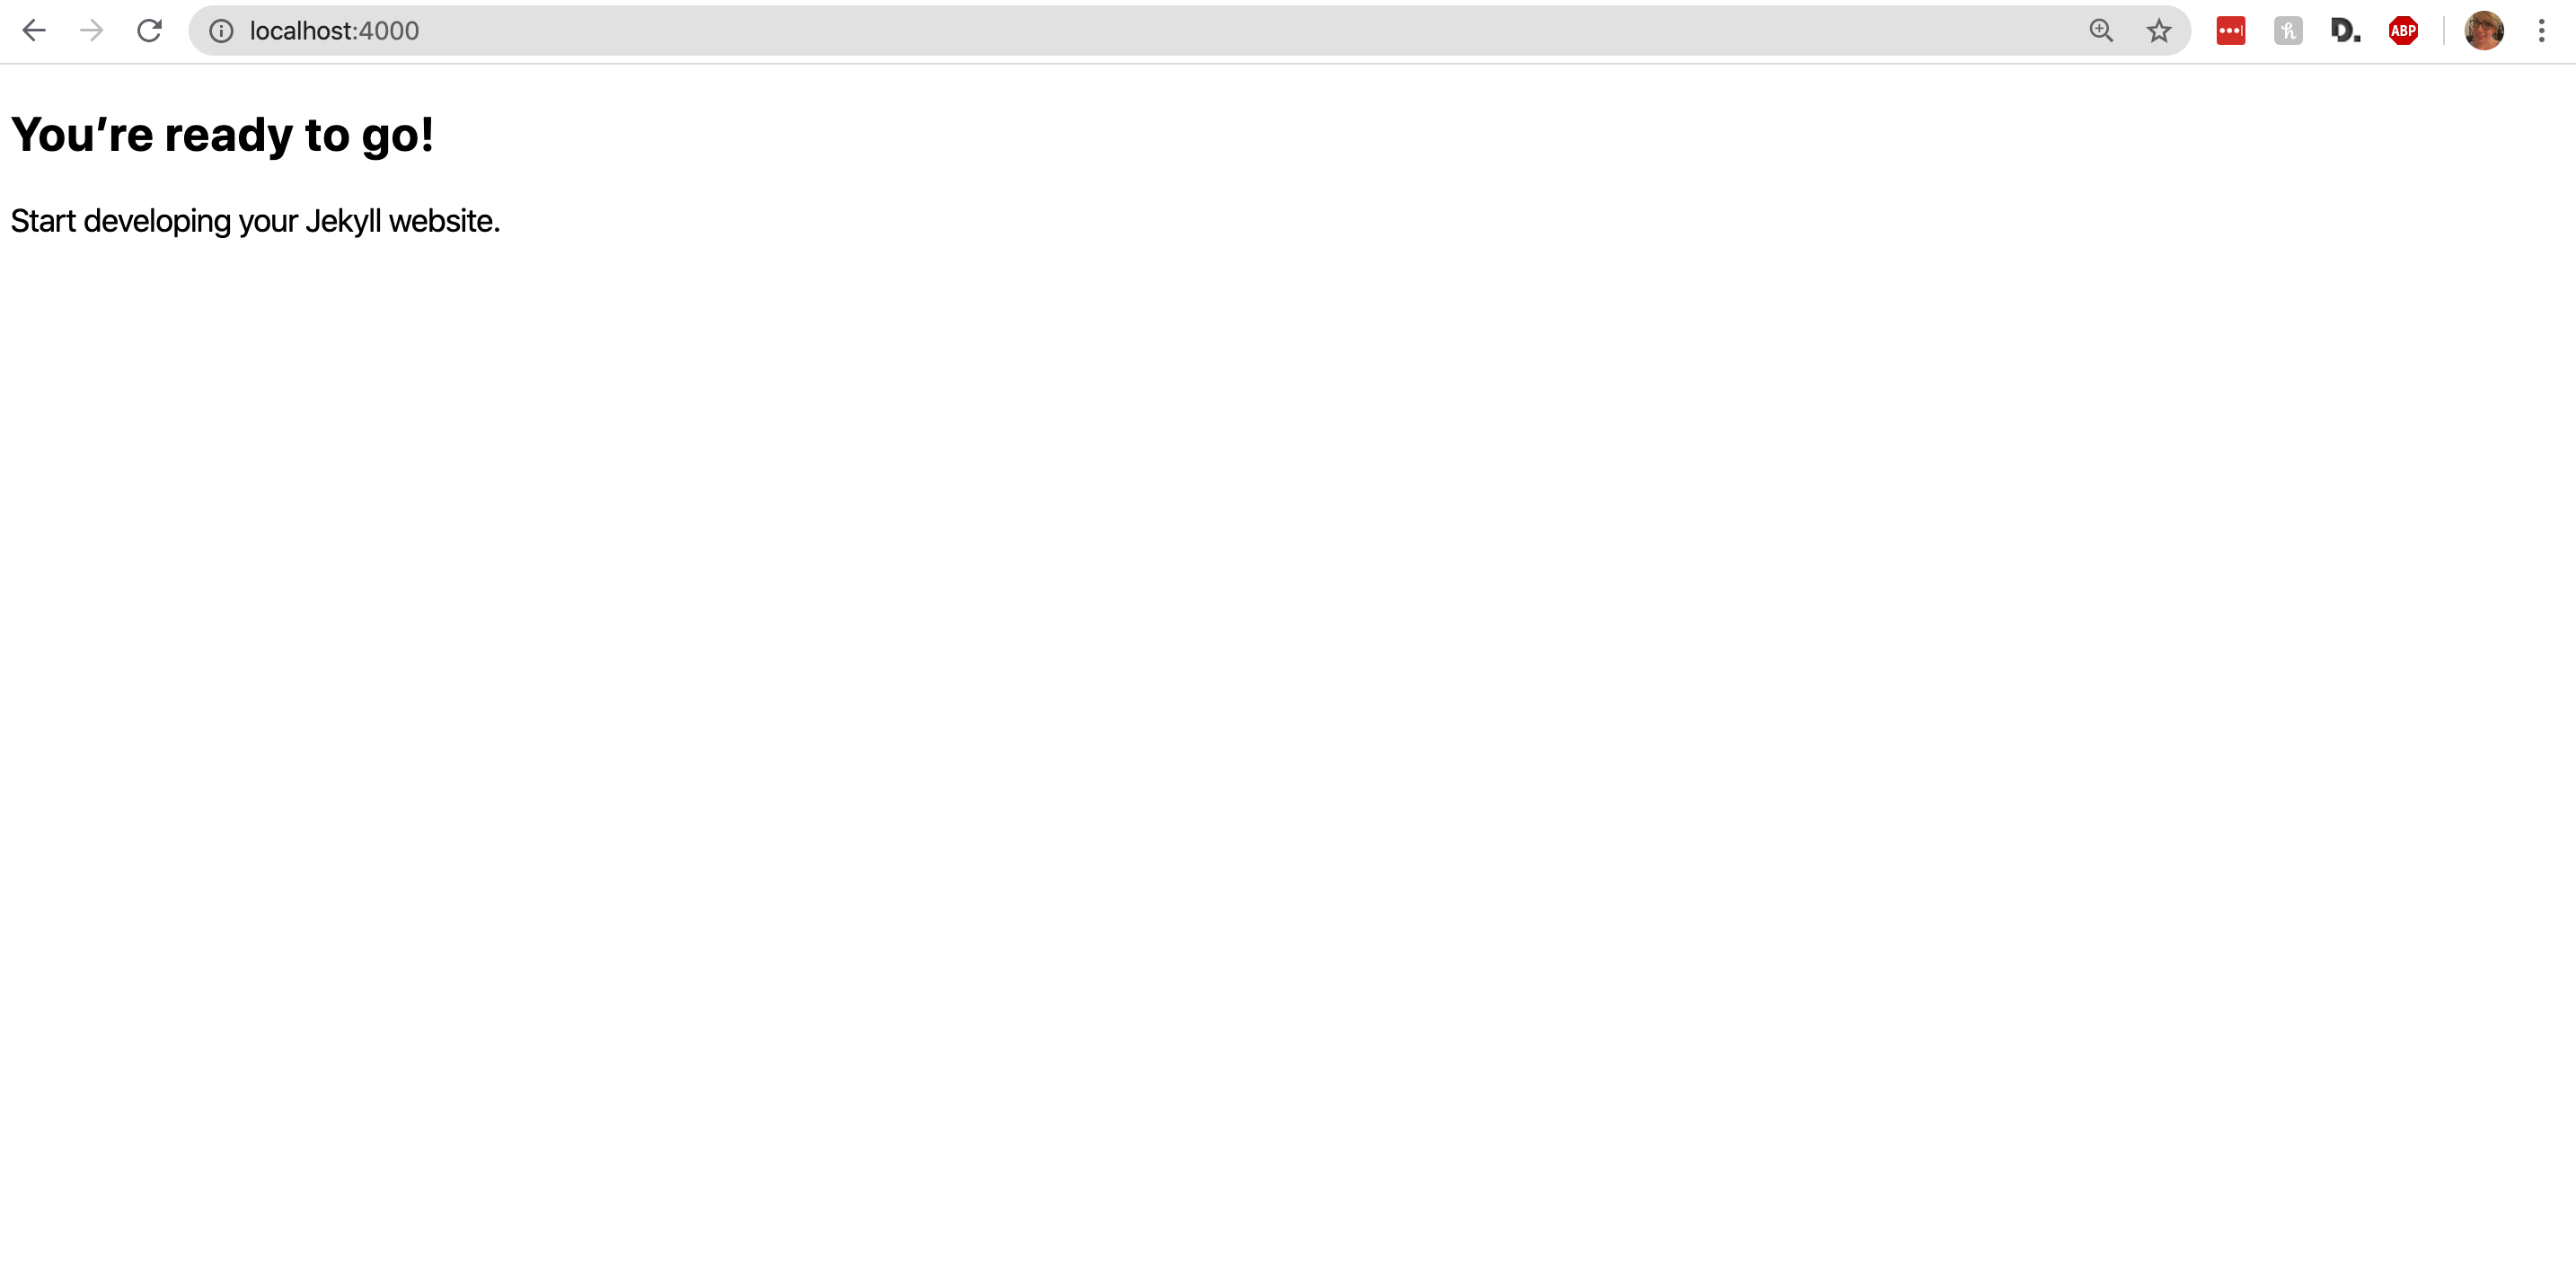
To check the site, go to localhost:4000 in your browser
Step 2. Build Your First Page
Let’s create the first page — index.html. Remove any Markdown pages in the root of the site and touch index.html to create the first page.
<!DOCTYPE html>
<html lang="en">
<head>
  <meta charset="UTF-8">
  <title>Jekyll Bootstrap Starter</title>
  <meta charset="utf-8">
  <meta name="viewport" content="width=device-width, initial-scale=1">
</head>
<body>
  <h1>Hello World</h1>
</body>
</html>
If I was building a static site, to create an about.html or a contact.html page, I’d repeat the steps, and add my HTML head code to every page. With Jekyll, this process is much more simple.
Step 3. Add a Layout With Jekyll
This is where the Jekyll magic comes in.
Typically, every HTML page has a head and the content in the head is mostly the same across all pages. This means that every page has oodles of repeating code and some different elements, such as the meta title and description.
Jekyll layouts are a built-in template that wraps around the content of the page. They live in the layouts directory and are, by default, included in the installation:
#_layouts/default.html
<!DOCTYPE html>
<html lang="{{ site.lang | default: "en-US" }}">
  <head>
    <meta name="viewport" content="width=device-width, initial-scale=1">
    <meta charset="utf-8">
    <title>{{ page.title }} - {{ site.title }}</title>
    <link rel="stylesheet" href="{{ "/assets/css/main.css" | relative_url }}">
  </head>
  <body>
    {{ content}}
  </body>
</html>
Inside the layout file is the head and the body of the site. There are also a few variables in the Jekyll templating language — Liquid.
The {{ content }} tag contains all of the code of the individual page, while the {{page.title}} and {{ site.title}} are variables that are set in the front matter of the site and the individual pages.
What is front matter?
Front matter is a configuration block that you can add in front of the HTML or Markdown code on your page to help set things like layouts or metadata. It’s three dashed lines between which you can add variables:
---
title: "About"
description: "Some awesome description"
---
To retrieve the variables on the page, access them as attributes of the page variable set by Liquid:
<h1>{{ page.title }}</h1>
<h2>{{ page.description }}</h2>
Add the layout to the page
Using layouts and front matter, now every HTML page can be simplified to look like this:
---
layout: default
title: Home
---
<h1>Hello World</h1>
You can add the layout to any page of the site. For example, make an “about” page in just two steps:
touch about.html
Then, add the content to the new page:
---
layout: default
title: About
---
<h1>About us</h1>
Step 4. Add a Navbar
The site now has two pages, let’s create a navbar to link between them.
Like the head, the navbar is an element that will repeat on every page. This code can be added directly to the layout, or following the principle of separation of concerns, Jekyll has an _includes folder for repeating elements.
What is _includes
The _includes folder contains snippets of code that can be reused throughout the site — think of it as partials in Rails, or components in React. Each snippet of code can be called individually on a page, or inside the layout.
Let’s build the navbar by creating the file:
touch _includes/navbar.html
Then, I’ll add a simple Bootstrap navbar to the generated file:
<nav class="navbar navbar-expand-lg navbar-light bg-light">
  <a class="navbar-brand" href="#">Logo</a>
  <button class="navbar-toggler" type="button" data-toggle="collapse" data-target="#navbarNavAltMarkup" aria-controls="navbarNavAltMarkup" aria-expanded="false" aria-label="Toggle navigation">
    <span class="navbar-toggler-icon"></span>
  </button>
  <div class="collapse navbar-collapse" id="navbarNavAltMarkup">
    <div class="navbar-nav">
      <a class="nav-item nav-link active" href="/">Home</a>
      <a class="nav-item nav-link" href="/about.html">About</a>
    </div>
  </div>
</nav>
To add the navbar file to any page, use another Liquid snippet, referencing the name: {% include navbar.html %}. Here, I’m adding the navbar directly into my layout file, above the content tag:
#_layouts/default.html
<!DOCTYPE html>
<html lang="{{ site.lang | default: "en-US" }}">
  <head>
    <meta name="viewport" content="width=device-width, initial-scale=1">
    <meta charset="utf-8">
    <title>{{ page.title }} - {{ site.title }}</title>
    <link rel="stylesheet" href="{{ "/assets/css/main.css" | relative_url }}">
  </head>
  <body>
    {% include navbar.html %}    <--- add the navbar here
    {{ content}}
  </body>
</html>
Step 5. Add Data
Jekyll is great because it is incredibly simple to maintain. Say we want to add a new page and have it included in the navigation bar. Currently, the only way to do that is to manually edit the file inside the _includes folder.
However, Jekyll provides a simpler way to do that, by loading data from a YAML, CSV, or JSON file. Let’s add the structure of the navbar to a _data/navbar.yml file:
touch _data/navbar.yml
#_data/navbar.yml
- name: Home
  link: /
- name: About
  link: /about
The name corresponds to the page link in the navbar and the link is the HREF attribute. Access the variable in Liquid through site.data.navigation and add it to the navbar using a for-loop:
{% for item in site.data.navbar %}
  <a href="{{ item.link }}"> {{ item.name }}</a>
{% endfor %}
Formatted inside the Bootstrap navbar, it might look something like this:
<nav class="navbar navbar-expand-lg navbar-light bg-light">
  <a class="navbar-brand" href="#">Logo</a>
  <button class="navbar-toggler" type="button" data-toggle="collapse" data-target="#navbarNavAltMarkup" aria-controls="navbarNavAltMarkup" aria-expanded="false" aria-label="Toggle navigation">
    <span class="navbar-toggler-icon"></span>
  </button>
  <div class="collapse navbar-collapse" id="navbarNavAltMarkup">
    <div class="navbar-nav">
      {% for item in site.data.navbar %}
      <a class="nav-item nav-link" href="{{item.link}}">{{ item.name }}</a>
      {% endfor %}
    </div>
  </div>
</nav>
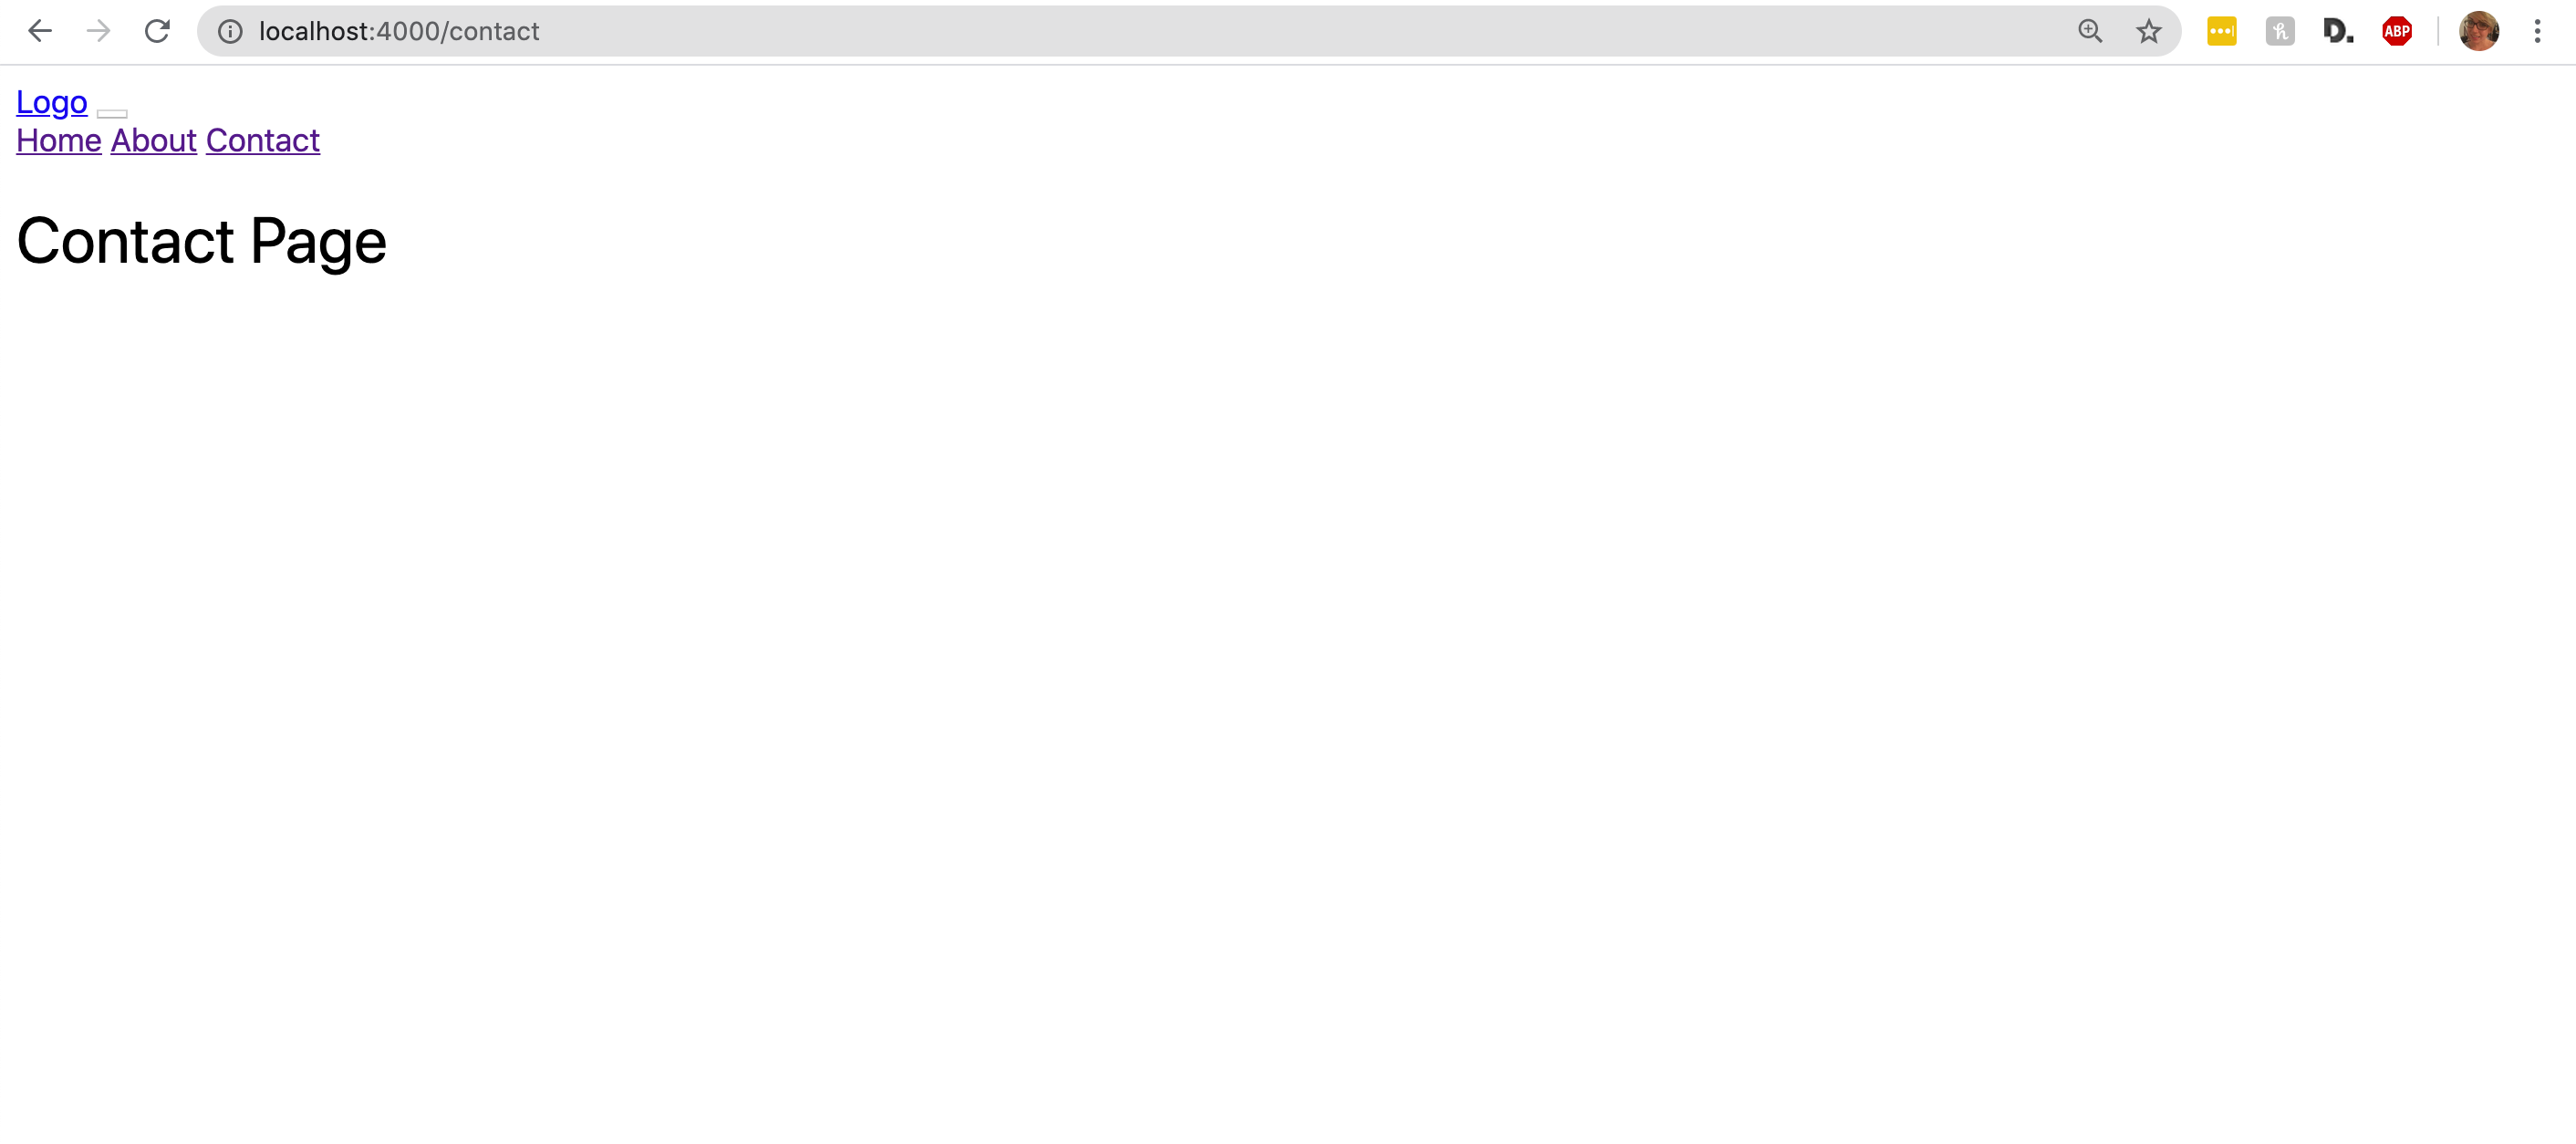
The navbar still needs to be formatted, but the site is finally coming together:
Step 6. Add Assets and Bootstrap
Finally, the site is ready to import assets. Typically, the CSS, JS, and images reside in the assets folder. Add them to the layout to compile the assets into the site automatically.
However, there are a few more steps to get the latest version of Bootstrap compatible with the site.
Download Bootstrap 4 from source
Visit the Bootstrap website and download the uncompiled source files. Create a folder called bootstrap in the assets directory and move the contents of the scss folder into the downloaded file:
#shell
mkdir assets/css/bootstrap

mv ~/path/to/bootstrap/scss/* ~/path/to/project/assets/css/bootstrap
Import Bootstrap into the project
Next, import the Bootstrap file into the main CSS file. The empty front matter at the beginning of the file allows Jekyll to precompile the SCSS into CSS automatically.
#assets/css/main.scss
---
---

@import "main";
@import 'bootstrap/bootstrap';
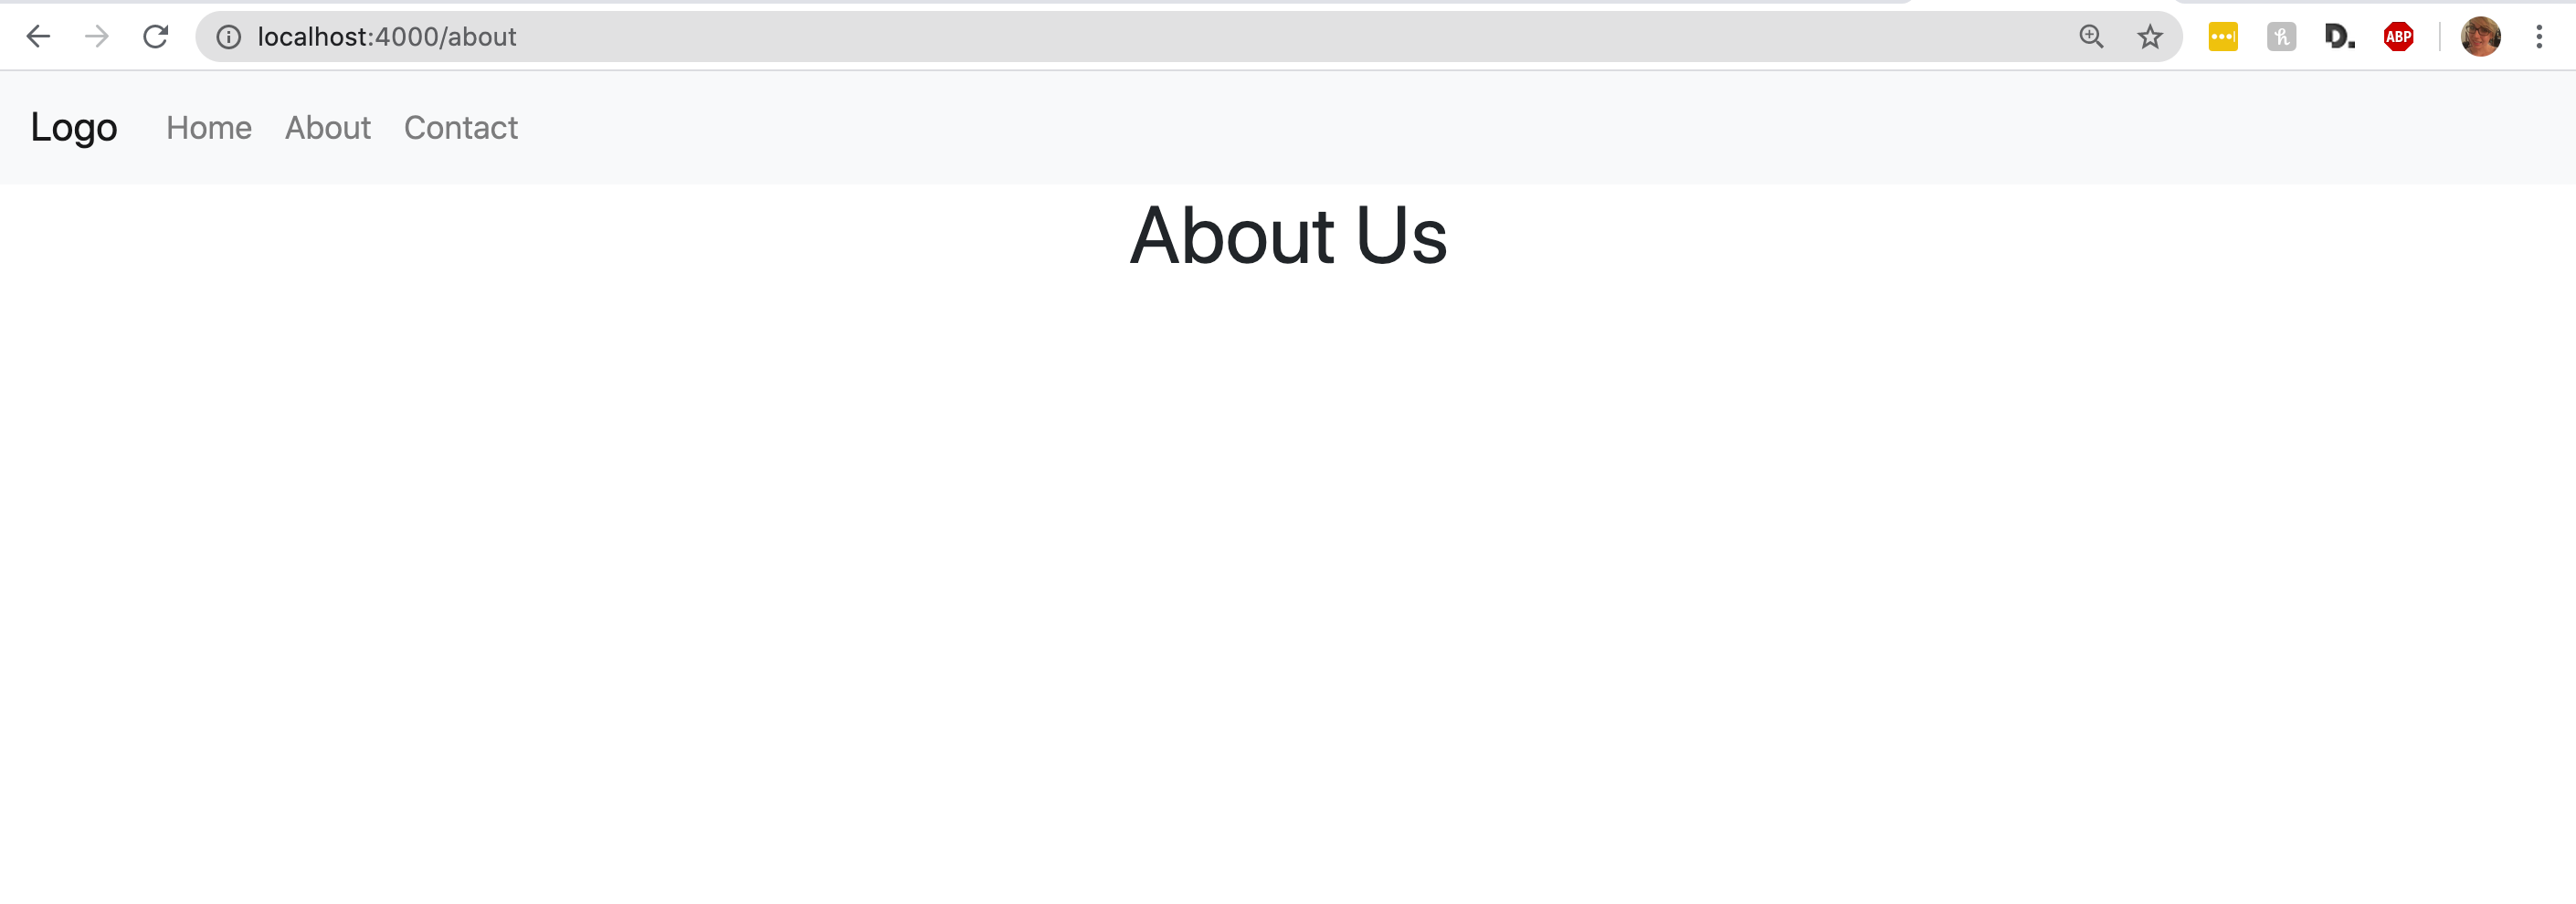
Finally, tell the application to compile the CSS from the assets folder. Add the following line to the _config.yml file. Make sure to restart the server to incorporate the changes.
_config.yml
sass:

  sass_dir: assets/css
Add JavaScript
For better performance, JavaScript should always be loaded before the end of the body tag.
Because the code needs to be reused on every page, the best way to add it in Jekyll is to create a file in the _includes folder and import it directly into the layout:
#shell
touch _includes/footer.html
#_includes/footer.html
<script defer src="https://use.fontawesome.com/releases/v5.0.8/js/all.js" integrity="sha384-SlE991lGASHoBfWbelyBPLsUlwY1GwNDJo3jSJO04KZ33K2bwfV9YBauFfnzvynJ" crossorigin="anonymous"></script>
<script src="https://code.jquery.com/jquery-3.2.1.slim.min.js" integrity="sha384-KJ3o2DKtIkvYIK3UENzmM7KCkRr/rE9/Qpg6aAZGJwFDMVNA/GpGFF93hXpG5KkN" crossorigin="anonymous"></script>
<script src="https://cdnjs.cloudflare.com/ajax/libs/popper.js/1.12.9/umd/popper.min.js" integrity="sha384-ApNbgh9B+Y1QKtv3Rn7W3mgPxhU9K/ScQsAP7hUibX39j7fakFPskvXusvfa0b4Q" crossorigin="anonymous"></script>
<script src="https://maxcdn.bootstrapcdn.com/bootstrap/4.0.0/js/bootstrap.min.js" integrity="sha384-JZR6Spejh4U02d8jOt6vLEHfe/JQGiRRSQQxSfFWpi1MquVdAyjUar5+76PVCmYl" crossorigin="anonymous"></script>
#_layouts/default.html
<body>
 {% include navbar.html %}
  {{ content }}
{% include footer.html %}  <-- add this line before the closing tag
</body>
Step 7. The Final Steps: Add SEO and Metadata
After successfully adding the assets, the site is almost ready. I don’t focus on the blogging aspect of Jekyll in this article, but let me know if you want one based on that in the future!
I briefly touched on the _config.yml file in the last step. This file contains all of the site-wide configuration, as well as the metadata.
First, add the Ruby gems to create a sitemap and the SEO tags to the Gemfile:
#Gemfile
group :jekyll_plugins do
  gem 'jekyll-sitemap'
  gem 'jekyll-seo-tag'
  gem 'jekyll-autoprefixer'
end
#shell
bundle install
Incorporate them into the configuration by enabling the plugins, then restarting the Jekyll server.
#_config.yml
plugins:
  - jekyll-autoprefixer
  - jekyll-seo-tag
  - jekyll-sitemap
#_layouts/default.html
{% seo %}  <- add before the </head> tag
Finally, set up the SEO in the configuration file. The plugin will automatically include any defined values and ignore blank ones:
#_config.yml
title: "Jekyll Bootstrap Starter" # the name of your site, e.g. ACME Corp.
tagline: "An awesome tagline"
email: your.email@gmail.com
description: >- # this means to ignore newlines until "baseurl:"
 Add description here
author: name
url: "" # the base hostname & protocol for your site, e.g. http://example.com
baseurl: "" # the subpath of your site, e.g. /blog
google_analytics: UA-111111111-1
twitter:
  username:
  card: summary #keep this to generate a twitter share card
For advanced usage, please refer to the GitHub documentation.
Step 8. Deploy the Site and Push It Live!
There are primarily two ways to deploy a Jekyll site. The first is to simply copy the files to a cPanel or FTP server. The second is to use a hosting provider like Netlify for continuous integration. I’ll demo both methods.
Add the site via cPanel/FTP
Once the site is ready to deploy, run the build command to generate the site. Then, copy the contents of the _site folder to the public_html folder of your hosting provider:
#shell
jekyll build
Use continuous integration with Netlify
The best way to publish a Jekyll site is to set up CI with a hosting provider like Netlify. Netlify is a static site generator, which nerds like Wes Bos and myself love.
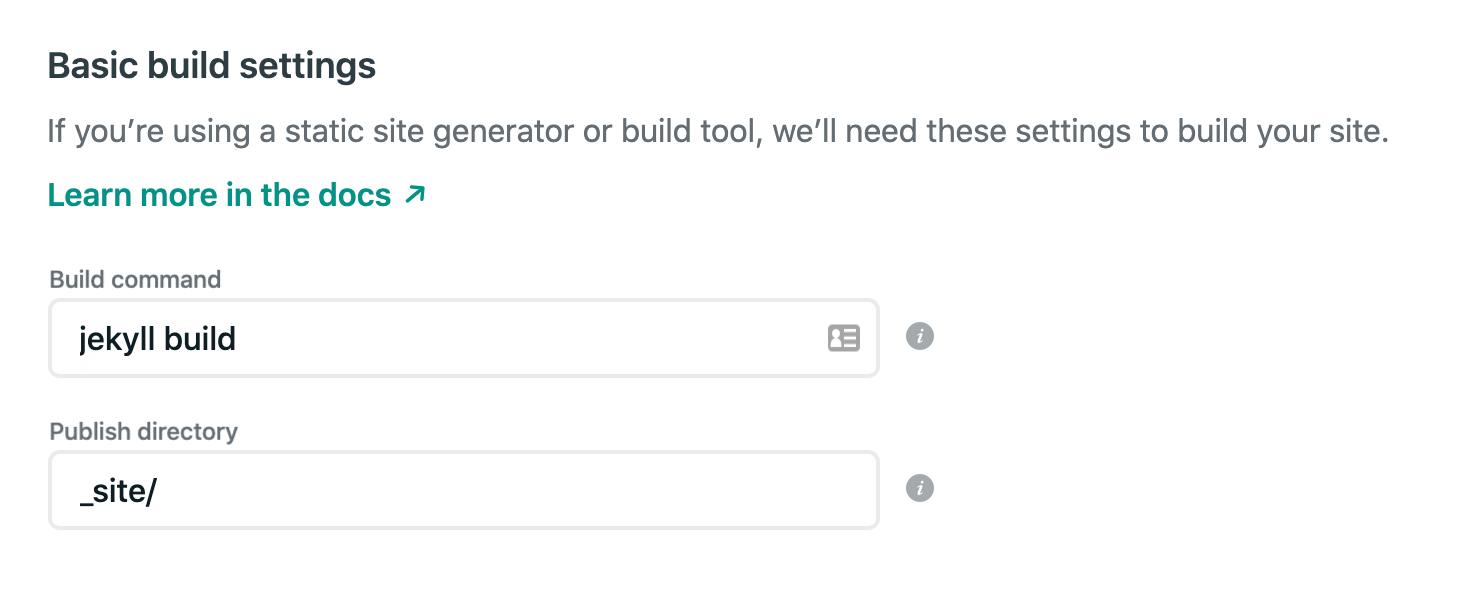
Choose the “New Site from Git” option and add the jekyll build command. Then, each time your site is pushed to GitHub, it will run a fresh version of the build on Netlify and publish a new version.
And you’re live!
- Here’s the demo of the site.
- Here’s the source code.
Thank you for reading and let me know if you’d like more articles on Jekyll!
#javascript #bootstrap4 #Ruby on Rails #programming
