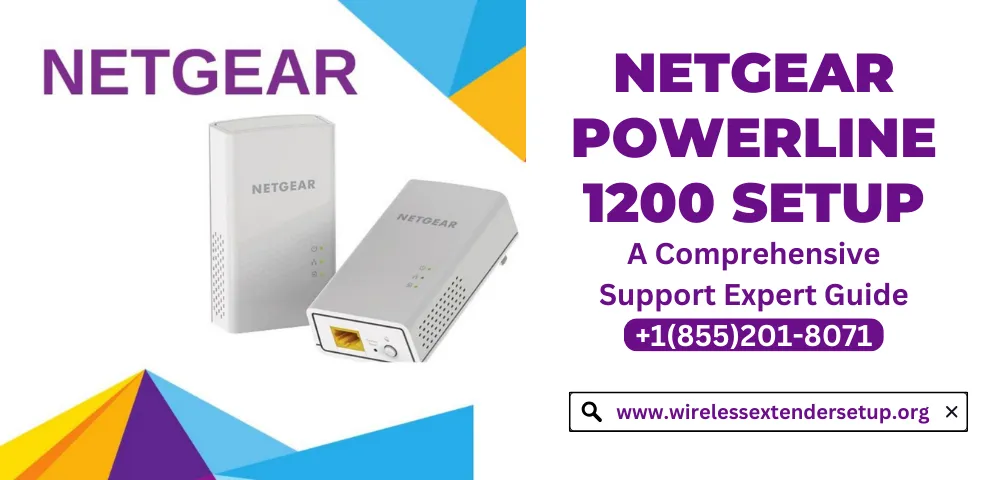
Quick Guide 2023 on Netgear Powerline 1200 Setup
Experience a new level of home network expansion with the Netgear Powerline 1200 setup. Say farewell to WiFi dead zones and unreliable connections. With the Powerline 1200, you can effortlessly extend your network's reach using your home's electrical wiring. Our simple setup process allows you to connect your Powerline adapters through three easy methods: standard Ethernet connectivity for wired reliability, WiFi Powerline for seamless wireless coverage extension, and the Powerline Utility software for advanced configuration and management.
Method 1:Netgear Powerline 1200 setup using Standard Process
Plug and Play:
Start by plugging one of the Powerline adapters into an electrical outlet near your router and connecting it to your router using an Ethernet cable. This adapter will act as the "sender."
Placement:
Plug the second Powerline adapter into an outlet near the area where you need improved connectivity. This adapter will act as the "receiver."
Pair the Adapters:
Most Netgear Powerline adapters come pre-paired, but if not, follow the instructions to pair them. This typically involves pressing the "Pair" or "Sync" buttons on both adapters until the LED lights indicate a successful connection.
Connect Your Devices:
Use Ethernet cables to connect your devices (computers, gaming consoles, smart TVs, etc.) to the Powerline adapter in the receiving area. These devices will now have a strong and reliable wired connection.
Method 2: Netgear Powerline 1200 setup using WiFi
Utilizing the Passthrough Adapter:
Choose a Powerline adapter with a built-in WiFi access point (such as the Netgear PowerLINE WiFi 1000). Plug this adapter into an outlet near your router.
Connect to the WiFi Network:
Use your computer or mobile device to connect to the WiFi network broadcasted by the Powerline adapter. You'll find the network name (SSID) and password in the adapter's manual or on a sticker on the adapter itself.
Extend WiFi Coverage:
Plug additional Powerline adapters into outlets throughout your home to extend your WiFi network's coverage. These adapters will connect to the main adapter via the electrical wiring and boost your WiFi signal.
Method 3: Secure and Manage via the Powerline Utility Software
Download and Install Software:
Visit the Netgear website and download the Powerline Utility software compatible with your adapter model. Install it on your computer.
Connect the Adapter:
Plug the Powerline adapter into an outlet near your router and connect it to the router via Ethernet cable.
Launch the Software:
Open the Powerline Utility software on your computer. It will detect the Powerline adapter connected to your router.
Configure and Monitor:
Use the software to configure settings, monitor network performance, and ensure a secure connection. You can change the network name, password, and view the status of connected devices.
By following these three methods, you can set up your Netgear Powerline 1200 adapter to optimize your home network effortlessly. Whether you prefer a wired connection, extended WiFi coverage, or wish to manage your network settings, the Powerline 1200 offers a versatile solution to meet your connectivity needs.
For expert guidance and assistance with your Netgear Powerline 1200 setup, don't hesitate to call our dedicated support team today. We're here to ensure your home network expansion is seamless and hassle-free.
https://www.wirelessextendersetup.org/netgear-powerline-1200-setup/
