How to Create Rest API with JSON-server in Angular
JSON Server is an npm package that allows you to create REST JSON web service, backed by a simple database. It is created for front end developers and helps to perform all CRUD operations without a proper backend prototype or structure. A valid json file will suffice.
Steps to follow.
Now we’ll start by creating a new project for mock web service.
Step 1
Create an Angular project setup using the below command or however you want to create it.
ng new projectname
Example,
ng new angularJson
**Step 2 ** Installing JSON Server
Since JSON Server is available as an NPM package, we can perform the installation by using the Node.js package manager.
Run the below command in the terminal.
npm install Json-server
Step 3 Create a sample json file with data
JSON Server will take a JSON file from your main project folder and turn it into a RESTful database with all the right routes. It can even do things like search queries.
I have created a json file db.json inside my newly created project with the following sample data.
"posts": [{
    "id": 1,
    "title": "AngularJS (1.0.0)",
    "releaseDate": "June 14th, 2012"
}, {
    "id": 2,
    "title": "Angular 2",
    "releaseDate": "September 14, 2016"
}, {
    "id": 3,
    "title": "Angular 4",
    "releaseDate": "March 23, 2017"
}, {
    "id": 4,
    "title": "Angular 5",
    "releaseDate": "November 1, 2017"
}, {
    "id": 5,
    "title": "Angular 6",
    "releaseDate": "May 4th, 2018"
}, {
    "id": 6,
    "title": "Angular 7",
    "releaseDate": "October 18, 2018"
}, {
    "id": 6,
    "title": "Angular 8",
    "releaseDate": "May 28, 2019"
}]
}
NOTE
Don’t create mock data files under /src/assets/ or /src/app/ folder.
Angular used to watch all the files residing in the above path. Placing json file outside the folder would prevent Angular from keeping a consideration on data files. It is a known behavior of Angular to reload the application if it finds a change in the files that are being watched. On trying any CRUD operation on JSON file, in our case it is db.json, the file tends to change, which in turn makes the Angular application compile and reload.
Note down the location of db.json in the above screenshot.
Step 4: Running the server
It can be done in two ways.
Direct Command execution
Start JSON server by executing the following command
json-server –watch db.json
Adding json file manually in package.json
In package.json, add the below code to run json-server with short code.
“json:server”: “json-server --watch db.json”,
Refer line#8
Now, run the server
npm run json:server
Step 5
Your JSON Server will be running on port 3000. The below data will be shown in the terminal
Resources
Home
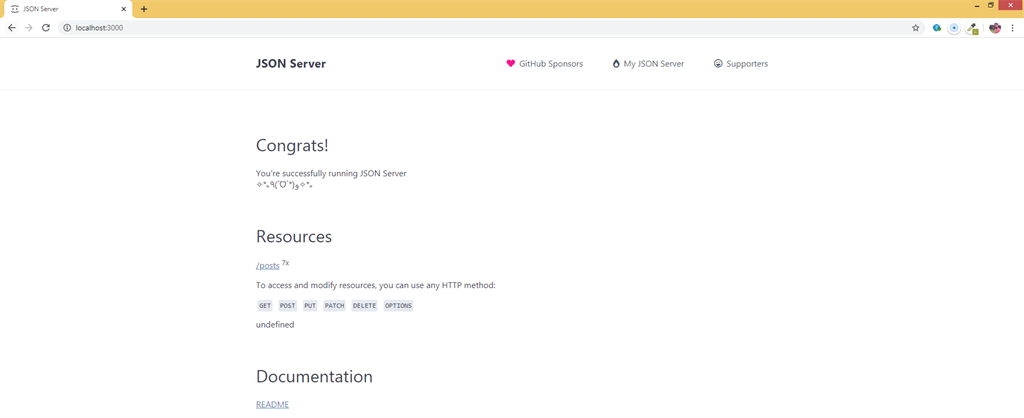
Now hit the URL http://localhost:3000_/posts_ in the browser and you will get the following result.
Now you can click on the posts link in the page, which will show the JSON data given in db.json file now that we have our server and API running.
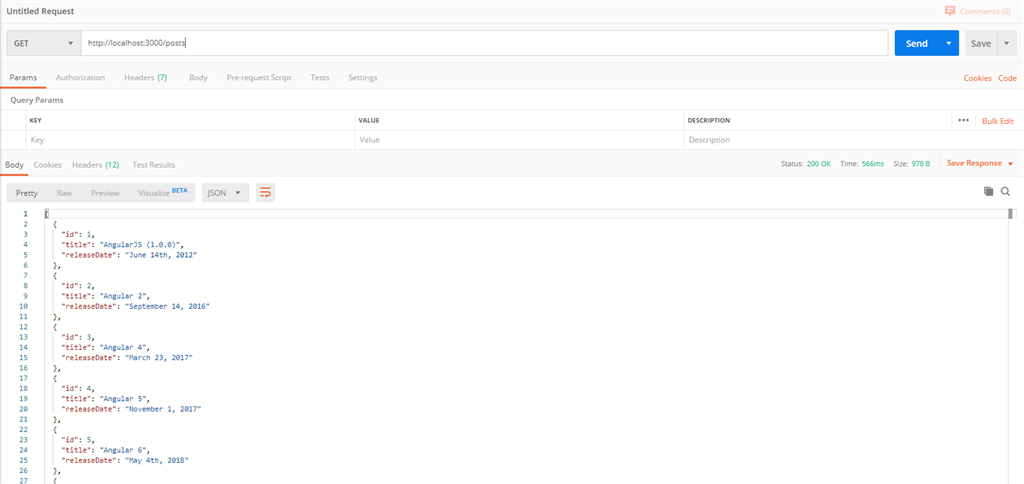
Test it with a tool like POSTMAN. Initiate a HTTP GET request to _http://localhost:3000/_posts shows the following result,
Conclusion
Now, we’ve learned to create a mock REST API using json-server. It included the routing of api calls from Angular application to json-server and the process involves execution of both the servers together concurrently.
CRUD operations are possible by default on any api using json-server and the data can be accessed using different RESTful routes based on the operation.
#angular #api #crud #json


