Angular Unit Testing @ViewChild
Unit testing the parent component is trivial, if you just want to include the child component in the test. However, it gets tricky when we want to mock the child component with a stub.
In this article we will discuss:
- A simple introduction to using
@ViewChild - Unit testing your parent component without mocking the child
- Unit testing your parent component with a stub child component
To get the most out of this article, you should have at least an introductory understanding of Angular Unit Testing.
Introducing @ViewChild
If you are already familiar with @ViewChild and how it is used, feel free to skip this section.
Simply put, @ViewChild lets us make calls to the functions on a child component. Instead of only using the component’s @Inputs(), we can treat the component more like an API and access its public interface.
Example child component
Take a look at this simple component:
import { Component, OnInit } from '@angular/core';

@Component({
  selector: 'app-child',
  template: `Timestamp: {{timeStamp}}`
})
export class ChildComponent implements OnInit {
  public timeStamp: Date;

  ngOnInit() {
    this.updateTimeStamp();
  }

  updateTimeStamp() {
    this.timeStamp = new Date();
  }
}
child.component.ts
Notice that ChildComponent just displays the current timestamp when it loads. It also has a public function updateTimeStamp()that causes the timestamp to refresh.
Example parent component
Now let’s assume we have a parent component that wants to display ChildComponent and also wants to be able to tell it to update the displayed timestamp. We can do something like this:
import { Component, ViewChild } from '@angular/core';
import { ChildComponent } from '../child/child.component';

@Component({
  selector: 'app-parent',
  template: `
    <button type="button" (click)="update()">Update</button>
    <br>
    <app-child></app-child>`
})
export class ParentComponent {
  @ViewChild(ChildComponent) childComponent: ChildComponent;

  update() {
    this.childComponent.updateTimeStamp();
  }
}
parent.component.ts
As you can see, ParentComponent shows a button with text: Update. Clicking this button calls the update() function in ParentComponent which in turn calls the updateTimeStamp() function on ChildComponent.
The line that gives ParentComponent access to the instance of ChildComponent is:
@ViewChild(ChildComponent) childComponent: ChildComponent;
Here is a working example on StackBlitz:
Testing @ViewChild with a Component
Now we want to write a simple unit test for ParentComponent. To keep things simple, we won’t worry about testing button’s click event handler. We will just test that the update() function in ParentComponent calls the updateTimeStamp() function in the ChildComponent.
Our .spec file looks like this:
import { async, ComponentFixture, TestBed } from '@angular/core/testing';
import { ParentComponent } from './parent.component';
import { ChildComponent } from '../child/child.component';

describe('ParentComponent', () => {
  let component: ParentComponent;
  let fixture: ComponentFixture<ParentComponent>;

  beforeEach(async(() => {
    TestBed.configureTestingModule({
      declarations: [
        ParentComponent,
        ChildComponent
      ]
    })
    .compileComponents();
  }));

  beforeEach(() => {
    fixture = TestBed.createComponent(ParentComponent);
    component = fixture.componentInstance;
    fixture.detectChanges();
  });

  it('should create', () => {
    expect(component).toBeTruthy();
  });

  it('should call updateTimeStamp', () => {
    spyOn(component.childComponent, 'updateTimeStamp');
    component.update();
    expect(component.childComponent.updateTimeStamp).toHaveBeenCalled();
  });
});
parent.component.spec.ts
Notice that our ParentComponent unit tests reference ChildComponent in the declarations on line 13.
In lines 30–32 we are just testing that the update() function calls the updateTimeStamp() function in ChildComponent.
We can run our unit tests using:
$ npm run test
And we see that all of our unit tests pass:
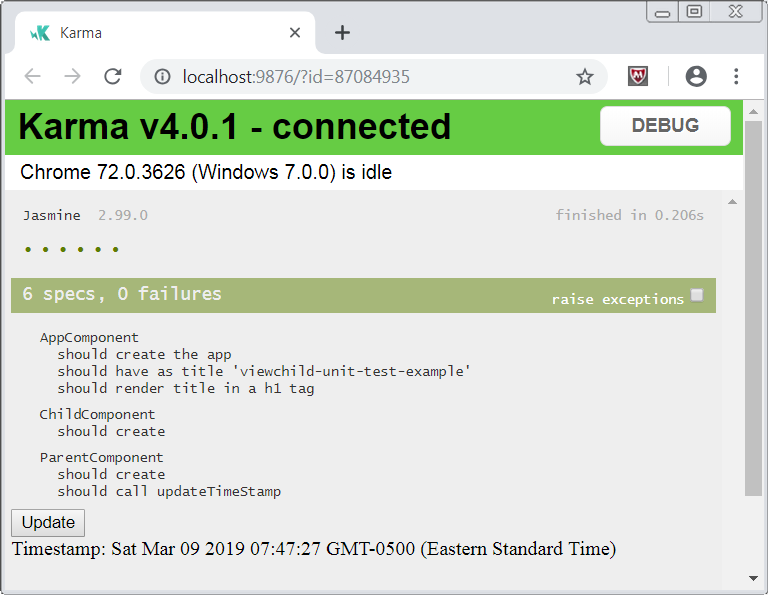
So far so good.
Testing @ViewChild with a Stub Component
Testing our ParentComponent by just including ChildComponent in the declarations isn’t optimal. This is because problems in ChildComponent will cause problems in our ParentComponent tests. For unit testing we would really prefer to isolate our component from its children.
Typically, we mock out our component’s dependencies by creating stubs for the child components. Here is an example of mocking ChildComponent with a simple stub:
import { Component } from '@angular/core';

@Component({
  selector: 'app-child',
  template: ''
})
export class ChildStubComponent {
  updateTimeStamp() {}
}
Hopefully, you have used stub components like this before. But, for clarity I will quickly explain how it works. Notice that the stub is just a minimal implementation of the real thing:
- A simple introduction to using
@ViewChild - Unit testing your parent component without mocking the child
- Unit testing your parent component with a stub child component
Testing with the stub
Now let’s try to use this stub component in our unit test for ParentComponent. In our declarations we can just replace ChildComponent with ChildStubComponent. For example, the asynchronous beforeEach() function in ParentComponentshould now look like this:
beforeEach(async(() => {
  TestBed.configureTestingModule({
    declarations: [
      ParentComponent,
      ChildStubComponent
    ]
  })
  .compileComponents();
}));
And now when we run our unit tests with:
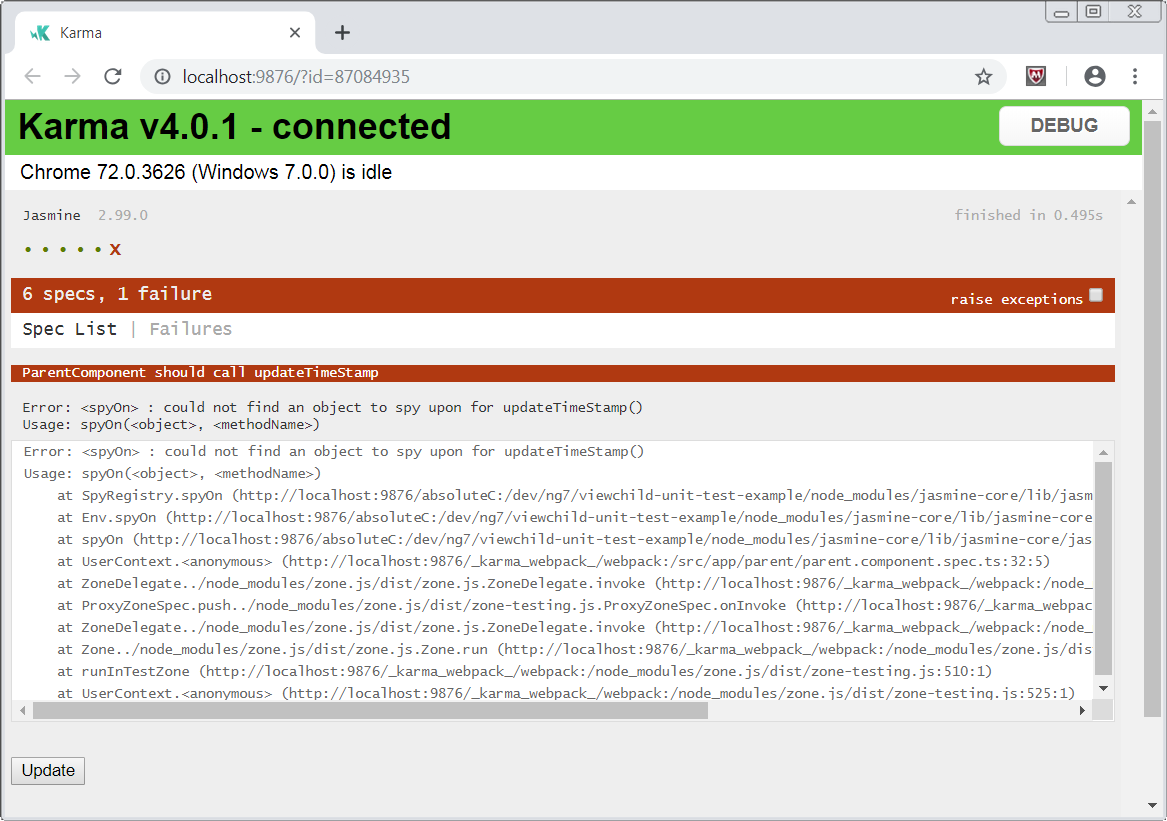
$ npm run test
It fails. Argh!
Providing the @ViewChild for Testing
Hmm, so the unit test can’t find the instance of ChildStubComponent. OK, we will need to somehow provide the @ViewChild for the test component.
There are actually a couple of ways to do this:
- A simple introduction to using
@ViewChild - Unit testing your parent component without mocking the child
- Unit testing your parent component with a stub child component
Of these, adding the provider is my preferred way. But, because this is Angular In Depth, and not Angular the Way Todd Thinks You Should Do It, we will look at both ways and I will let you be the judge.
Manually populating the child component
We will change our synchronous beforeEach() function like this:
beforeEach(() => {
  fixture = TestBed.createComponent(ParentComponent);
  component = fixture.componentInstance;
  // populate childComponent with an instance of the stub
  component.childComponent =
      TestBed.createComponent(ChildStubComponent).componentInstance;
  fixture.detectChanges();
});
As you can see, we are using:
TestBed.createComponent(ChildStubComponent).componentInstance; to create an instance of the stub component.
OK, let’s run those unit tests again:
$ npm run test
ERROR in src/app/parent/parent.component.spec.ts(23,5): error TS2739: Type 'ChildStubComponent' is missing the following properties from type 'ChildComponent': timeStamp, ngOnInit
Compile error! Are you kidding me?
Matching the type of ChildComponent
We get the compile error because TypeScript is rather strict about its type checking (hence the name). Even though timeStamp and ngOnInit() aren’t necessary for the testing, they are part of the public interface of ChildComponent and TypeScript expects them to be there.
We could just add the missing ngOnInit() and timeStamp members to our stub component. But, it is easier and more fun to cast our ChildStubComponent to a ChildComponent.
Casting the component
TypeScript, like most strongly typed languages, provides the ability to type cast objects. There are a couple of ways to do this in TypeScript.
You can wrap the cast in <>. For example:
const myFoo: Foo = <Foo> bar;
You can also use the as keyword like this:
const myFoo: Foo = bar as Foo;
My tslint prefers the as keyword. As my friend Tim Deschryver pointed out, this is because of this line:
"no-angle-bracket-type-assertion": true, in my tslint.json file.
Making the change in the parent.component.spec.ts file looks like this:
import { async, ComponentFixture, TestBed } from '@angular/core/testing';
import { ParentComponent } from './parent.component';
import { ChildComponent } from '../child/child.component';
import { ChildStubComponent } from '../child/child-stub.component.spec';

describe('ParentComponent', () => {
  let component: ParentComponent;
  let fixture: ComponentFixture<ParentComponent>;

  beforeEach(async(() => {
    TestBed.configureTestingModule({
      declarations: [
        ParentComponent,
        ChildStubComponent
      ]
    })
    .compileComponents();
  }));

  beforeEach(() => {
    fixture = TestBed.createComponent(ParentComponent);
    component = fixture.componentInstance;
    component.childComponent = TestBed.createComponent(ChildStubComponent).componentInstance as ChildComponent;
    fixture.detectChanges();
  });

  it('should create', () => {
    expect(component).toBeTruthy();
  });

  it('should call updateTimeStamp', () => {
    spyOn(component.childComponent, 'updateTimeStamp');
    component.update();
    expect(component.childComponent.updateTimeStamp).toHaveBeenCalled();
  });
});
parent.component.spec.ts
And our unit tests compile and run.
Adding a provider to the stub component
My preferred way to handle this is to specify a provider in the stub component. Alexander Poshtaruk came up with the idea for this. And, thekiba actually showed us exactly how to do it.
You have probably seen and even used components that look like this:
@Component({
  selector:    'app-hero-list',
  templateUrl: './hero-list.component.html',
  providers:  [
    {
      provide: HeroService,
      useClass: BetterHeroService
    }
  ]
})
export class HeroListComponent {
/* . . . */
}
You’ll notice that this component has its own providers array in the metadata. In the providers array there is an object that looks like this:
{ provide: HeroService, useClass: BetterHeroService }
This object is known as a Dependency Provider. The useClass is the provider-definition key. If you have ever mocked services for your unit tests, you have probably used this.
Actually, thekiba recommended useExisting. But, I didn’t want to have to explain the difference here. And, this article is already getting too long and detailed. And, I might want to use that topic for a possible future article. And, I am afraid that you will stop following me if I dive any further down this rabbit hole.
OK, back to the providers array:
As I was saying before I so rudely interrupted myself: you usually put services in the providers array. But surprisingly, you can also put dependency providers for components in there.
Let’s modify ChildStubComponent to use a useClass provider for ChildComponent. It looks like this:
import { Component } from '@angular/core';
import { ChildComponent } from './child.component';

@Component({
  selector: 'app-child',
  template: '',
  providers: [
    {
      provide: ChildComponent,
      useClass: ChildStubComponent
    }
  ]
})
export class ChildStubComponent {
  updateTimeStamp() {}
}
child-stub.component.spec.ts
Here, we are telling Angular that if this class is part of the build, it should provide ChildStubComponent for ChildComponent. Because this code is in a .spec file, it will only take effect during testing.
Finally, I just want to remind you that when we use the provider, we do not need to populate the child component instance manually anymore with TestBed.createComponent.
Run the Unit Tests
Now when we run the tests using:
$ npm run test
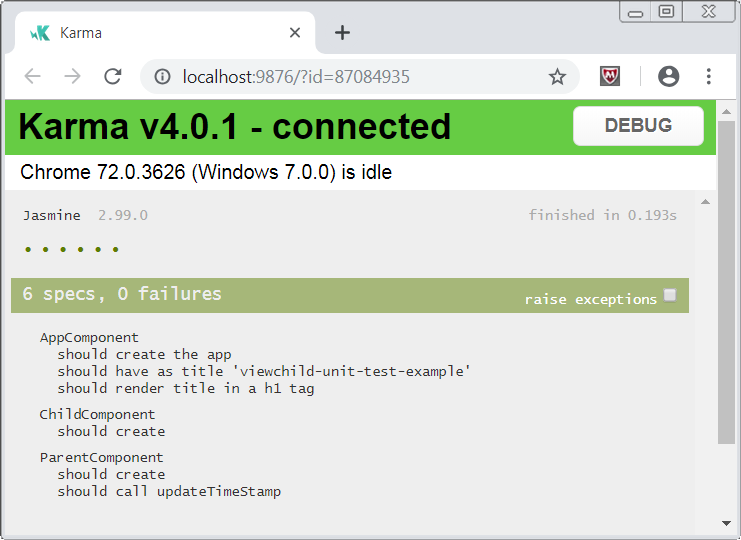
We see that our unit tests all compile and pass:
Summary
So, to test a component that uses @ViewChild just do the following:
- Mock out the child component with a simple stub component.
- Add the stub component to the
declarationsin your parent component.specfile. - Add a
useClassDependency Provider in the stub component’sprovidersarray like this: { provide: HeroService, useClass: BetterHeroService }
Resources
☞ A Quick Guide to Angular 7 in 4 Hours
☞ Complete Angular 7 - Ultimate Guide - with Real World App
☞ Go Full Stack with Spring Boot and Angular 7
☞ Angular 6 (Angular 2+) & React 16 - The Complete App Guide
☞ Angular (Full App) with Angular Material, Angularfire & NgRx
#angular #angular.js
