Building a GraphQL API with Node, Express and MongoDB
GraphQL is a technology that helps developers build robust software more quickly. The ability to request all of the information you need in a single request is a game changer.
It has simplified the back-end development of APIs for consumption by mobile and web applications that would normally rely on RESTful APIs. A normal RESTful API may have several end points for various entities (e.g., users, submissions, etc.); with GraphQL, you can get all of this information in a single go using GraphQL’s query language, also known as GQL.
In this tutorial, I’ll walk you through how to build a GraphQL API with graphql-compose-mongoose, as well as a few other tools. And, of course, everything will be to ES6 spec using Node.js. If this sounds like an exciting adventure, read on.
Getting Started
To get started, we’ll need to double-check you have a few prerequisites to ensure both that you understand the technology and that you can complete the tutorial in full.
Prerequisites
- Node.js (Latest 13.x or above)
- Yarn (
brew install yarnon macOS) - An understanding of JavaScript and the ES6 spec
- An account with MongoDB Atlas or a local instance of MongoDB running
Directory Structure
To start, create a new directory.
You can name your directory whatever you would like; for this tutorial, we’re going to create a to-do application, so I called mine todo.
mkdir todo && cd todo
Next, let’s go ahead and generate our package.json file using Yarn. We’ll add modules, as necessary, as we continue to move forward.
yarn init
init.js
Note: Answer the questions as prompted. Nothing necessarily required here — just whatever you’d like to set as your defaults.
Because we are using ES6, we’ll need to transpile all code from ES6 to vanilla JavaScript. To do so, let’s go ahead and create a src directory. Note that we’ll also need to set up the required structure within the src. The script below will accomplish the following:
- Make a
srcdirectory - Move into the
srcdirectory - Generate
schema,models,scripts, andutilsdirectories
mkdir src && cd src && mkdir models schema scripts utils
Lastly, we’ll create an index.js file, which will allow us to import our dependent files and directories:
touch index.js
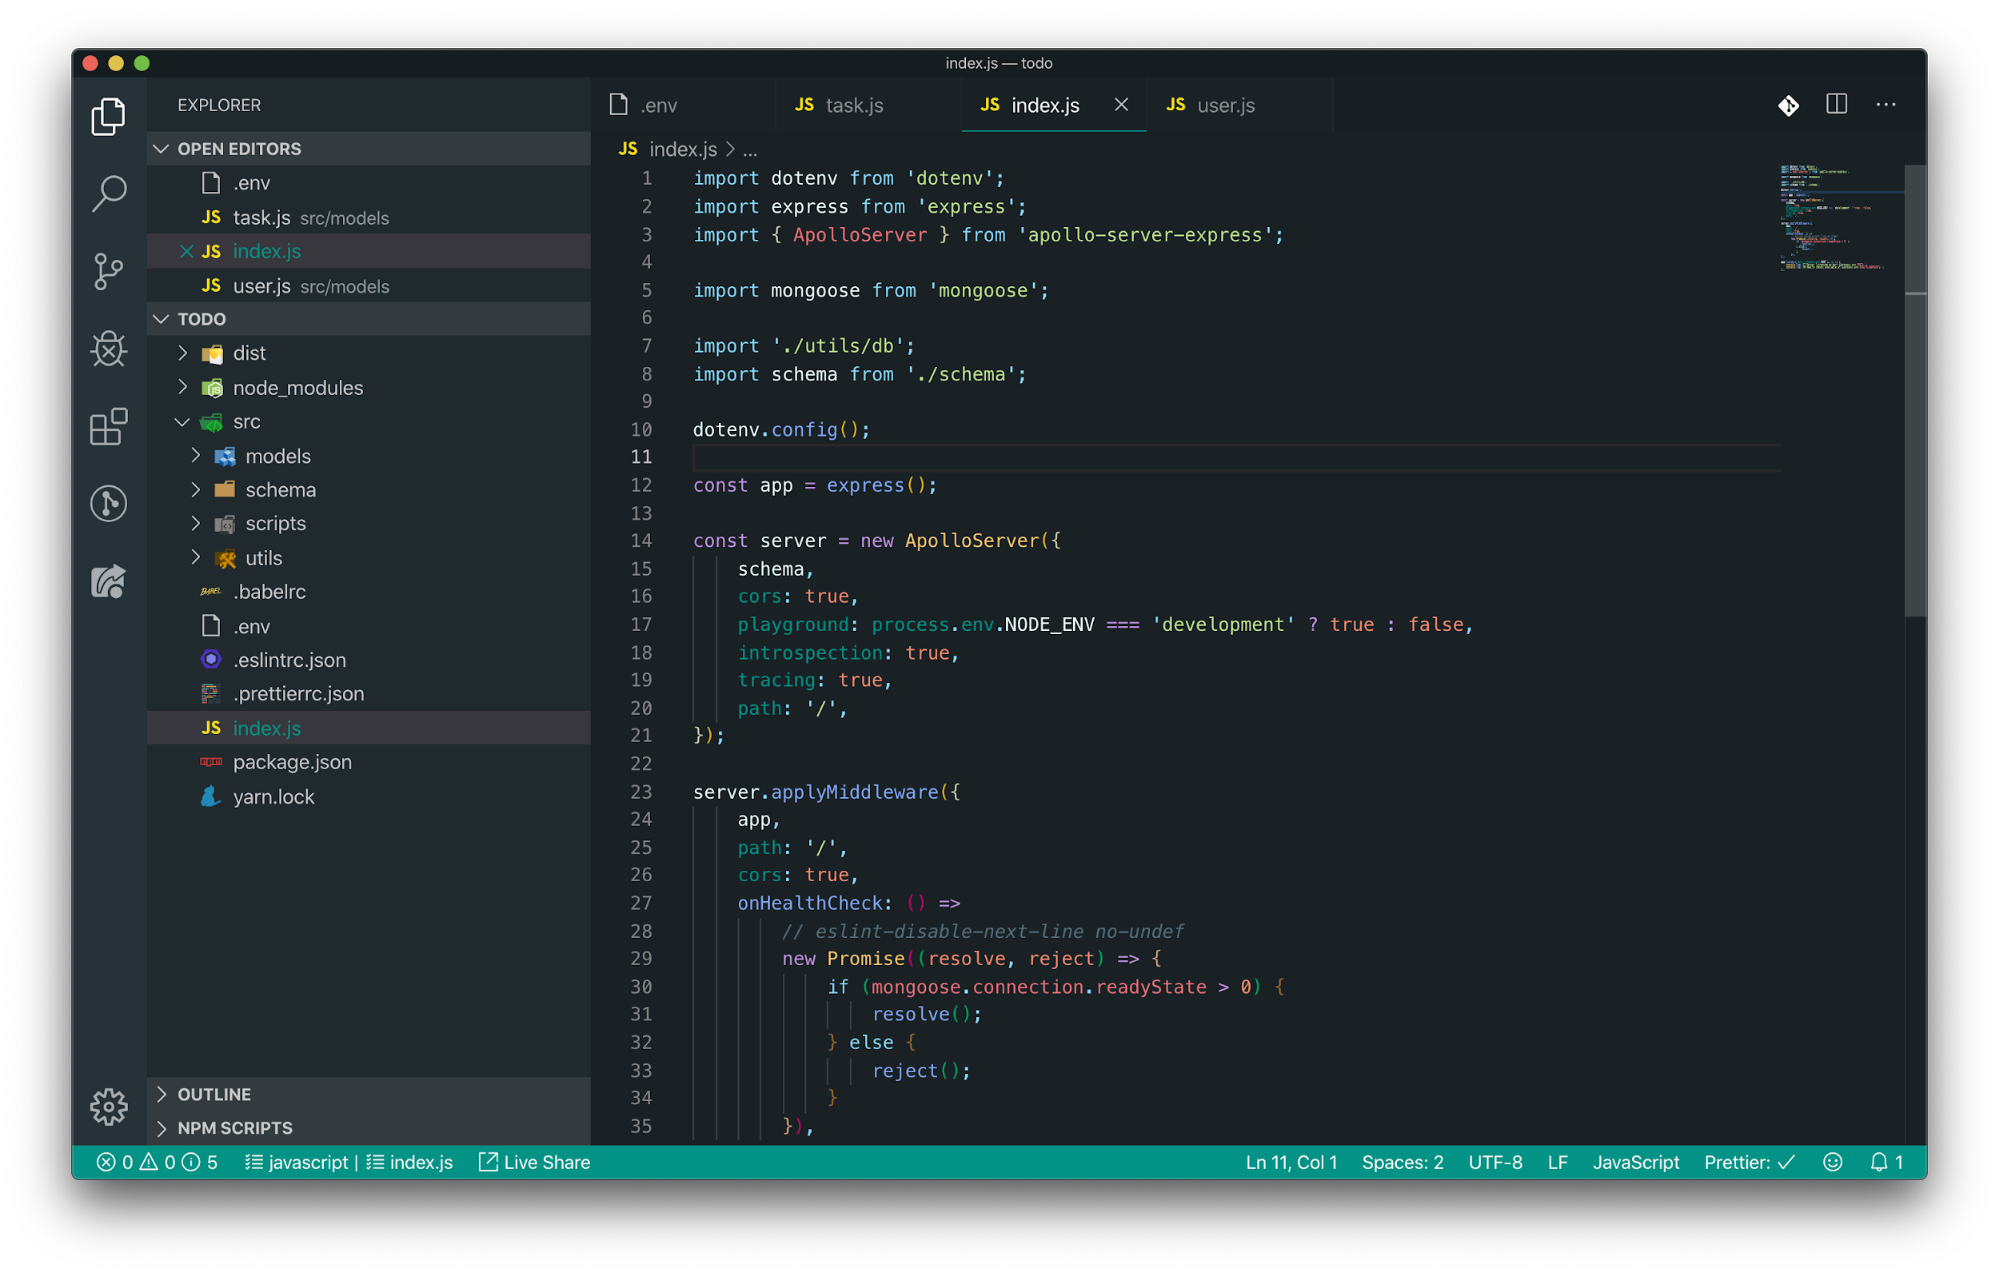
Inside of index.js, place the following contents, and save:
import dotenv from 'dotenv';
import express from 'express';
import { ApolloServer } from 'apollo-server-express';

import mongoose from 'mongoose';

import './utils/db';
import schema from './schema';

dotenv.config();

const app = express();

const server = new ApolloServer({
    schema,
    cors: true,
    playground: process.env.NODE_ENV === 'development' ? true : false,
    introspection: true,
    tracing: true,
    path: '/',
});

server.applyMiddleware({
    app,
    path: '/',
    cors: true,
    onHealthCheck: () =>
        // eslint-disable-next-line no-undef
        new Promise((resolve, reject) => {
            if (mongoose.connection.readyState > 0) {
                resolve();
            } else {
                reject();
            }
        }),
});

app.listen({ port: process.env.PORT }, () => {
    console.log(`🚀 Server listening on port ${process.env.PORT}`);
    console.log(`😷 Health checks available at ${process.env.HEALTH_ENDPOINT}`);
});
index.js
Package File
Now that we have the base files in place, let’s go ahead and add the required production packages to our package.json file using Yarn, like so:
yarn add @babel/cli @babel/core @babel/node @babel/preset-env apollo-engine apollo-server-express body-parser cors dotenv express graphql graphql-compose graphql-compose-connection graphql-compose-mongoose graphql-middleware graphql-tools mongoose mongoose-bcrypt mongoose-timestamp
And for development packages, add the following:
yarn add --dev babel-eslint babel-loader babel-preset-env eslint eslint-plugin-babel eslint-plugin-import eslint-plugin-node eslint-plugin-promise fs-extra nodemon prettier
Now that we have the necessary packages installed, we can modify our package.json file to allow for additional functionality.
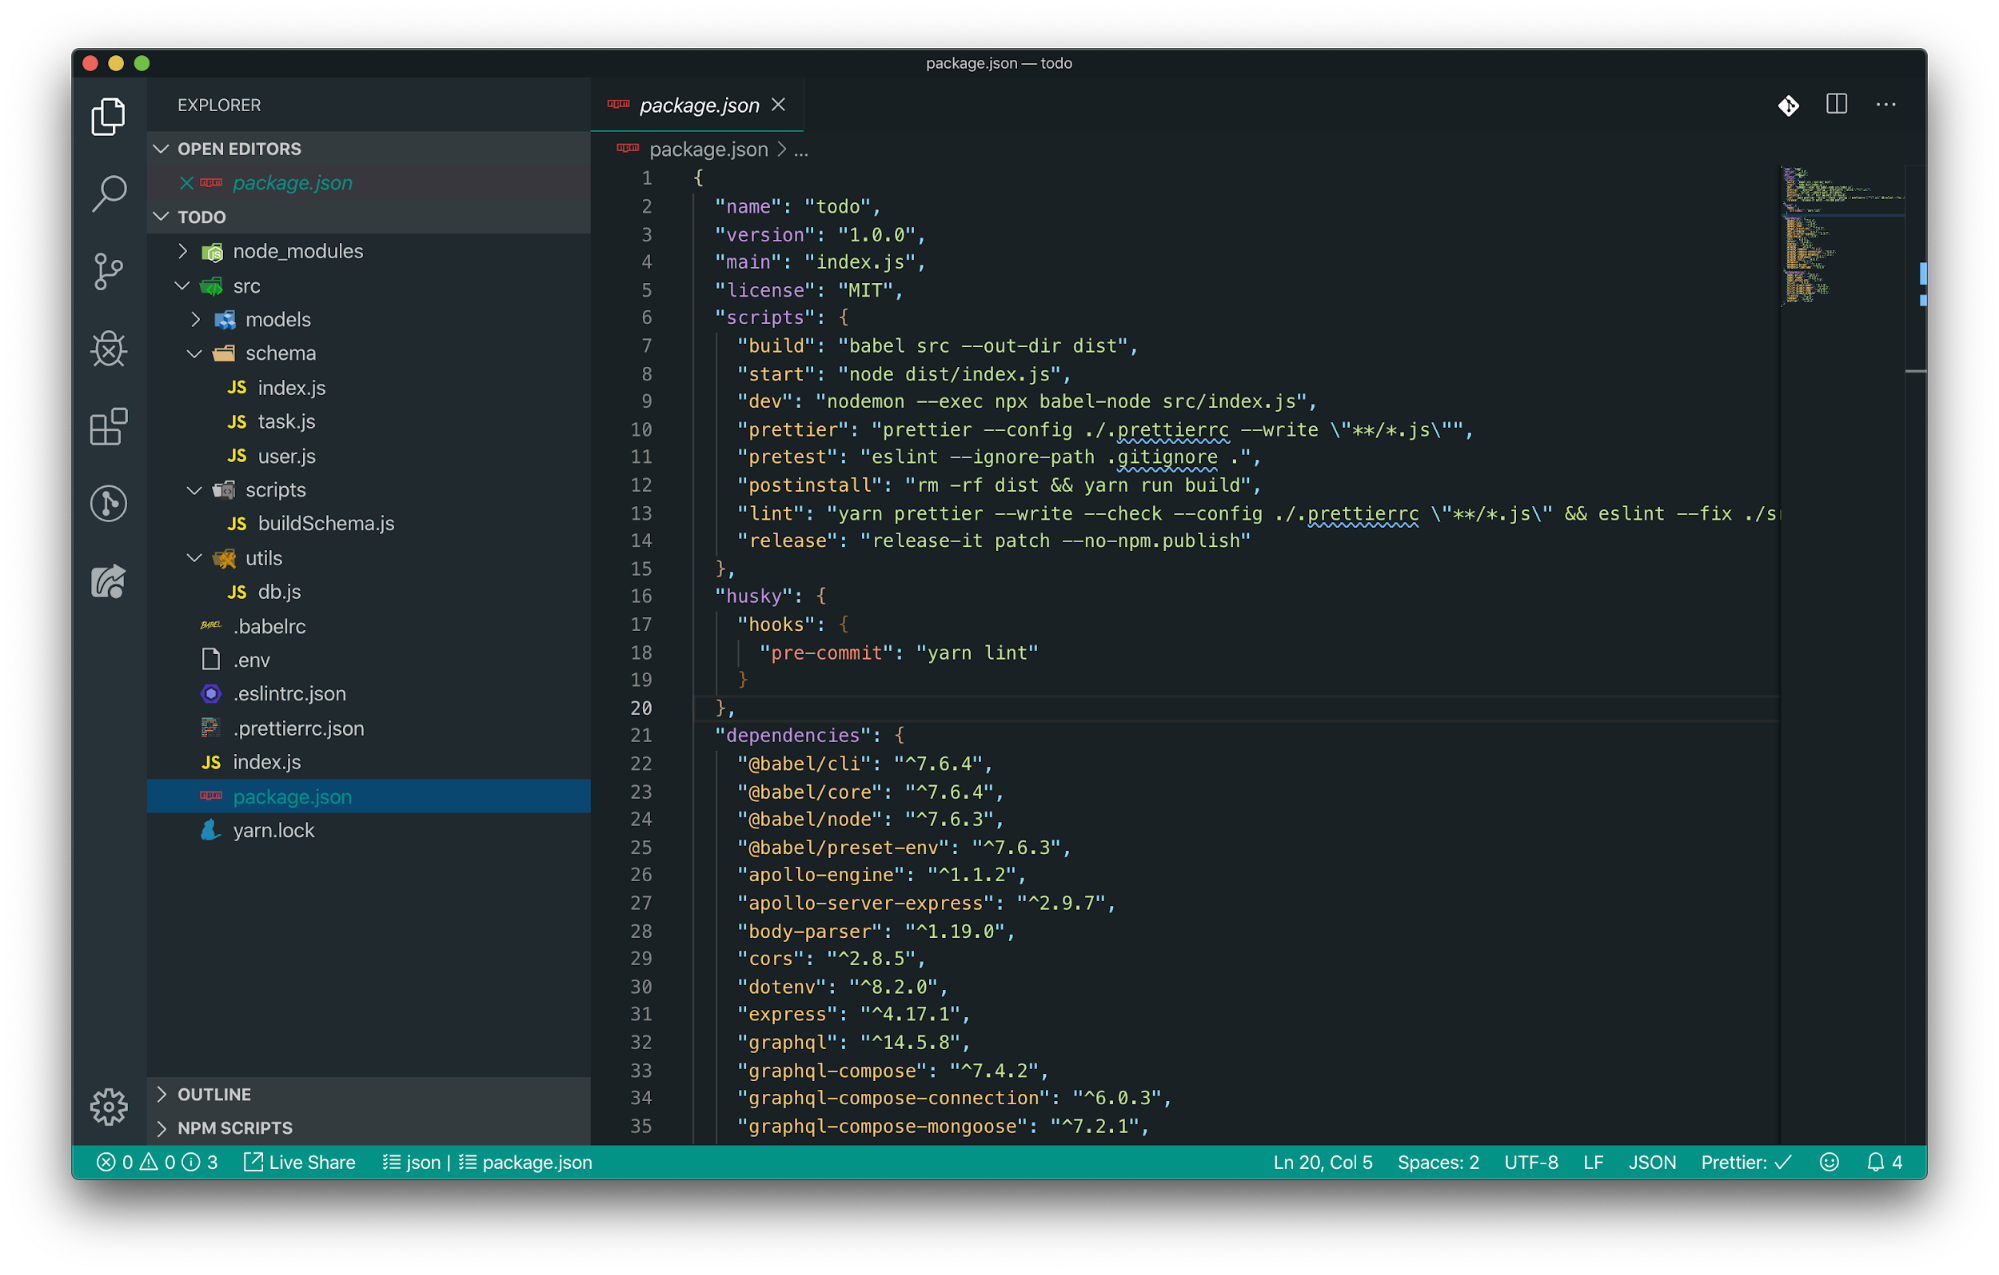
Let’s modify it to add scripts and hooks; once we’ve done that, your package.json file should look much like this:
Scripts
The below will allow us to run scripts via Yarn (e.g., yarn <INSERT SCRIPT HERE>). For example, we can lint our code using yarn lint, and it’ll perform ESLint and Prettier operations on our files.
"scripts": {
    "build": "babel src --out-dir dist",
    "start": "node dist/index.js",
    "dev": "nodemon --exec npx babel-node src/index.js",
    "prettier": "prettier --config ./.prettierrc --write \"**/*.js\"",
    "pretest": "eslint --ignore-path .gitignore .",
    "postinstall": "rm -rf dist && yarn run build",
    "lint": "yarn prettier --write --check --config ./.prettierrc \"**/*.js\" && eslint --fix ./src",
    "release": "release-it patch --no-npm.publish"
}
scripts.json
Similar to above, we’ll add a Husky script that will trigger on the precommit event, effectively running yarn lint for us prior to committing code.
This is an excellent practice for maintaining quality, clean code:
"husky": {
    "hooks": {
        "pre-commit": "yarn lint"
    }
}
husky.json
That’s all for scripts. Let’s continue on.
Configuring Babel, Prettier, and ESLint
We’ve taken the necessary steps to install the correct packages for Babel, Prettier, and ESLint.
Now, it’s time to add the configuration files to the root of your project. Move the root, and add the following files:
.babelrc
{
    "presets": [
        [
            "env",
            {
                "targets": {
                    "node": "current"
                }
            }
        ]
    ]
}
babel.js
prettierrc.json
{
    "trailingComma": "es5",
    "tabWidth": 4,
    "semi": true,
    "singleQuote": true
}
.babelrc.json
.eslintrc.json
{
    "plugins": ["babel"],
    "extends": ["eslint:recommended"],
    "rules": {
        "no-console": 0,
        "no-mixed-spaces-and-tabs": 1,
        "comma-dangle": 0,
        "no-unused-vars": 1,
        "eqeqeq": [2, "smart"],
        "no-useless-concat": 2,
        "default-case": 2,
        "no-self-compare": 2,
        "prefer-const": 2,
        "object-shorthand": 1,
        "array-callback-return": 2,
        "valid-typeof": 2,
        "arrow-body-style": 2,
        "require-await": 2,
        "react/prop-types": 0,
        "no-var": 2,
        "linebreak-style": [2, "unix"],
        "semi": [1, "always"]
    },
    "env": {
        "node": true
    },
    "parser": "babel-eslint",
    "parserOptions": {
        "sourceType": "module",
        "ecmaVersion": 2018,
        "ecmaFeatures": {
            "modules": true
        }
    }
}
.eslintrc.json
Perfect! We’re making progress.
Onto the next section.
Creating Our Models
The reason I enjoy working with graphql-compose-mongoose is that it allows me to use Mongoose models rather than writing GraphQL models by hand (which, by the way, can become quite cumbersome on a large application).
Head over to src/models, and create a new file named user.js. Inside this file, we’ll define all of the required characteristics that make up a user. This will be a small file, but feel free to add additional information to the user record if you wish (for example, a password using mongoose-bcrypt).
import mongoose, { Schema } from 'mongoose';
import timestamps from 'mongoose-timestamp';
import { composeWithMongoose } from 'graphql-compose-mongoose';

export const UserSchema = new Schema(
    {
        name: {
            type: String,
            trim: true,
            required: true,
        },
        email: {
            type: String,
            lowercase: true,
            trim: true,
            unique: true,
            required: true,
        },
    },
    {
        collection: 'users',
    }
);

UserSchema.plugin(timestamps);

UserSchema.index({ createdAt: 1, updatedAt: 1 });

export const User = mongoose.model('User', UserSchema);
export const UserTC = composeWithMongoose(User);
user.js
Next, let’s create a task.js file (given that this is, after all, a to-do GraphQL API):
import mongoose, { Schema } from 'mongoose';
import timestamps from 'mongoose-timestamp';
import { composeWithMongoose } from 'graphql-compose-mongoose';

export const TaskSchema = new Schema(
    {
        user: {
            type: Schema.Types.ObjectId,
            ref: 'User',
            required: true,
        },
        task: {
            type: String,
            trim: true,
            required: true,
        },
        description: {
            type: String,
            trim: true,
            required: true,
        },
    },
    {
        collection: 'tasks',
    }
);

TaskSchema.plugin(timestamps);

TaskSchema.index({ createdAt: 1, updatedAt: 1 });

export const Task = mongoose.model('Task', TaskSchema);
export const TaskTC = composeWithMongoose(Task);
task.js
We now have two models/schemas: UserSchema and TaskSchema.
A user is an individual entity, and a task always belongs to a user. From this, we will eventually be able to pull all tasks for a user in a single GraphQL call. Pretty cool, right?
Creating Our Schemas
Schemas are an interesting part of this implementation. They, essentially, allow us to define what calls can and cannot be made to the server.
Schemas are made up of queries and mutations, where queries allow you to fetch data, and mutations allow you to modify data. Let’s create our schemas for both the user and task model.
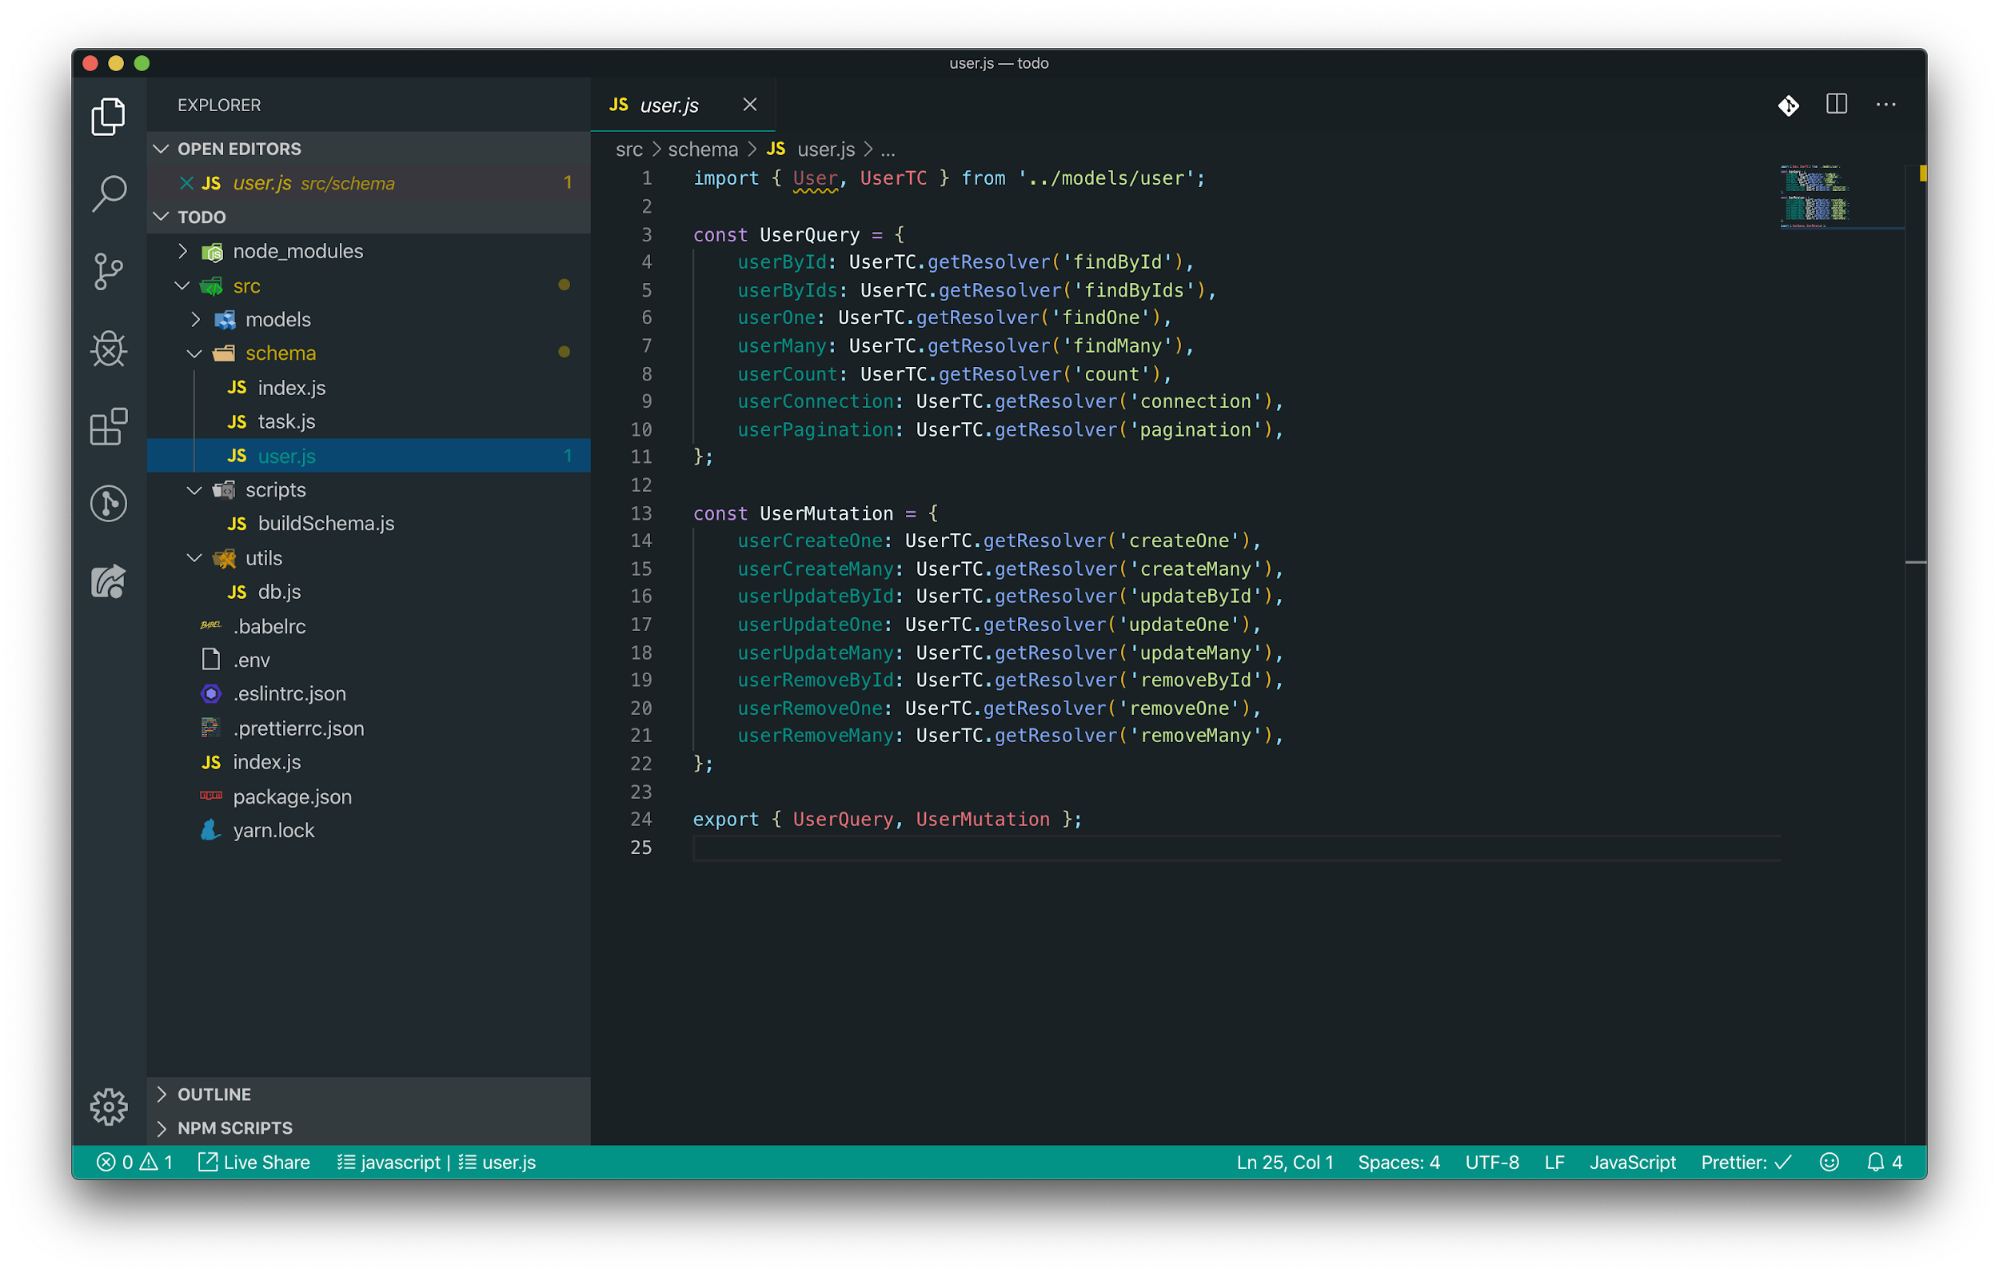
Inside of the schema directory, create a file called user.js. Then, drop the following contents into the file:
import { User, UserTC } from '../models/user';

const UserQuery = {
    userById: UserTC.getResolver('findById'),
    userByIds: UserTC.getResolver('findByIds'),
    userOne: UserTC.getResolver('findOne'),
    userMany: UserTC.getResolver('findMany'),
    userCount: UserTC.getResolver('count'),
    userConnection: UserTC.getResolver('connection'),
    userPagination: UserTC.getResolver('pagination'),
};

const UserMutation = {
    userCreateOne: UserTC.getResolver('createOne'),
    userCreateMany: UserTC.getResolver('createMany'),
    userUpdateById: UserTC.getResolver('updateById'),
    userUpdateOne: UserTC.getResolver('updateOne'),
    userUpdateMany: UserTC.getResolver('updateMany'),
    userRemoveById: UserTC.getResolver('removeById'),
    userRemoveOne: UserTC.getResolver('removeOne'),
    userRemoveMany: UserTC.getResolver('removeMany'),
};

export { UserQuery, UserMutation };
user.js
Next, let’s create one called task.js:
import { Task, TaskTC } from '../models/task';

const TaskQuery = {
    taskById: TaskTC.getResolver('findById'),
    taskByIds: TaskTC.getResolver('findByIds'),
    taskOne: TaskTC.getResolver('findOne'),
    taskMany: TaskTC.getResolver('findMany'),
    taskCount: TaskTC.getResolver('count'),
    taskConnection: TaskTC.getResolver('connection'),
    taskPagination: TaskTC.getResolver('pagination'),
};

const TaskMutation = {
    taskCreateOne: TaskTC.getResolver('createOne'),
    taskCreateMany: TaskTC.getResolver('createMany'),
    taskUpdateById: TaskTC.getResolver('updateById'),
    taskUpdateOne: TaskTC.getResolver('updateOne'),
    taskUpdateMany: TaskTC.getResolver('updateMany'),
    taskRemoveById: TaskTC.getResolver('removeById'),
    taskRemoveOne: TaskTC.getResolver('removeOne'),
    taskRemoveMany: TaskTC.getResolver('removeMany'),
};

export { TaskQuery, TaskMutation };
task.js
To tie things together, we’ll generate an index.js file in the root of the directory (src/schema) and import our schemas:
import { SchemaComposer } from 'graphql-compose';

import db from '../utils/db'; // eslint-disable-line no-unused-vars

const schemaComposer = new SchemaComposer();

import { UserQuery, UserMutation } from './user';
import { TaskQuery, TaskMutation } from './task';

schemaComposer.Query.addFields({
    ...UserQuery,
    ...TaskQuery,
});

schemaComposer.Mutation.addFields({
    ...UserMutation,
    ...TaskMutation,
});

export default schemaComposer.buildSchema();
index.js
Now that we have full CRUD capabilities with GraphQL, let’s add our final utilities.
Build Script
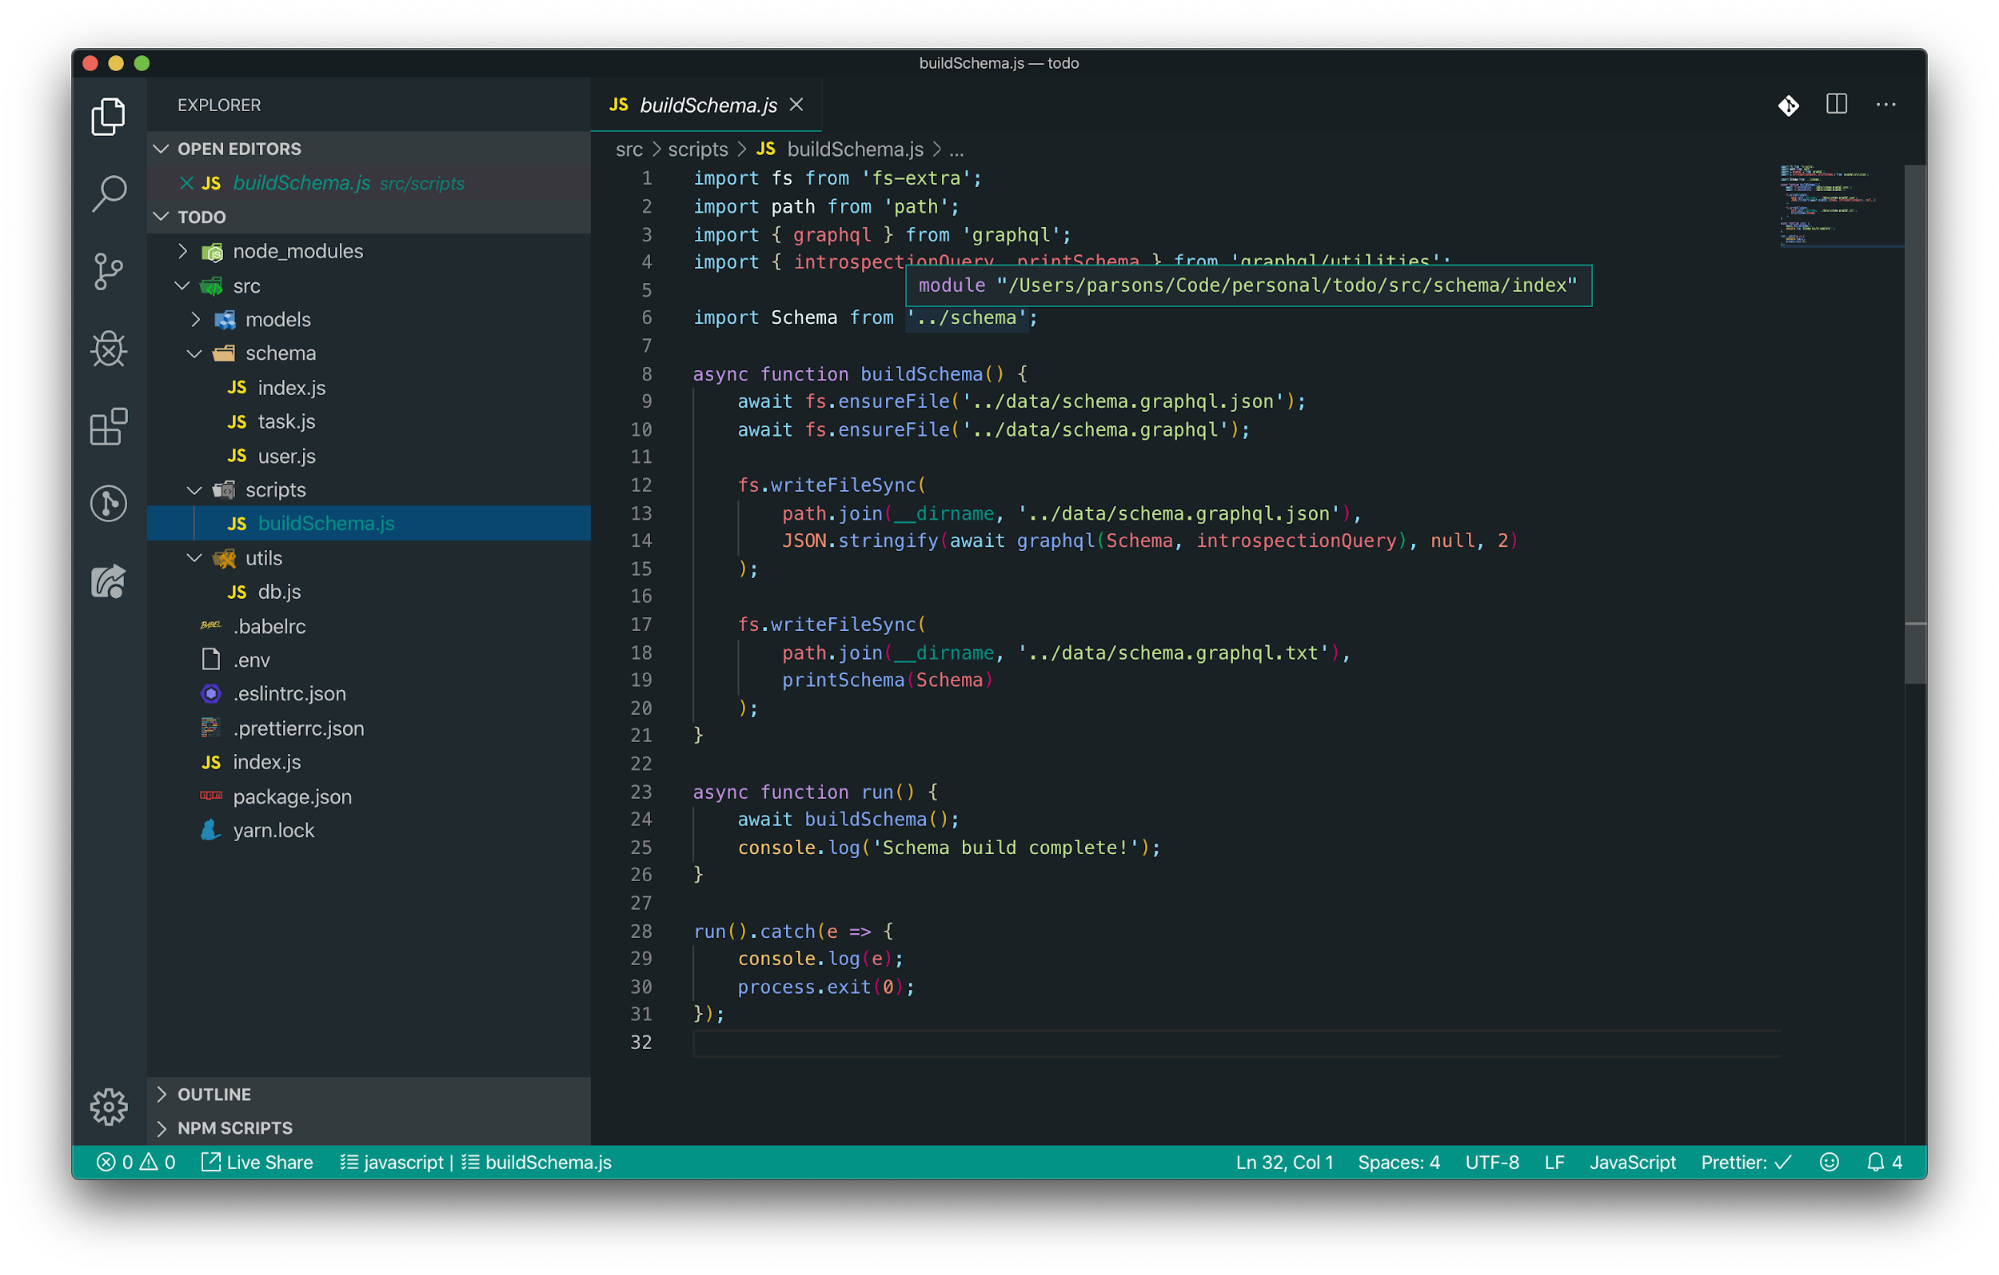
The build script allows you to transform your Mongoose-style schemas into pure GraphQL schemas. Pretty fancy, huh?
Create a file called buildSchema.js inside of src/scripts, and drop the following code in:
import fs from 'fs-extra';
import path from 'path';
import { graphql } from 'graphql';
import { introspectionQuery, printSchema } from 'graphql/utilities';

import Schema from '../schema';

async function buildSchema() {
    await fs.ensureFile('../data/schema.graphql.json');
    await fs.ensureFile('../data/schema.graphql');

    fs.writeFileSync(
        path.join(__dirname, '../data/schema.graphql.json'),
        JSON.stringify(await graphql(Schema, introspectionQuery), null, 2)
    );

    fs.writeFileSync(
        path.join(__dirname, '../data/schema.graphql.txt'),
        printSchema(Schema)
    );
}

async function run() {
    await buildSchema();
    console.log('Schema build complete!');
}

run().catch(e => {
    console.log(e);
    process.exit(0);
});
buildSchema.js
This file will be called with the yarn build command and will output the raw GraphQL queries into a data directory.
Database Connectivity
What’s an API without a database? That’s why we’ll need to create a connection from Mongoose to MongoDB.
If you haven’t already created a .env file in the root directory, now’s the time to do so. You’ll want to ensure it has the following environment variables:
NODE_ENV=development
PORT=8000
MONGODB_URI=YOUR_MONGODB_URI
.env
Once your .env file’s in place, let’s go ahead and create another file inside of src/utils. Name the file db.js, and add the following contents:
import mongoose from 'mongoose';
import dotenv from 'dotenv';

dotenv.config();

mongoose.Promise = global.Promise;

const connection = mongoose.connect(process.env.MONGODB_URI, {
    autoIndex: true,
    reconnectTries: Number.MAX_VALUE,
    reconnectInterval: 500,
    poolSize: 50,
    bufferMaxEntries: 0,
    keepAlive: 120,
    useNewUrlParser: true,
});

mongoose.set('useCreateIndex', true);

connection
    .then(db => db)
    .catch(err => {
        console.log(err);
    });

export default connection;
db.js
Note: If you don’t have MongoDB up and running locally, MongoDB Atlas is a great alternative. Not only is it free, but it packs enough power on the free tier to run a development application without any issues. Check it out here.
The Playground
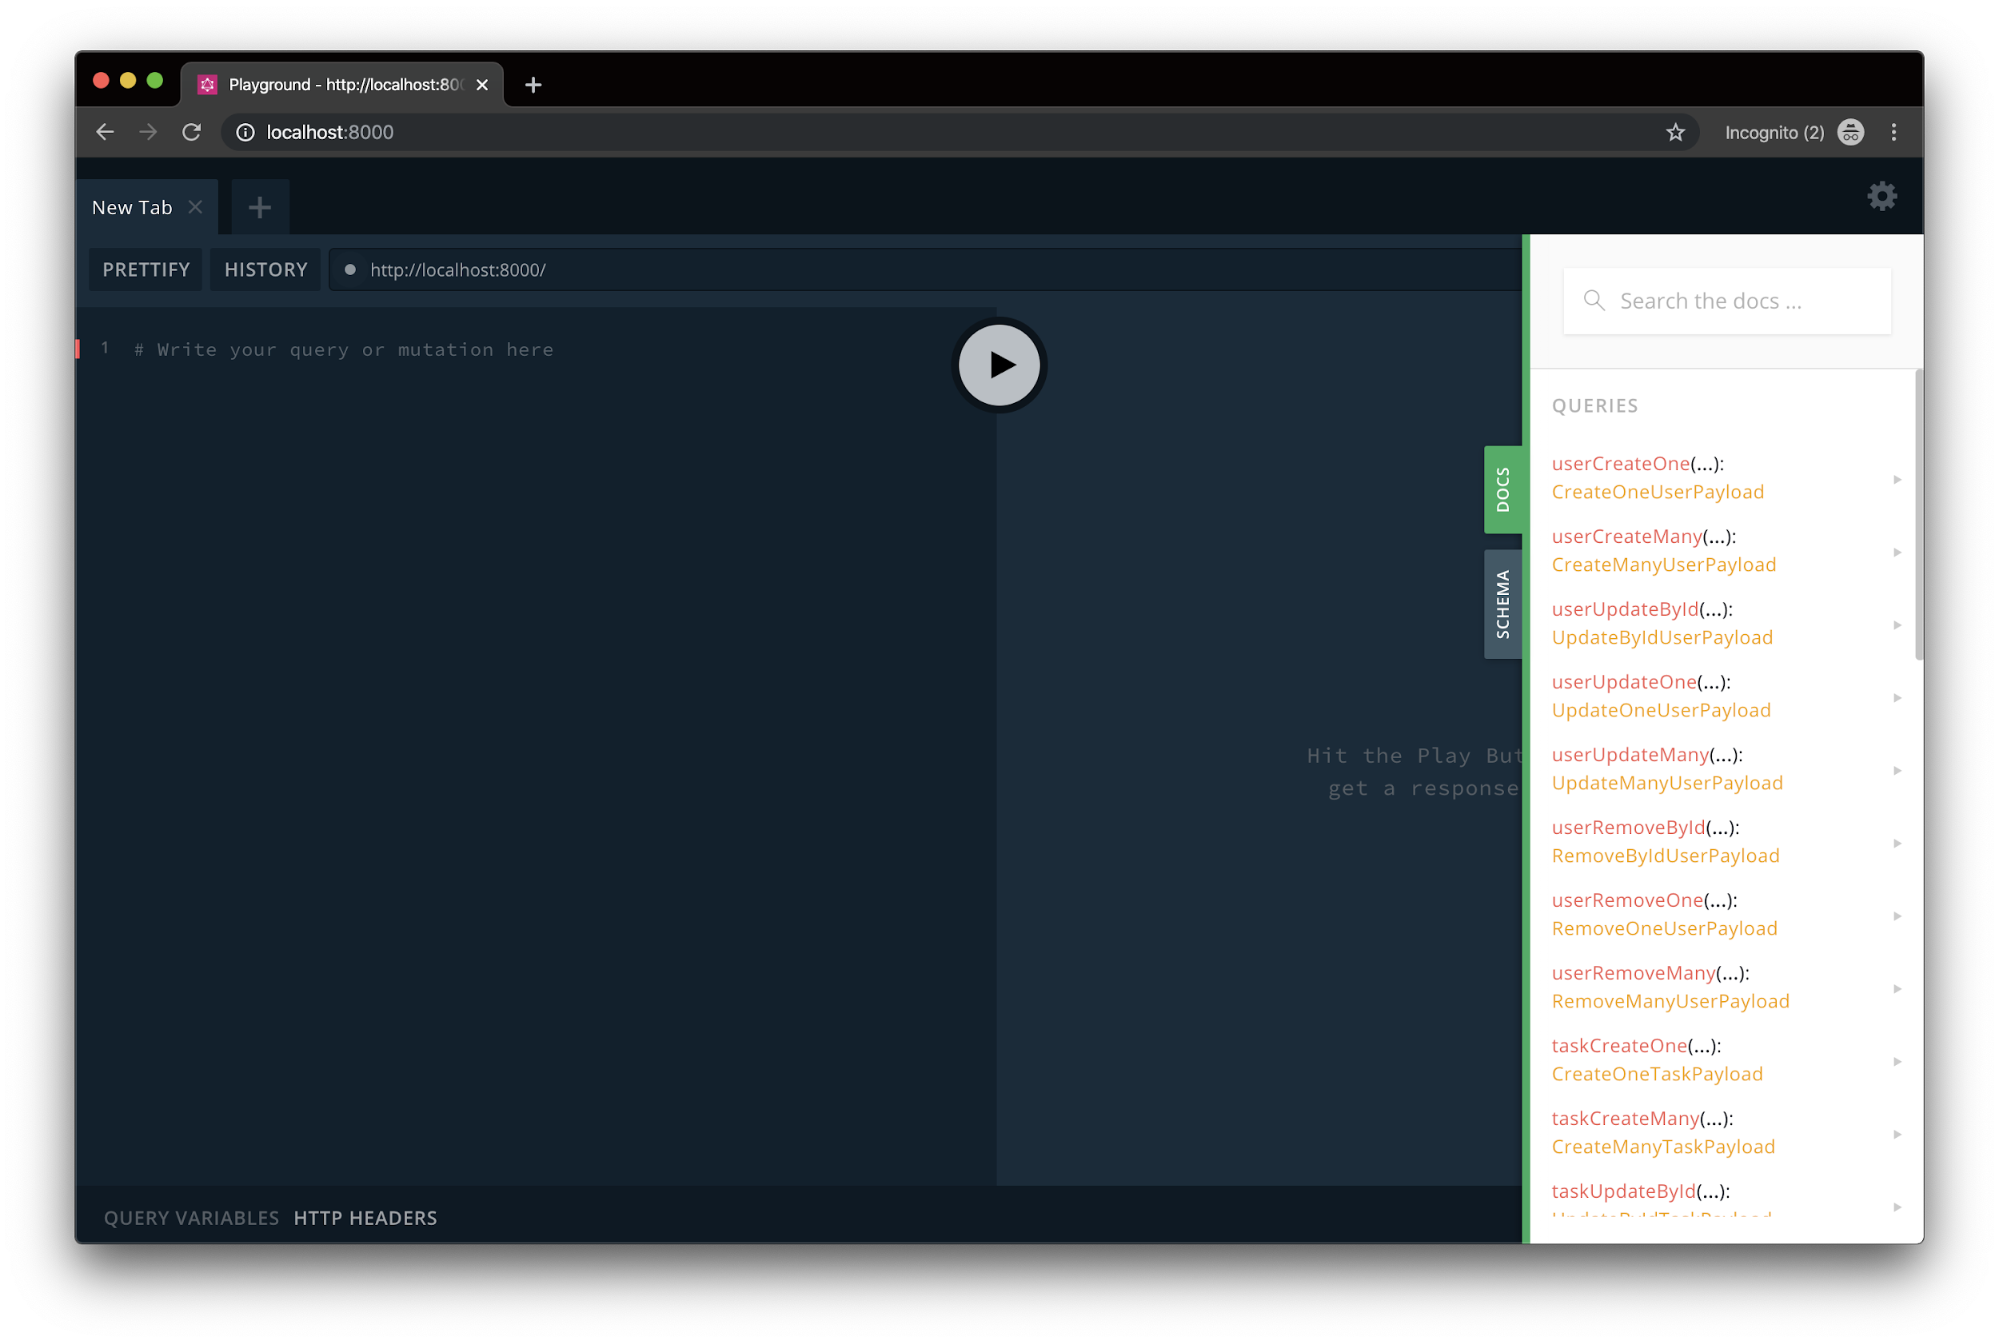
Your GraphQL is now complete. Run the command yarn dev, and you’ll be able to spin up the playground for GraphQL, which allows you to add, modify, remove, and query users and tasks — all in one call.
It looks a little something like this:
Conclusion
This quick-and-dirty tutorial is just the beginning of all the fun you can have using GraphQL to make your development stronger, cleaner, and more efficient.
Try expanding on what you’ve just built to add additional functionality to the models, or venture out on your own to improve one of your existing applications — or even spin up a new one; I’d love to hear more about all that you decide to do.
Until then, thank you for following me along throughout this tutorial, and stay tuned for future updates. Happy coding!
#nodejs #mongodb #GraphQL
