In this article, I will be showing how to add Flutter to your new or existing Native Androidproject and how to test it on Codemagic CI/CD using codemagic.yaml file.
The YAML feature is currently in beta and has the following limitations:
- Exporting configuration from UI is supported for Flutter-based Android, iOS and web apps.
- The exported configuration is not identical to the settings in UI and lacks the configuration for some features, such as Stop build if tests fail and publishing to Codemagic Static Pages.
I will be starting from the scratch to give you some tips and tricks in the way. So, let us first create a simple Native Android app for this tutorial.
Editor’s Note: We also recommend you to read iOS Code Signing and Publishing with codemagic.yaml file.
App Overview
 App screens
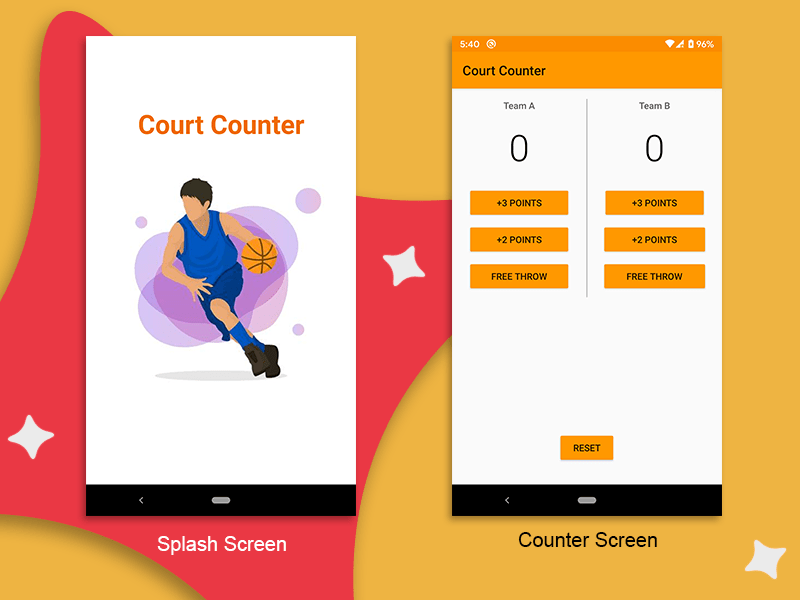
We will be creating a simple app called Court Counter, which will be a score keeper for a basketball match between two teams.
It will contain two screens:
- Splash screen (using Flutter Module)
- Counter screen (using Native Android)
Creating a native Android app
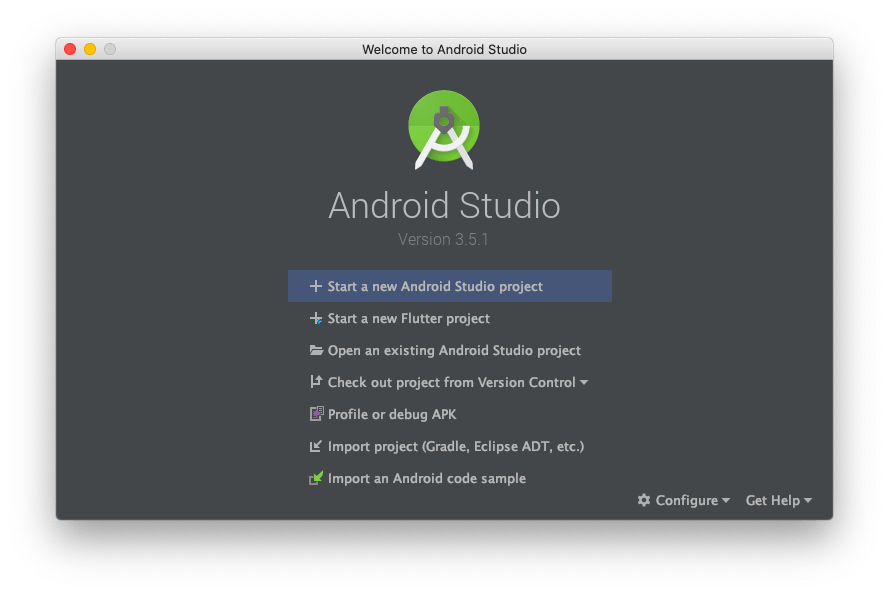
- Start Android Studio on your system.
- Click on Start a new Android Studio project.
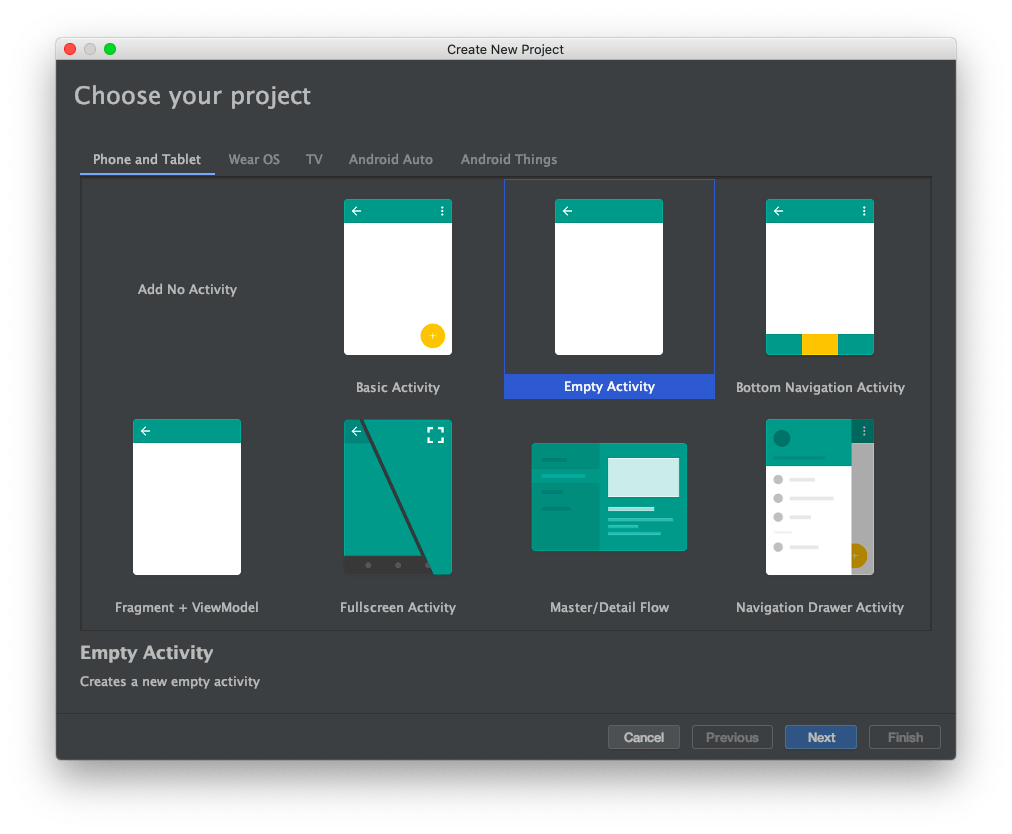
- Choose Empty Activity and click on Next.
- Now enter the details for the project.
- Name: CourtCounter
- Package name: com.example.courtcounter (auto-filled)
- Save location: ~/Desktop/CourtCounterFlutter/CourtCounter
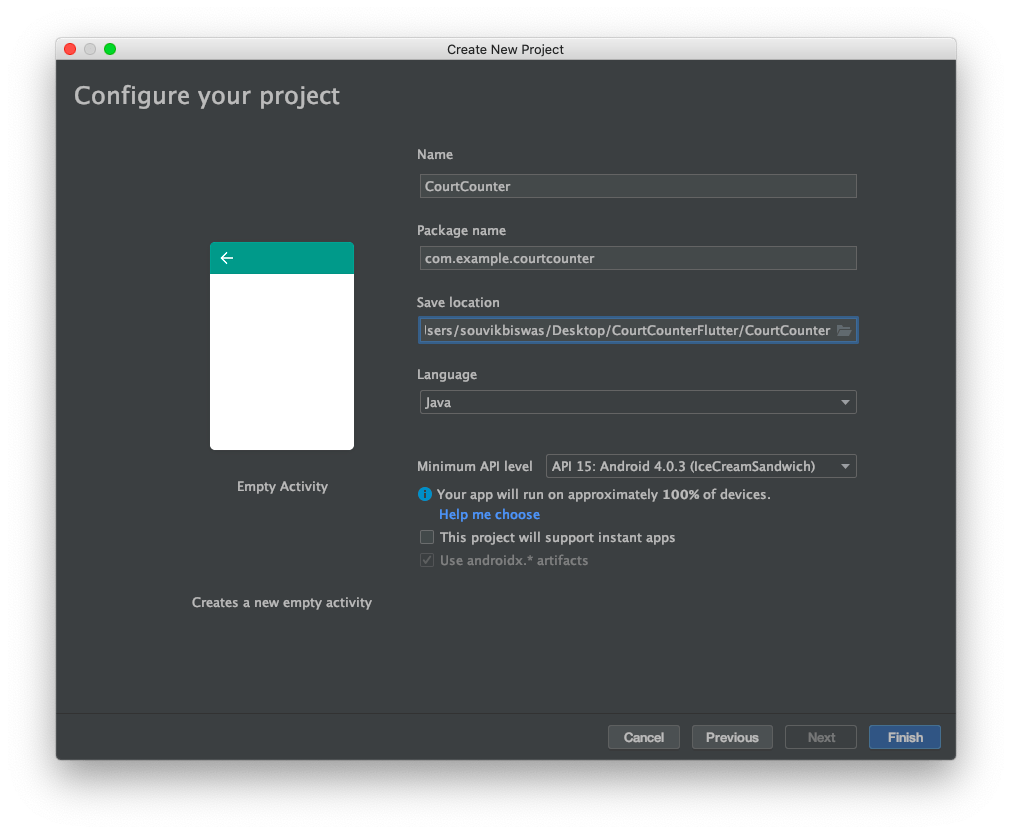 Project details
I have added an extra folder to store the native Android project because this will make it easier to add the Flutter module later.
- Click on Finish and wait for the initial Gradle sync to complete.
So, the empty native Android project is ready.
Creating Flutter module
The Flutter module should be added as a sibling to the native Android project. Assuming that you have your Android project at path/to/project/nativeApp, where nativeApp is the name of your Android project folder, then you have to create the Flutter module from path/to/project folder.
The steps for creating the Flutter module are as follows:
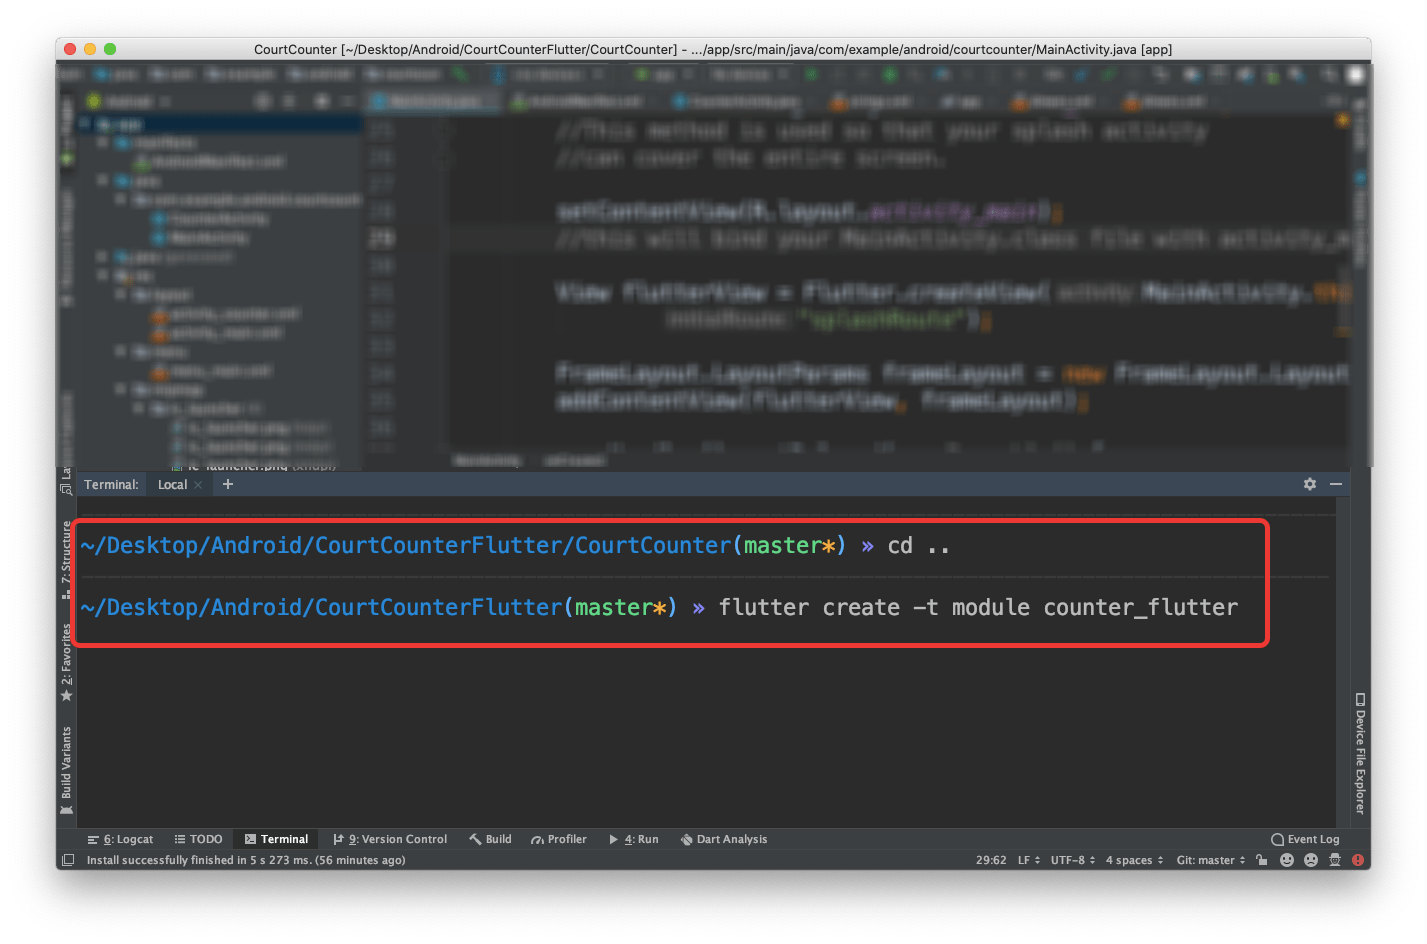
- Go to the Terminal inside your Android Studio IDE.
- You will be inside your Android project folder, but we have to add the Flutter module as a sibling to the native app. So, you have to go to the previous folder and use the following command to create a new Flutter module.
$ cd ..

$ flutter create -t module name_of_module
#android #flutter
