How to Create List Segmented Control with JavaScript and CSS
First I have created the main div with an ID name container and placed a list inside it. Inside the list, I have placed 3 texts as list items and 2 divs for the active and slide effect. Also in the HTML file, I have linked other files like CSS, JavaScript, and jQuery CDN.
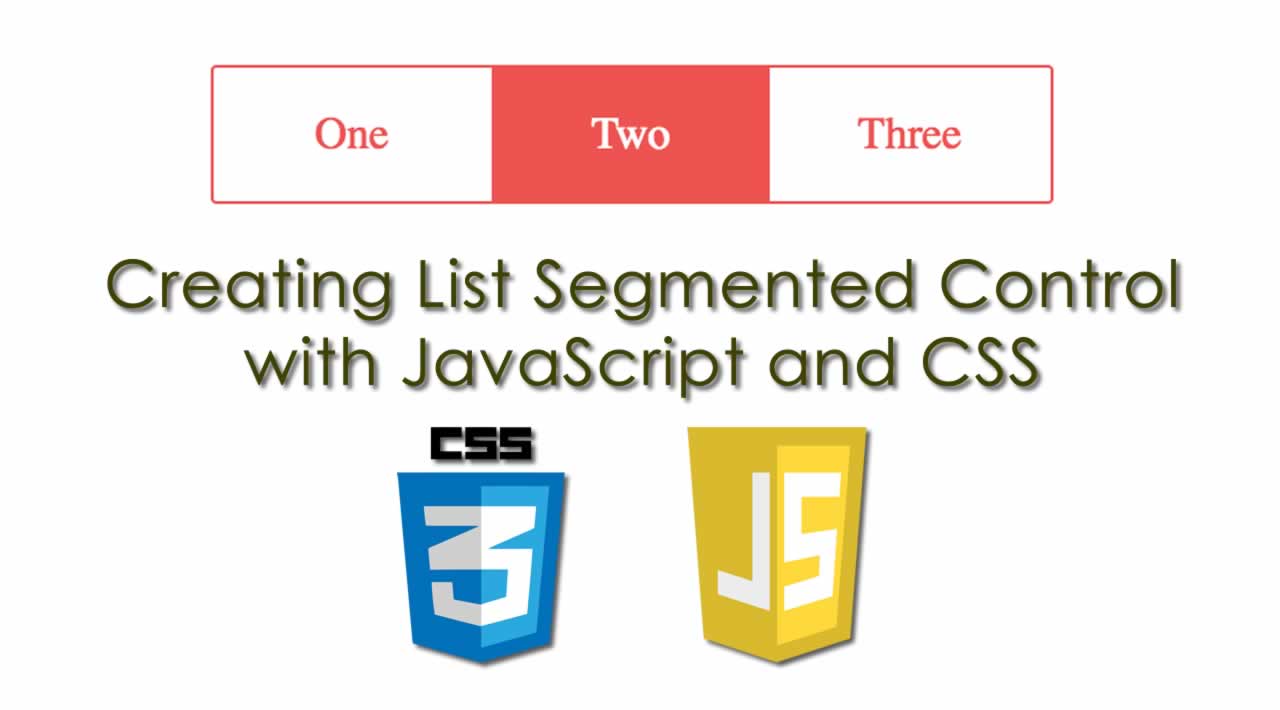
Now using CSS I have placed all the elements in the right place, as you can see in the preview. With CSS first I gave basic values like width, height, position, etc to the elements. After that, I gave color values and the layout based on the grid. There I have used calc( ) command to calculated and pass exact values.
JavaScript handling the active and slide feature in this program. First JS fetched elements using document.querySelector command and stored in conts. There I have used JS if{} else{} statements and declared the conditions, and used let command for functioning. Left all other things you will understand after getting the codes, I can’t explain all in writing. For creating this program you have to create 3 files. First file for HTML, second for CSS, and the third file for JavaScript.
index.html
Create an HTML file named ‘index.html‘ and put these codes given below.
<!DOCTYPE html>
<html lang="en" >
<head>
  <meta charset="UTF-8">
  <title>Segmented Control Interaction | Webdevtrick.com</title>
  <link rel='stylesheet' href='https://cdnjs.cloudflare.com/ajax/libs/font-awesome/5.12.1/css/all.min.css'>
  <link rel="stylesheet" href="style.css">

</head>
<body>
<div id="container">
	<ul>
		<li>About</li>
		<li>Contact</li>
		<li>Pricing</li>
		<div class="focus first"></div>
		<div class="focus second"></div>

	</ul>
</div>

  <script src='https://cdnjs.cloudflare.com/ajax/libs/gsap/3.1.1/gsap.min.js'></script>
  <script  src="function.js"></script>

</body>
</html>
style.css
Now create a CSS file named ‘style.css‘ and put these codes given here.
* {
  box-sizing: border-box;
  margin: 0;
  padding: 0;
}

body {
  width: 100%;
  height: 100vh;
  display: flex;
  justify-content: center;
  align-items: center;
  background: #ff3636;
  overflow: hidden;
}

#container {
  width: 350px;
  height: 350px;
  display: grid;
  place-items: center;
}
#container ul {
  position: relative;
  width: 350px;
  height: 50px;
  display: grid;
  grid-template-columns: repeat(3, 1fr);
  border-radius: 35px;
  background: rgba(255, 255, 255, 0.65);
  box-shadow: 0 12.5px 10px rgba(0, 0, 0, 0.08), 0 100px 80px rgba(0, 0, 0, 0.03);
  overflow: hidden;
}
#container ul li {
  list-style: none;
  display: grid;
  place-items: center;
  font-family: "montserrat";
  color: #ff3636;
  z-index: 10;
  cursor: pointer;
}
#container ul .focus {
  position: absolute;
  left: 0;
  top: 0;
  width: calc(100% / 3);
  height: 100%;
  border-radius: 35px;
  background: #fff;
  box-shadow: 0 12.5px 10px rgba(0, 0, 0, 0.015), 0 100px 80px rgba(0, 0, 0, 0.03);
}
#container ul .focus.second {
  left: calc(-100% / 3);
}
function.js
The final step, create a JavaScript file named ‘function.js‘ and put the codes.
console.clear();

const liContainer = document.querySelector("ul");
const liEls = [...document.querySelectorAll("ul li")];
const slideEl_1 = document.querySelector(".focus.first");
const slideEl_2 = document.querySelector(".focus.second");

gsap.defaults({
	ease: "ease.inOut",
});
let tl = gsap.timeline();

let liRect = liContainer.getBoundingClientRect();
let slideEl_1_DefaultWidth = slideEl_1.getBoundingClientRect().width;
let slideEl_1_DefaultLeft = slideEl_1.getBoundingClientRect().left;
let slideEl_2_DefaultLeft = slideEl_2.getBoundingClientRect().left;

let startPosIndex = 1;
let reachedEnd = false;
let activeIndex = startPosIndex;

let animationDuration = 0.2;

liEls.forEach((el, index) => {
	let elRect = el.getBoundingClientRect();

	el.addEventListener("mousedown", () => {
		if (reachedEnd && index + 1 == startPosIndex) {
		tl.to(slideEl_1, animationDuration, { left: `${liRect.width}px` });
		tl.to(
		slideEl_2,
		animationDuration,
		{ left: `${elRect.left - liRect.left}px` },
		`-=${animationDuration}`
		);
		tl.set(
		slideEl_1,
		{ left: `${slideEl_1_DefaultLeft - liRect.left}px` },
		`+=${animationDuration}`
		);
		tl.set(
		slideEl_2,
		{ left: `${slideEl_2_DefaultLeft - liRect.left}px` },
		`+=${animationDuration}`
		);
		}

		let timesWidth = index + 1 - activeIndex + 1 <= 0 ? 1 : index + 1 - activeIndex + 1;
		activeIndex = index + 1;

		tl.to(slideEl_1, animationDuration, { width: `${timesWidth * slideEl_1_DefaultWidth}px` });
		if (index + 1 != startPosIndex || reachedEnd == false) {
		tl.to(slideEl_1, animationDuration, {
		left: `${elRect.left - liRect.left}px`,
		width: `${slideEl_1_DefaultWidth}px`,
		});
		}

		if (index + 1 == liEls.length) {
		reachedEnd = true;
		} else {
		reachedEnd = false;
		}
	});
});
That’s It. Now you have successfully created Segmented Control With JavaScript and CSS, List Based Segmented Control. If you have any doubt or question then comment down below.
Thanks for Visiting, Keep Visiting.
#javascript #css #jQuery