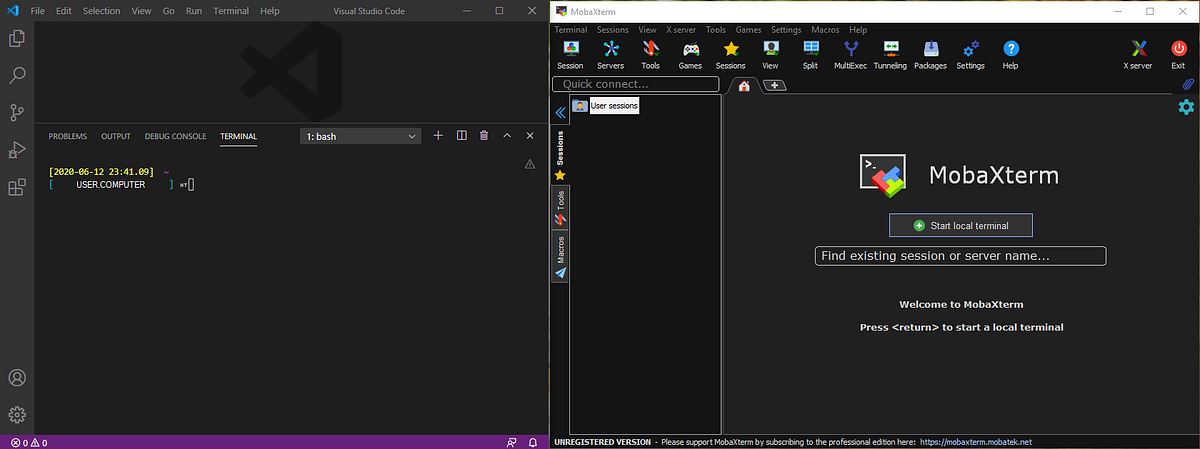
In this post, let’s see how to set up a clean environment in Windows using Visual Studio Code.
First, we need to download VS Code Installer from official site. As I prefer to try everything as non-admin user, download the 64 bit User Installer 1.46.0 version. Run the downloaded “VSCodeUserSetup-x64–1.46.0.exe”, install with these options: location - “C:\Users*UserName*\Apps\VSCode”, No Start Menu folder, Select all Additional Tasks. Launch VS Code, we have a nice, clean editor for our development.
If you prefer not to share all your data usage and errors to Microsoft, open settings File > Preferences > Settings, search for telemetry, and uncheck the Telemetry: Enable Telemetry setting.
When you open VS Code, you will see the Welcome Tab. Click on Install support for Python in Customize section, this will install Python extension for VS Code.
When you open new terminal (Terminal > New Terminal), we can either see Windows Power Shell or Command Prompt depending upon your system. I am much comfortable to use Linux commands rather than Windows commands. Let’s see how can we change the default terminal.
#vscode #linux #anaconda #python
