Introduction
OpenCV, or Open Source Computer Vision Library, is a powerful library used for image processing and image recognition. The library has a massive community and has been used extensively in many fields, from face detection to interactive art. It was first built in C++, but bindings have been created for different languages, such as Python and Java. It is even available in JavaScript as OpenCV.js, which is what we’ll be using for this tutorial.
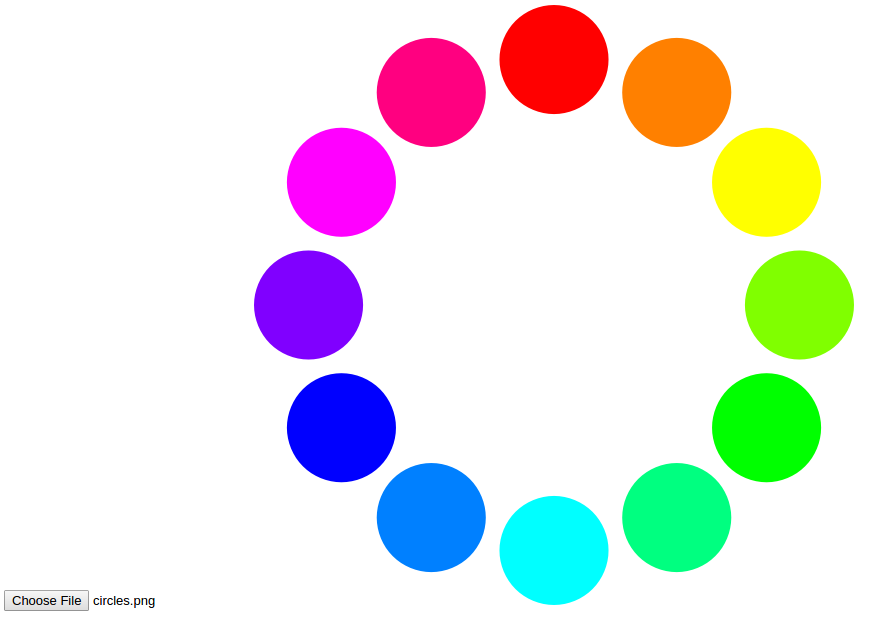
In this project, we will create a webpage where a user can upload an image in order to detect all the circles contained in it. We will highlight the circles with a black outline, and the user will be able to download the modified image.
The code for this project is available in this GitHub repo.
Prerequisites
To complete this tutorial, you will need to pull in the OpenCV.js library. The 3.3.1 version is available here:
https://docs.opencv.org/3.3.1/opencv.js
Save this file locally as opencv.js in a place where you can easily locate it.
Step 1 — Setting Up the Project
To get started, you will first need to create a space for your project. Create a directory named opencvjs-project:
mkdir opencvjs-project
Move your local copy of opencv.js to this directory.
Next, add an index.html file with the following template:
<!DOCTYPE html>
<html>
<head>
  <title>OpenCV.js</title>
</head>
<body>

  <!-- Our HTML will go here-->

  <script type="text/javascript">
    // Our JavaScript code will go here
  </script>

</body>
</html>
In addition to the existing empty <script> tag in this file, add a new <script> tag which references the local opencv.js file. The script is quite large and takes a bit of time to load, so it is better load it asynchronously. This can be done by adding async to the <script> tag:
<script type="text/javascript">
  // Our JavaScript code will go here
</script>
<script async src="opencv.js" type="text/javascript"></script>
As OpenCV.js may not be ready immediately due to the file size, we can provide a better user experience by showing that the content is being loaded. We can add a loading spinner to the page (credit to Sampson on StackOverflow).
First, add a <div> element <body>:
<body>

  <!-- Our HTML will go here-->
  <div class="modal"></div>

  <script type="text/javascript">
    // Our JavaScript code will go here
  </script>
  <script async src="opencv.js" type="text/javascript"></script>

</body>
Next, add the following CSS into a separate <style> tag in the <head> of index.html. The spinner is invisible by default (thanks to display: none;):
/* display loading gif and hide webpage */
.modal {
    display:    none;
    position:   fixed;
    z-index:    1000;
    top:        0;
    left:       0;
    height:     100%;
    width:      100%;
    background: rgba( 255, 255, 255, .8)
                url('http://i.stack.imgur.com/FhHRx.gif')
                50% 50%
                no-repeat;
}

/* prevent scrollbar from display during load */
body.loading {
    overflow: hidden;
}

/* display the modal when loading class is added to body */
body.loading .modal {
    display: block;
}
To show the loading gif, we can add the "loading" class to the body. Add the following to the empty <script>.
document.body.classList.add('loading');
When OpenCV.js loads, we’ll want to hide the loading gif. Modify the <script> tag which references the local opencv.js file to add an onload event listener:
<script async src="opencv.js" onload="onOpenCvReady();" type="text/javascript"></script>
Then add onOpenCvReady to the other <script> tag to handle removing the "loading" class:
index.html
// previous code is here

function onOpenCvReady() {
  document.body.classList.remove('loading');
}
Open the HTML page in your browser and check that OpenCV.js loads as expected.
Note: Using your browser’s developer tools, you should verify that there are no error messages in the Console tab and that the Network tab shows the opencv.js file being referenced properly. You will be periodically refreshing this page in your browser to view your latest changes.
Now that you’ve set up the project, you’re ready to build the image upload functionality.
Step 2 — Uploading the Image
To create the upload functionality, start by adding in an <input> element to index.html:
<input type="file" id="fileInput" name="file" />
If we just want to display the source image, we’ll also need to add an <img> element and an event listener, which responds to change on the <input> element. Copy the following tag and place it under the <input> tag:
<img id="imageSrc" alt="No Image" />
Get both the <img> element and the <input> element using their id values:
// previous code is here

let imgElement = document.getElementById('imageSrc');
let inputElement = document.getElementById('fileInput');
Now, add the event listener, which triggers when the <input> changes (i.e., when a file is uploaded). From the change event, it’s possible to access the uploaded file (event.target.files[0]), and convert it into a URL using URL.createObjectURL). The image’s src attribute can be updated to this URL:
// previous code is here

inputElement.onchange = function() {
  imgElement.src = URL.createObjectURL(event.target.files[0]);
};
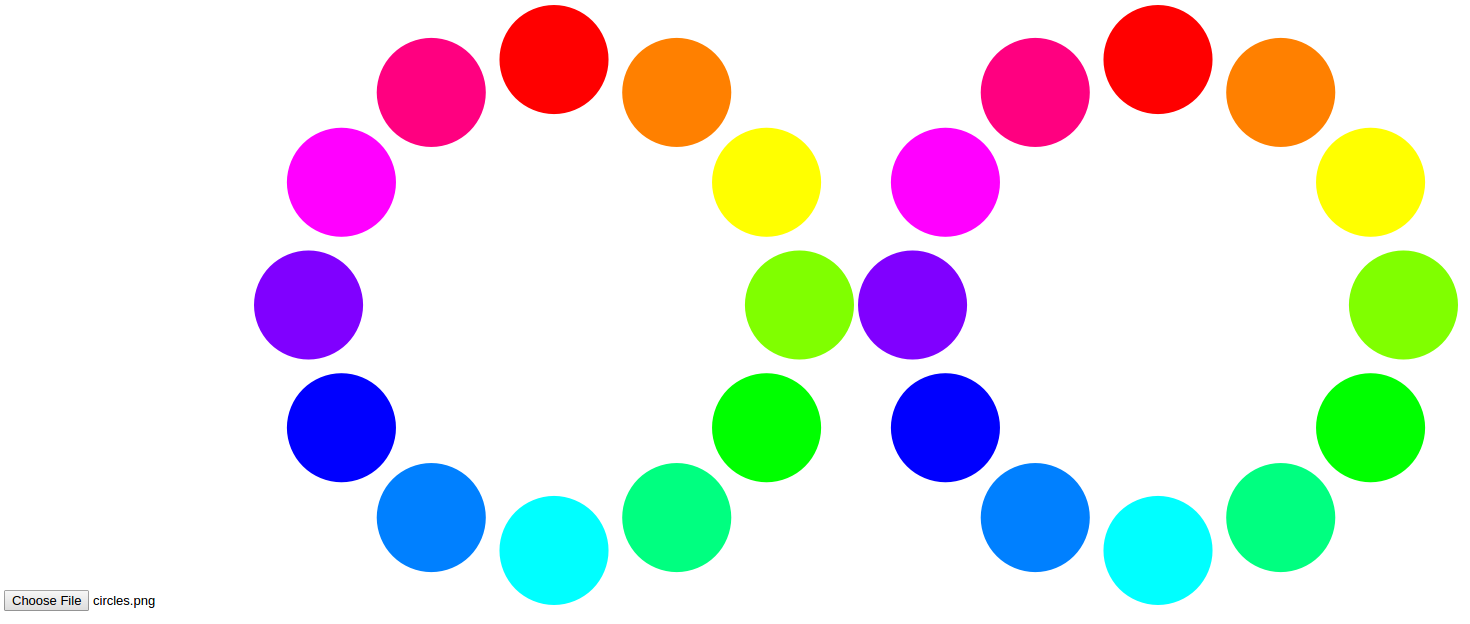
Next to the original image, we can display a second image indicating the detected circles. The image will be displayed with a <canvas> element, which is used for drawing graphics with JavaScript:
<canvas id="imageCanvas"></canvas>
We can add another event listener which updates the <canvas> with the uploaded image:
// previous code is here

imgElement.onload = function() {
  let image = cv.imread(imgElement);
  cv.imshow('imageCanvas', image);
  image.delete();
};
In this step, you’ve set up the image upload and display functionality. In the next step, you’ll explore how to use OpenCV to detect circles.
Step 3 — Detecting Circles
This is where the power of OpenCV is evident, as detecting circles is a built-in task. We want to find the circles when the user clicks a button, so we’ll need to add the button and an event listener:
<button type="button" id="circlesButton" class="btn btn-primary">Circle Detection</button>
// previous code is here

document.getElementById('circlesButton').onclick = function() {
  // circle detection code
};
Depending on the image, circle detection may take a while, so it is a good idea to disable the button to prevent the user from hitting it multiple times. It could also be useful to show a loading spinner on the button. We can reuse the loading gif from the initial script load:
// previous code is here

document.getElementById('circlesButton').onclick = function() {
  this.disabled = true;
  document.body.classList.add('loading');

  // circle detection code

  this.disabled = false;
  document.body.classList.remove('loading');
};
The first step to detecting the circles is reading the image from the <canvas>.
In OpenCV, images are stored and manipulated as Mat objects. These are essentially matrices that hold values for each pixel in the image.
For our circle detection, we’re going to need three Mat objects:
srcMat- Holds the source image (from which circles are detected)circlesMat- Stores the circles we detectdisplayMatOne- Displays to the user (on which we will draw our highlighted circles)
For the final Mat, we can make a copy of the first using the clone function:
// circle detection code
let srcMat = cv.imread('imageCanvas');
let displayMat = srcMat.clone();
let circlesMat = new cv.Mat();
The srcMat needs to be converted to grayscale. This makes circle detection faster by simplifying the image. We can use cvtColor function to do this.
This function needs:
- the source
Mat(srcMat) - the destination
Mat(in this case, the source and the destination Mat will be the samesrcMat) - a value which refers to the color conversion.
cv.COLOR_RGBA2GRAYis the constant for grayscale.
cv.cvtColor(srcMat, srcMat, cv.COLOR_RGBA2GRAY);
The cvtColor function, like other OpenCV.js functions, accepts more parameters. These are not required, so they will be set to the default. You can refer to the documentation for better customization.
Once the image is converted to grayscale, it’s possible to use the HoughCircles function to detect the circles.
This function needs:
- a source
Matfrom where it’ll find the circles (srcMat) - a destination
Matwhere it’ll store the circles (circlesMat) - the method to detect circles (
cv.HOUGH_GRADIENT) - the inverse ratio of the accumulator resolution (
1) - the minimum distance between the center point of circles (
45)
There are more parameters, thresholds for the algorithm (75 and 40), which can be played with to improve accuracy for your images.
It is also possible to limit the range of the circles you want to detect by setting a minimum (0) and maximum radius (0).
cv.HoughCircles(srcMat, circlesMat, cv.HOUGH_GRADIENT, 1, 45, 75, 40, 0, 0);
Now, we should have a Mat object with the circles detected in it.
Next, we’ll draw the circles in our <canvas>.
#opencv #javascript #machine-learning #programming #developer