If you are not familiar with expo, it’s a client that helps you build React Native apps with less build complexity. It also helps you deal with the stress of installing and setting up your environment to run React Native.
In this tutorial, we will be building a simple camera app in which the user can take pictures, see previews of their pictures, use flash mode, and switch between the front and the back cameras.
Prerequisites
Expo doesn’t require much to start building your first React Native app. You can learn more about installing expo and the expo-cli here in the docs.
Note: in this tutorial, I will be using macOS and iOS. You can use Android as well, there is not much difference when using expo at this point.
You can install expo and expo-cli globally by running the following command:
npm install --global expo-cli
Expo requires Nodejs in order to run. You can run the latest version on the official website here.
Getting Started
After you’ve installed Expo and Nodejs, you can start bootstrapping a new Expo project with the command below:
expo init expo-camera-app
How to install the packages and run the app
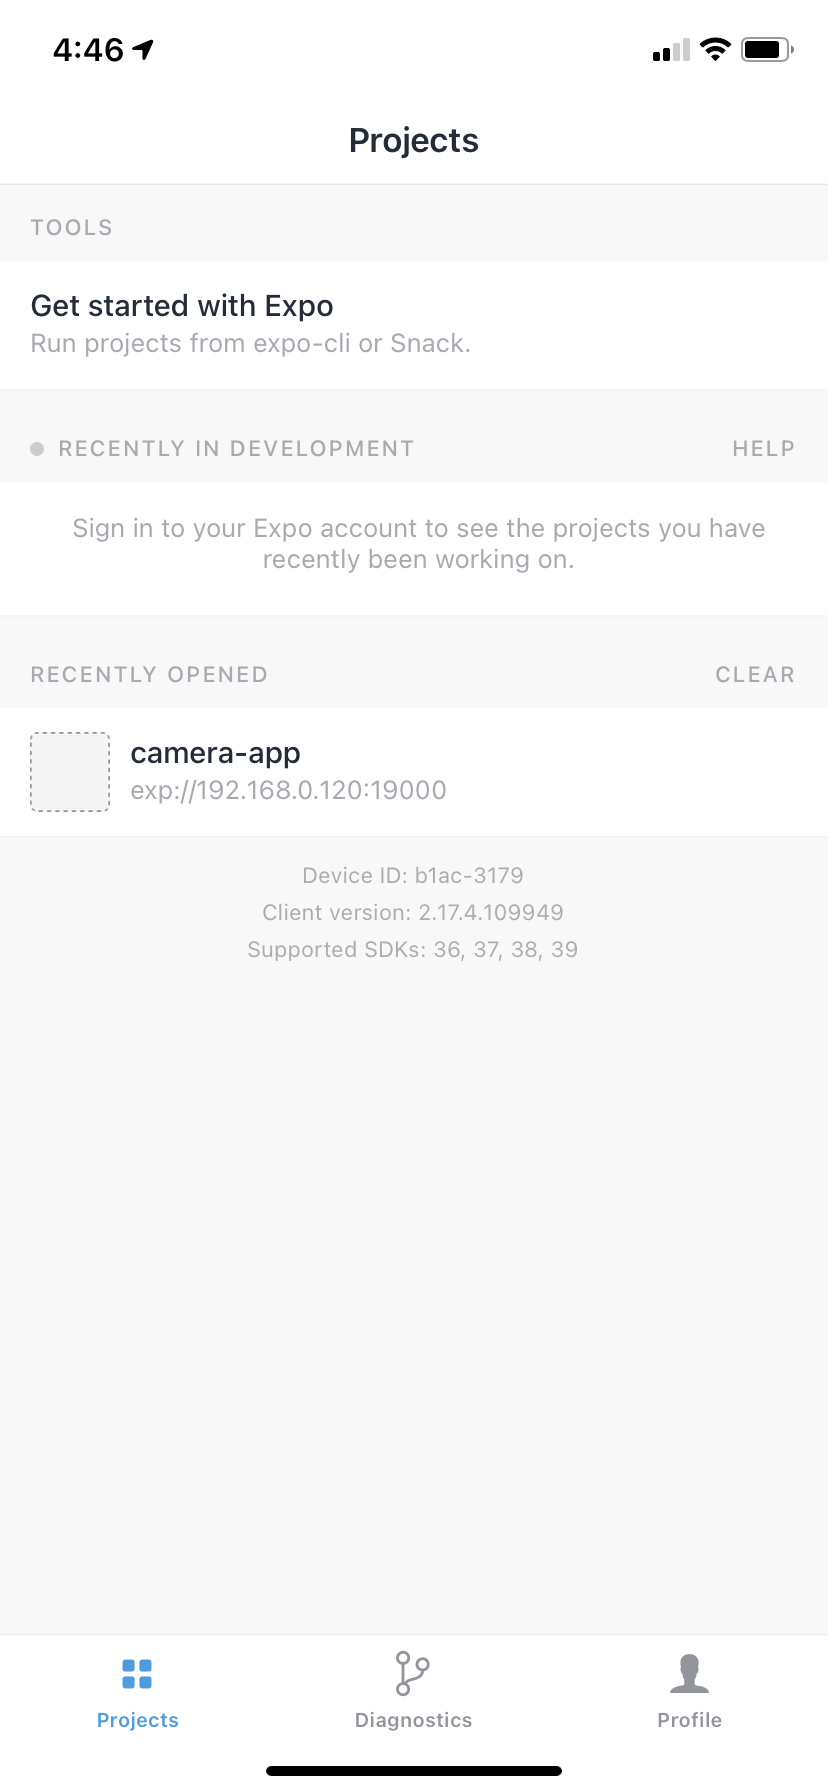
Expo provides us with a client app where we can run and see the preview of the app we are building. It’s available on both the App Store and Google Play to download.
This is the interface of the app.
How to init an expo project
Go the app directory and run the app.
cd expo-camera-app
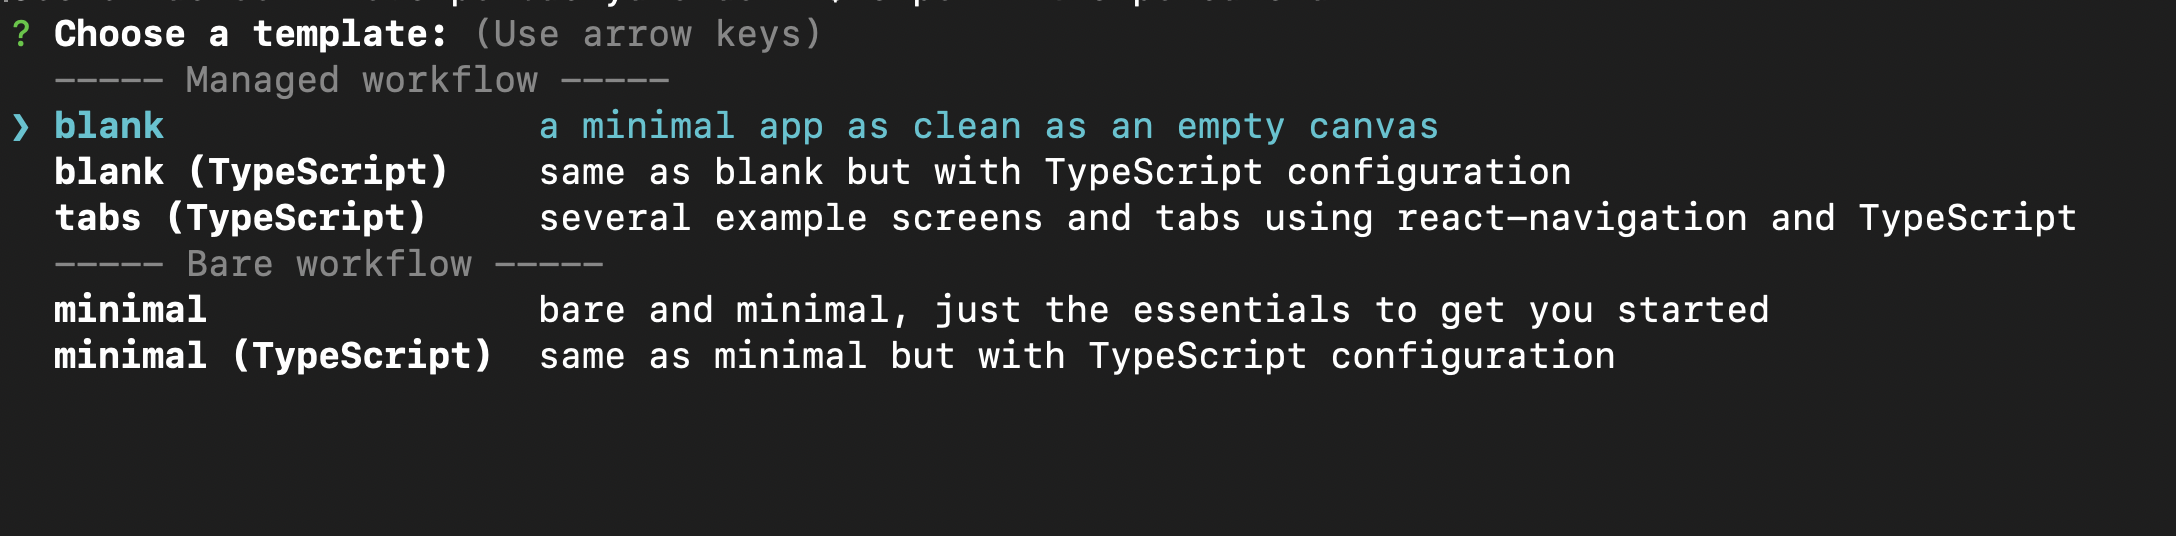
You will be asked a few questions to select the default template for the app. In this tutorial we simply select a blank (TypeScript) option, but again you are free to choose what is right for you.
Run the app
After bootstrapping the project, we can run the app with expo run
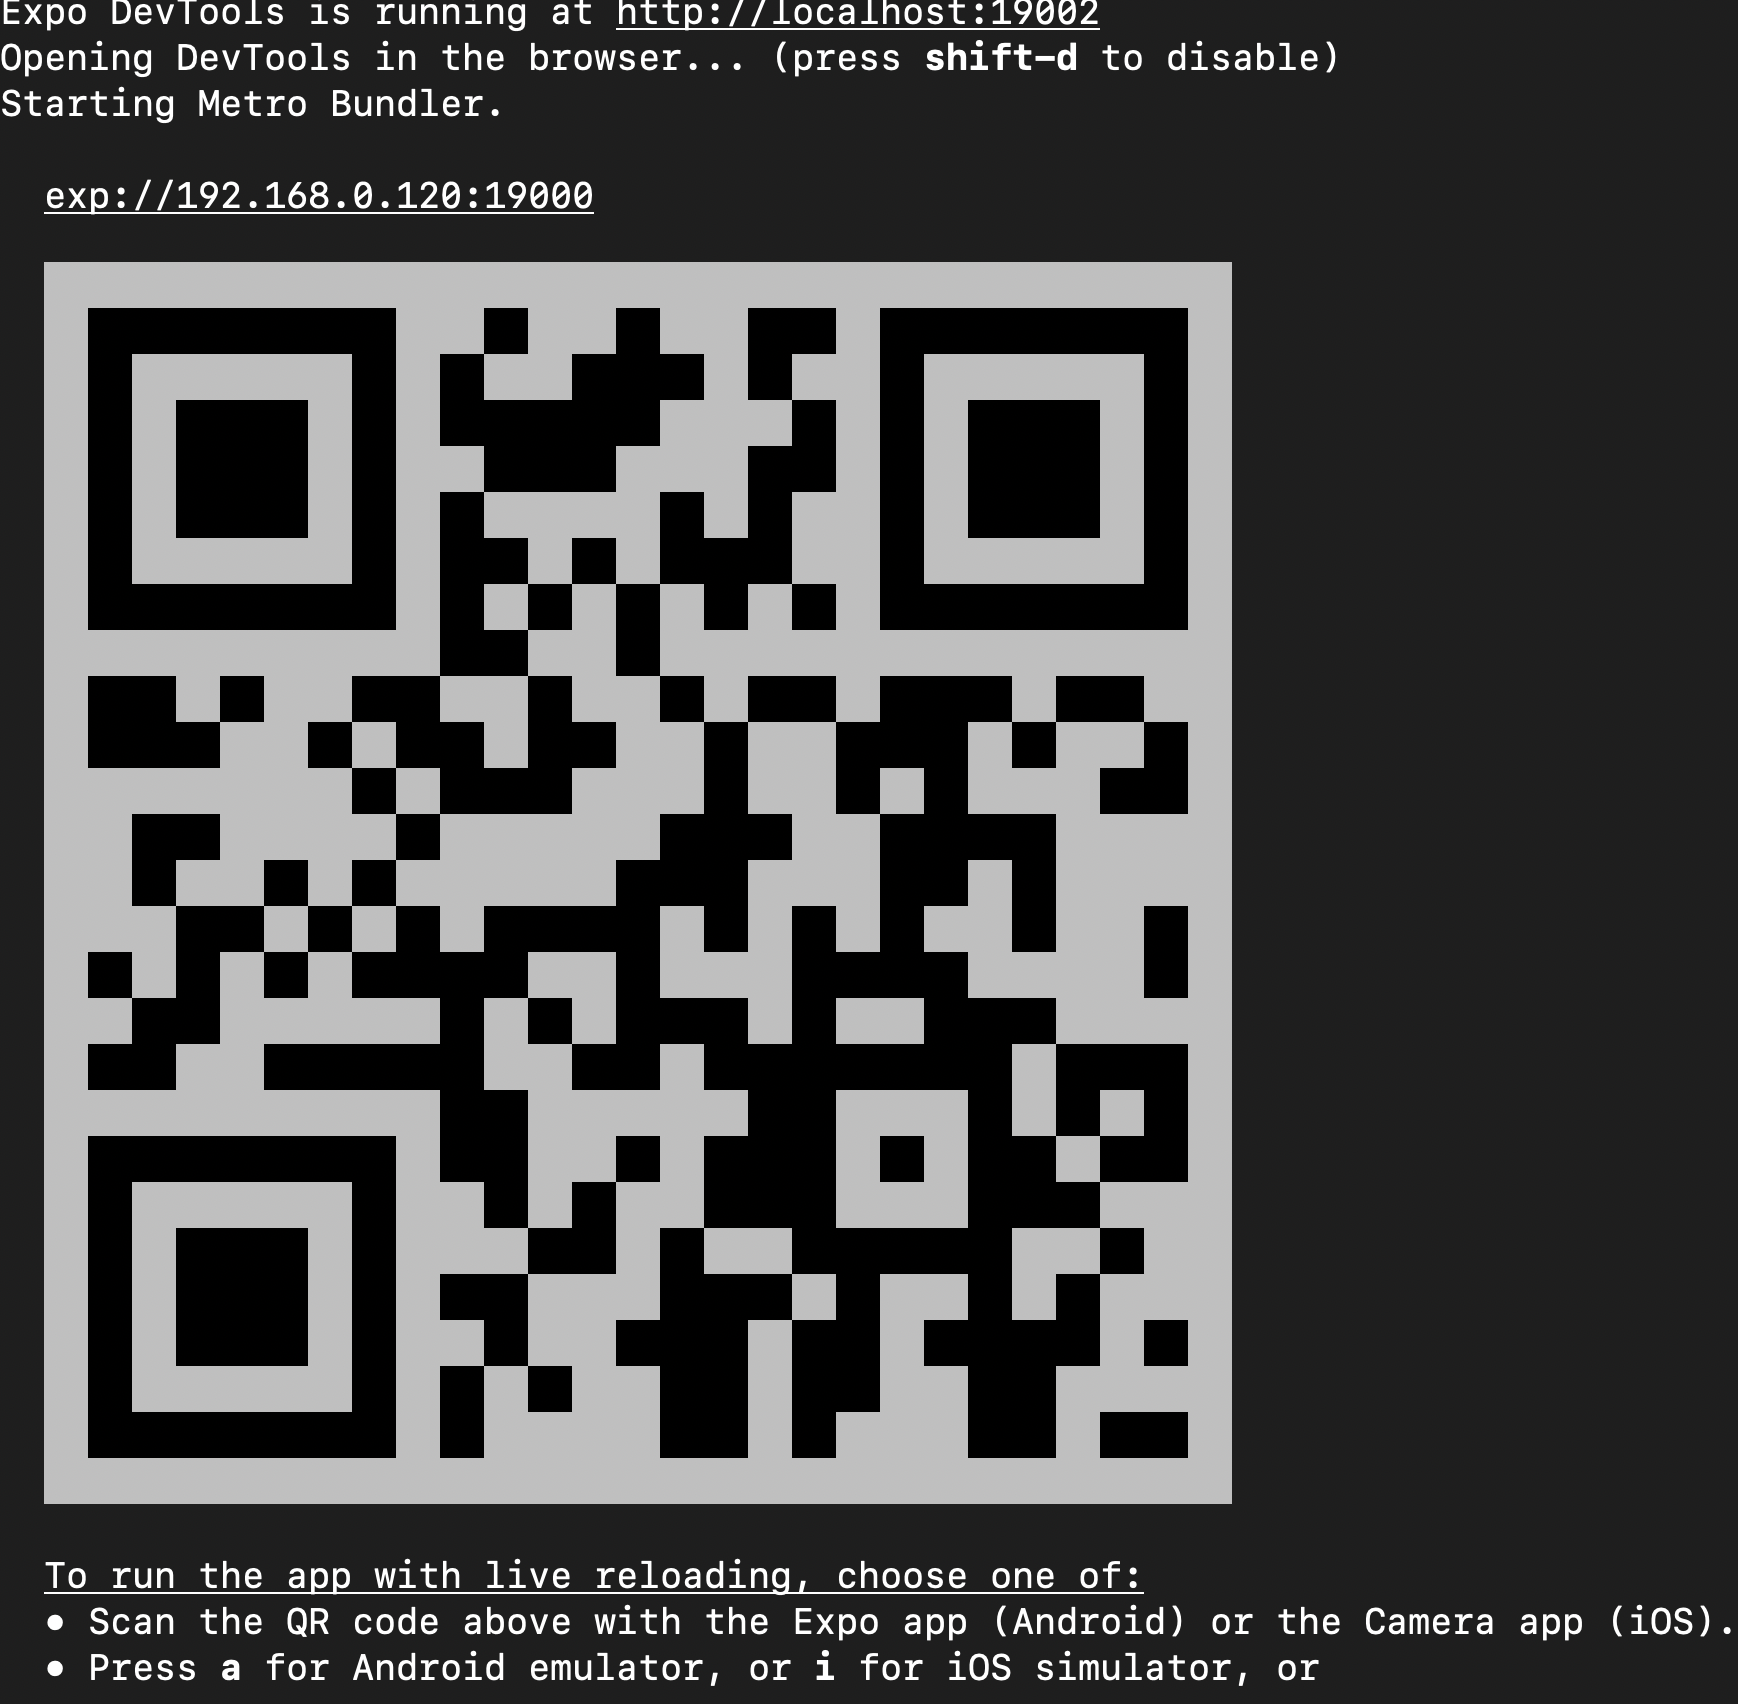
This will open a window in your browser where you can see the logs. It will also generate a QR code that you can scan to run the app on your device.
The good thing about expo is that you don’t need to install and configure the simulators to run the app. It still gives you the option to run expo on the simulator, but you have to install and configure the simulator by yourself.
Back to our app. Assuming you’ve successfully run the app on the device, this will be the default screen:

Open the app directory in your favorite code editor. I’m using VS Code.
The App.tsx will look like this:
import {StatusBar} from 'expo-status-bar'
import React from 'react'
import {StyleSheet, Text, View} from 'react-native'

export default function App() {
  return (
    <View style={styles.container}>
      <Text>Open up App.tsx to start working on your app!</Text>
      <StatusBar style="auto" />
    </View>
  )
}

const styles = StyleSheet.create({
  container: {
    flex: 1,
    backgroundColor: '#fff',
    alignItems: 'center',
    justifyContent: 'center'
  }
})
#react-native #react #programming #developer