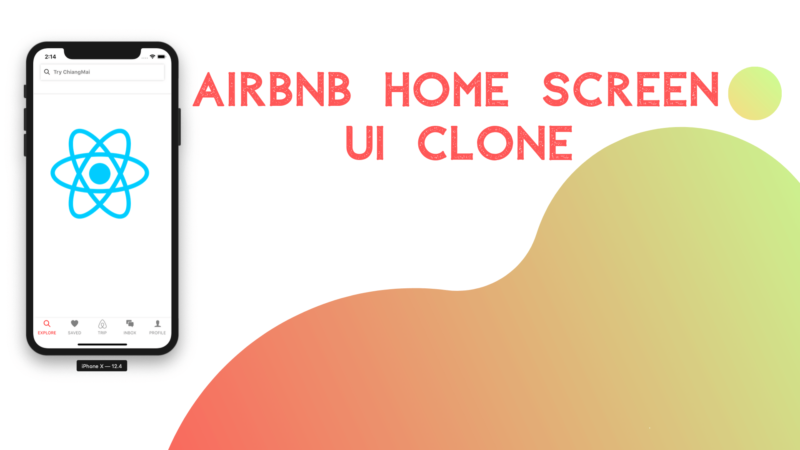
This tutorial series was inspired by React native real estate template which helps us build some amazing ready to deploy applications that anyone can use to build startups or sell the application templates. This tutorial replicates the coding implementations and designs from the Youtube video tutorial by Unsure programmer for the Airbnb clone. The video tutorial is very easy to follow and intuitive. Here, we are going to follow the video tutorial but implement it by using a different version of React Native packages and plugins.
In this first part of this tutorial series, we are going to implement the bottom menu tabs as well as the search bar at the top to set up a beautiful UI. The tutorial is very simple and interesting which will provide step by step guide to implement the required features.
So, let’s get started!
Implementing Bottom Menu Tabs
Here, we are going to implement the bottom menu tab buttons for our Airbnb clone app.
But first, we need to configure the react-native navigations and screens so that we can implement the tab buttons properly. Here, we are going to use react-navigation v4.0 which provides many changes for Bottom tab navigator configuration by separating the packages to react-navigation-tabs and react-native-reanimated. So, to handle the overall react-native navigations we need to install the following packages first:
"react-native-gesture-handler": "^1.4.1",
 "react-native-reanimated": "^1.3.0",
 "react-navigation": "^4.0.10",
"react-navigation-tabs": "^2.5.5"
We can install the packages given above either by using NPM or yarn or expo.
After the successful installation of all the package, we need to change directory to the ios folder in our project command prompt and run the command given in the code snippet below:
pod install
Now, we need to run the project in our iOS emulator by using the following code snippet:
react-native run-ios
Note that: The emulator may need to run prior to running the app in the emulator.
#react-native
