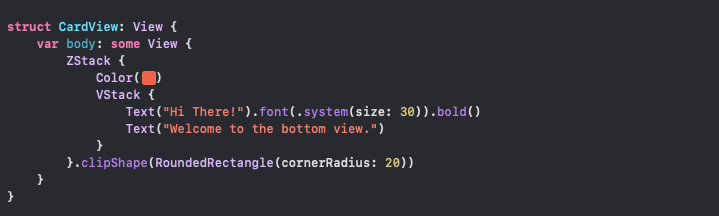
CardView
First, let’s make our CardView. For the tutorial, I only have a ZStack with color and some text. To get rounded edges, you can either use .cornerRadius(radius: CGFloat) or .clipShape(shape: Shape).
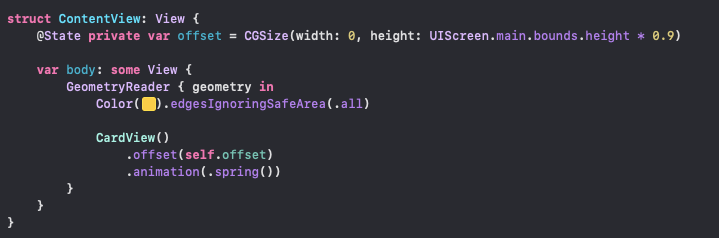
Inside our main view, where we are going to display our card, we need a variable to offset the card position. Below, I have the variable height as the screen height multiplied by 0.9. This will offset our view to be at the bottom 10% of our screen. You can experiment with other values since 10% can be so little inside of long screens like that of the iPhone 11 Pro Max.
@State private var offset = CGSize(width: 0, height: UIScreen.main.bounds.height * 0.9)
Add our CardView to the main view (ContentView), then add to it the offset and a spring animation:
#programming #mobile #swift #swiftui #xcode #mobile app
10.20 GEEK