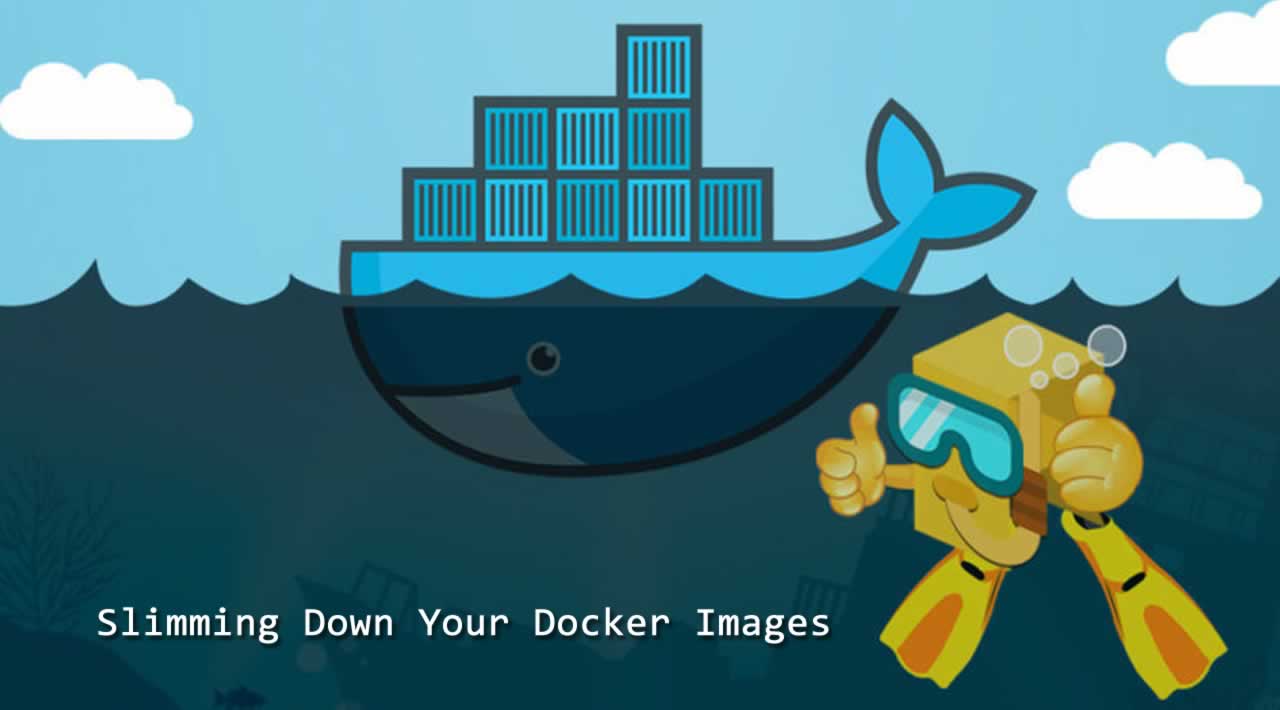
Slimming Down Your Docker Images
“Everything You Need To Know About Docker” is a series of articles (so far 6) that explains different parts of **Docker **in a very simple and straightforward way. Here are the parts so far:
- Docker concepts (Part 1): The Conceptual Landscape (You are here)
- Docker ecosystem (Part 2): A Delicious Dozen Docker Terms You Need to Know
- Dockerfile (Part 3): A Dozen Dandy Dockerfile Instructions
- Slimming down Docker images (Part 4): Learn how to speed up your Docker build cycles and create lightweight images
- Docker commands (Part 5): We’ll look at 15 Docker CLI commands you should know
- Docker data (Part 6): Using data with Docker. In it, we’ll focus on Docker volumes.
Learn how to speed up your Docker build cycles and create lightweight images
Here’s the cheatsheet.
FROM — specifies the base (parent) image.
LABEL —provides metadata. Good place to include maintainer info.
ENV — sets a persistent environment variable.
RUN —runs a command and creates an image layer. Used to install packages into containers.
COPY — copies files and directories to the container.
ADD — copies files and directories to the container. Can upack local .tar files.
CMD — provides a command and arguments for an executing container. Parameters can be overridden. There can be only one CMD.
WORKDIR — sets the working directory for the instructions that follow.
ARG — defines a variable to pass to Docker at build-time.
ENTRYPOINT — provides command and arguments for an executing container. Arguments persist.
EXPOSE — exposes a port.
VOLUME — creates a directory mount point to access and store persistent data.
Let’s now look at how we can fashion our Dockerfiles to save time when developing images and pulling containers.
Caching
One of Docker’s strengths is that it provides caching to help you more quickly iterate your image builds.
When building an image, **Docker **steps through the instructions in your Dockerfile, executing each in order. As each instruction is examined, Docker looks for an existing intermediate image in its cache that it can reuse instead of creating a new (duplicate) intermediate image.
If cache is invalidated, the instruction that invalidated it and all subsequent **Dockerfile **instructions generate new intermediate images. As soon as the cache is invalidated, that’s it for the rest of the instructions in the Dockerfile.
So starting at the top of the Dockerfile, if the base image is already in the cache it is reused. That’s a hit. Otherwise, the cache is invalidated.
Also a hit
Then the next instruction is compared against all child images in the cache derived from that base image. Each cached intermediate image is compared to see if the instruction finds a cache hit. If it’s a cache miss, the cache is invalidated. The same process is repeated until the end of the **Dockerfile **is reached.
Most new instructions are simply compared with those in the intermediate images. If there’s a match, then the cached copy is used.
For example, when a RUN pip install -r requirements.txt instruction is found in a Dockerfile, **Docker **searches for the same instruction in its locally cached intermediate images. The content of the old and new requirements.txt files are not compared.
This behavior can be problematic if you update your requirements.txt file with new packages and use RUN pip install and want to rerun the package installation with the new package names. I’ll show a few solutions in a moment.
Unlike other **Docker **instructions, ADD and COPY instructions do require *Docker *to look at the contents of the file(s) to determine if there is a cache hit. The checksum of the referenced file is compared against the checksum in the existing intermediate images. If the file contents or metadata have changed, then the cache is invalidated.
Here are a few tips for using caching effectively.
- Caching can be turned off by passing --no-cache=True with docker build.
- If you are going to be making changes to instructions, then every layer that follows will be rebuilt frequently. To take advantage of caching, put instructions that are likely to change as low as you can in your Dockerfile.
- Chain RUN apt-get update and apt-get install commands to avoid cache miss issues.
- If you’re using a package installer such as pip with a requirements.txt file, then follow a model like the one below to make sure you don’t receive a stale intermediate image with the old packages listed in requirements.txt.
COPY requirements.txt /tmp/
 RUN pip install -r /tmp/requirements.txt
 COPY . /tmp/
Size Reduction
Docker images can get large. You want to keep them small so they can pulled quickly and use few resources. Let’s skinny down your images!
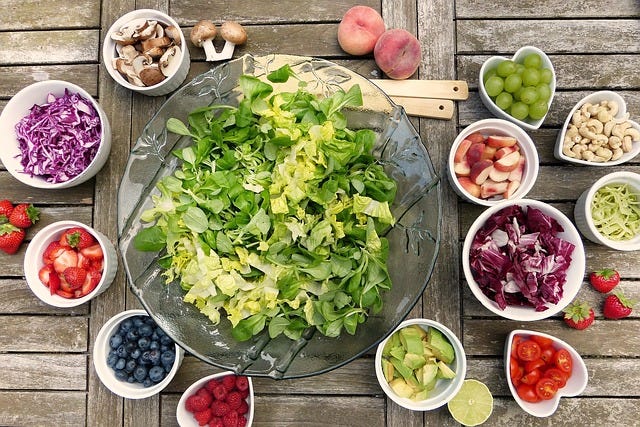
Go for a salad instead of a bagel
An Alpine base image is a full Linux distribution without much else. It is usually under 5 MB to download, but it requires you to spend more time writing the code for the dependencies you need to build a working app.

Alpine comes from Alps
If you need Python in your container, the Python Alpine build is a nice compromise. It contains Linux and Python and you supply most everything else.
An image I built with the latest Python Alpine build with a print(“hello world”) script weighs in at 78.5 MB. Here’s the Dockerfile:
COPY requirements.txt /tmp/
 RUN pip install -r /tmp/requirements.txt
 COPY . /tmp/
On the Docker Hub website the base image is listed as 29 MB. When the child image is built it downloads and installs Python, making it grow larger.
Besides using Alpine base images, another method for reducing the size of your images is using multistage builds. This technique also adds complexity to your Dockerfile.
Multistage Builds


One stage + another stage = multistage
Multistage builds use multiple FROM instructions. You can selectively copy files, called build artifacts, from one stage to another. You can leave behind anything you don’t want in the final image. This method can reduce your overall image size.
Each FROM instruction
- begins a new stage of the build.
- leaves behind any state created in prior stages.
- can use a different base.
Here’s a modified example of a multistage build from the Docker docs:
COPY requirements.txt /tmp/
 RUN pip install -r /tmp/requirements.txt
 COPY . /tmp/
Note that we name the first stage by appending a name to the FROM instruction to name. The named stage is then be referred to in theFROM instruction later in the Dockerfile.
Multistage builds make sense in some cases where you’ll be making lots of containers in production. Multistage builds can help you squeeze every last ounce (gram if you think in metric) out of your image size. However, sometimes multistage builds add more complexity that can make images harder to maintain, so you probably won’t use them in most builds.
In contrast, everyone should use a .dockerignore file to help keep their Docker images skinny.
.dockerignore
.dockerignore files are something you should know about as a person who knows enough Docker to be d̶a̶n̶g̶e̶r̶o̶u̶s̶ useful.
.dockerignore is similar to .gitignore. It’s a file with a list of patterns for Docker to match with file names and exclude when making an image.

Just .dockerignore it
Put your .dockerignore file in the same folder as your **Dockerfile **and the rest of your build context.
When you run FROM to create an image, Docker checks for a .dockerignore file. If one is found, it then goes through the file line by line and uses Go’s filepath.Match rules — and a few of Docker’s own rules — to match file names for exclusion. Think Unix-style glob patterns, not regular expressions.
So FROM will exclude files with a .jpg extension. And FROM will exclude the videos folder and its contents.
You can explain what you’re doing in your .dockerignore with comments that start with aFROM.
Using .dockerignore to exclude files you don’t need from your Docker image is a good idea. .dockerignore can:
- help you keep your secrets from being revealed. No one wants passwords in their images.
- reduce image size. Fewer files means smaller, faster images.
- reduce build cache invalidation. If logs or other files are changing and your image is having its cache invalidated because of it, that’s slowing down your build cycle.
Those are the reasons to use a .dockerignore file. Check out the docs for more details.
Size Inspection
Let’s look at how to find the size of Docker images and containers from the command line.
- To view the approximate size of a running container, you can use the command
FROM. - Running
FROMshows the sizes of your images. - To see the size of the intermediate images that make up your image use
FROM. - Running
FROMwill show you many things about your image, including the sizes of each layer. Layers are subtly different than the images that make up an entire image. But you can think of them as the same for most purposes. - Installing and using the dive package makes it easy to see into your layer contents.
I updated the above section Feb. 8, 2019 to use management command names. In the next part of this series we’ll dive further into common Docker commands. Follow me to make sure you don’t miss it.
Now let’s look at a few best practices to slim things down.
Eight Best Practices to Reduce Image Sizes & Build Times
-
Use an official base image whenever possible. Official images are updated regularly and are more secure than un-official images.
-
Use variations of Alpine images when possible to keep your images lightweight.
-
If using apt, combine RUN apt-get update with apt-get install in the same instruction. Then chain multiple packages in that instruction. List the packages in alphabetical order over multiple lines with the
FROMcharacter. For example:
COPY requirements.txt /tmp/
 RUN pip install -r /tmp/requirements.txt
 COPY . /tmp/
This method reduces the number of layers to be built and keeps things nice and tidy.
-
Include
FROMat the end of the RUN instruction to clean up the apt cache so it isn’t stored in the layer. See more in the Docker Docks. -
Use caching wisely by putting instructions likely to change lower in your Dockerfile.
-
Use a .**dockerignore **file to keep unwanted and unnecessary files out of your image.
-
Check out dive — a very cool tool for inspecting your Docker image layers and helping you trim the fat.
-
Don’t install packages you don’t need. Duh! But common.
Wrap
Now you know how to make Docker images that build quickly, download quickly, and don’t take up much space. As with eating healthy, knowing is half the battle. Enjoy your veggies!
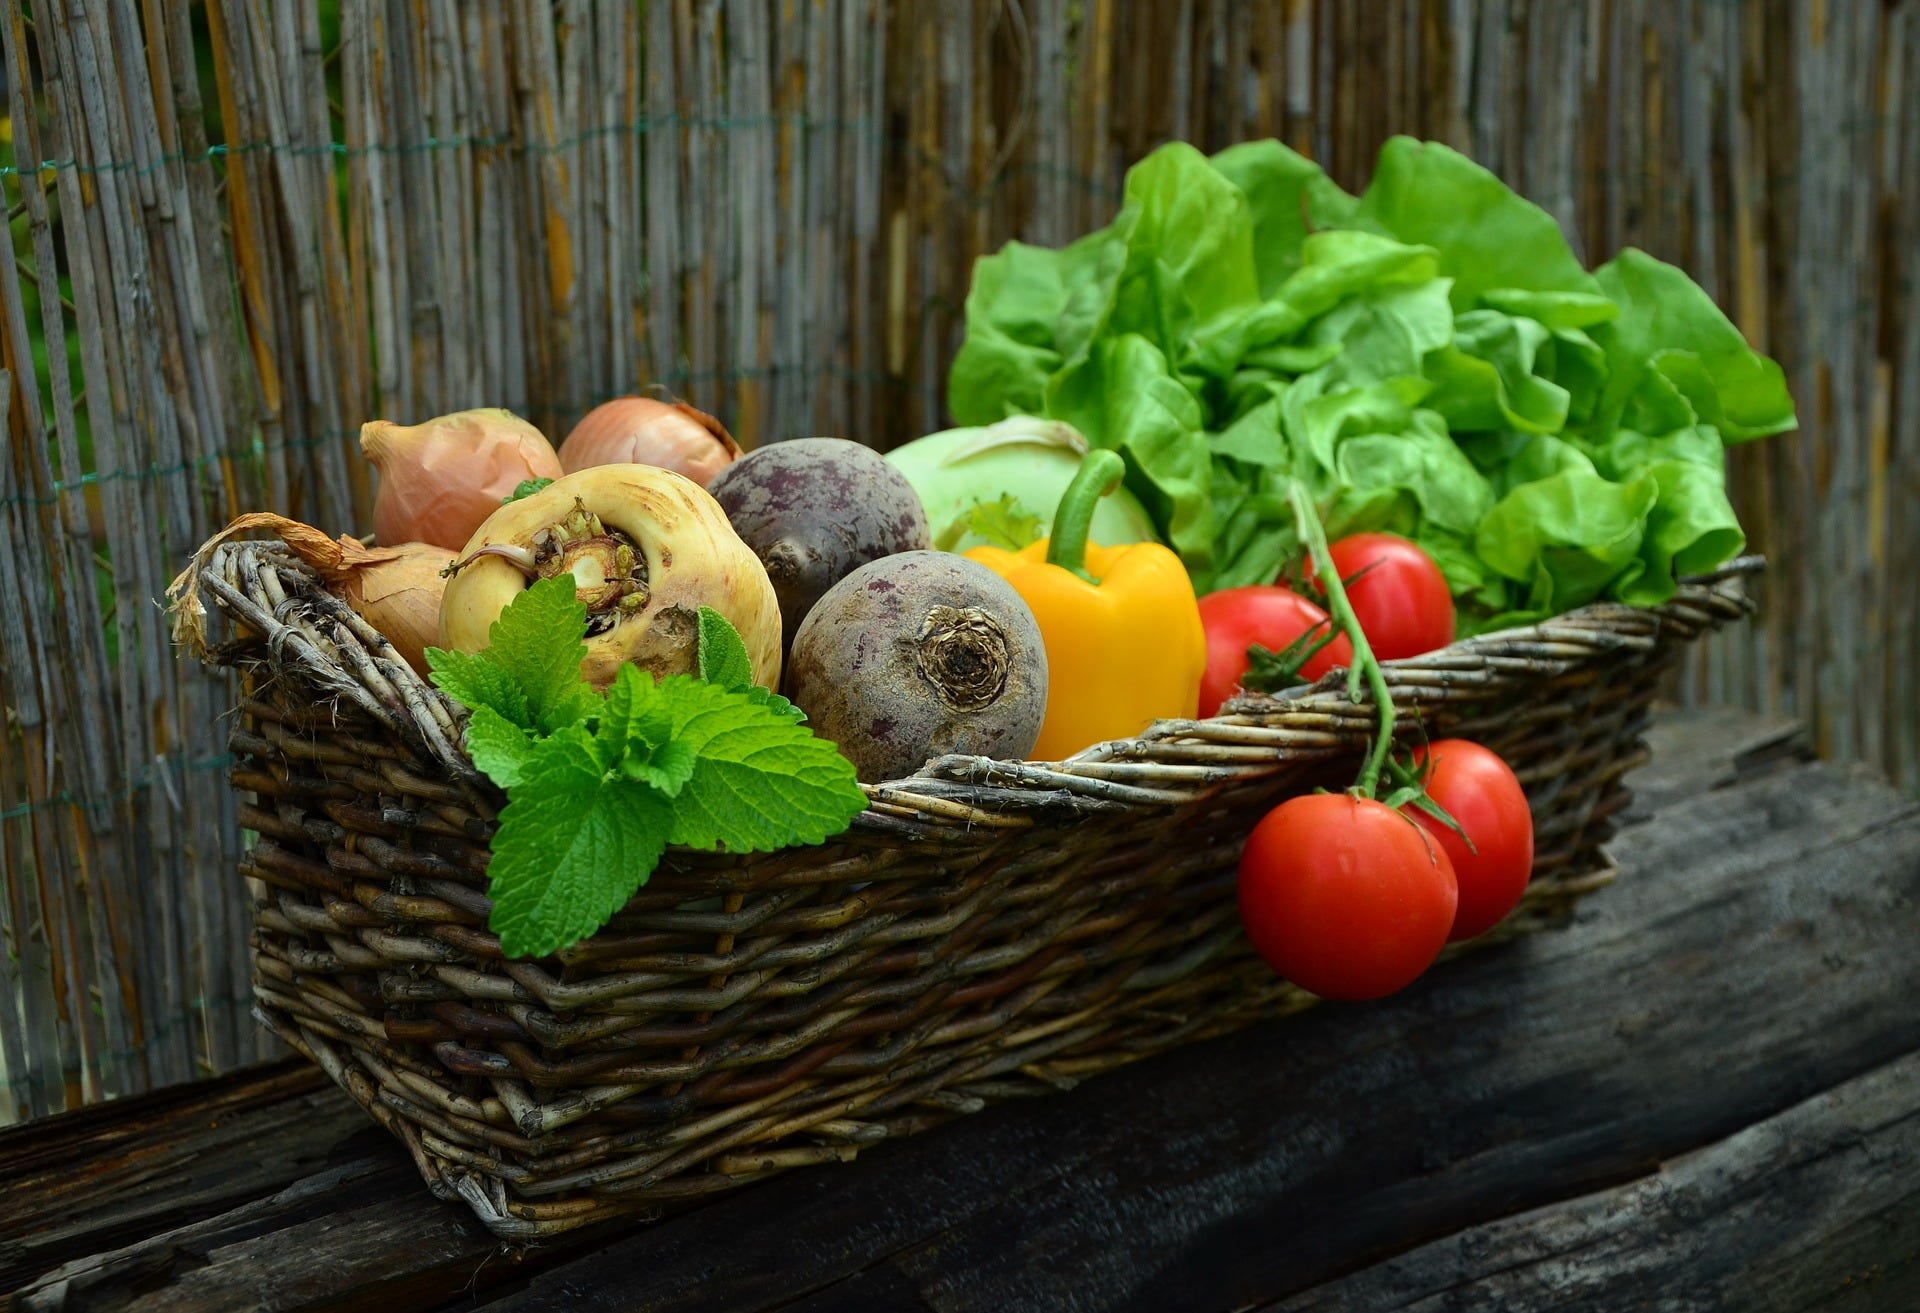
Healthy and yummy
#docker #devops