Implement the ability to view the wishlist, as well as add, edit, and delete items from the wishlist.
This is the second in a series of articles in which you’ll create a “wishlist” mobile application using the Flutter SDK. The wishlist contains items that the user would like to someday own, storing each item’s name, description, and URL. The mobile app provides the user interface and communicates with a back-end application, which stores the list and provides an API to perform CRUD operations on it. Initially, the app will communicate with a public API that anyone can access; later, you’ll modify the app so that the user signs in using Auth0 to access their list via a secured API.
Note: This article builds on material and code from the previous article in this series, Build a Flutter Wishlist App, Part 1: Introducing Flutter and Building a Basic Wishlist App.
The App So Far
Here’s what you’ve done so far:
- You created your own copy of the wishlist server application. You did this using Glitch, a web application hosting service that allows you to create your own “remixes” of an existing project. The mobile app will use this server application as its back end.
- You created a new Flutter app. By default, Flutter creates a simple single-screen “starter” app, which you promptly discarded.
- You created the app’s domain models. This is a simple application, so it has only two models: one for items in the list and one for the list itself.
- You created a service to manage the wishlist. This service is a class containing methods to call the wishlist server API’s endpoints, which provide the functionality to get the list of items, add an item to the list, edit an item in the list, and delete an item from the list.
- And finally, you created the landing page. This is the app’s opening screen. It greets the user and presents them with a button that they will eventually tap in order to sign in:
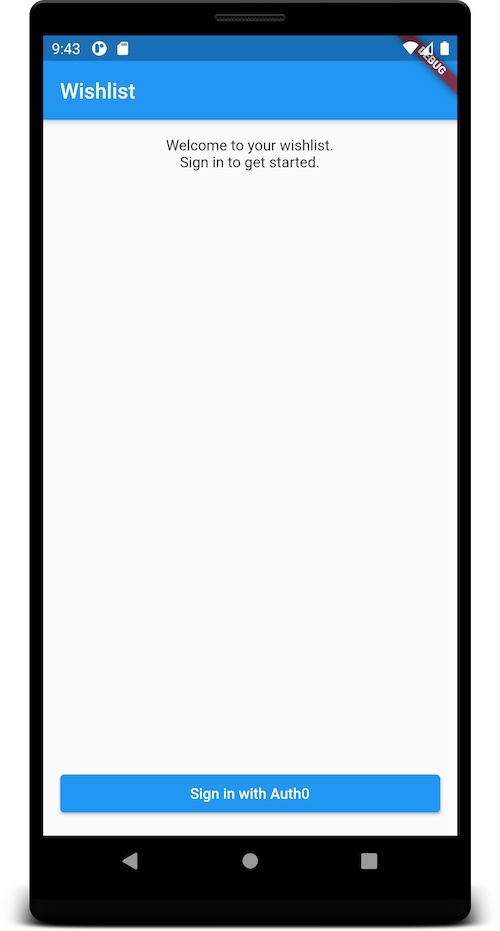
At the end of the previous article, running the app presented the user with the landing page, but the app does little more than that. If you were to tap the Sign in with Auth0 button, you would be presented with a spinning progress indicator. After three seconds, the progress indicator would disappear.
The app doesn’t do much — yet — but we’re going to fix that! In this article, you’ll give the app full CRUD functionality. The user will be able to view their wishlist, as well as add, edit, and delete items.
Let’s continue building the app!
#flutter