Hello readers, I thought of doing something different like to make a multi-part tutorial here on Medium. So, now I am making this multi-part tutorial series focused on learning Django. This tutorial series is beginner-friendly and will help the beginners learn Django by doing some practical project.
To make it simple, we won’t be using any Frontend Framework in this project. We will use HTML, CSS (Bootstrap and some custom CSS) and JQuery in the project.
The main focus of this tutorial series is to learn Django so we would mostly focus on Django.
So, let’s talk about the project we will be making. It would be a simple Social Media Website where users can do the following things:
- Post images along with description and tags. You can update or delete them anytime.
- View other’s profile and send them a friend request or cancel if you have sent one by mistake.
- Accept or decline friend requests received from other users.
- Unfriend existing friends.
- Search posts on basis of tags.
- Search users based on their username.
- Discover new people section to recommend new people to add as friends based on mutual connections.
These all will be the features of the website we will be building. So, let’s do it part by part.
So, in this first tutorial, we will be setting up our Django Project.
Setting Up a New Django Project
So, setting up a new Django Project is quite simple. First, you need to install Django, if you have not done before.
To install Django, we will need to run the following command:
pip install django
This command will install Django in our system. Now, we are ready to use Django. So, now let’s start our Django Project. We will use the following command to create a new Django Project.
django-admin startproject photoshare
Here, _photoshare _denotes the name we want to give to our Django Project.
It will create and set up the Django Project for us. If you will have a look in the created folder, there will be many files in it. It would have a manage.py file and also a _photoshare _folder. You should not rename that folder. You can rename the outer folder though.
Going inside the _photoshare _folder, you can see various files such as urls.py, settings.py and other files. You can see that all these files have code written in it. We will add our code to them later on as we progress through the project.
We can run the website on our local server to check if everything is running fine.
To do so, we will run the following command on the CLI in the same folder where manage.py file is present:
python manage.py runserver
This will render the Django default page which will look like this:
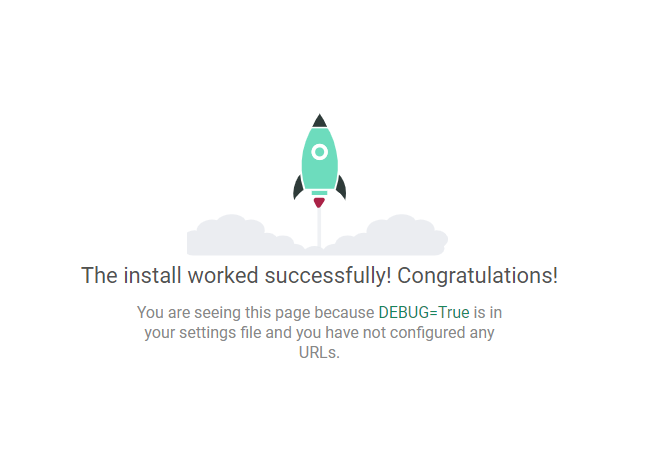
Django Congrats Page
Now, run the following command to make database migrations and then migrate to sync the database.
#python #web-development #django #programming #developer