In this article, we will build a project that mimics the lesser known but awesome file search functionality provided by GitHub.
To see how it works, go to any GitHub repository and press the letter t which will land you in search view. Then you can simultaneously search and scroll through the list as shown in the below gif:
Github file search functionality
By building this app, you will learn the following:
- How to create a UI similar to a GitHub repository
- How to work with keyboard events in React
- How to work with navigation using the arrow keys on your keyboard
- How to highlight matching text while searching
- How to add icons in React
- How to render HTML content in a JSX expression
And much more.
You can see the live demo of the application here.
Let’s get started
Create a new project using create-react-app:
create-react-app github-file-search-react
Once the project is created, delete all files from the src folder and create index.js, App.js and styles.scss files inside the src folder. Also create components and utils folders inside the src folder.
Install the necessary dependencies:
yarn add moment@2.27.0 node-sass@4.14.1 prop-types@15.7.2 react-icons@3.10.0
Open styles.scss and add the contents from here inside it.
Create a new file Header.js inside the components folder with the following content:
import React from 'react';

const Header = () => <h1 className="header">GitHub File Search</h1>;

export default Header;
Create a new file api.js inside the utils folder and add the content from here inside it.
In this file, we have created static data to be displayed on the UI to keep the application simple and easy to understand.
Create a new file ListItem.js inside the components folder with the following content:
import React from 'react';
import moment from 'moment';
import { AiFillFolder, AiOutlineFile } from 'react-icons/ai';

const ListItem = ({ type, name, comment, modified_time }) => {
  return (
    <React.Fragment>
      <div className="list-item">
        <div className="file">
          <span className="file-icon">
            {type === 'folder' ? (
              <AiFillFolder color="#79b8ff" size="20" />
            ) : (
              <AiOutlineFile size="18" />
            )}
          </span>
          <span className="label">{name}</span>
        </div>
        <div className="comment">{comment}</div>
        <div className="time" title={modified_time}>
          {moment(modified_time).fromNow()}
        </div>
      </div>
    </React.Fragment>
  );
};

export default ListItem;
In this file, we are taking the data of each file we want to display and we’re displaying the folder/file icon, the name of the file, the comment(s), and the last time the file was modified.
For displaying the icons, we’ll use the react-icons npm library. It has a really nice website that lets you easily search and use the icons you need. Check it out here.
The icons component accepts the color and size props to customize the icon which we have used in the above code.
Create a new file called FilesList.js inside the components folder with the following content:
import React from 'react';
import ListItem from './ListItem';

const FilesList = ({ files }) => {
  return (
    <div className="list">
      {files.length > 0 ? (
        files.map((file, index) => {
          return <ListItem key={file.id} {...file} />;
        })
      ) : (
        <div>
          <h3 className="no-result">No matching files found</h3>
        </div>
      )}
    </div>
  );
};

export default FilesList;
In this file, we read the static data from the api.js file and then display each element of the files array by using the array map method.
Now open the src/App.js file and add the following code inside it:
import React from 'react';
import Header from './components/Header';
import FilesList from './components/FilesList';
import files from './utils/api';

export default class App extends React.Component {
  state = {
    filesList: files
  };

  render() {
    const { counter, filesList } = this.state;

    return (
      <div className="container">
        <Header />
        <FilesList files={filesList} />
      </div>
    );
  }
}
In this file, we have added a state to store the static files data which we can modify whenever we need to do so. Then we have passed it to the FilesList component to display on the UI.
Now, open the index.js file and add the following code inside it:
import React from 'react';
import ReactDOM from 'react-dom';
import App from './App';
import './styles.scss';

ReactDOM.render(<App />, document.getElementById('root'));
Now, start your application by running the yarn start command from the terminal or command prompt and you will see the following initial screen:
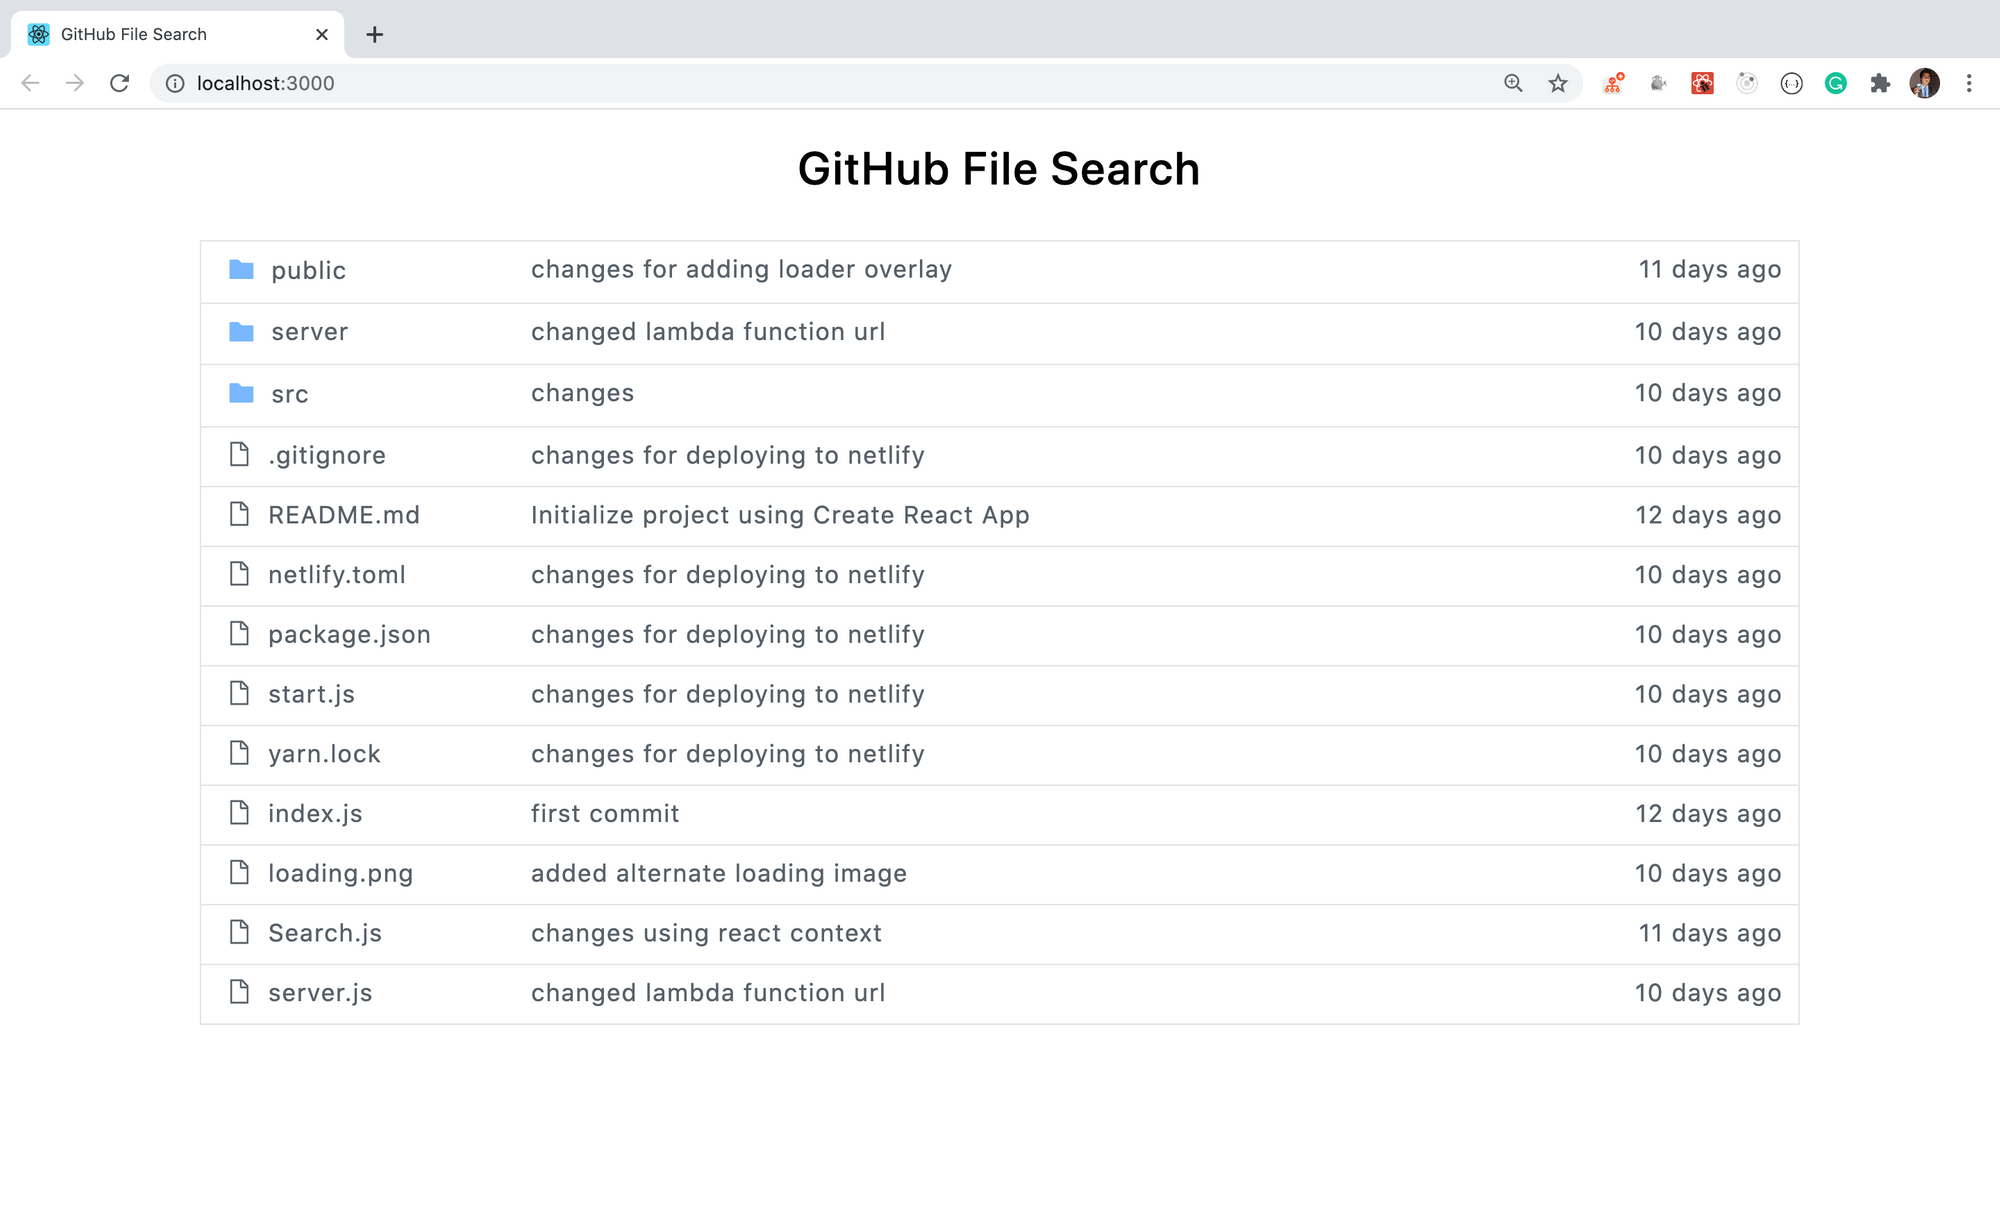 Initial screen
You can find the code up to this point in this branch.
#github #react #javascript #developer #web-development