HTML、CSS、JavaScript を使用して QR コード ジェネレーターを構築する
このチュートリアルでは、任意のテキストまたは URL の QR コードを作成するために使用できる、単純な QR コード ジェネレーターを構築する方法を説明します。HTML を使用してジェネレーターのマークアップを作成し、CSS を使用してスタイルを設定し、JavaScript を使用して QR コードの生成や画面上に表示するなどの機能を追加する方法を学びます。このチュートリアルを終えると、Web サイト、名刺、その他の資料用の QR コードを作成するために使用できる QR コード ジェネレーターを構築できるようになります。
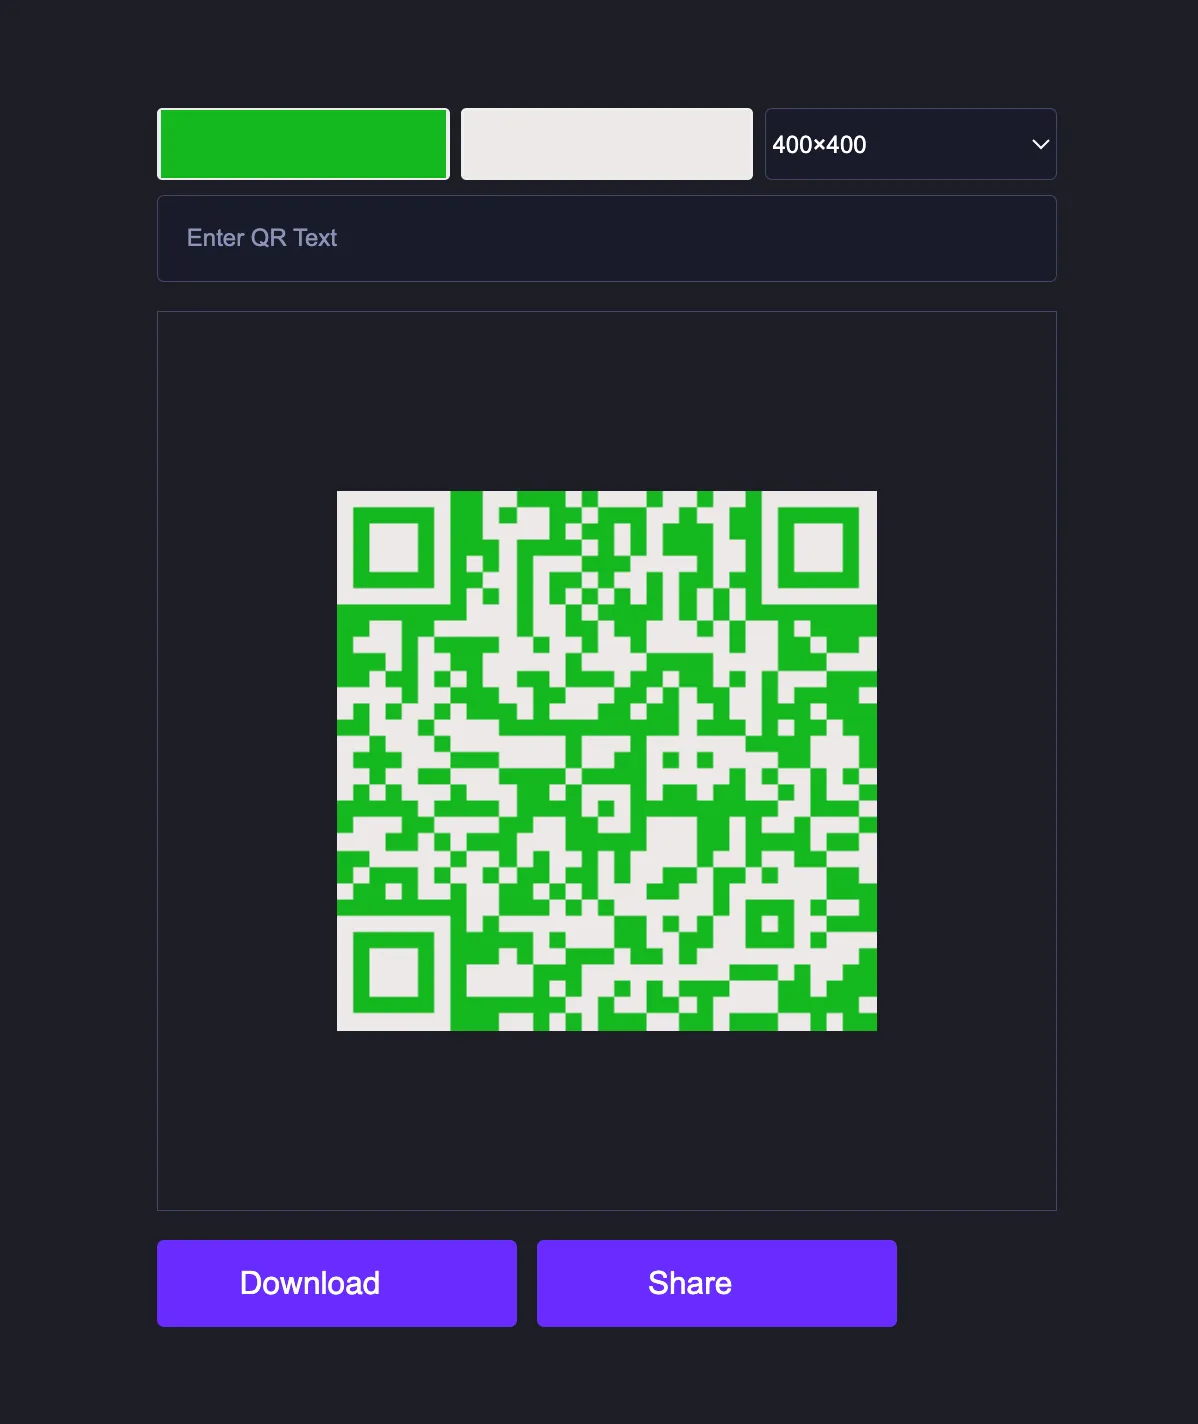
HTML、CSS、JavaScript を使用して単純な QR コード ジェネレーターを構築するには、HTML、CSS、JavaScript ファイルの 3 つのファイルを作成する必要があります。これらのファイルを作成したら、指定されたコードをファイルに貼り付けるだけです。
完全なコード例:
HTML ファイル:
<!DOCTYPE html>
<html lang="en">

<head>
    <meta charset="UTF-8">
    <meta http-equiv="X-UA-Compatible" content="IE=edge">
    <meta name="viewport" content="width=device-width, initial-scale=1.0">
    <link rel="stylesheet" href="style.css">
    <title>#4 - Qr Code Generator | AsmrProg</title>
</head>

<body>

    <section>
        <div class="row">
            <input type="color" class="light" value="#ffffff">
            <input type="color" class="dark">
            <select class="sizes">
                <option value="100">100×100</option>
                <option value="200">200×200</option>
                <option value="300">300×300</option>
                <option selected value="400">400×400</option>
                <option value="500">500×500</option>
                <option value="600">600×600</option>
                <option value="700">700×700</option>
                <option value="800">800×800</option>
                <option value="900">900×900</option>
                <option value="1000">1000×1000</option>
            </select>
        </div>
        <input type="text" class="qr-text" placeholder="Enter QR Text">
        <div id="qr-code"></div>
        <div class="action-container">
            <a href="#" class="download btn" download="QRCode">
                <span>Download</span>
                <img src="download.svg" alt="">
            </a>
            <button class="btn share-btn">
                <span>Share</span>
                <img src="share.svg" alt="">
            </button>
        </div>
    </section>

    <script src="https://cdnjs.cloudflare.com/ajax/libs/qrcodejs/1.0.0/qrcode.min.js"></script>
    <script src="index.js"></script>
</body>

</html>
CSS ファイル:
@import url('https://fonts.googleapis.com/css2?family=Roboto&display=swap');

*{
    box-sizing: border-box;
}

body{
    background: #1c1e26;
    font-family: sans-serif;
    max-width: 500px;
    height: 100vh;
    margin: 0 auto;
    display: flex;
    align-items: center;
    justify-content: center;
    color: #fff;
}

input[type="color"]{
    border: none;
    width: 32.5%;
    height: 40px;
    border-radius: 3px;
}

input[type="color"]::-webkit-color-swatch-wrapper{
    padding: 0;
}

input[type="color"]::-webkit-color-swatch{
    border: none;
}

a{
    text-decoration: none;
}

.qr-text{
    padding: 1rem;
    display: block;
    background: #181b29;
    border: 1px solid #414866;
    border-radius: 4px;
    width: 100%;
    margin: 0.5rem 0 1rem 0;
    color: #fff;
    outline: none;
}

.qr-text::placeholder{
    color: #8b92b7;
    font-weight: 500;
}

#qr-code{
    height: 500px;
    width: 500px;
    display: flex;
    align-items: center;
    justify-content: center;
    border: 1px solid #414866;
}

#qr-code img, #qr-code canvas{
    max-width: 100% !important;
    max-height: 100% !important;
}

.row{
    display: flex;
    align-items: center;
    justify-content: space-between;
}

.sizes{
    width: 32.5%;
    height: 40px;
    color: #fff;
    background: #181b29;
    border: 1px solid #414866;
    border-radius: 4px;
    outline: none;
}

.btn{
    color: #fff;
    max-width: 200px;
    padding: 14px;
    background: rgb(106, 43, 255);
    border-radius: 4px;
    border: none;
    display: flex;
    align-items: center;
    justify-content: center;
    cursor: pointer;
    font-size: 1.1rem;
    font-weight: 500;
    flex: 1;
}

.btn img{
    width: 20px;
    margin-left: 10px;
}

.share-btn{
    margin-left: 0.7rem;
}

.action-container{
    display: flex;
    margin: 1rem 0;
}

@media (max-width: 512px){
    body{
        max-width: 100%;
        padding: 10px;
    }
    #qr-code{
        width: 95vw;
        height: 95vw;
    }
    #qr-code img, #qr-code canvas{
        max-width: 95vw !important;
        max-height: 95vw !important;
    }
    .btn{
        min-width: unset;
    }
}

@media (max-width: 350px){
    .action-container{
        flex-direction: column;
    }
    .share-btn{
        margin-left: 0;
        margin-top: 0.7rem;
    }
}
JavaScript ファイル:
const download = document.querySelector(".download");
const dark = document.querySelector(".dark");
const light = document.querySelector(".light");
const qrContainer = document.querySelector("#qr-code");
const qrText = document.querySelector(".qr-text");
const shareBtn = document.querySelector(".share-btn");
const sizes = document.querySelector(".sizes");

dark.addEventListener("input", handleDarkColor);
light.addEventListener("input", handleLightColor);
qrText.addEventListener("input", handleQRText);
sizes.addEventListener("change", handleSize);
shareBtn.addEventListener("click", handleShare);

const defaultUrl = "https://youtube.com/@AsmrProg";
let colorLight = "#fff",
    colorDark = "#000",
    text = defaultUrl,
    size = 300;

function handleDarkColor(e) {
    colorDark = e.target.value;
    generateQRCode();
}

function handleLightColor(e) {
    colorLight = e.target.value;
    generateQRCode();
}

function handleQRText(e) {
    const value = e.target.value;
    text = value;
    if (!value) {
        text = defaultUrl;
    }
    generateQRCode();
}

async function generateQRCode() {
    qrContainer.innerHTML = "";
    new QRCode("qr-code", {
        text,
        height: size,
        width: size,
        colorLight,
        colorDark,
    });
    download.href = await resolveDataUrl();
}

async function handleShare() {
    setTimeout(async () => {
        try {
            const base64url = await resolveDataUrl();
            const blob = await (await fetch(base64url)).blob();
            const file = new File([blob], "QRCode.png", {
                type: blob.type,
            });
            await navigator.share({
                files: [file],
                title: text,
            });
        } catch (error) {
            alert("Your browser doesn't support sharing.");
        }
    }, 100);
}

function handleSize(e) {
    size = e.target.value;
    generateQRCode();
}

function resolveDataUrl() {
    return new Promise((resolve, reject) => {
        setTimeout(() => {
            const img = document.querySelector("#qr-code img");
            if (img.currentSrc) {
                resolve(img.currentSrc);
                return;
            }
            const canvas = document.querySelector("canvas");
            resolve(canvas.toDataURL());
        }, 50);
    });
}
generateQRCode();
このチュートリアルでは、HTML、CSS、JavaScript を使用して単純な QR コード ジェネレーターを構築するのに役立つ簡単な手順とコードを説明します。
2.80 GEEK