How to Build Apps with Docker and Heroku
You’re going to learn to develop apps inside Docker, and deploy to Heroku by building a simple Rails/PostgreSQL note-taking app. If you copy and paste from this article, you won’t even need to know Rails to do it.
Everything here should apply to other web development frameworks, like Django.
Disclaimer: Parts of this tutorial were heavily inspired by Docker Rails Docs and Heroku Container Registry Docs. I’ve tried to bring them together and add some web dev so you can go from nothing to a working containerized Rails app on Heroku.
I’ve also added explanations for steps that may not be intuitive. I hope you can apply the learnings to your own applications.
Intro to Docker
What is Docker?
Docker is OS-level virtualization that allows the decoupling of apps from the environment via containerization.
Containers ship with libraries and dependencies packaged together and run on any other Linux machine.
If you’ve used Vagrant, VirtualBox, or VMWare in the past, you’ll find Docker lighter-weight and faster.
Why is Docker a game-changer?
- Debugging is easier because your whole team is working in an environment configured exactly the same, regardless of laptop and OS differences. No more “It works on my laptop.”
- The entire development environment can be checked into source control, making it easier for new developers on the team to get set up.
- Deploys are blazingly fast because a container exists for every process and each is rebuilt only as necessary.
Build a Basic App With Docker
Navigate to the directory where you write code and create a new directory for this project. We’ll call ours rails-on-docker.
mkdir rails-on-docker
cd into the project directory and open it in your favorite code editor. As usual, I’m using Atom.
cd rails-on-docker
atom .
Dockerfile
Dockerfile defines dependencies and contains the commands that build an image. A container is an instance of an image. Running docker images on the command line will display all local images.
Create Dockerfile.
touch Dockerfile
And paste in the following:
FROM ruby:2.5
RUN apt-get update -qq && apt-get install -y nodejs postgresql-client
RUN mkdir /myapp
WORKDIR /myapp
COPY Gemfile /myapp/Gemfile
COPY Gemfile.lock /myapp/Gemfile.lock
RUN bundle install
COPY . /myapp
# Add a script to be executed every time the container starts.
COPY entrypoint.sh /usr/bin/
RUN chmod +x /usr/bin/entrypoint.sh
ENTRYPOINT ["entrypoint.sh"]
EXPOSE 3000
# Start the main process.
CMD ["rails", "server", "-b", "0.0.0.0"]
Gemfile
A Gemfile describes dependencies for a Ruby program. Create a Gemfile.
touch Gemfile
And paste in the following:
source 'https://rubygems.org'
gem 'rails', '~>5'
This file will be wiped out and recreated when we initialize the Rails app, but we need it now to install Rails.
Gemfile.lock
Create Gemfile.lock with nothing in it. This file is where Bundler notes the exact versions of the Ruby libraries installed. In Rails development, you normally never touch this file, but Docker requires it.
touch Gemfile.lock
entrypoint.sh
Create entrypoint.sh. This fixes a Rails issue that prevents the server from restarting if a server.pid exists.
touch entrypoint.sh
Paste in the following. This deletes the server.pid process if it exists; otherwise, the server won’t be able to start.
#!/bin/bash
set -e

# Remove a potentially pre-existing server.pid for Rails.
rm -f /myapp/tmp/pids/server.pid

# Then exec the container's main process (what's set as CMD in the Dockerfile).
exec "$@"
docker-compose.yml
docker-compose.yml describes the services in your app, for example, web, db, or redis, which all end up in separate containers upon building. Create this file.
touch docker-compose.yml
Paste in the following:
version: '3'
services:
  db:
    image: postgres:latest
    volumes:
      - ./tmp/db:/var/lib/postgresql/data
  web:
    build: .
    command: bash -c "rm -f tmp/pids/server.pid && bundle exec rails s -p 3000 -b '0.0.0.0'"
    volumes:
      - .:/myapp
    ports:
      - "3000:3000"
    depends_on:
      - db
Build the app
Run this to build the app. This builds the image for web and then runs rails new inside the container.
docker-compose run web rails new . --force --no-deps --database=postgresql
Note that you need to prefix any traditional Rails command like rake... with docker-compose run web.
Now that we have a new Gemfile, build the image again.
docker-compose build
In the Rails app, update the /config/database.yml so it looks as below:
default: &default
  adapter: postgresql
  encoding: unicode
  host: db
  username: postgres
  password:
  pool: <%= ENV.fetch("RAILS_MAX_THREADS") { 5 } %>
development:
  <<: *default
  database: myapp_development
test:
  <<: *default
  database: myapp_test
production:
  <<: *default
  url: <%= ENV['DATABASE_URL'] %>
Note the url: is very important for production, as DATABASE_URL is the name Heroku gives to the database URL after you add the Postgres add-on.
Create the database.
docker-compose run web rake db:create
Start the app.
docker-compose up
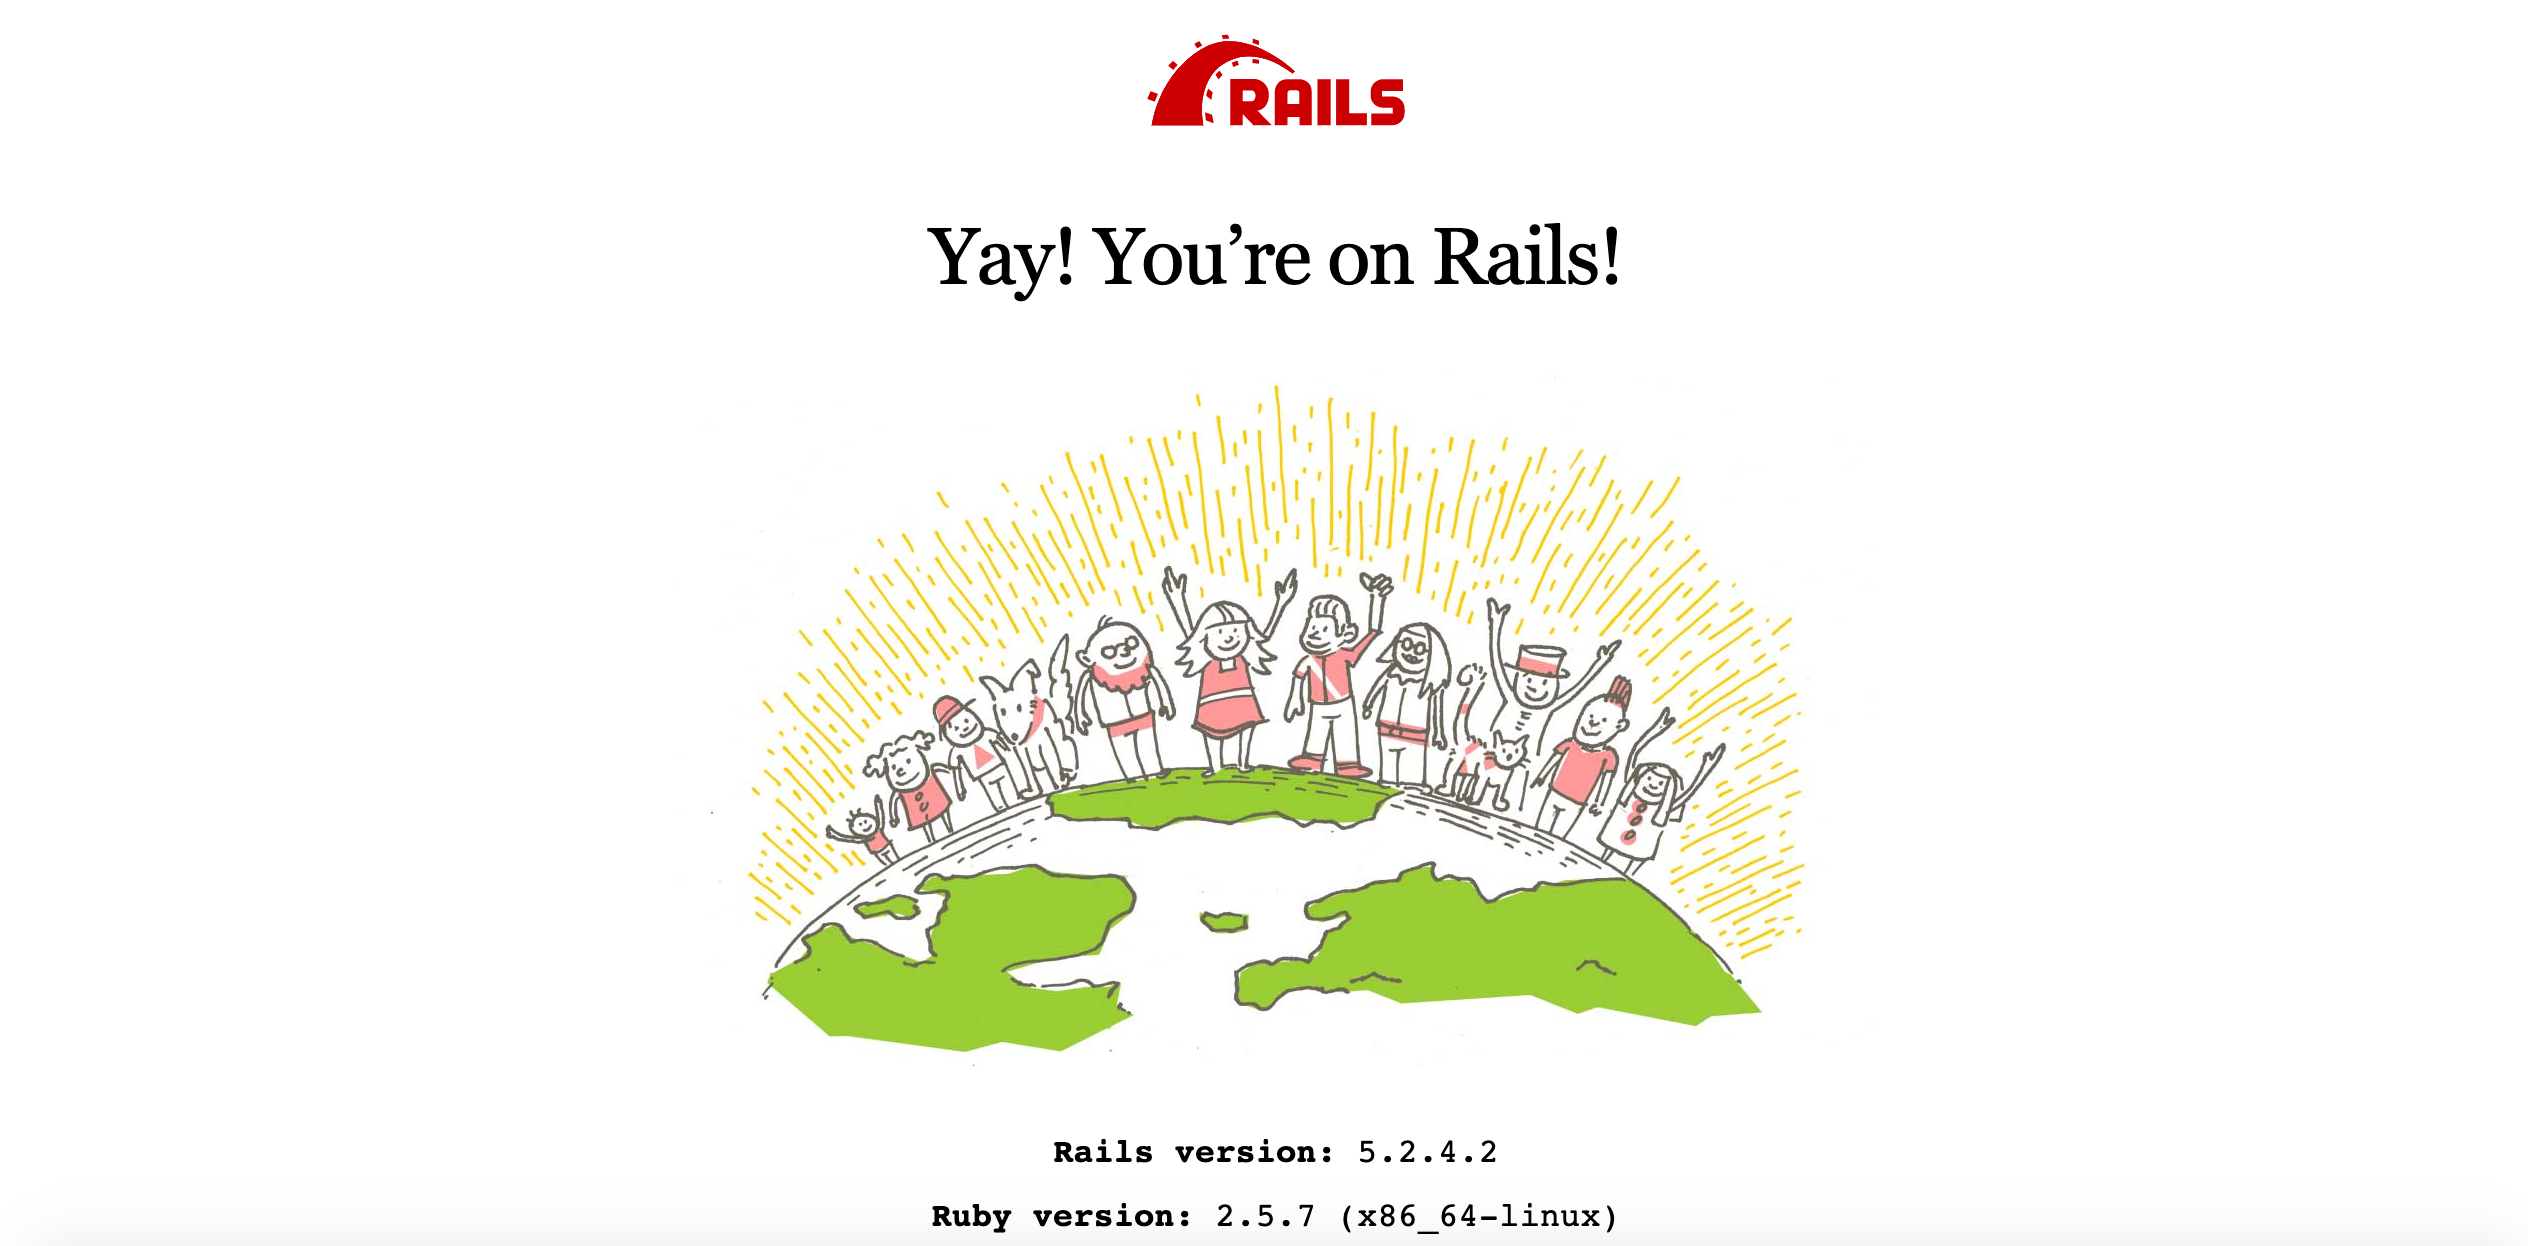
At this point, you should be able to navigate to http://localhost:3000 in your local browser and see the app running.

To stop the application, run docker-compose down or just kill the running process in terminal.
Deploy Basic App to Heroku
This will require a Heroku account.
Login to Heroku from your command line. Then login to Heroku’s container registry.
heroku login
heroku container:login
Create an app on Heroku for your app. Note the app name it gives you when you do this. You’ll need it to configure the correct app in Heroku’s console later. The names are usually quirky — mine’s serene-stream-37066.
heroku create
Build an image and push it to the container registry. This can take up to ten minutes (if your home internet is as slow as mine) the first time you run it. But subsequent runs take only seconds.
heroku container:push web
The previous command put the image on Heroku. Now release the image to your app on Heroku. Redirect traffic to it.
heroku container:release web
Open the app in your browser.
heroku open

Oh no. Our app is running on Heroku, but we have a problem. That’s because we need to do one more thing.
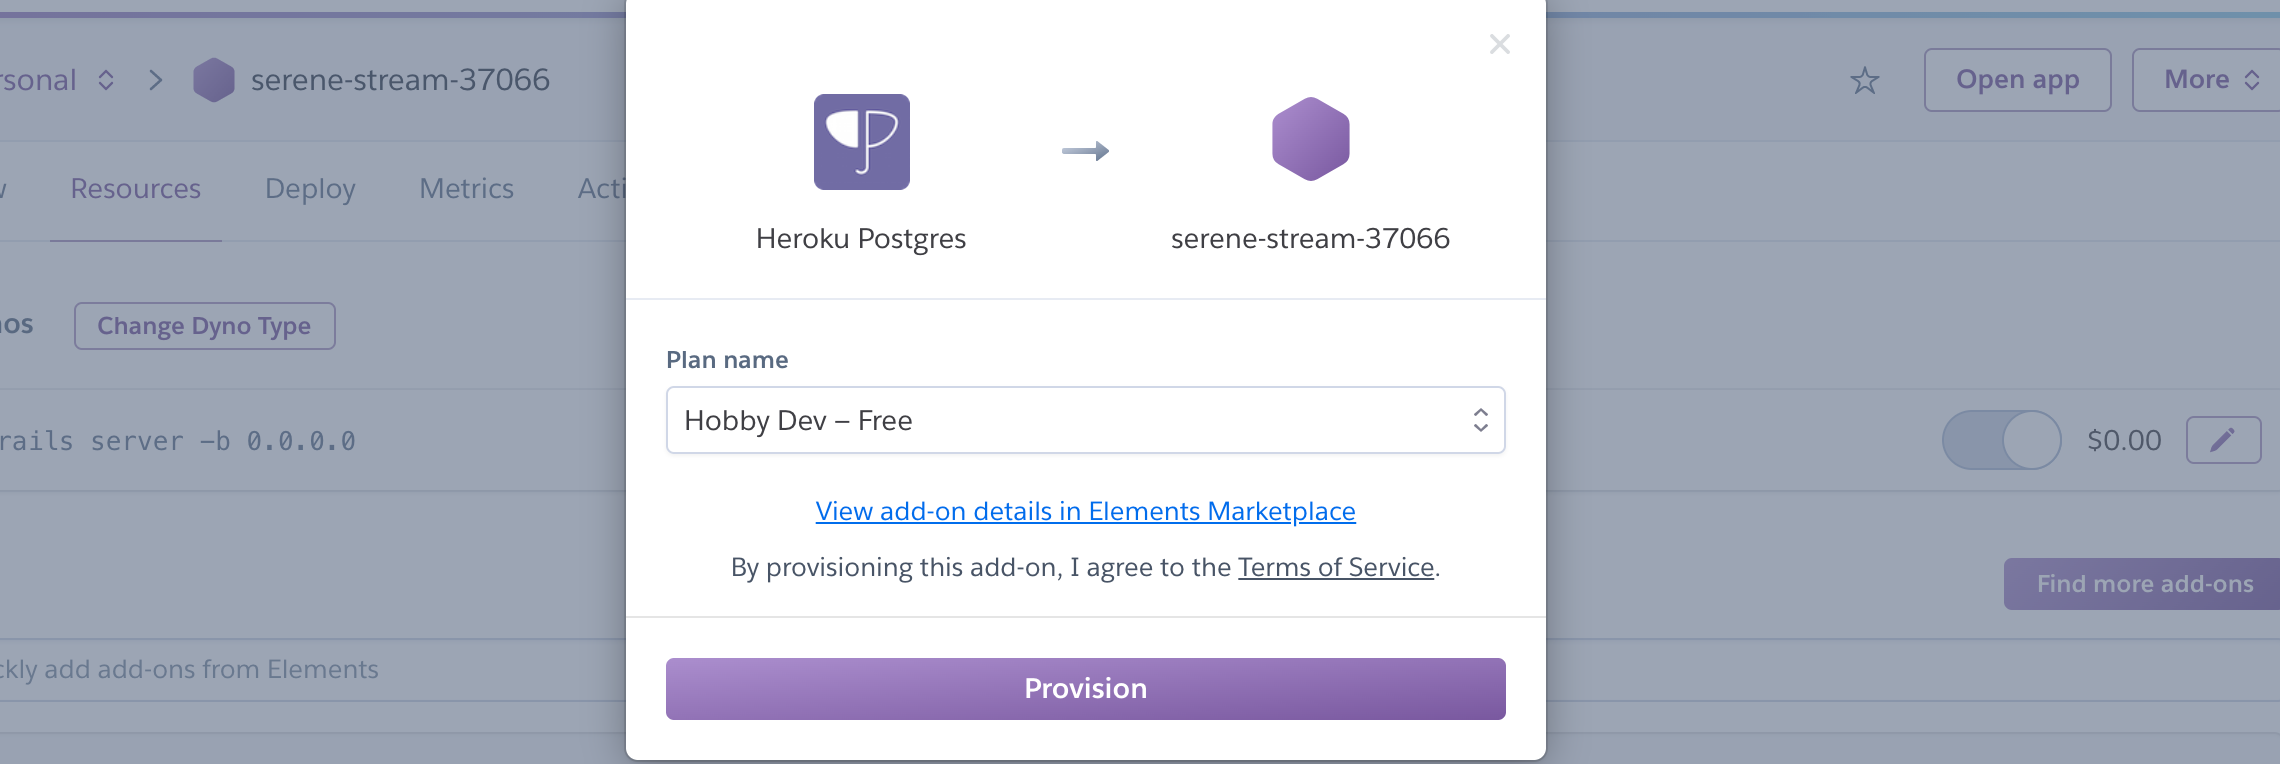
Add the Postgres add-on in Heroku. Navigate to Heroku and click on the app you created.

Click Resources.

In Resources, search “postgres” and click on the Heroku Postgres.

Add it to your app. Click Provision.

Remember when we set ``earlier in our Rails app? Heroku will now set the URL to this database as an environment variable with the key DATABASE_URL.
So we should be able to refresh our app, and voila!

Update the Rails App
If we leave it like this, we don’t know for sure that our containerized app on Heroku can properly utilize the database we set up. So let’s go a little further.
As much as I hate Rails scaffolding (too much cruft), use it to quickly instantiate a model, views, and a migration file for our app.
Note this is prefixed with the docker-compose run web command.
docker-compose run web rails g scaffold Note header:string body:string
Now modify /config/routes.rb so it looks like below. This sets the Notes index view to the root URL of the app.
Rails.application.routes.draw do
  resources :notes
  root 'notes#index'
end
Now rebuild deploy, and point production to the new image.
heroku container:push web
heroku container:release web
Migrate the database on Heroku. This is required because we’ve pushed up a migration file.
heroku run rake db:migrate
If you wanted to run migrations locally, you would do docker-compose run web rake db:migrate.
And view the app in Heroku.
heroku open

Boom! Now create some notes to celebrate (and to ensure it works).
Conclusion
You’ve done it! You’ve built a Rails app, containerized it, and deployed it to Heroku. While this is a very simple app, you now have a framework for what Docker does and how to use it.
Thank you for reading!
#docker #rails #heroku #devops #programming
