Dealing with C++ libraries and statically linking them to your project can be an absolute pain to do manually. Luckily there are package managers like vcpkg that can make downloading and managing C++ dependencies a lot easier. Unfortunately, (or fortunately depending on your view) vcpkg works uses dynamic linking out of the box but static linking your libraries requires some leg work. I went through a lot of pain to figure out how to statically link packages with vcpkg and Visual Studio so I am writing this tutorial so you don’t have to go through the pain that I did. In this tutorial I will show you how to set up vcpkg and integrate it with your Visual Studio C++ project. Finally, I will walk through how to set up Visual Studio to use the static libraries downloaded by vcpkg so lets get started!

0. VCPKG Install and Setup
To start, make sure you have git and Visual Studio 2019 installed on your machine. Here you can download git and Visual Studio.
Next we are going to download vcpkg. To do this you will need to visit the vcpkg GitHub repository here. Once, there you will click on the green “Clone or download” button and copy the link that appears.
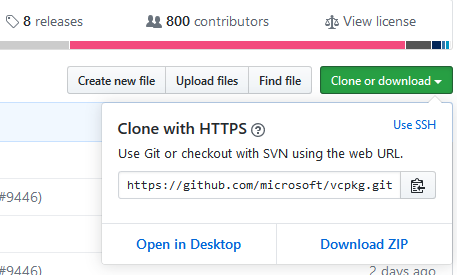
GitHub vcpkg
Now go back to your desktop and type:
Windows Key + R
and in the dialog box enter:
cmd
The Windows command prompt will load and you should see something like this:
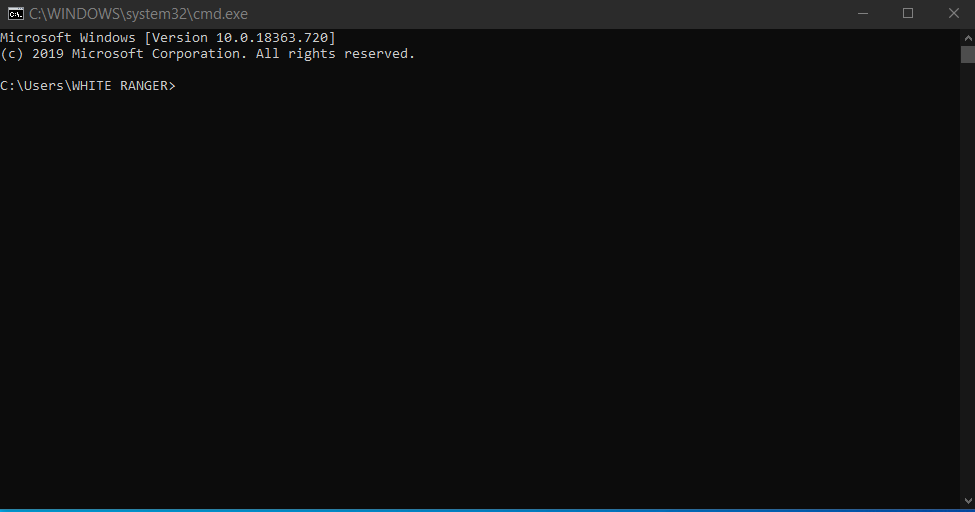
Windows command prompt
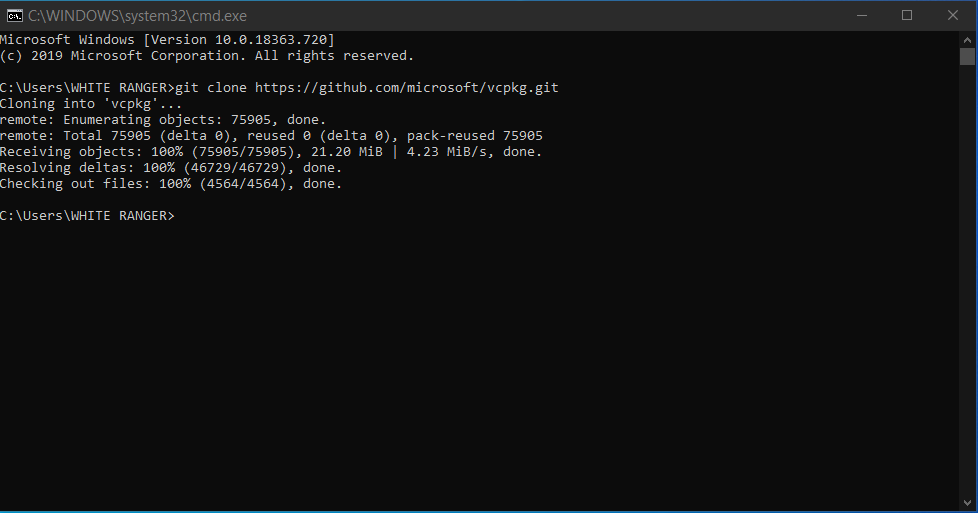
In the command prompt enter git clone and the GitHub link you copied before and hit enter:
> git clone https://github.com/microsoft/vcpkg.git
Your output should look like this:
#software-development #microsoft #c-programming #programming #visual-studio #c++
