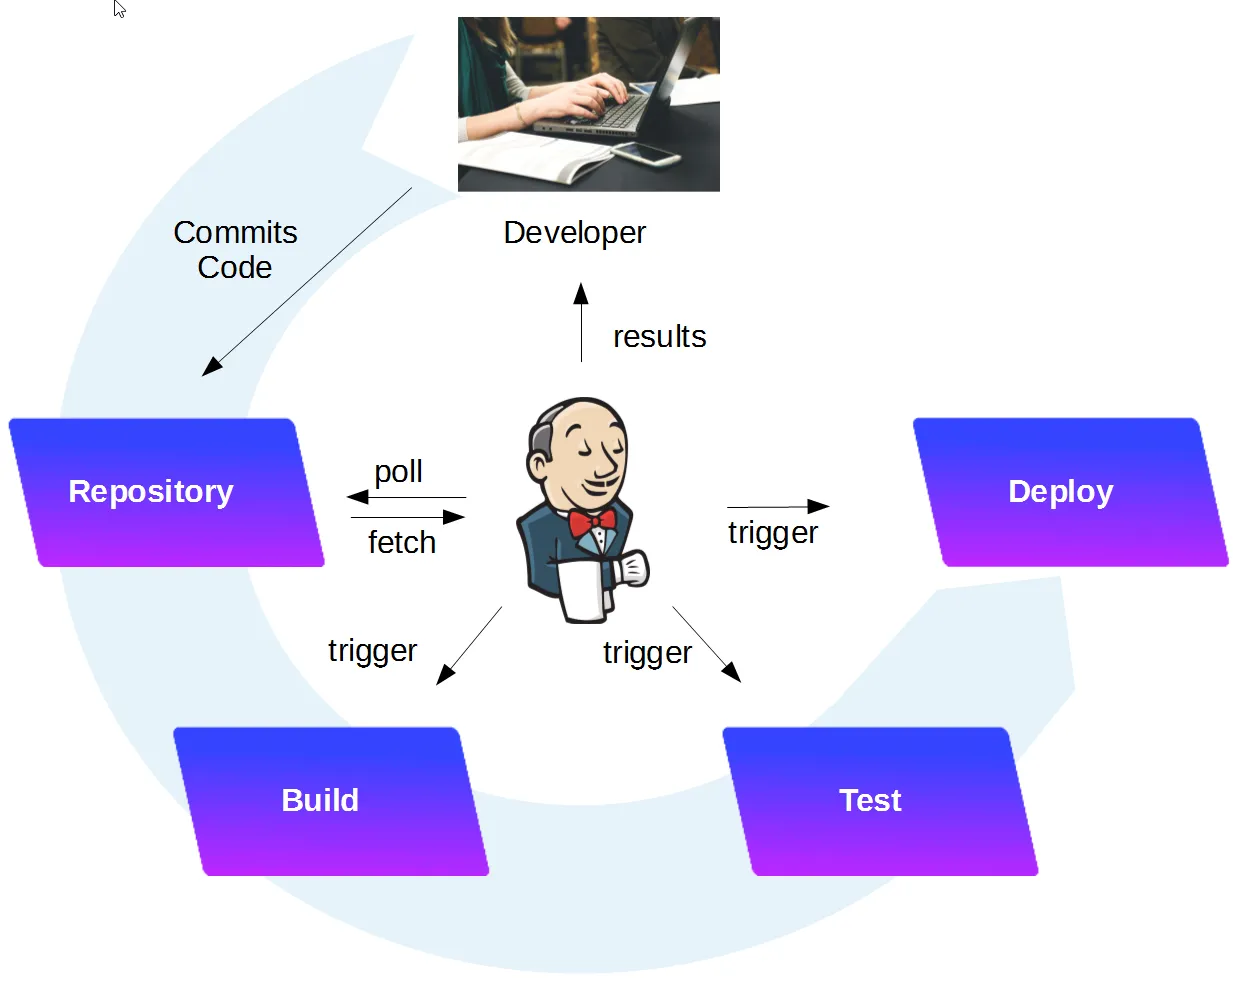
Jenkins is a powerful application that allows continuous integration and continuous delivery of projects, regardless of the platform you are working on. So this article series for beginners who wish to start with Jenkins.
How to Download & Install Jenkins on Windows
Jenkins may be installed on either Windows or Unix platforms, but we will focus on Windows installation only.
Prerequisites:
Before you proceed to install Jenkins in your windows system, there are some prerequisites for Jenkins to install Jenkins on your computer.
Hardware requirements:
- You need a minimum of 256 MB of RAM on your computer or laptop to install Jenkins
- You need at least 1 GB of space in your hard drive for Jenkins.
Software Requirements:
- Since Jenkins runs on Java, you need either the latest version of Java Development Kit (JDK) or Java Runtime Environment (JRE).
Release Types
Jenkins releases two types of versions based on the organization’s needs.
- Long-term support release
- Weekly release
Long term support release (LTS) :
Long-term support releases are available every 12 weeks. They are stable and are widely tested. This release is intended for end-users.
Weekly release:
Weekly releases are made available every week by fixing bugs in their earlier version. These releases are intended for plugin developers.
We will use the LTS release though the process remains the same for the Weekly release.
How to Download Jenkins?
Following steps should be followed so that to install Jenkins successfully:
Step 1) Got to https://jenkins.io/download/ and select the platform. In our case Windows

Downloading window
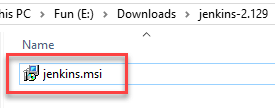
Step 2) Go to the download location from the local computer and unzip the downloaded package. Double-click on unzipped jenkins.msi. You can also Jenkin using a WAR (Web application ARchive) but that is not recommended.
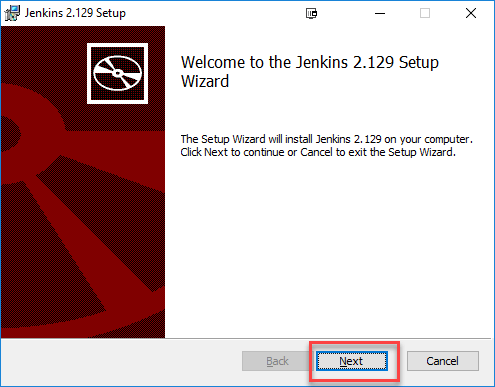
Step 3) In the Jenkin Setup screen, click Next.
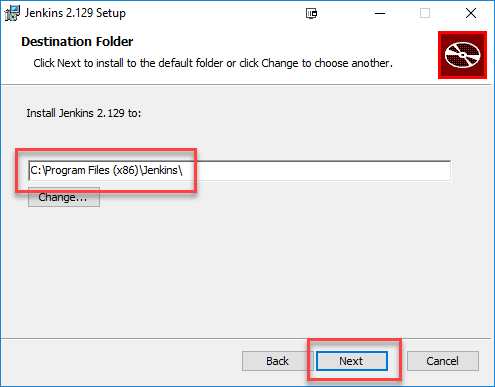
Step 4) Choose the location where you want to have the Jenkins instance installed (default location is C:\Program Files (x86)\Jenkins), then click on Next button.
#jenkins #windows #installation #jenkins-pipeline