If you are using Jenkins for a while then you must be aware about the importance of jobs related data and what can happen when the data is lost. This blog provides some ways through which backup and restoring in Jenkins can be carried out.
The data loss can be the result of hardware or software failure, data corruption, or a human-caused event, or accidental deletion of data.
The purpose of the backup is to create a copy of data that can be restored in the event of a primary data failure. Backup copies allow data to be restored from an earlier point in time to help the business recover from an unplanned event.
Why Jenkins needs Backup and Restoring mechanism ?
In Jenkins, all the settings, build logs, and archives of the artifacts are stored under the JENKINS_HOME directory as Jenkins doesn’t use any database. Setting access rights, selecting the necessary plugins and job configuration is quite a laborious process, so it’s a good idea to organize regular backups of all the necessary settings and parameters.
How to perform Backup and Restoring In Jenkins
In this post we will be exploring 2 ways :
- By creating a freestyle project
- By using ThinBackup plugin
How to take backups in Jenkins ?
The simplest way is to just keep Jobs’s folder separately as backup and whenever it’s needed just copy it back.
As the build jobs created under this directory contains all the details of each and every individual jobs configured in the Jenkins install. The files related to jobs can be replicated to multiple locations.
But again it’s a manual task to copy the files from one location to another so instead let’s leverage Jenkins for B & R process by automating it.
Creating a freestyle project to take regular backups
Before proceeding initiate git repository and connect with it.
Now lets configure a freestyle project that takes regular backup .
- Create a new item in Jenkins and choose Freestyle project
- In general section provide description if required and omit everything else.
- Choose None in Source Code Management section
- In Build Triggers section choose Build periodically and provide a cron expression to trigger your backup . For example :
0 12 * * * // will trigger at 12:00pm45 12 * * * // will trigger at 12:45pm- Then choose Execute shell from the Build section and write a shell script ( or you can use the script provided in extra section at the bottom of this post ) to push the contents of your JENKINS_HOME to GITHUB as a backup which can be pulled whenever required from the same .
- Finally save the job and you have automated your backup process.
- You can also make this job run after every job you build by selecting build other project option from the post-build section of other project builds.
To restore Jenkins
- Go to JENKINS_HOME directory and initiate a new git repository
- Cleans the working tree by recursively removing files that are not under version control
- Add a new remote and you just have Pull all data from GitHub
- Now all you have to do is restart Jenkins and its restored.
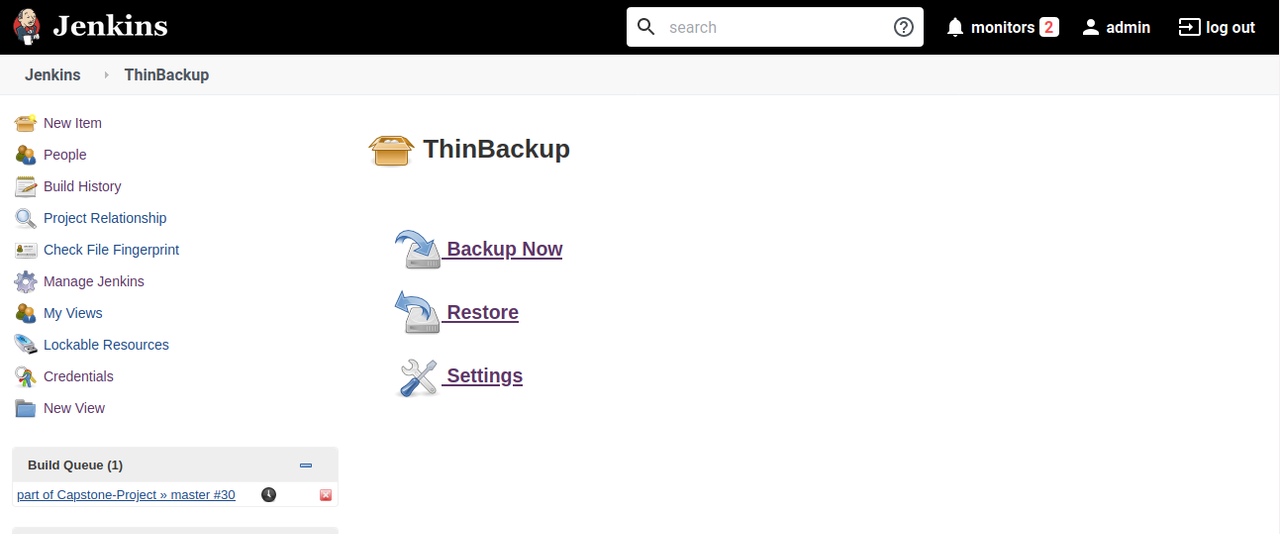
Using ThinBackup
Jenkins can be made enormously powerful by integrating several plugins. Here we will use a plugin for the backup management in Jenkins – ThinBackup plugin.
This plugin backs up the job specific configuration files.
#devops #jenkins #tech blogs #backup #devops #jenkins plugins #restore #thinbackup