Separating your frontend and backend has many advantages:
- The biggest reason why reusable APIs are popular — APIs allow you to consume data from a web client, mobile app, desktop app — any client really.
- Separation of concerns. Long gone are the days where you have one monolithic-like app where everything is bundled together. Imagine you have an extremely convoluted application. Your only option is to hire extremely experienced/senior developers due to the natural complexity.
I’m all for hiring juniors and training your staff, and that’s exactly why you should separate concerns. With separation of concerns, you can reduce the complexity of your application by splitting responsibilities into “micro-services” where each team is specialized in their micro-service.
As mentioned above, the on-boarding/ramp-up process is much quicker thanks to splitting up responsibilities (backend team, frontend team, dev ops team, and so on)
Forward thinking and getting started
We will be building a very powerful, yet flexible, GraphQL API based on Nodejs with Swagger documentation powered by MongoDB.
The main backbone of our API will be Hapi.js. We will go over all the technology in substantial detail.
At the very end, we will have a very powerful GraphQL API with great documentation.
The cherry on top will be our integration with the client (React, Vue, Angular)
Prerequisites
- NodeJS installed
- Basic JavaScript
- Terminal (any will do, preferably bash-based)
- Text editor (any will do)
- MongoDB (install instructions here) — Mac:
brew install mongodb
Let’s goo!
Open the terminal and create the project. Inside the project directory we initialize a Node project.
Creating our project
Next, we want to setup our Hapi server, so let’s install the dependencies. You can either use Yarn or NPM.
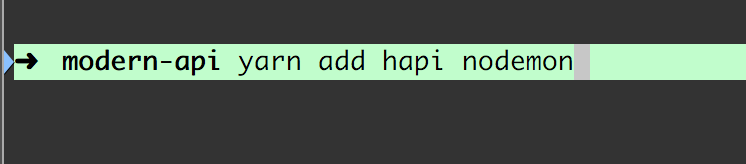
yarn add hapi nodemon
Before we go on, let’s talk about what hapi.js is and what it can do for us.

hapi enables developers to focus on writing reusable application logic instead of spending time building infrastructure.
Instead of going with Express, we are going with Hapi. In a nutshell, Hapi is a Node framework. The reason why I chose Hapi is rather simple — simplicity and flexibility over boilerplate code_._

Hapi enables us to build our API in a very rapid manner.
Optional: check out this quick crash course on hapi.js:
The second dependency we installed was the good-ole nodemon. Nodemon restarts our server automatically whenever we make changes. It speeds up our development by a big factor.
Let’s open our project with a text editor. I chose Visual Studio Code.
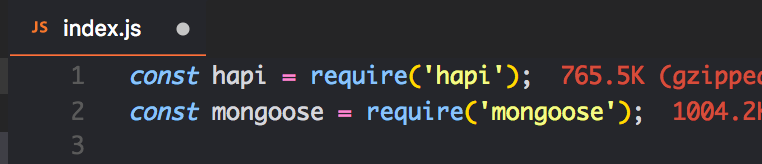
Setting up a Hapi server is very straightforward. Create a index.js file at the root directory with the contents of the following:
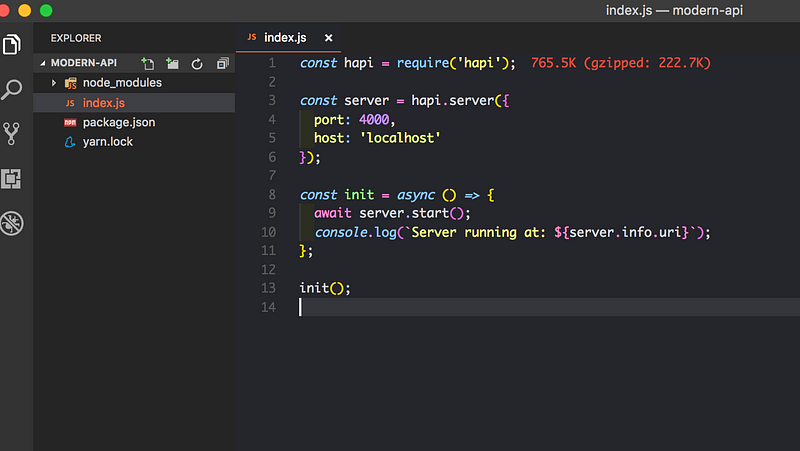
- We require the
hapidependency - Secondly, we make a constant called server which creates a new instance of our Hapi server — as the arguments, we pass an object with the port and host options.
- Third and finally, we create an asynchronous expression called init. Inside the init method, we have another asynchronous method which starts the server. See
server.start()— at the bottom we call theinit()function.
If you’re unsure about async await — watch this:
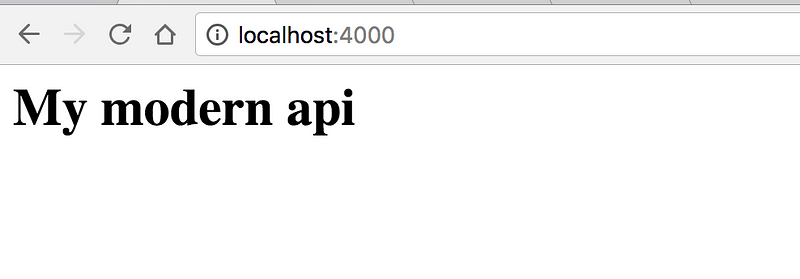
Now, if we head over to [http://localhost:4000](http://localhost:4000) we should see the following:
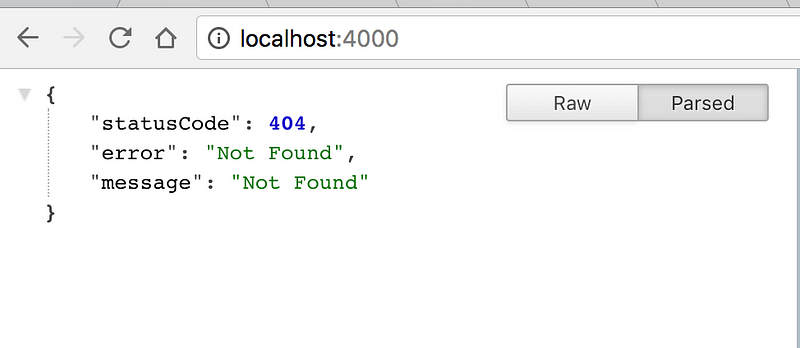
Which is perfectly fine, since the Hapi server expects a route and a handler. More on that in a second.
Let’s quickly add the script to run our server with nodemon. Open package.json and edit the scripts section.

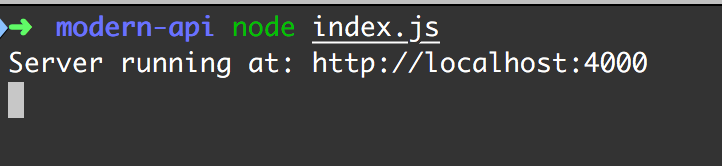
Now we can do the following 😎
Routing
Routing is very intuitive with Hapi. Let’s say you hit / — what would you expect to happen? There are three main components in play here.
- What’s the path? —
path - What’s the HTTP method? Is it a
GET—POSTor something else? —method - What will happen if that route is reached? —
handler

Inside the init method we attached a new method to our server called route with options passed as our argument.
If we refresh our page we should see return value of our root handler
Well done, but there is so much more we can do!
Setting up our database
Right, next up we are going to setup our database. We’re going to use mongodb with mongoose.

Let’s face it, writing MongoDB validation, casting and business logic boilerplate is a drag. That’s why we wrote Mongoose.
The next final ingredient related to our database is mlab. Instead of running mongo on our local computer, we are gonna use a cloud provider like mlab.
The reason why I chose mlab is because of the free plan (useful for prototyping) and how simple it is to use. There are more alternatives out there, and I encourage you to explore all of them ❤
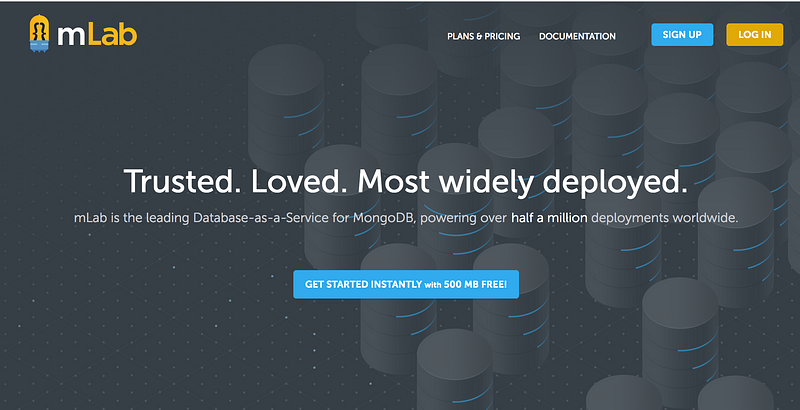
Head over to https://mlab.com/ and signup.
Let’s create our database.
And finally create a user for the database. That will be all we will be editing on mlab.
Connecting mongoose with mlab
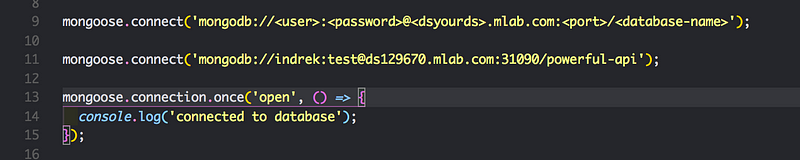
Open index.js and add the following lines and credentials. We are basically just telling mongoose which database we want to connect. Make sure to use your credentials.
If you want to brush up your MongoDB skills, here’s a solid series.
If everything went according the plan, we should see ‘connected to database’ in the console.
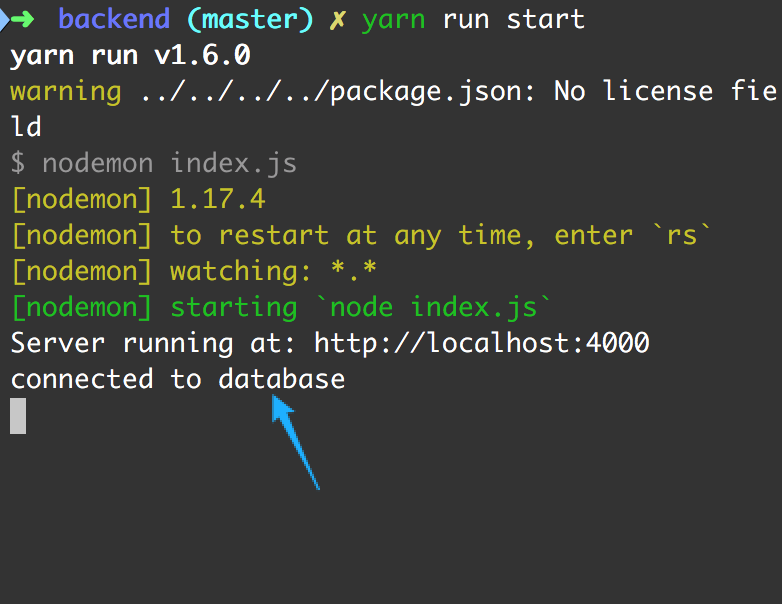
Wohoo!
Good job! Take a quick break and grab some coffee, we are almost ready to dive into the “cool parts”.
Creating Models
With mongoDB, we follow the convention of models. In other words — data modeling.
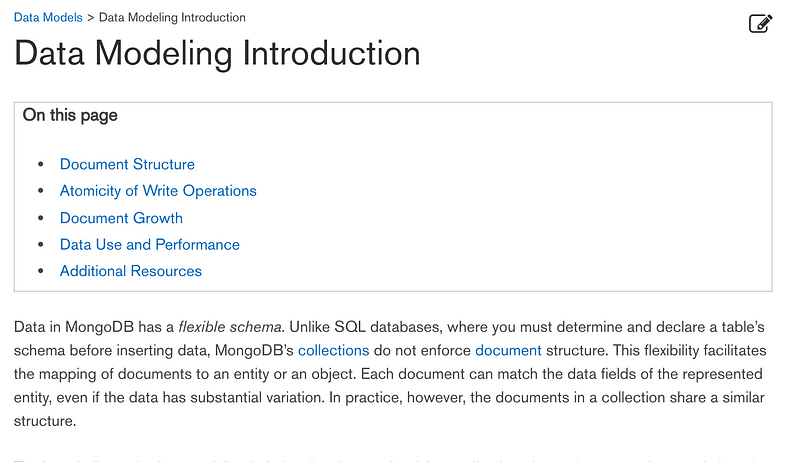
It’s a relatively simple concept which you will be able to grasp. Basically we just declare our schema for collections. Think of collections as tables in an SQL database.
Let’s create a directory called models. Inside we will create a file Painting.js
Painting.js is our painting model. It will hold all data related to paintings. Here’s how it will look:

- We require the mongoose dependency.
- We declare our
PaintingSchemaby calling the mongoose schema constructor and passing in the options. Notice how it’s strongly typed: for example thenamefield can consist of a string, andtechniquesconsists of an array of strings. - We export the model and name it
Painting
Let’s fetch all of our paintings from the database
First we need to import the Painting model to index.js

Adding new routes
Ideally, we want to have URL endpoints reflecting our actions.
such as /api/v1/paintings — /api/v1/paintings/{id} — and so on.
Let’s start off with a GET and POST route. GET fetches all the paintings and POST adds a new painting.
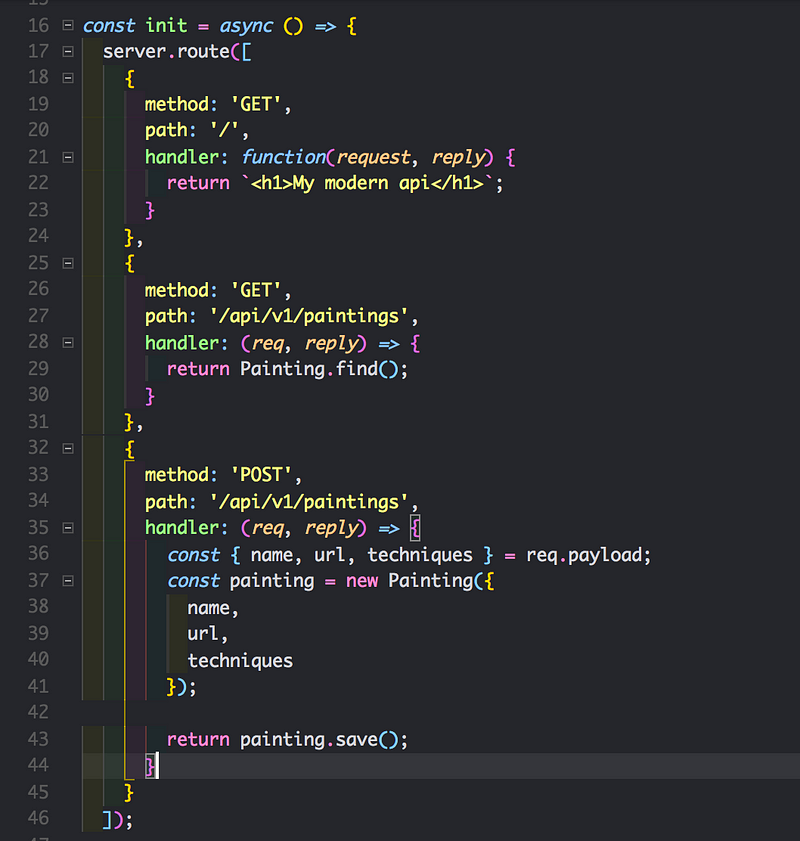
Notice we modified the route to be an array of objects instead a single object. Also, arrow functions 😊
- We created a
GETfor[/api/v1/paintings](http://localhost:4000/api/v1/paintings)path. Inside the handler we are calling the mongoose schema. Mongoose has built-in methods — the handy method we are using isfind()which returns all paintings since we’re not passing in any conditions to find by. Therefore it returns all records. - We also created a
POSTfor the same path. The reason for that is we’re following REST conventions. Let’s deconstruct (pun intended) the route handler — remember in ourPaintingschema we declared three fields:name—url—techniques - Here we are just accepting those arguments from the request (we will be doing that with postman in a sec) and passing the request arguments to our mongoose schema. After we’re done passing arguments, we call the
save()method on our new record, which saves it to the mlab database.
If we head over to [http://localhost:4000**/api/v1/paintings**](http://localhost:4000/api/v1/paintings) we should see an empty array.
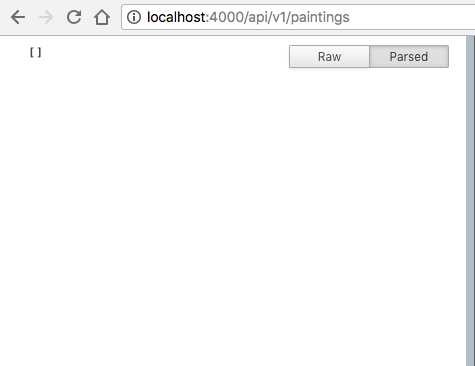
Why empty? Well we haven’t added any paintings just yet. Let’s do that now!
Install postman, it’s available for all platforms.
After installation, open postman.
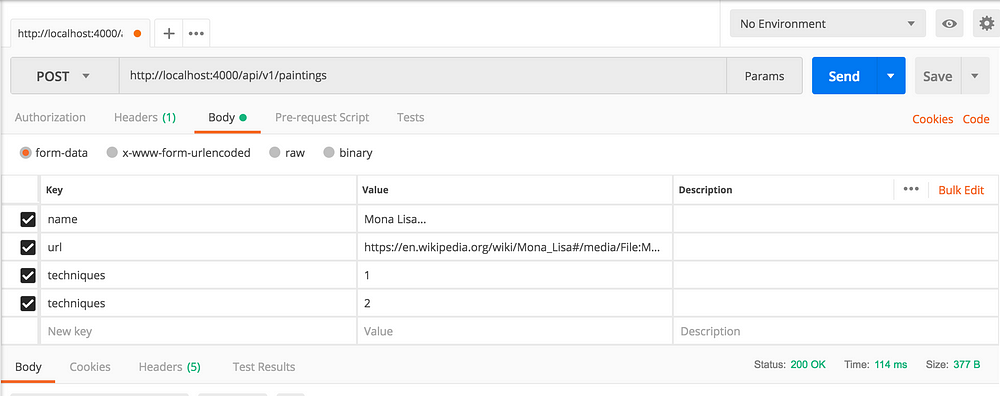
- On the left you can see the method options. Change that to
POST - Next to the
POSTmethod we have the URL. That’s the URL we want to send our method to. - On the right you can see blue button which sends the request.
- Below the URL bar we have the options. Click on the body and fill in the fields like in the example.
{
  "name": "Mona Lisa",
  "url": "https://en.wikipedia.org/wiki/Mona_Lisa#/media/File:Mona_Lisa,_by_Leonardo_da_Vinci,_from_C2RMF_retouched.jpg",
  "techniques": ["Portrait"]
}
POST paintings
Alright. Good to go! Let’s open [http://localhost:4000/api/v1/paintings](http://localhost:4000/api/v1/paintings)
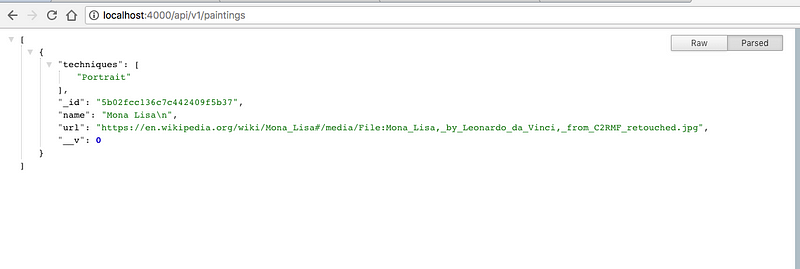
Excellent! We still have some way to go! Next up — GraphQL!
Here’s the source code just in case anyone needs it :-)
#node-js #graphql #mongodb #api #hapi-js