The Interactivity in Flutter just became 100 times better with the new widget called —Interactive Viewer, released in Flutter version 1.20, It immediately became the one thing everyone fell in love with(yes, including me.)
So, What does the widget do ?
By wrapping up your widgets in Interactive Viewer you can do actions such as drag, drop, zoom etc. with your widgets and not only that but with the introduction of Flutter version 1.20 the drag and drop capabilities have became even more polished.
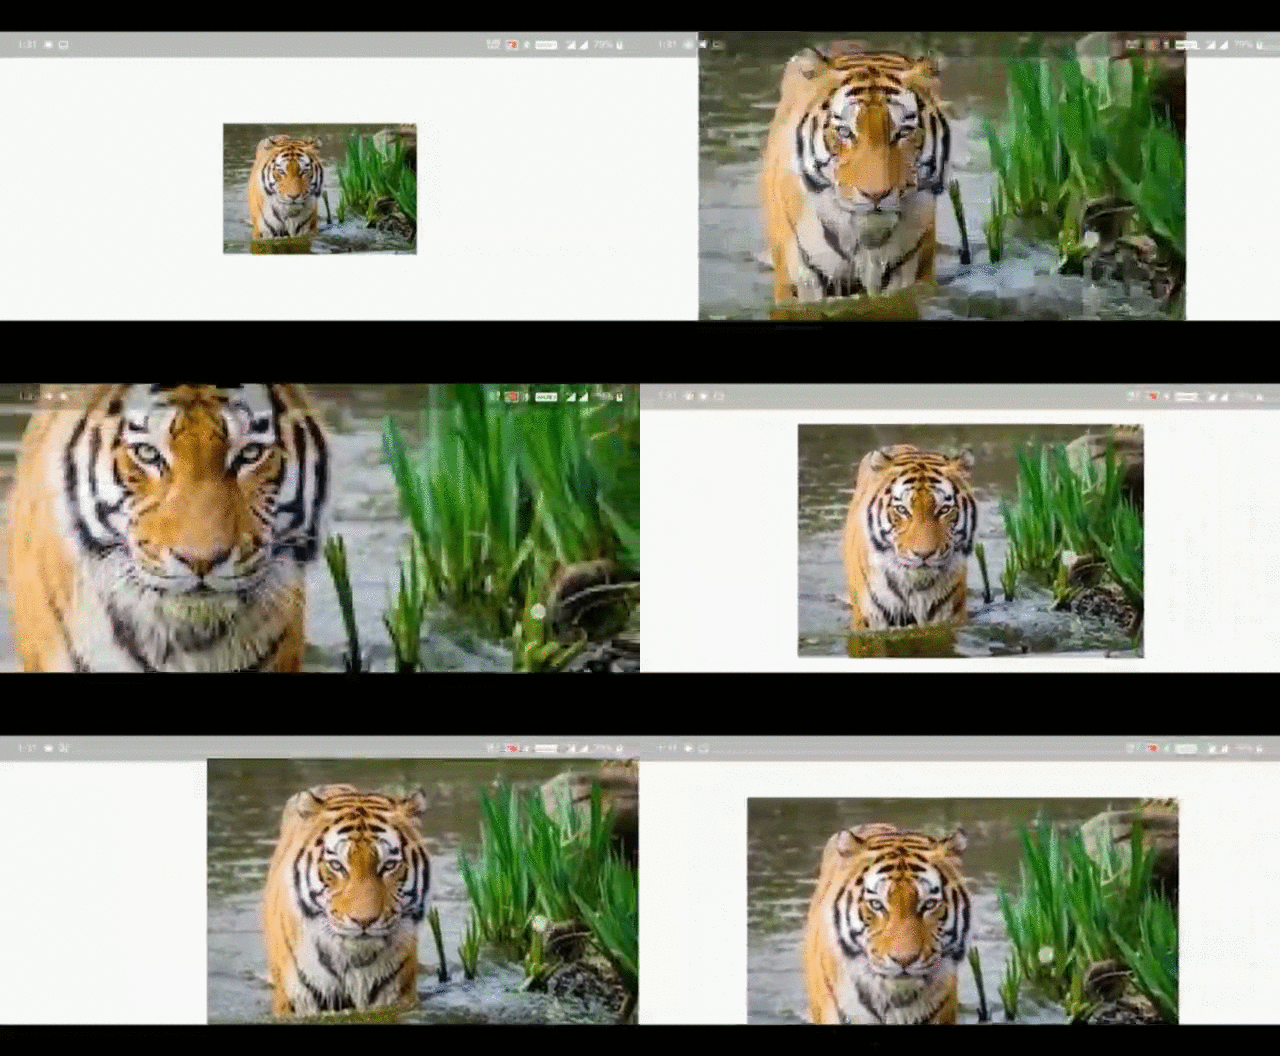
An example of what this widget is capable of :

zoom and drag just by wrapping the image with one widget
Now, lets talk about how it works:
1. Lets take an image and save it in the assets folder.
2.Now add that image to the pubsepc.yaml file:
assets:
   - assets/tiger.jfif
3. after that we can use the image in our app like this
import 'package:flutter/material.dart';

void main() =>runApp(MyApp());

class MyApp extends StatefulWidget {
  @override
  _MyAppState createState() => _MyAppState();
}

class _MyAppState extends State<MyApp> {
  String tiger = "assets/tiger.jfif";
  @override
  Widget build(BuildContext context) {
    return MaterialApp(
      debugShowCheckedModeBanner: false,
      home: Scaffold(
        body: SafeArea(
          child: Container(
            padding: EdgeInsets.symmetric(horizontal: 10.0),
            child: Center(
              child: Image.asset(tiger),
            ),
          ),
        ),
      ),
    );
  }
}
4. Now all we need to do is to wrap that image.asset widget with interactiveViewer and we are done :
Tip: use the alt+enter command on android studio, saves a lot of time.
InteractiveViewer(
  child: Image.asset(tiger),
),
And now you are done, you can now interact with your image however you Like
#mobile-app-development #cross-platform #widget #flutter #flutter-widget
