One of the many fascinating things about using flutter is that everything is a widget in Flutter. So in today’s tutorial, we will be leveraging this to create a beautiful Whatsapp UI Clone application.
Screenshots
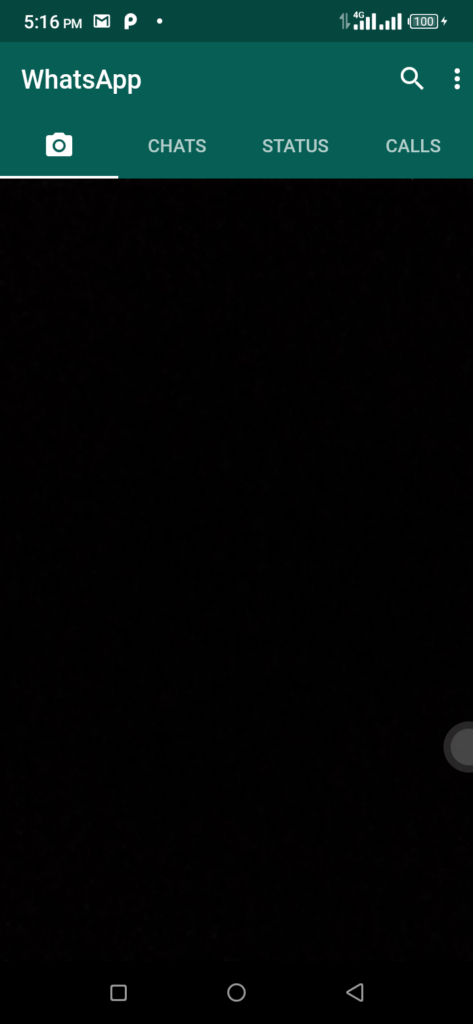
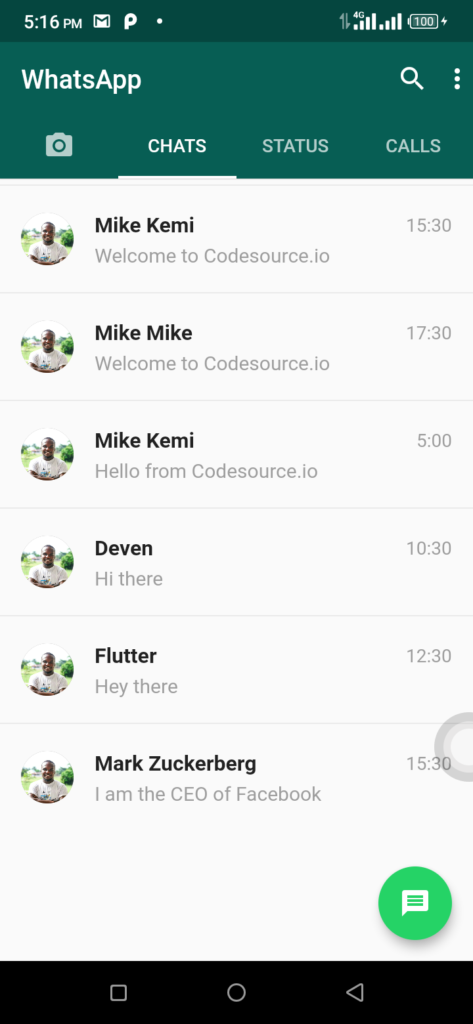

Whatsapp Application


These are screenshots of how our application will look like.
Getting Started
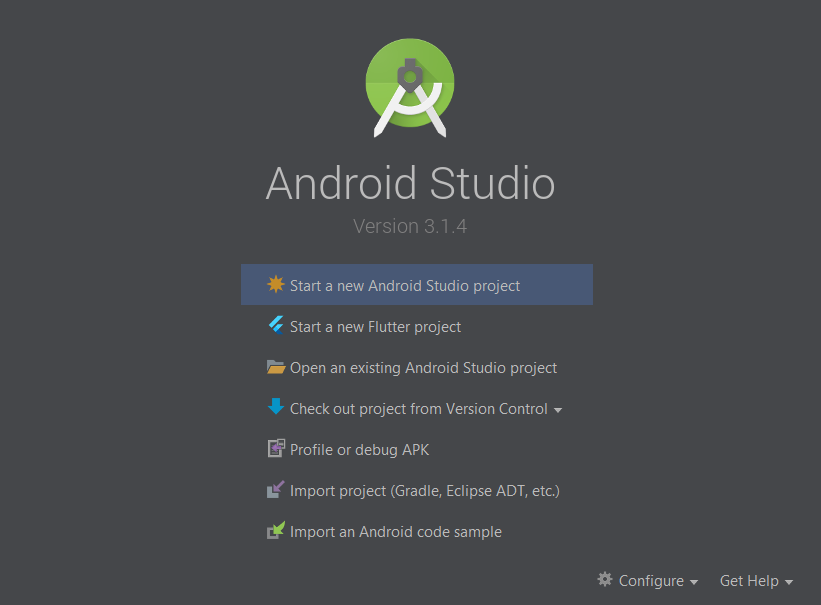
We are going to start by creating a new android studio project. If you have properly setup flutter on your machine, you will find an option to create a new Flutter project. When you open Android Studio, just like the photo below.
Next, select the Flutter Application below.

After that configure your application with a name and also set your applications package name. Follow the necessary prompts and click on Finish when done. This will be followed by android studio generating the necessary files needed for our application. Once this is complete. We are going to create some files and and folders for our project structure. See the image below.
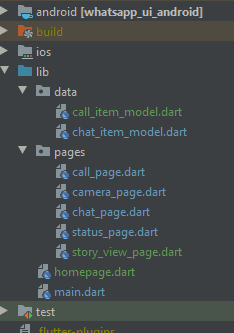
The project structure simply means that we are going to create two packages under our “lib” folder and name them “_data”_and “pages”. The “data” folder will house our models and dummy data for the app and “pages” folder will contain each of the screens of our Whatsapp UI Clone. This was we can carefully separate or User Interface from the Business Logic.
Under the data folder create two files.
- call_item_model.dart
- chat_item_model.dart
And under the pages folder create five files namely:
- call_page.dart
- camera_page.dart
- chat_page.dart
- status_page.dart
- story_view_page.dart
And Under the main lib folder, we are going to create another file and call it homepage.dart.
This is basically because we are going to have just one homepage which contains the rest of the screen and we will cycle through each of the screens using the tab bar widget in a flutter.
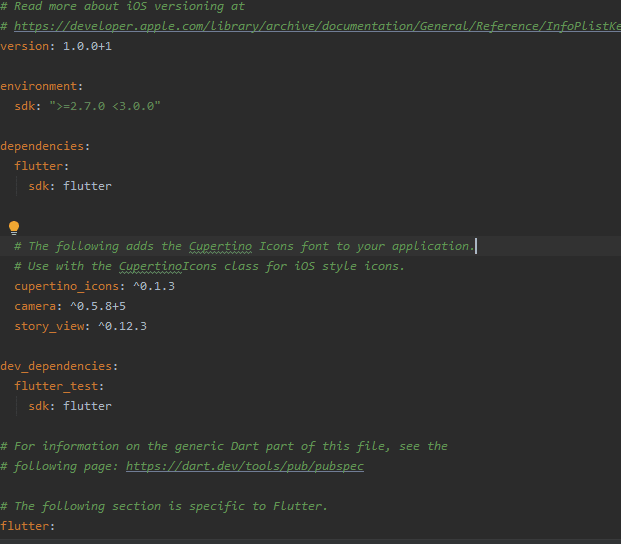
All our files have been created. Let’s head over to our pubspec.yaml file and add the following packages that we are going to be making use of to crate our Whatsapp UI Clone.
camera: ^0.5.8+5
story_view: ^0.12.3
YAML
add the packages above and pubspec file should look like this.
For story_view, you can find the latest versions here and here for the camera package. If you need more information on how to use these packages, you can check out their docs here and here.
Let’s start coding our main.dart file which is the entry point for our application. Replace all the code in this file with the following.
import 'dart:async';
import 'package:camera/camera.dart';
import 'package:flutter/material.dart';
import 'homepage.dart';

List<CameraDescription> cameras;

Future<Null> main() async {
  WidgetsFlutterBinding.ensureInitialized();
  cameras = await availableCameras();
  runApp(new MyApp());
}

class MyApp extends StatelessWidget {
  @override
  Widget build(BuildContext context) {
    return new MaterialApp(
      title: "WhatsApp",
      theme: new ThemeData(
        primaryColor: new Color(0xff075E54),
        accentColor: new Color(0xff25D366),
      ),
      debugShowCheckedModeBanner: false,
      home: new HomePage(cameras:cameras),
    );
  }
}
#android #flutter #mobile-apps #programming #developer
