Gatsby is a tool for creating static websites with React. It allows you to pull your data from virtually anywhere: content management systems (CMSs), Markdown files, APIs, and databases. Gatsby leverages GraphQL and webpack to combine your data and React code to generate static files for your website.
JAM - JavaScript, APIs, and Markup - apps are delivered by pre-rendering files and serving them directly from a CDN, removing the requirement to manage or run web servers. You may have heard of JAM apps as the JAMstack.
Netlify is a hosting company for static sites that offers continuous integration, HTML forms, AWS Lambda functions, and even content management.
In this tutorial, I’ll show you how to use Gatsby to create a blog that integrates with Netlify CMS for content. The app you build will support authoring posts in Markdown and adding/editing posts from your browser or via Git! Finally, I’ll show you how to secure a section of your app with Okta.
Before you begin, there’s a few things you’ll need:
- Node 12+ installed
- A GitHub Account
- A Netlify Account
- An Okta Developer Account
Install Gatsby CLI
To create a Gatsby site, you’ll need to install the Gatsby CLI. This tool gets you up and running with a Gatsby app in no time. It also runs a development server and builds your Gatsby application for production.
npm install -g gatsby-cli
Create a New Project with Gatsby
Run gatsby new to create an app using Gatsby’s Hello World starter:
gatsby new gatsby-netlify-okta gatsbyjs/gatsby-starter-hello-world
If prompted to choose between yarn and npm, choose npm. This process creates a directory layout, adds a package.json with dependencies, and prints out instructions to continue.
Your new Gatsby site has been successfully bootstrapped. Start developing it by running:

  cd gatsby-netlify-okta
  gatsby develop
NOTE: You can also use npm start as an alias for gatsby develop. I use npm start to do the default tasks on most of my Node projects. I love this attention to detail from the Gatsby developers! ❤️
You can use the tree command to view your new project’s directory structure.
$ cd gatsby-netlify-okta
$ tree -I node_modules
.
├── LICENSE
├── README.md
├── gatsby-config.js
├── package-lock.json
├── package.json
├── src
│   └── pages
│       └── index.js
└── static
    └── favicon.ico
Run npm start and check out your “Hello World” app at http://localhost:8000.
Now let’s move on to adding a neat feature, sourcing content from Netlify CMS!
Add Netlify CMS for Content Management
Netlify CMS is a single-page React app too! Its features include custom-styled previews, UI widgets, editor plugins, and backends to support different Git platform APIs.
You can install Netlify CMS and the Gatsby plugin for it using npm:
npm i netlify-cms-app@2.11.20 gatsby-plugin-netlify-cms@4.1.40
In gatsby-config.js, register the Netlify CMS plugin:
module.exports = {
  plugins: [`gatsby-plugin-netlify-cms`],
}
Then create a static/admin directory and a config.yml file in it.
.static/admin/config.yml
backend:
  name: test-repo

media_folder: static/assets
public_folder: assets

collections:
  - name: blog
    label: Blog
    folder: blog
    create: true
    fields:
      - { name: path, label: Path }
      - { name: date, label: Date, widget: datetime }
      - { name: title, label: Title }
      - { name: body, label: Body, widget: markdown }
Restart your app using Ctrl+C and npm start.
You’ll now be able to edit content at http://localhost:8000/admin/.
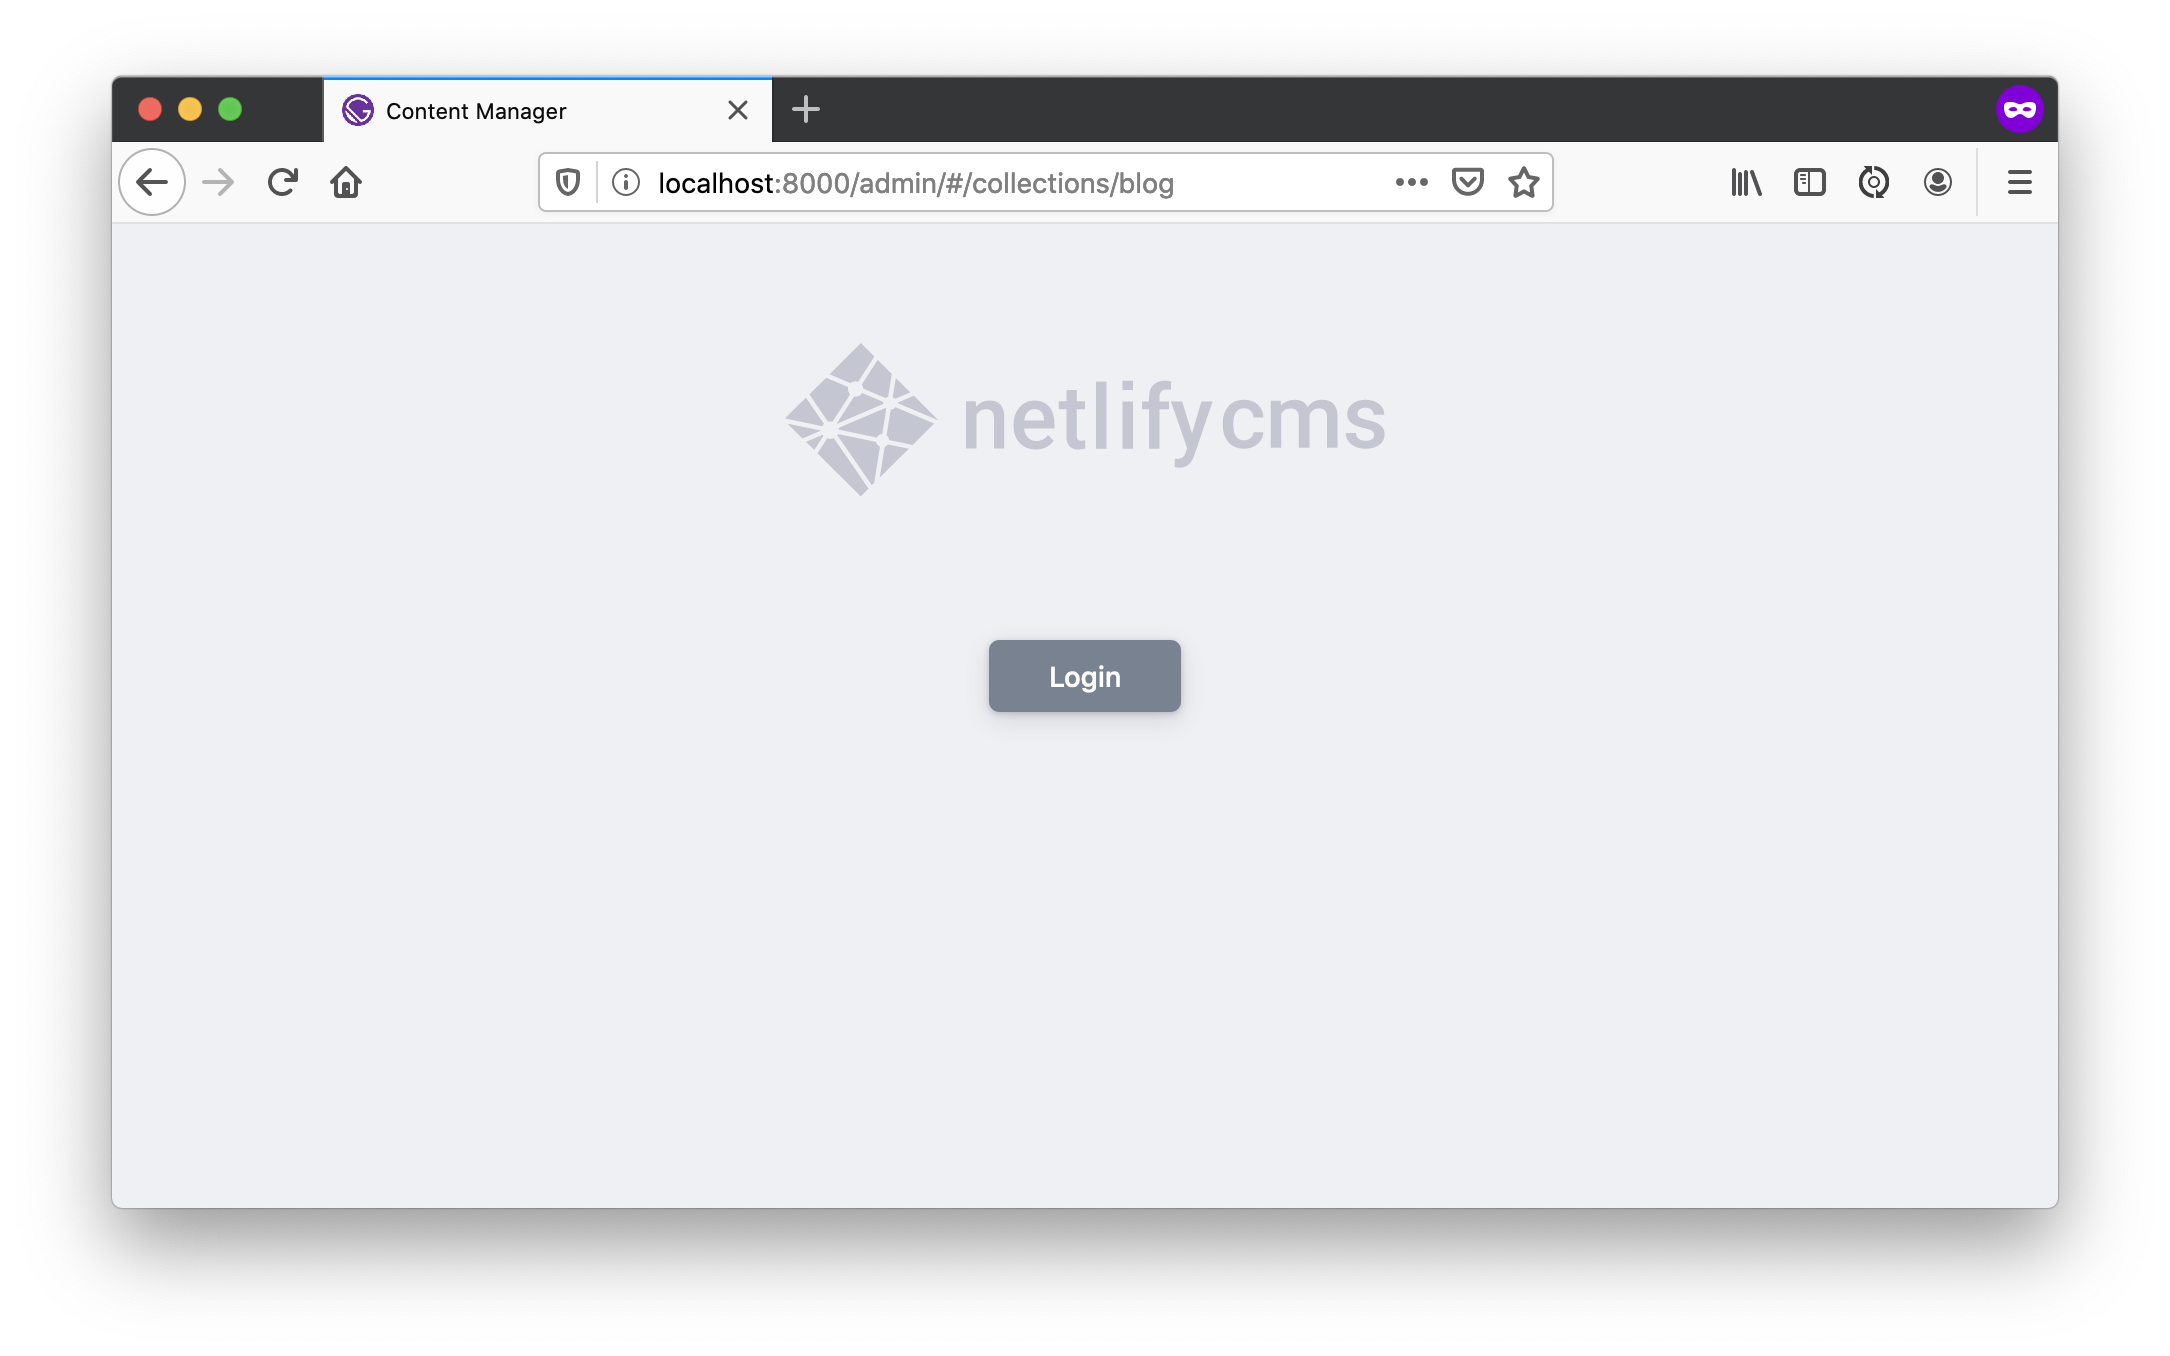
Click the Login button and you’ll see the screen below.
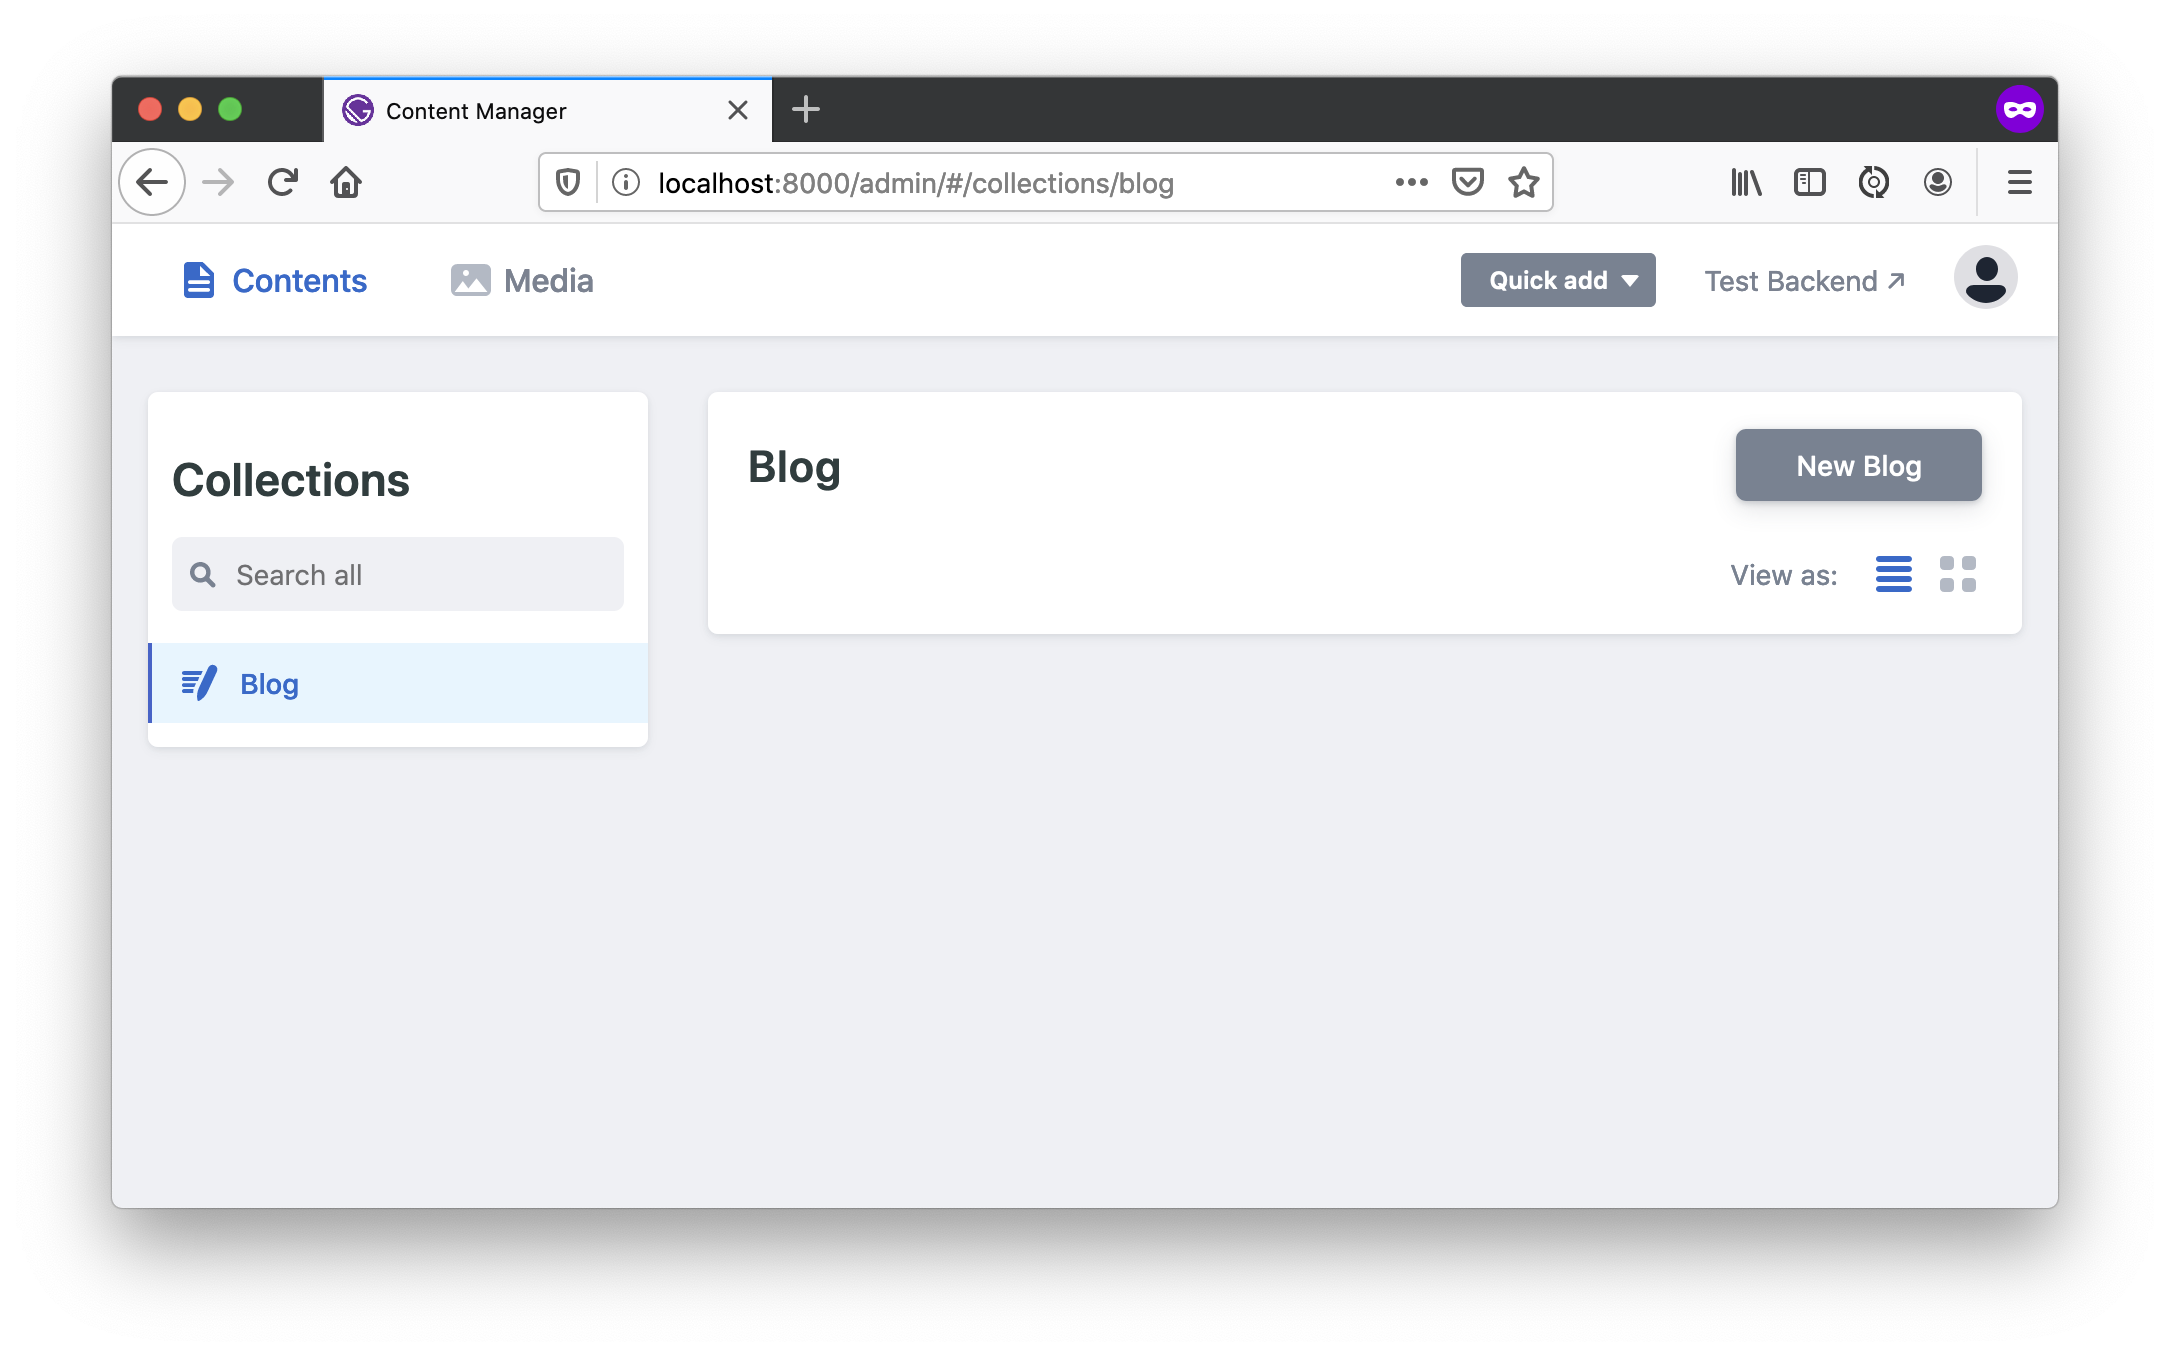
Everyone can log in and everything is in-memory at this point. You can even add a new blog post:
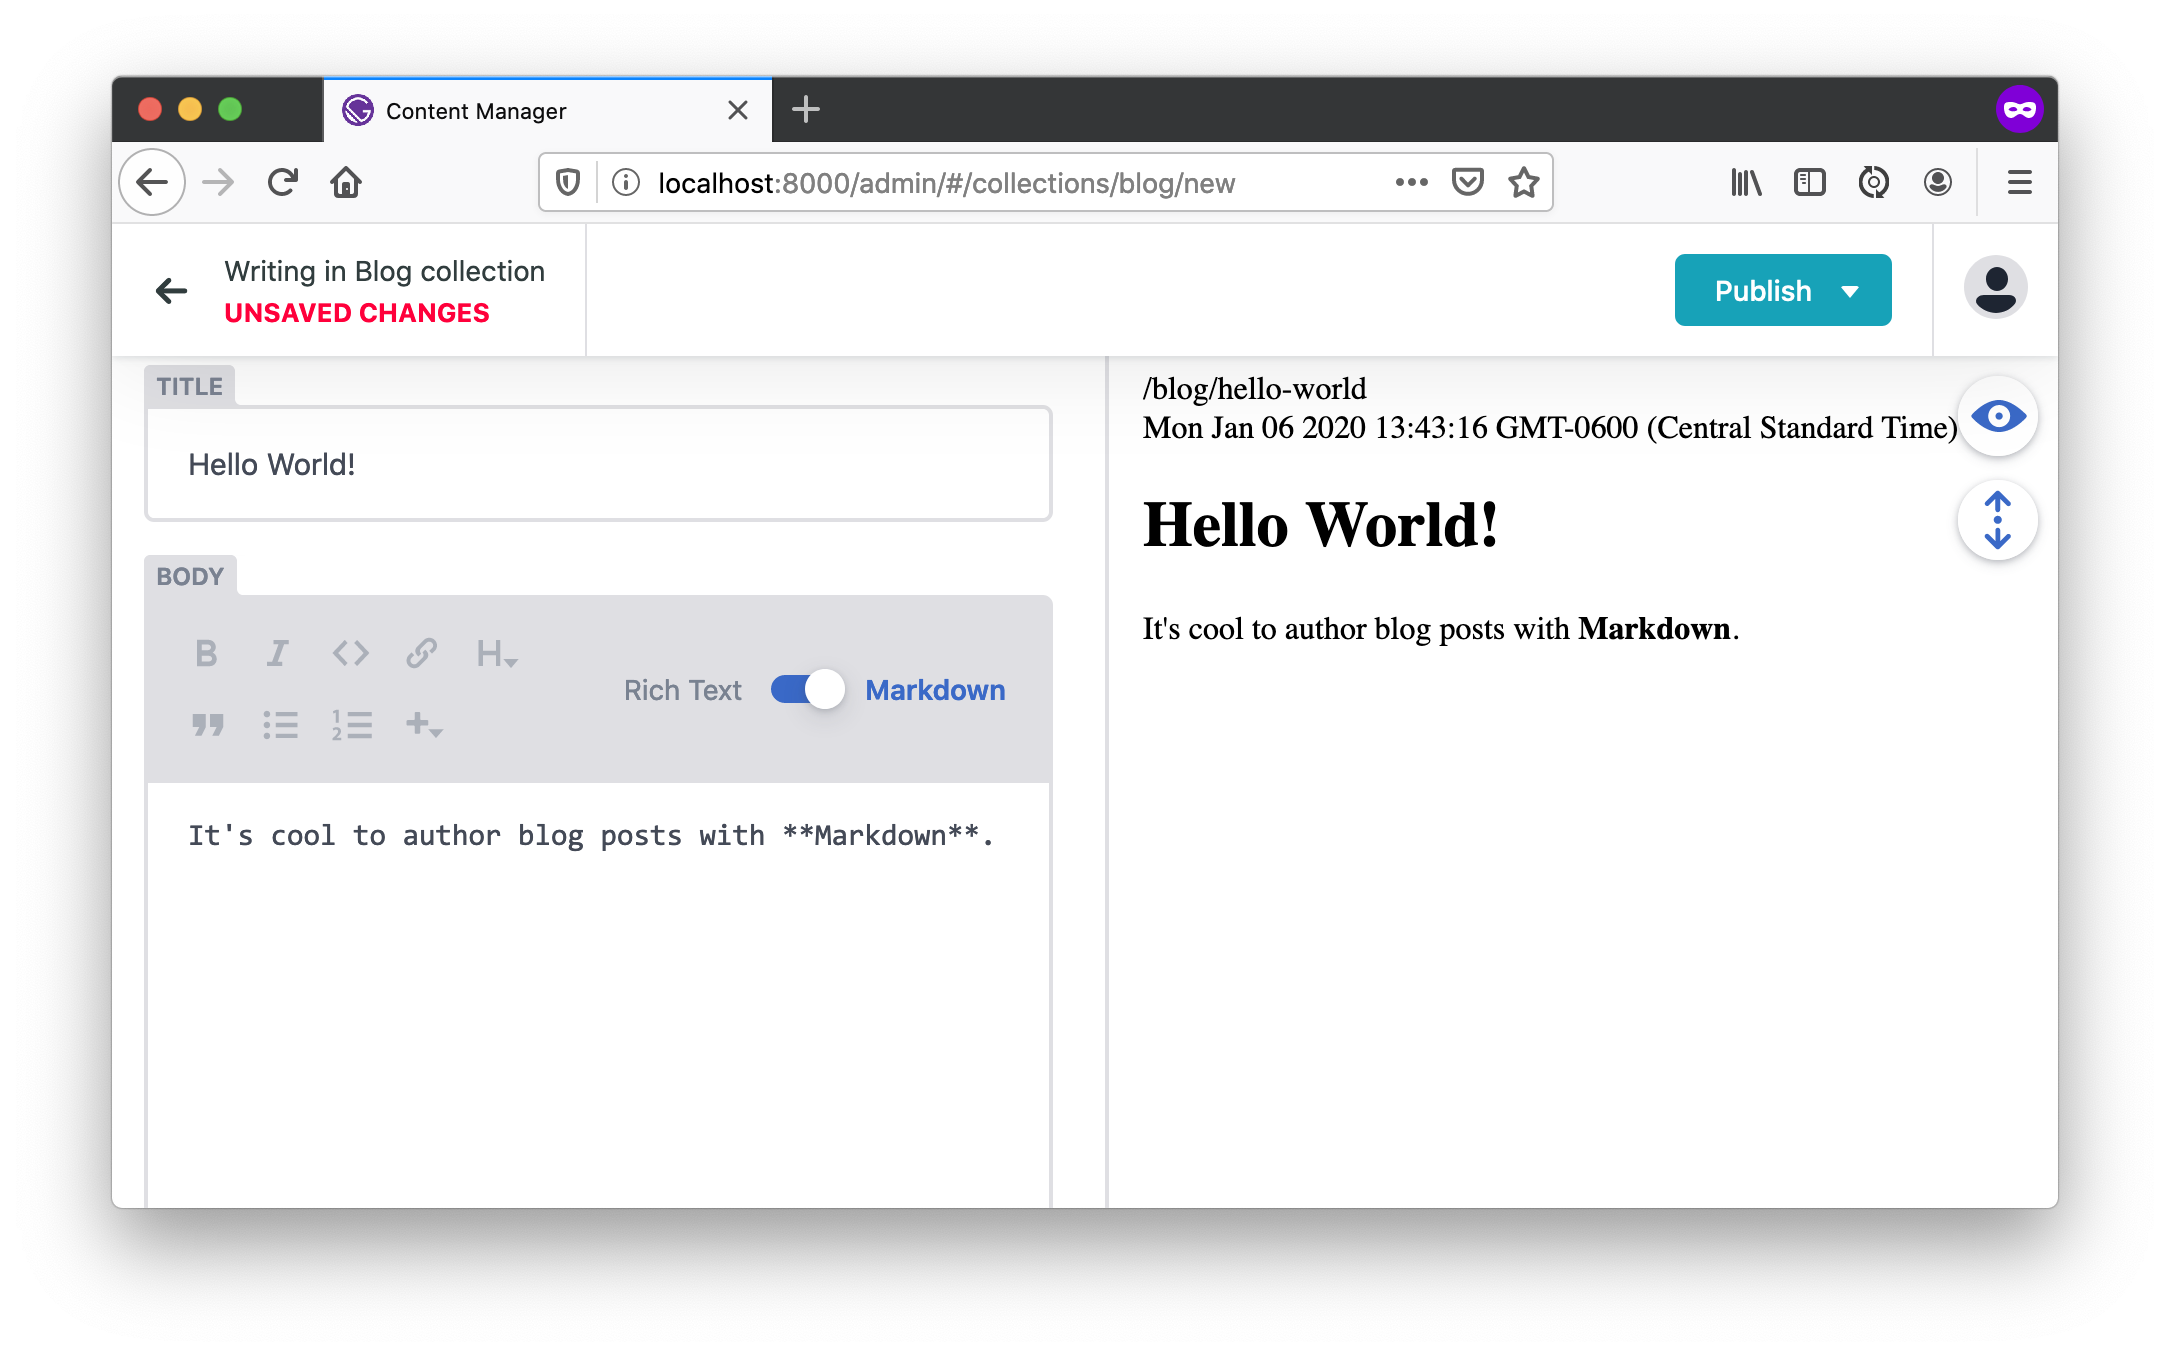
Click Publish and you’re in business!
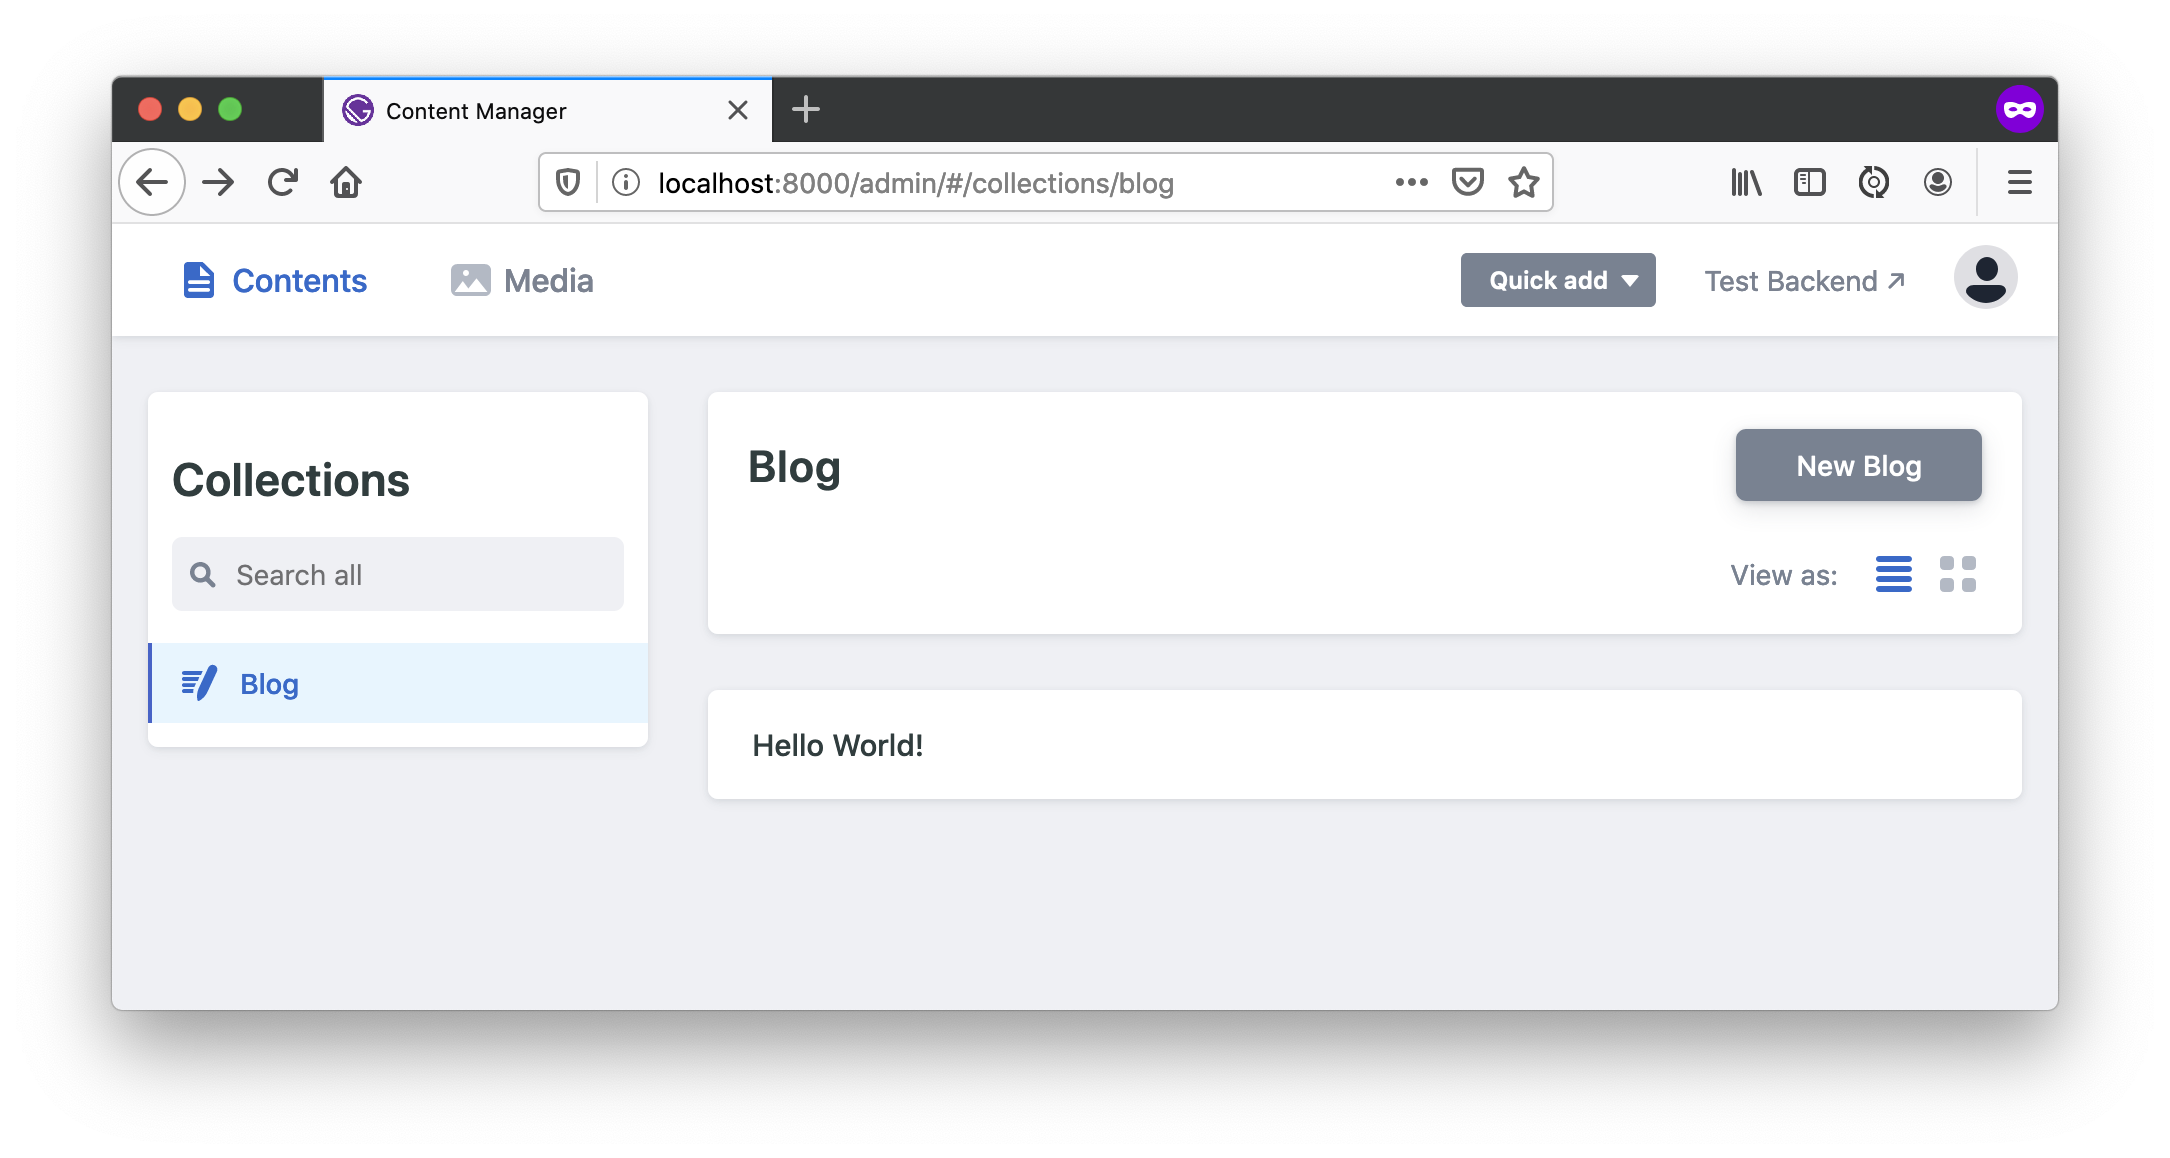
Unfortunately, you’ll lose your post as soon as you restart your development server. However, you can update Netlify CMS to store files in Git instead!
Integrate Netlify CMS with GitHub for Continuous Deployment
To save to a Git repository, you can create a repo on GitHub, for example, I created one at oktadeveloper/gatsby-netlify-okta-example.
You can add Git to your Gatsby project using the following commands:
git init
git add .
git commit -m "Add project to Git"
git remote add origin git@github.com:${user}/${repo}.git
git push origin master
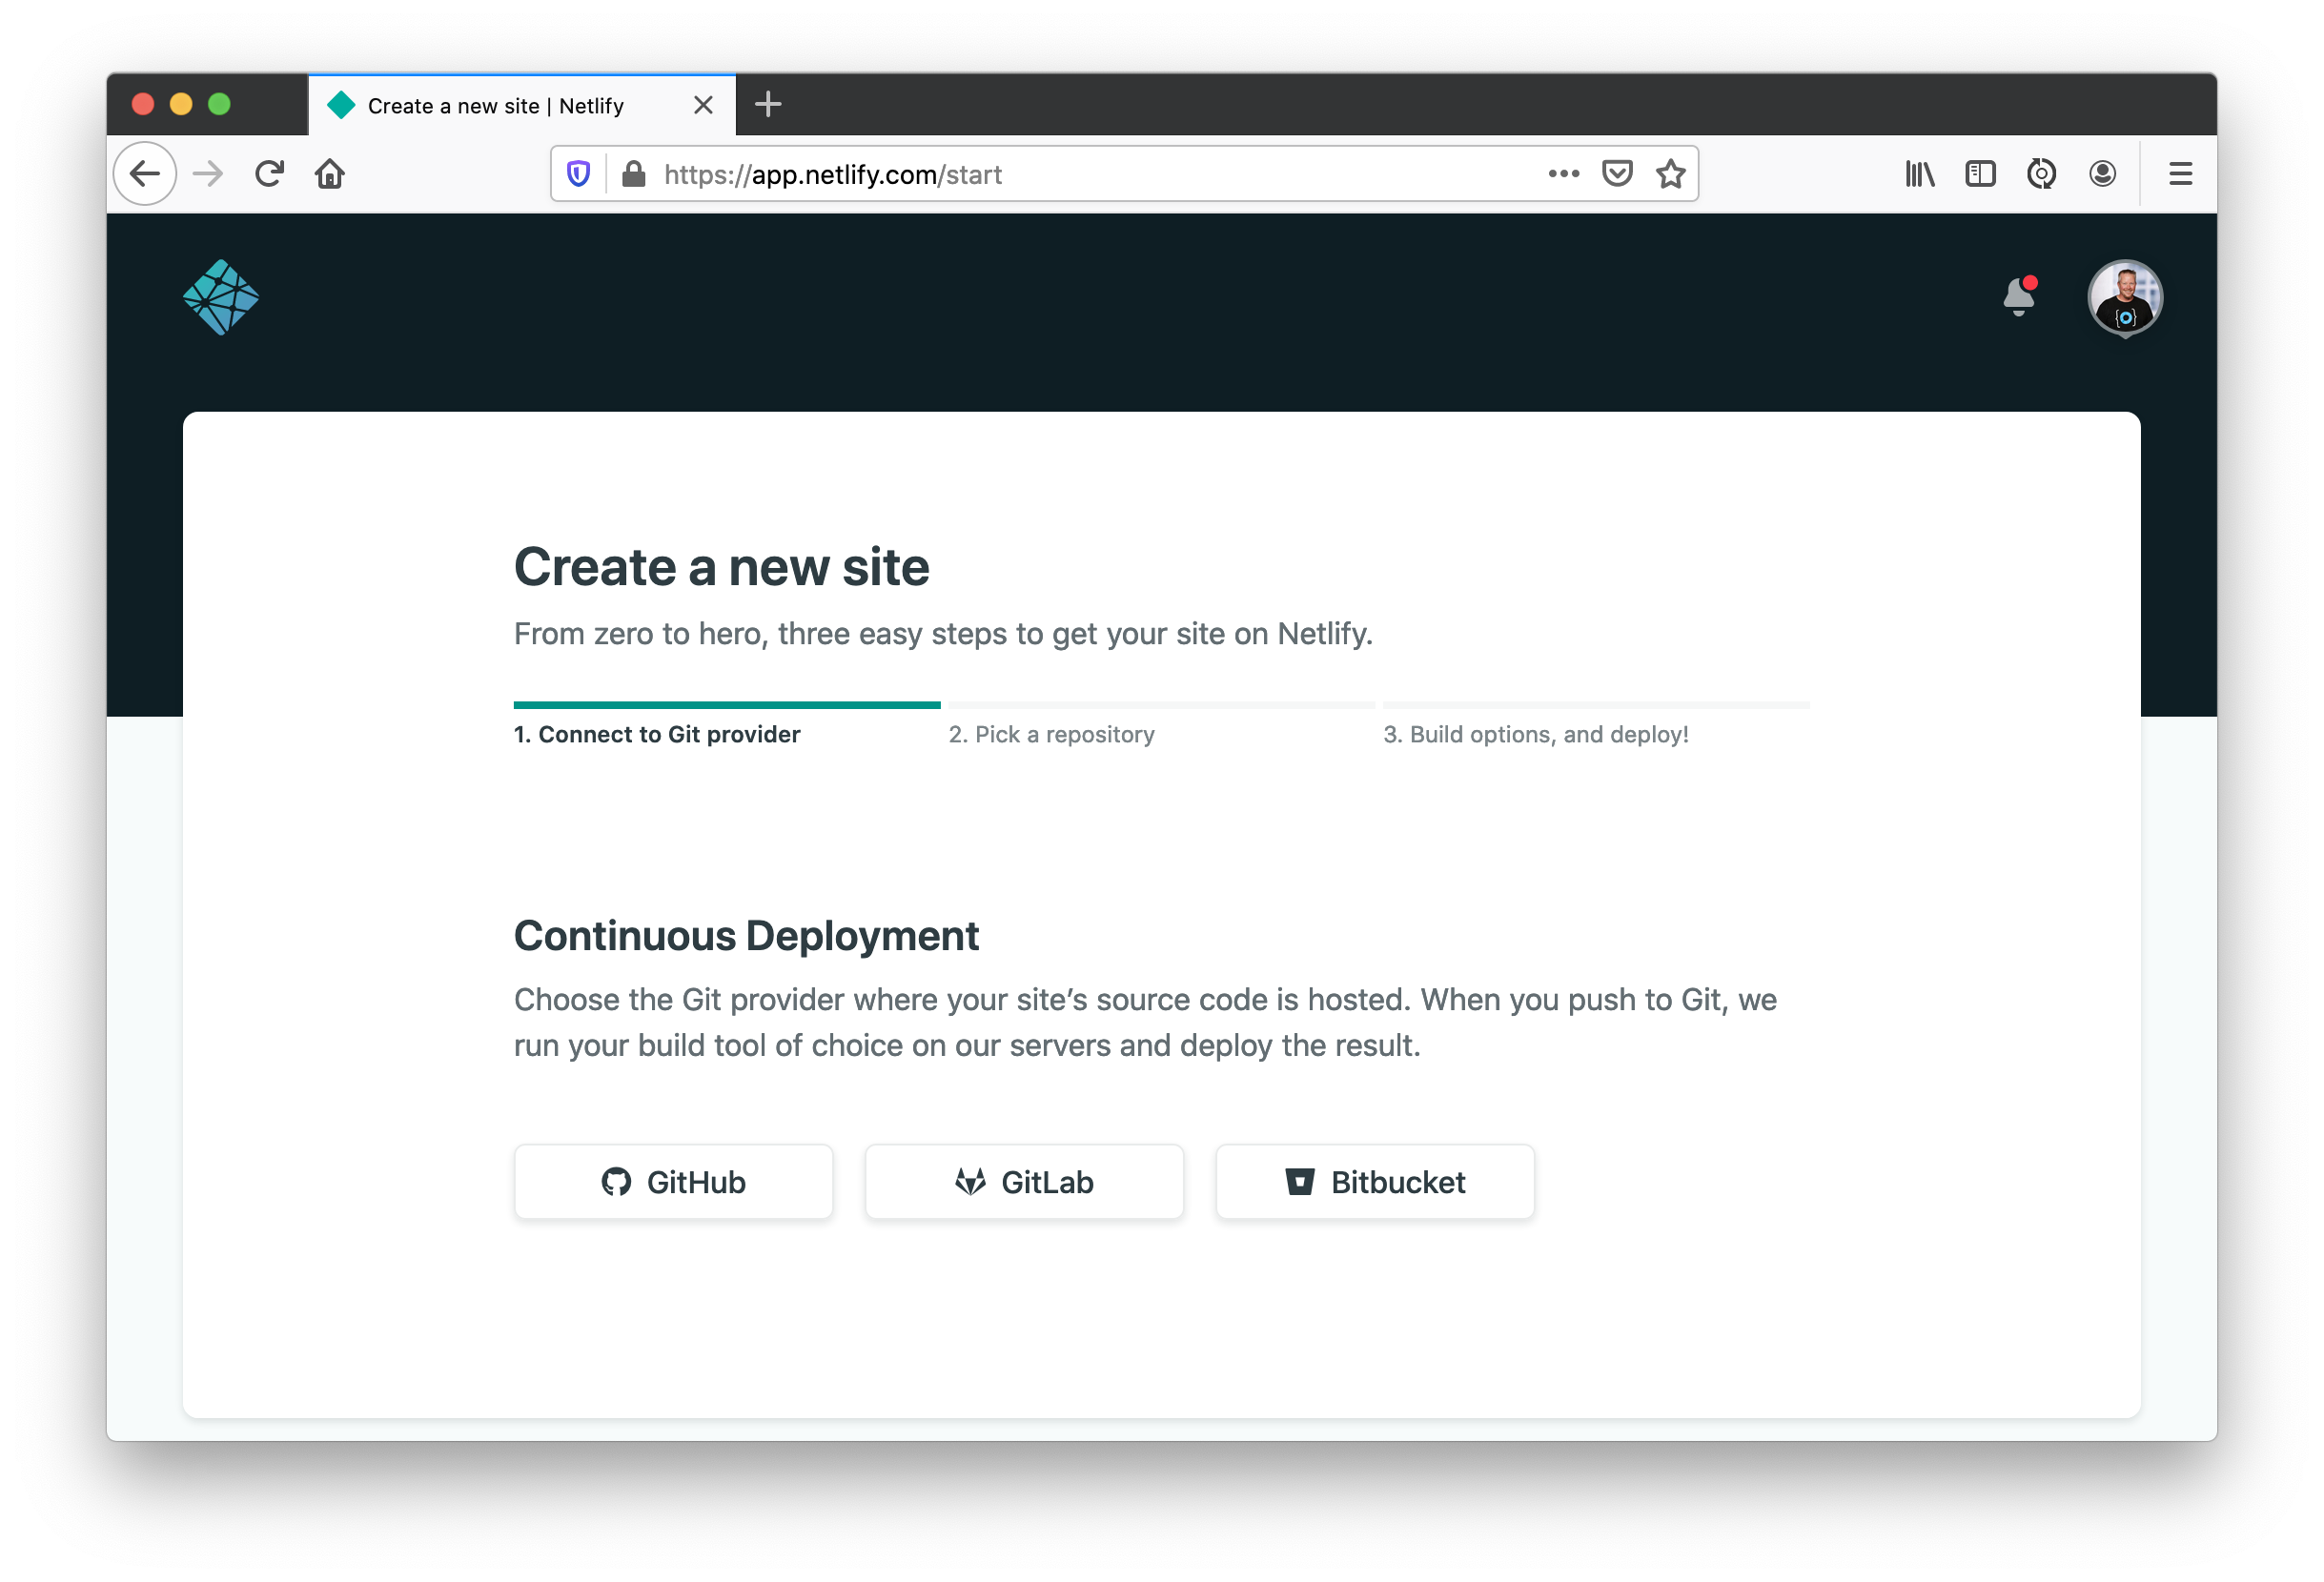
Now you can publish your Gatsby site straight from GitHub using Netlify’s create a new site page.
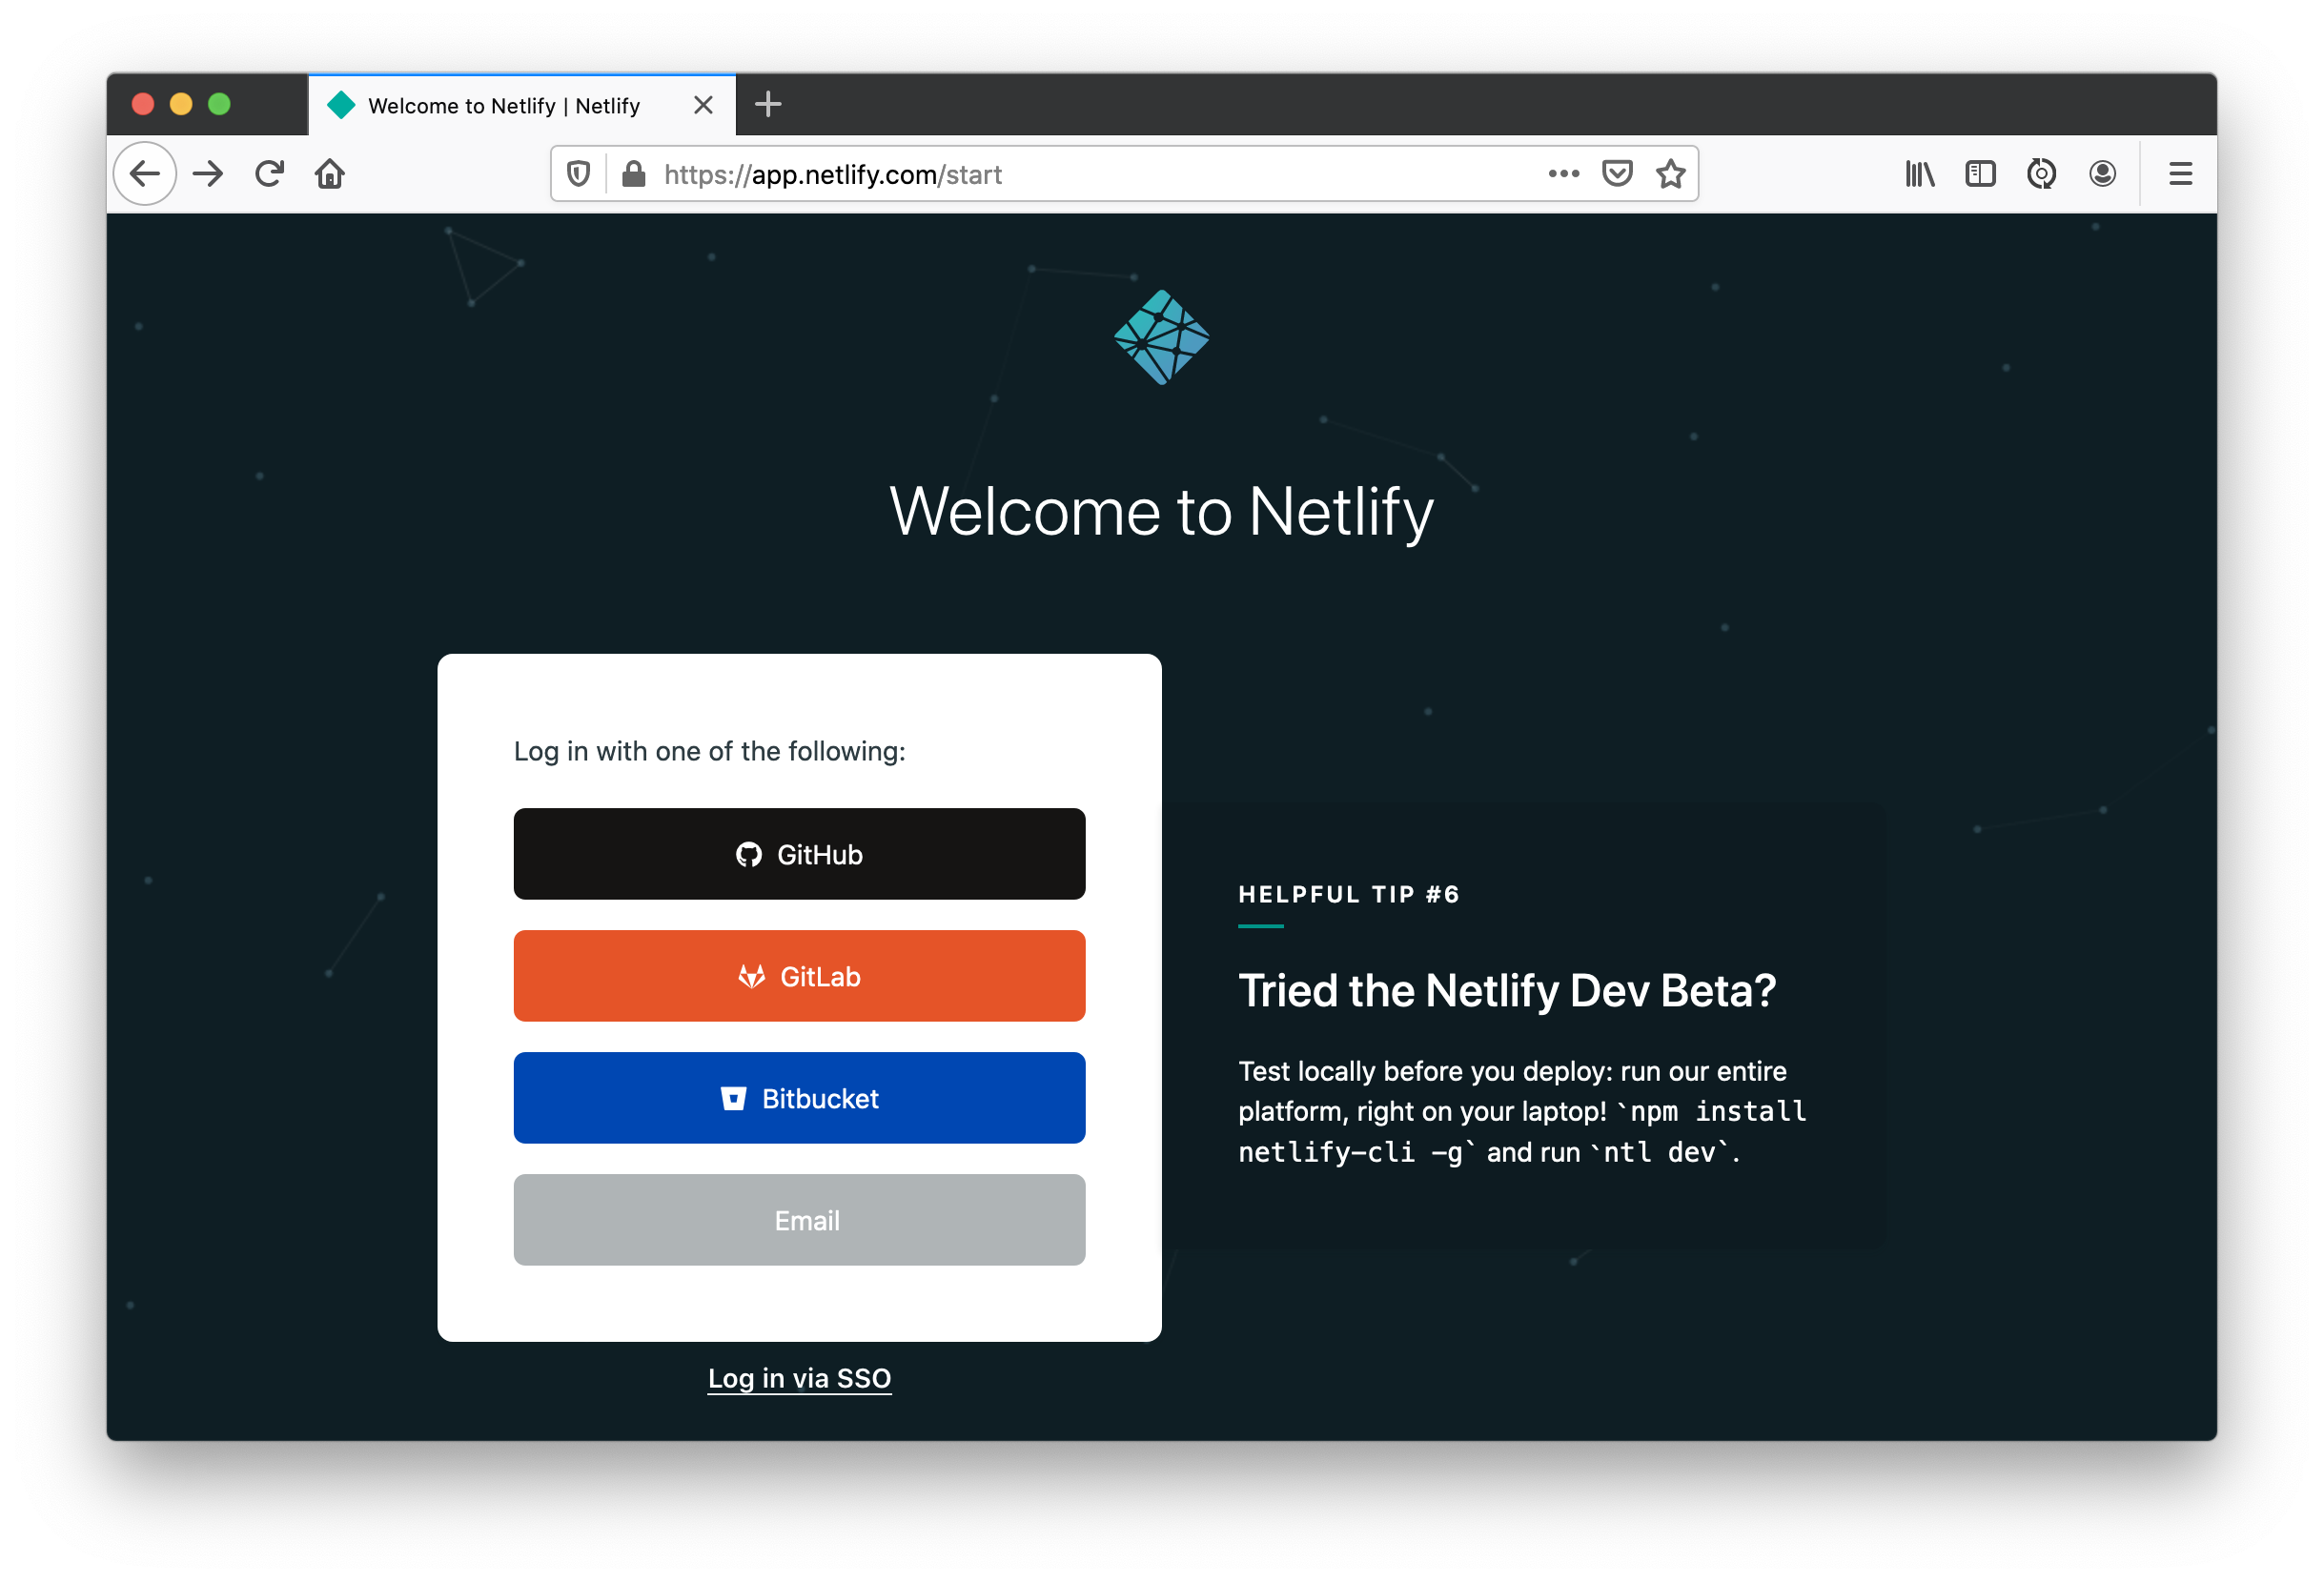
You’ll be prompted for a Git hosting provider. Click on GitHub.
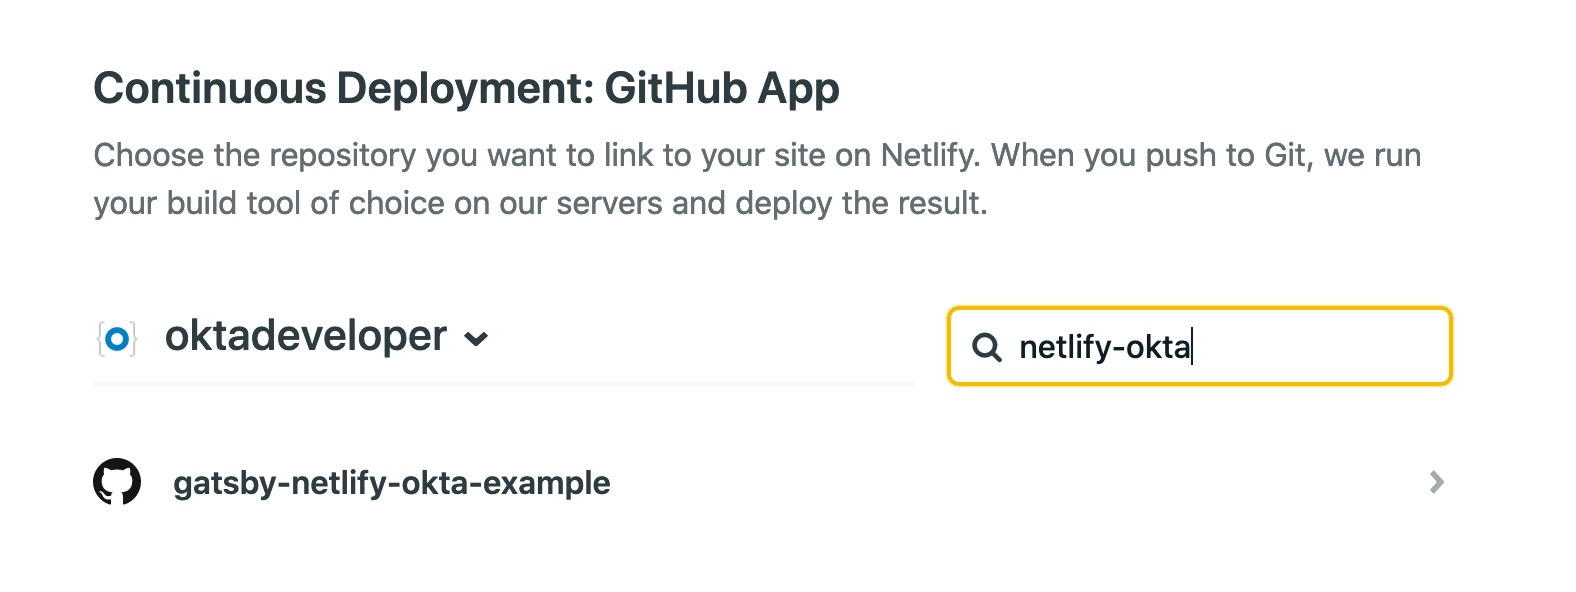
Find the repository you deployed to.
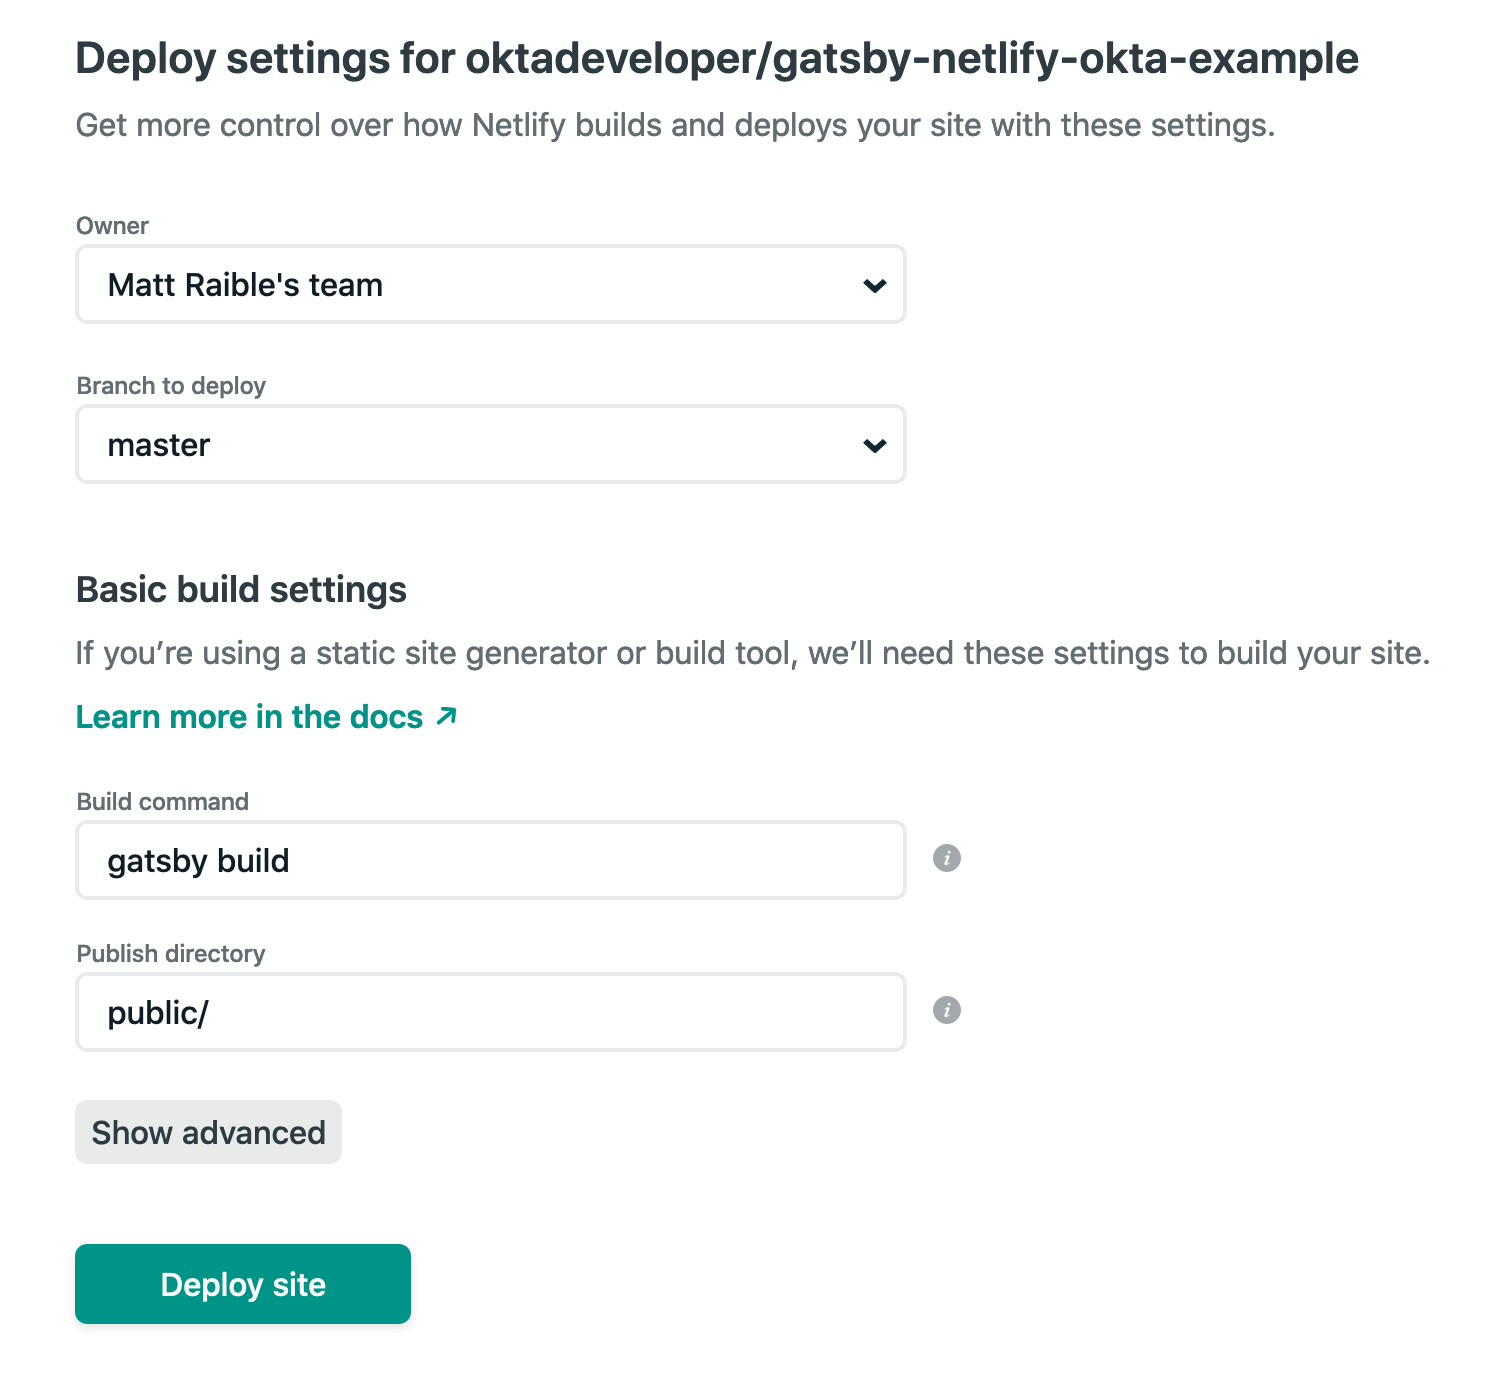
Accept all the default deploy settings and click Deploy site.
You’ll return to your site’s dashboard and the build will be in progress.
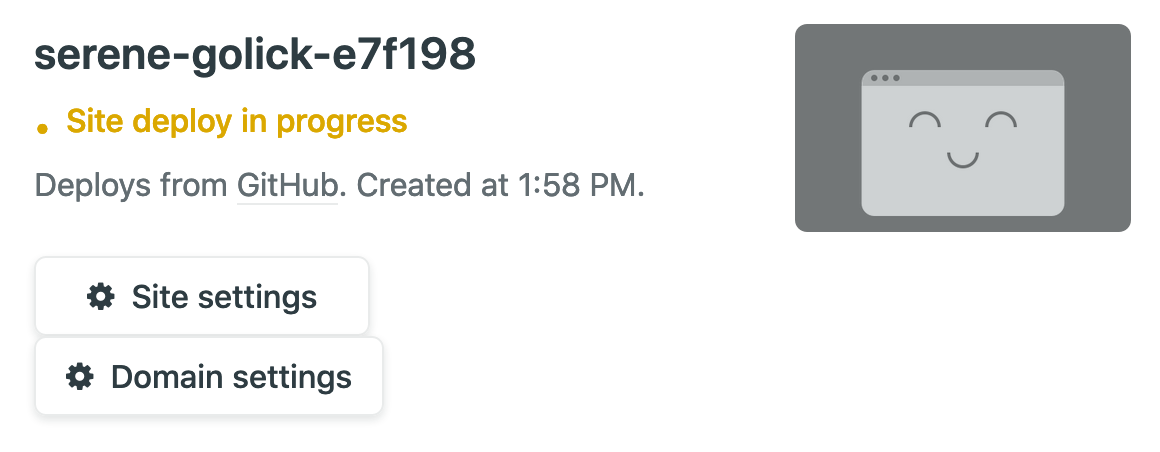
In a couple of minutes, your site will be live!

If you scroll down to the Production deploys section, you can click on the build and see what happened.
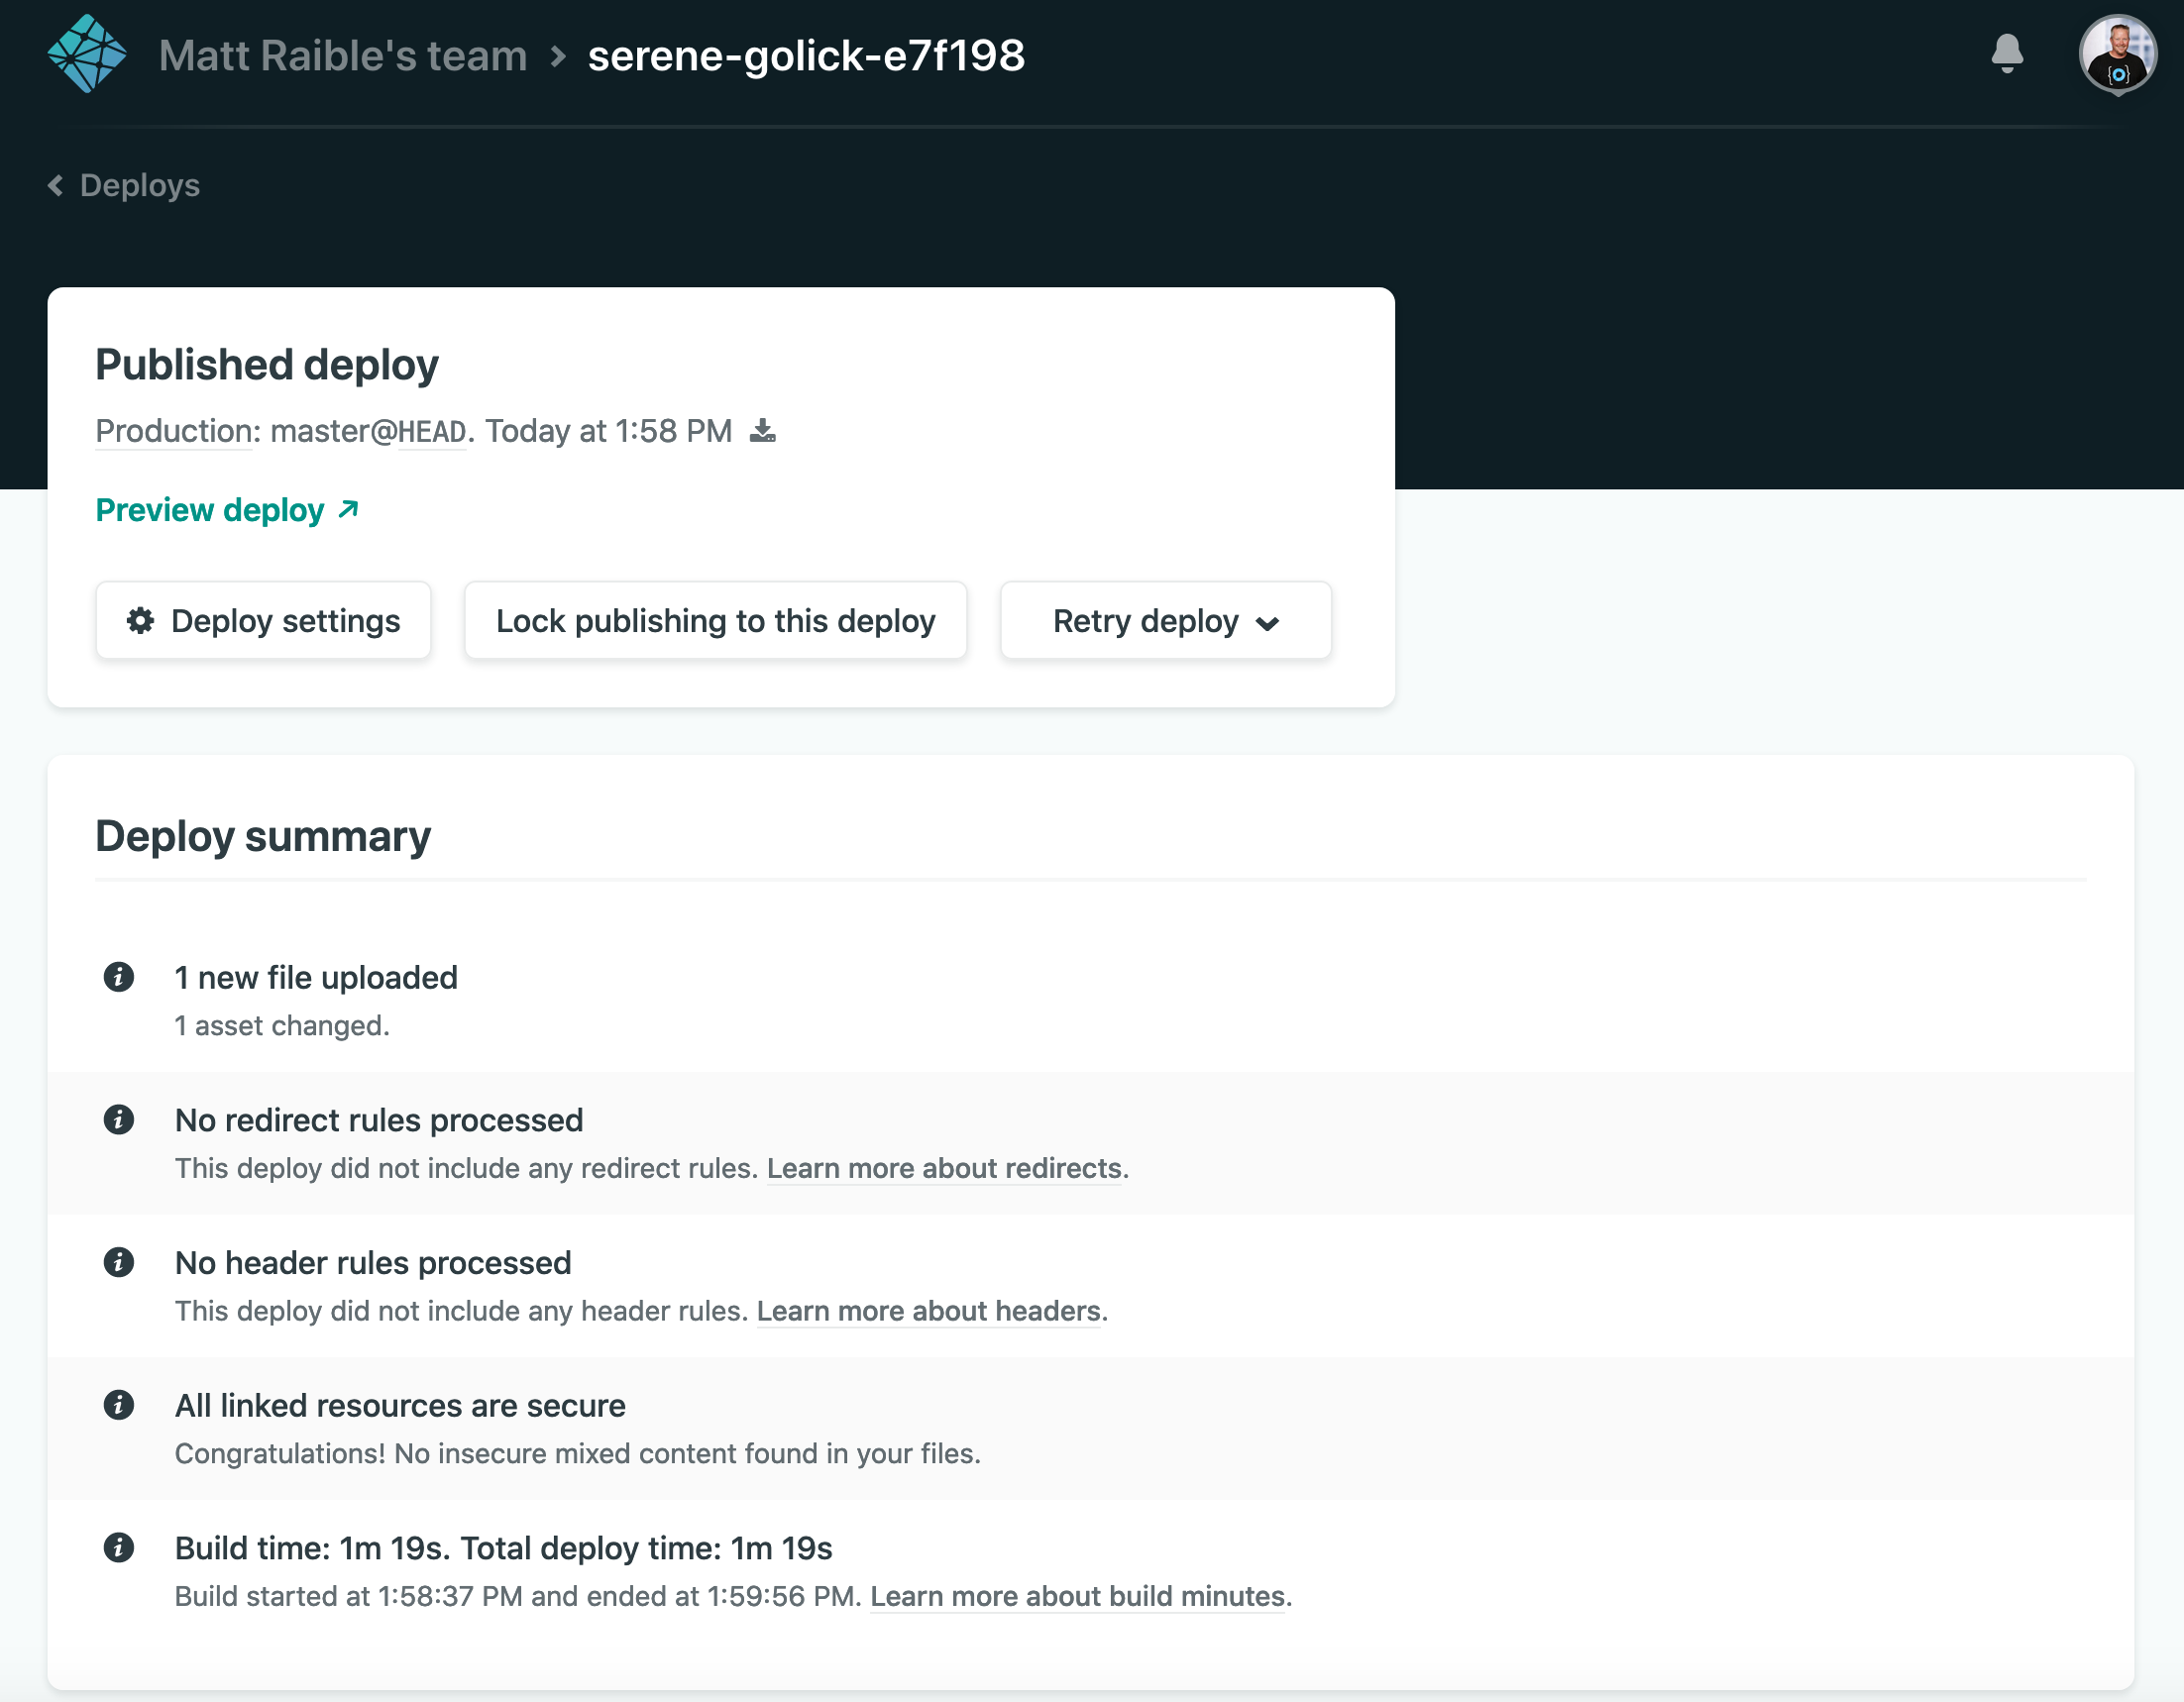
You’ve built a React app, checked it into source control, and published it to production - that’s pretty cool!
Not only that, but you automated the deployment process. Any changes you push to your GitHub repo will be automatically deployed by Netlify. 😎
Add Your GitHub Repo as a Netlify CMS Backend
Netlify CMS will need to authenticate with GitHub to save your content changes to your repo.
Modify static/admin/config.yml to use your GitHub repo:
backend:
  name: github
  repo: your-username/your-repo-name
In my case, I used:
backend:
  name: github
  repo: oktadeveloper/gatsby-netlify-okta-example
Save config.yml, commit the change, and push it to your GitHub repo.
git add .
git commit -m "Add GitHub Backend"
git push origin master
When your changes finish deploying on Netlify (it should take around 30 seconds), navigate to your site’s /admin/ endpoint. You’ll be prompted to log in with GitHub.
Click Login with GitHub and you’ll see a page that says “No Auth Provider Found”.
On Netlify, go to Site settings and navigate to Access control > (scroll down) OAuth.
Click Install provider. It will prompt you for a client ID and secret. To get this, navigate to GitHub Developer settings > OAuth Apps > New OAuth App.
Register a new application with the following settings:
- Application name:
My Gatsby Blog - Homepage URL:
<copy URL from Netlify> - Authorization callback URL:
https://api.netlify.com/auth/done

Click Register application and you’ll be provided with the client ID and secret you were looking for.
Copy and paste these values into your Netlify OAuth provider dialog and click Install.
Now if you go to your site’s /admin/ endpoint and log in with GitHub, you’ll be prompted for authorization. Click the green Authorize button at the bottom to continue.
If you see an error the first time it loads, you can ignore it. It happens because no blogs exist. Add a new one and it’ll go away. For the path, use something like /blog/first-post.
In a terminal window, run git pull origin master and you’ll see your project is updated with the post you created.
git pull origin master
remote: Enumerating objects: 5, done.
remote: Counting objects: 100% (5/5), done.
remote: Compressing objects: 100% (3/3), done.
remote: Total 4 (delta 1), reused 0 (delta 0), pack-reused 0
Unpacking objects: 100% (4/4), done.
From github.com:oktadeveloper/gatsby-netlify-okta-example
 * branch            master     -> FETCH_HEAD
   c1b8722..421a113  master     -> origin/master
Updating c1b8722..421a113
Fast-forward
 blog/1st-post.md | 6 ++++++
 1 file changed, 6 insertions(+)
 create mode 100644 blog/1st-post.md
Run npm start locally to see the blog at http://localhost/admin/. But how can others (without admin access) read it?
Render Blogs with a New BlogRoll React Component
Create a src/components/BlogRoll.js file. This file will contain a React component that queries for blog posts using GraphQL.
import React from 'react'
import PropTypes from 'prop-types'
import { Link, graphql, StaticQuery } from 'gatsby'
class BlogRoll extends React.Component {
render() {
const { data } = this.props;
const { edges: posts } = data.allMarkdownRemark;
return (
<div className="columns is-multiline">
{posts &&
posts.map(({ node: post }) => (
<div className="is-parent column is-6" key={post.id}>
<article
className={`blog-list-item tile is-child box notification ${
post.frontmatter.featuredpost ? 'is-featured' : ''
}`}
>
<header>
<p className="post-meta">
<Link
className="title has-text-primary is-size-4"
to={post.frontmatter.path}
>
{post.frontmatter.title}
</Link>
<span> • </span>
<span className="subtitle is-size-5 is-block">
{post.frontmatter.date}
</span>
</p>
</header>
<p>
{post.excerpt}
<br />
<br />
<Link className="button" to={post.frontmatter.path}>
Keep Reading →
</Link>
</p>
</article>
</div>
))}
</div>
)
}
}
BlogRoll.propTypes = {
data: PropTypes.shape({
allMarkdownRemark: PropTypes.shape({
edges: PropTypes.array,
}),
}),
};
export default () => (
<StaticQuery
query={graphql`
query BlogRollQuery {
allMarkdownRemark(
sort: { order: DESC, fields: [frontmatter___date] }
) {
edges {
node {
excerpt(pruneLength: 400)
id
frontmatter {
path
title
date(formatString: "MMMM DD, YYYY")
}
}
}
}
}
`}
render={(data, count) => <BlogRoll data={data} count={count} />}
/>
)
Create a new page at src/pages/blog.js to serve as the index page for blogs.
import React from 'react'

import BlogRoll from '../components/BlogRoll'

export default class BlogIndexPage extends React.Component {
  render() {
    return (
      <React.Fragment>
        <h1>Latest Posts</h1>
        <section>
          <div className="content">
            <BlogRoll />
          </div>
        </section>
      </React.Fragment>
    )
  }
}
Then add a link to it in src/pages/index.js:
import React from 'react'
import { Link } from 'gatsby'

export default () => {
  return (
    <>
      Hello world!
      <p><Link to="/blog">View Blog</Link></p>
    </>)
}
Restart your Gatsby app using npm start and navigate to http://localhost:8000.
You’ll receive an error because your project doesn’t have Markdown support.
Generating development JavaScript bundle failed

/Users/mraible/blog/gatsby-netlify-okta/src/components/BlogRoll.js
  62:9  error  Cannot query field "allMarkdownRemark" on type "Query"  graphql/template-strings

✖ 1 problem (1 error, 0 warnings)

File: src/components/BlogRoll.js
Add Markdown Support to Gatsby
Gatsby’s Add Markdown Pages docs show the process that it uses to create pages from Markdown files:
- Read files into Gatsby from the filesystem
- Transform Markdown to HTML and frontmatter to data
- Add a Markdown file
- Create a page component for the Markdown files
- Create static pages using Gatsby’s Node.js
createPage()API
Install a couple of Gatsby plugins to make this happen.
npm i gatsby-source-filesystem gatsby-transformer-remark
Then configure them in gatsby-config.js:
module.exports = {
  plugins: [
    `gatsby-plugin-netlify-cms`,
    {
      resolve: `gatsby-source-filesystem`,
      options: {
        path: `${__dirname}/blog`,
        name: `markdown-pages`,
      },
    },
    `gatsby-transformer-remark`
  ]
}
Restart everything and you’ll be able to see your blog posts at /blog.
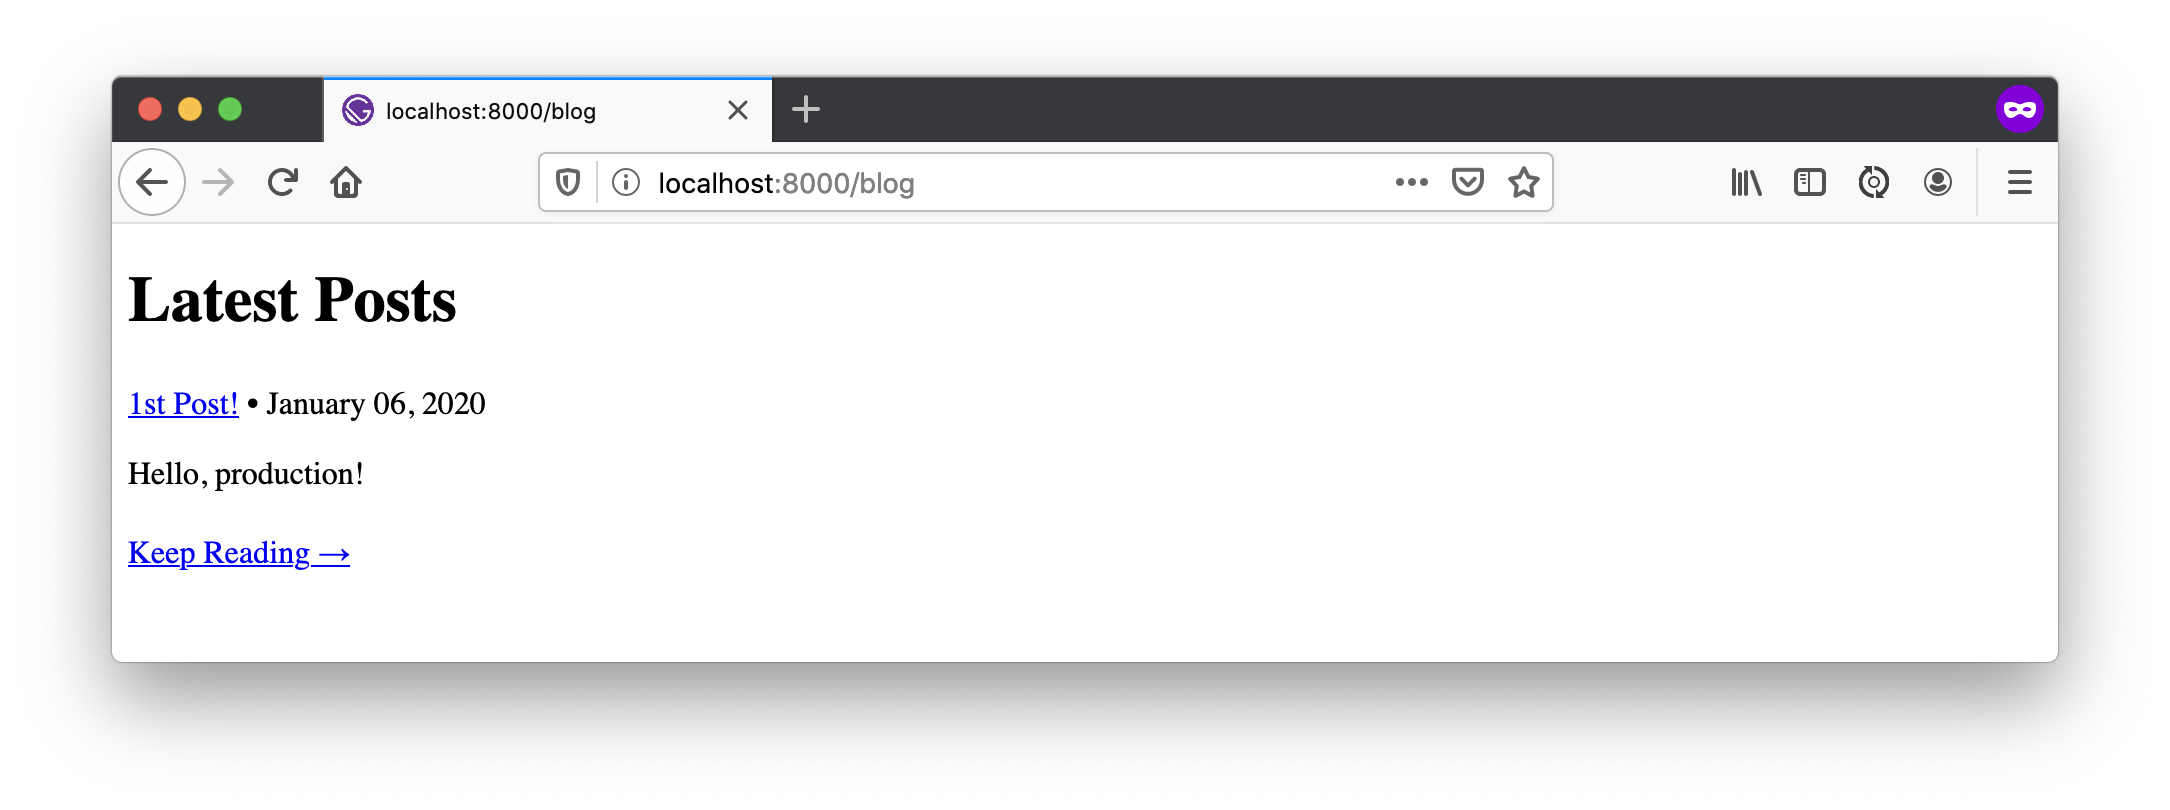
However, if you try to navigate into a blog, it doesn’t work because you didn’t tell Gatsby to generate pages for each one.
Use Gatsby’s Node API to Generate Static Blog Pages
Create a gatsby-node.js in the root directory of your project and add code to create a static page for each blog.
const path = require(`path`);

exports.createPages = async ({actions, graphql, reporter}) => {
  const {createPage} = actions;

  const blogPostTemplate = path.resolve(`src/templates/blog.js`);

  const result = await graphql(`
    {
      allMarkdownRemark(
        sort: { order: DESC, fields: [frontmatter___date] }
        limit: 1000
      ) {
        edges {
          node {
            frontmatter {
              path
            }
          }
        }
      }
    }
  `);

  // Handle errors
  if (result.errors) {
    reporter.panicOnBuild(`Error while running GraphQL query.`);
    return
  }

  result.data.allMarkdownRemark.edges.forEach(({node}) => {
    createPage({
      path: node.frontmatter.path,
      component: blogPostTemplate,
      context: {}, // additional data can be passed via context
    })
  })
};
You might notice this JavaScript code uses a template at src/templates/blog.js. Create this file with the following code in it.
import React from "react"
import { graphql } from "gatsby"
export default function Template({
  data, // this prop will be injected by the GraphQL query below.
}) {
  const { markdownRemark } = data // data.markdownRemark holds your post data
  const { frontmatter, html } = markdownRemark
  return (
    <div className="blog-post-container">
      <div className="blog-post">
        <h1>{frontmatter.title}</h1>
        <h2>{frontmatter.date}</h2>
        <div
          className="blog-post-content"
          dangerouslySetInnerHTML={{ __html: html }}
        />
      </div>
    </div>
  )
}
export const pageQuery = graphql`
  query($path: String!) {
    markdownRemark(frontmatter: { path: { eq: $path } }) {
      html
      frontmatter {
        date(formatString: "MMMM DD, YYYY")
        path
        title
      }
    }
  }
`
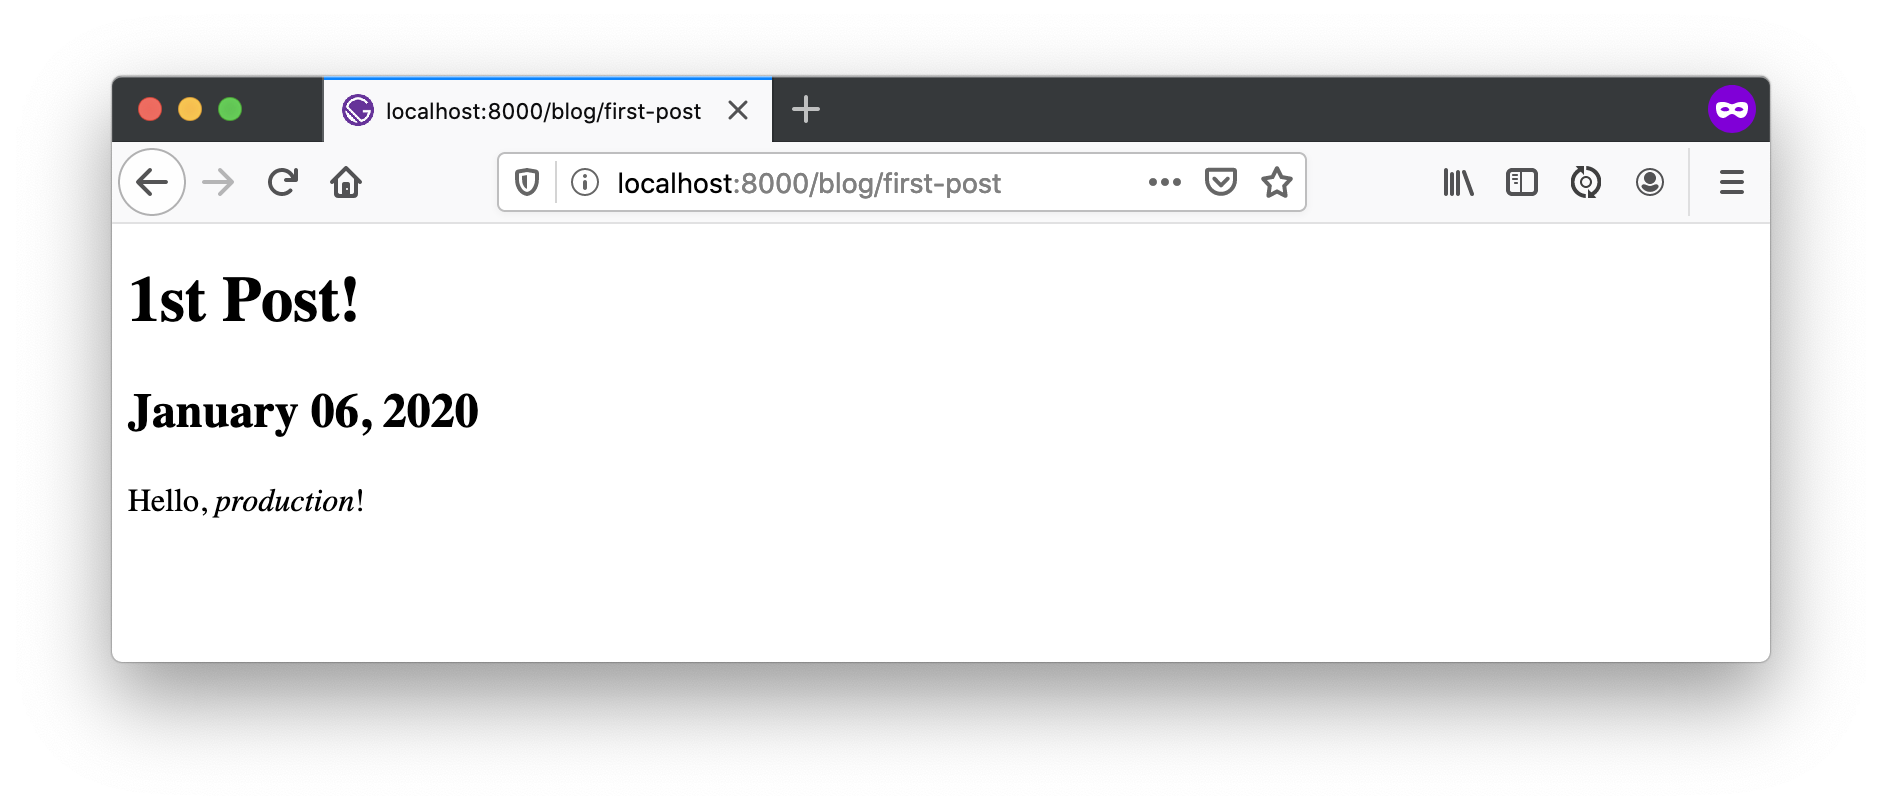
Restart your app to see Markdown rendering properly!
Commit your changes and verify everything works in production.
git add .
git commit -m "Add /blog and Markdown support"
git push origin master
Add an Account Section
Add an Account section for your site by creating a file at src/pages/account.js.
import React from 'react'
import { Router } from '@reach/router'
import { Link } from 'gatsby'

const Home = () => <p>Home</p>;
const Settings = () => <p>Settings</p>;
const Account = () => {
  return (
    <>
      <nav>
        <Link to="/">Home</Link>{' '}
        <Link to="/account">My Account</Link>{' '}
        <Link to="/account/settings">Settings</Link>{' '}
      </nav>
      <h1>My Account</h1>
      <Router>
        <Home path="/account"/>
        <Settings path="/account/settings"/>
      </Router>
    </>
  )
};

export default Account
Add a link to the account page in src/pages/index.js:
import React from 'react'
import { Link } from 'gatsby'

export default () => {
  return (
    <>
      Hello world!
      <p><Link to="/blog">View Blog</Link></p>
      <p><Link to="/account">My Account</Link></p>
    </>)
}
Since this section will have dynamic content that shouldn’t be rendered statically, you need to exclude it from the build. Add the following JavaScript to the bottom of gatsby-node.js to indicate that /account is a client-only route.
exports.onCreatePage = async ({ page, actions }) => {
  const { createPage } = actions;

  if (page.path.match(/^\/account/)) {
    page.matchPath = "/account/*";
    createPage(page)
  }
};
Restart with npm start and you should be able to navigate to this new section.
Register Your App with Okta
To begin with Okta, you’ll need to register your app, just like you did with GitHub. Log in to your Okta developer account and navigate to Applications > Add Application.
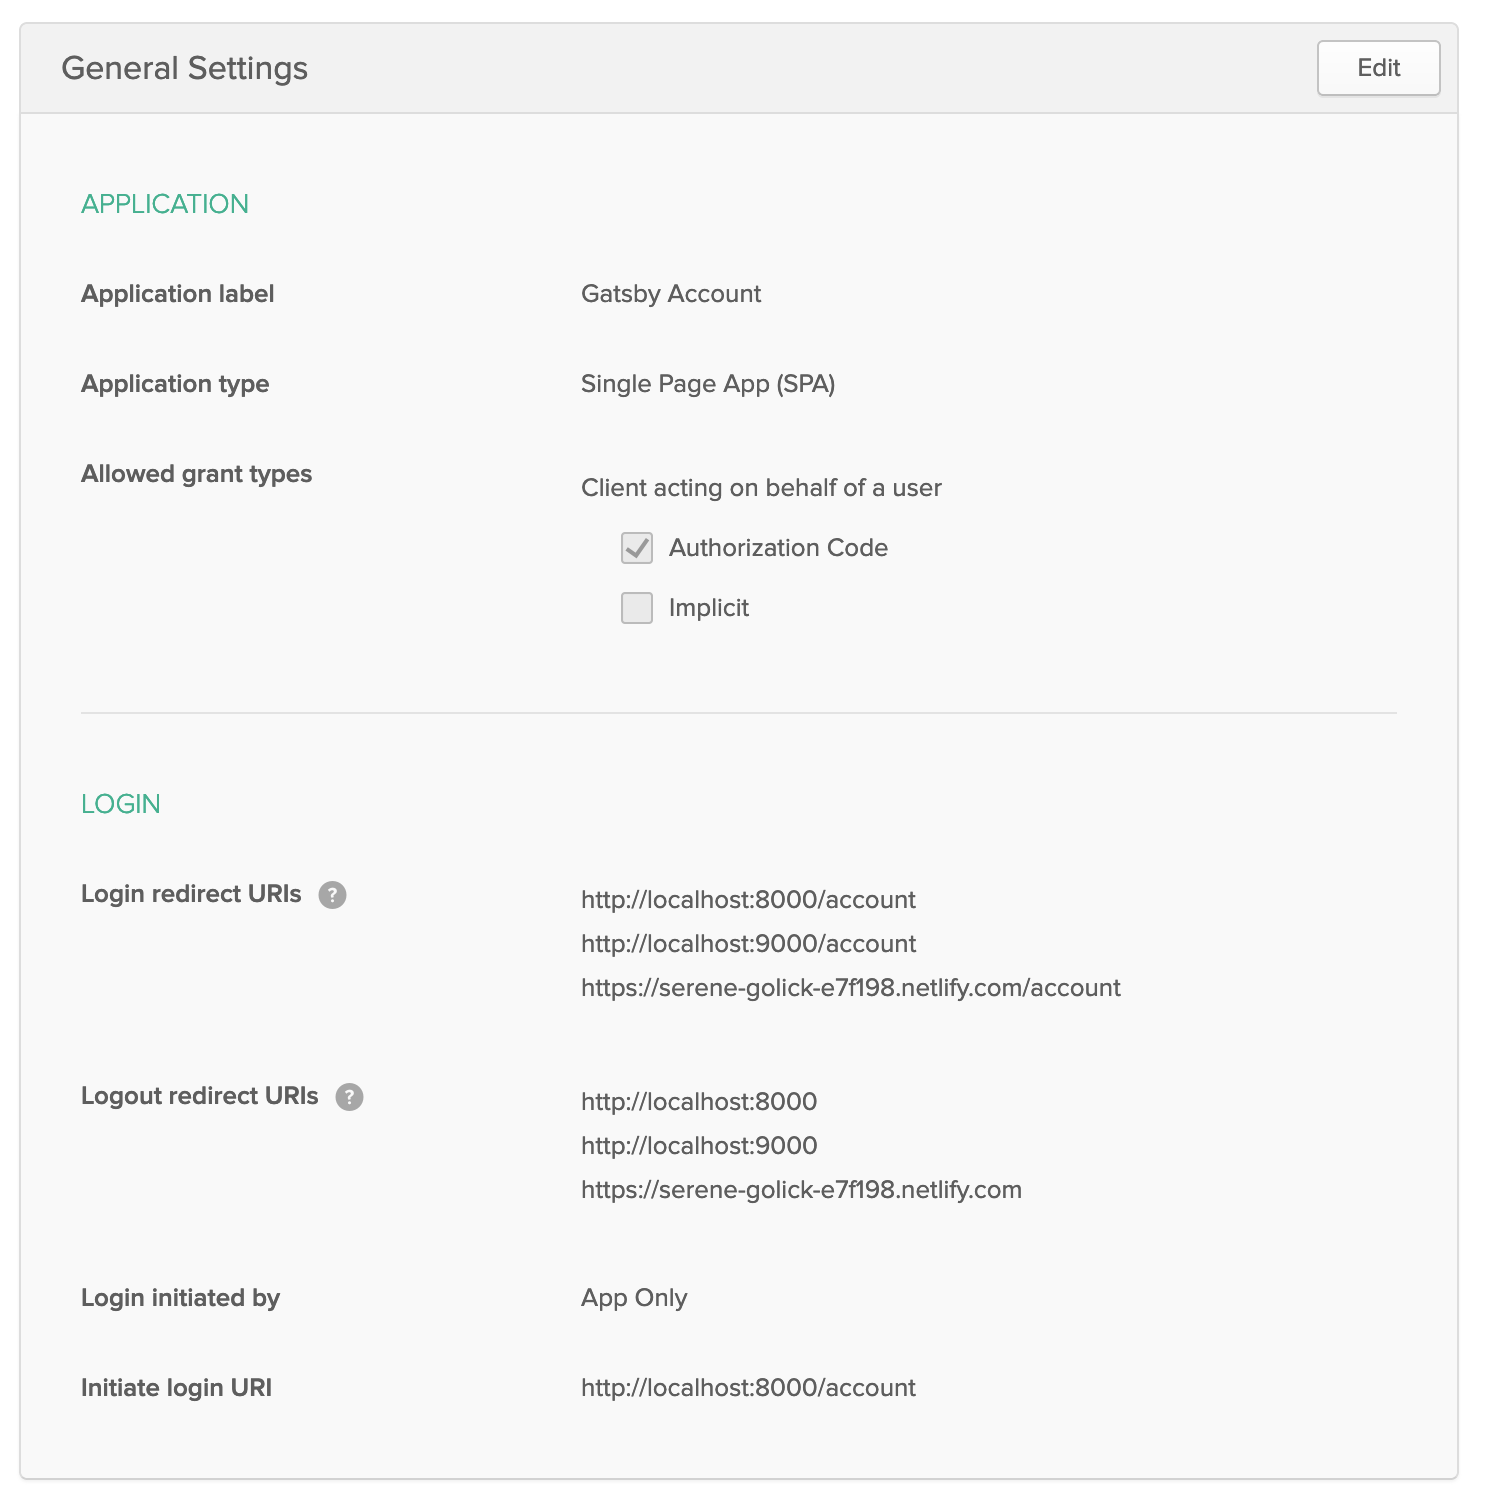
- Choose Single-Page App and Next
- Enter a name like
Gatsby Account - Specify the following Login redirect URIs:
http://localhost:8000/accounthttp://localhost:9000/accounthttps://<your-site>.netlify.com/account
- Specify the following Logout redirect URIs:
http://localhost:8000http://localhost:9000https://<your-site>.netlify.com
- Click Done
Your Okta application settings should resemble the screenshot below.
Add Trusted Origins for Your Gatsby Sites
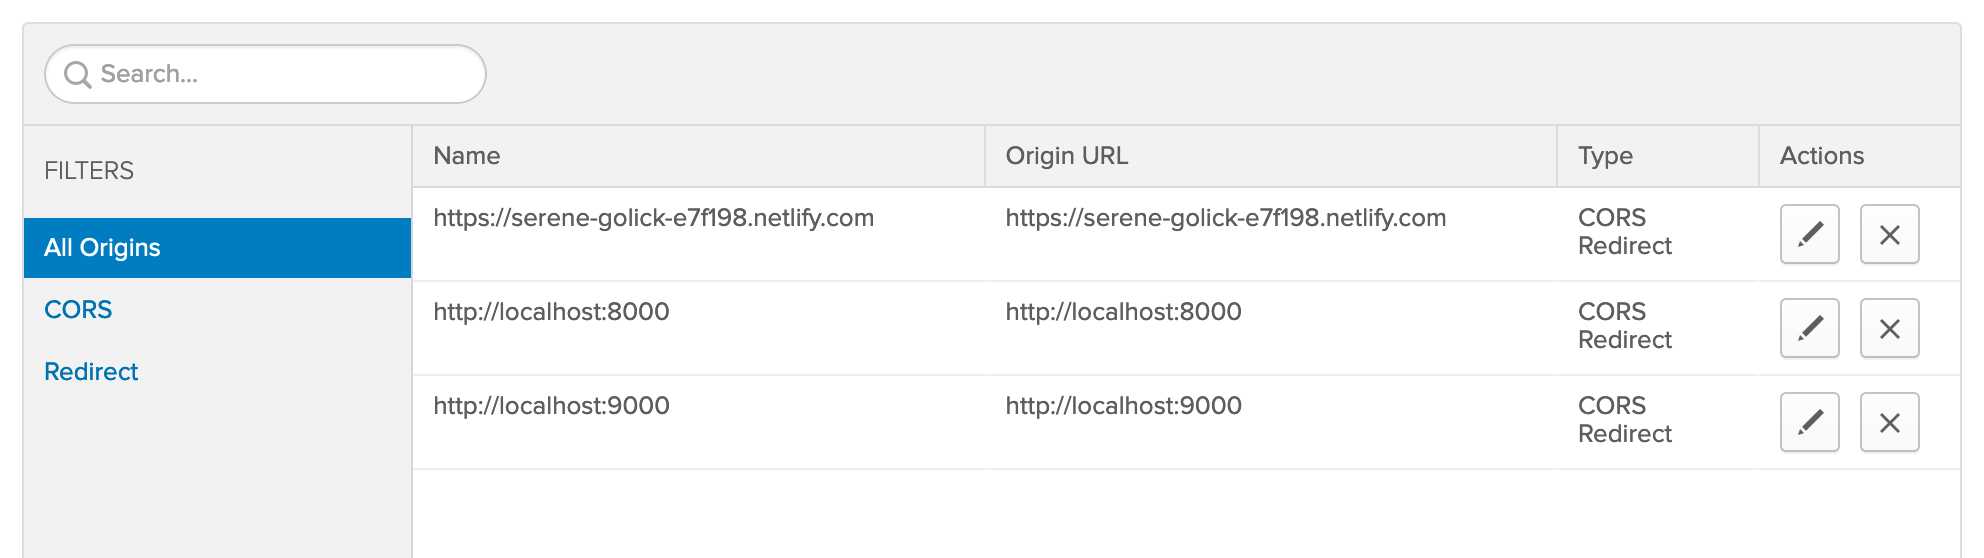
Gatsby can run on two different ports (8000 and 9000) locally. One is for development and one is for production (invoked with gatsby build and gatsby serve). You also have your production Netlify site. Add all of these as Trusted Origins in API > Trusted Origins.
Click Add Origin, select CORS and Redirect for Type, and add each of the following:
http://localhost:8000http://localhost:9000https://<your-site>.netlify.com
When you’re finished, your screen should resemble the following.
Protect Your Gatsby Account Section with Okta
Install Okta’s Sign-In Widget:
npm i @okta/okta-signin-widget@3.7.2
Create a Login component in src/components/Login.js:
import OktaSignIn from '@okta/okta-signin-widget';
import '@okta/okta-signin-widget/dist/css/okta-sign-in.min.css';
import React from 'react';

const config = {
  baseUrl: '<okta-org-url>',
  clientId: '<okta-client-id>',
  logo: '//logo.clearbit.com/gatsbyjs.org',
  redirectUri: typeof window !== 'undefined' && window.location.origin + '/account',
  el: '#signIn',
  authParams: {
    pkce: true,
    responseType: ['token', 'id_token']
  }
};

export const signIn = typeof window !== 'undefined' && new OktaSignIn(config);

export default class Login extends React.Component {
  constructor(props) {
    super(props);

    this.state = {
      user: false
    };

    this.signIn = signIn;
  }

  async componentDidMount() {
    const authClient = this.signIn.authClient;
    const session = await authClient.session.get();
    console.log('session.status', session.status);
    // Session exists, show logged in state.
    if (session.status === 'ACTIVE') {
      // clear parameters from browser window
      window.location.hash = '';
      // set username in state
      this.setState({user: session.login});
      localStorage.setItem('isAuthenticated', 'true');
      // get access and ID tokens
      authClient.token.getWithoutPrompt({
        scopes: ['openid', 'email', 'profile'],
      }).then((tokens) => {
        tokens.forEach(token => {
          if (token.idToken) {
            authClient.tokenManager.add('idToken', token);
          }
          if (token.accessToken) {
            authClient.tokenManager.add('accessToken', token);
          }
        });

        // Say hello to the person who just signed in
        authClient.tokenManager.get('idToken').then(idToken => {
          console.log(`Hello, ${idToken.claims.name} (${idToken.claims.email})`);
          window.location.reload();
        });
      }).catch(error => console.error(error));
      return;
    } else {
      this.signIn.remove();
    }
    this.signIn.renderEl({el: '#signIn'})
  }

  render() {
    return (
      <div id="signIn"/>
    )
  }
}
Replace the placeholders near the top of this file with your Okta app settings.
const config = {
  baseUrl: '<okta-org-url>',
  clientId: '<okta-client-id>',
  ...
};
For example:
const config = {
  baseUrl: 'https://dev-133320.okta.com',
  clientId: '0oa2ee3nvkHIe8vzX357',
  ...
};
Modify src/pages/account.js to include an Account component that uses Login to get ID tokens and logout.
import React from 'react'
import { navigate, Router } from '@reach/router'
import { Link } from 'gatsby'
import Login, { signIn } from '../components/Login'

const Home = () => <p>Account Information</p>;
const Settings = () => <p>Settings</p>;

const isAuthenticated = () => {
  if (typeof window !== 'undefined') {
    return localStorage.getItem('isAuthenticated') === 'true';
  } else {
    return false;
  }
};

class Account extends React.Component {
  constructor(props) {
    super(props);

    this.state = {user: false};
    this.logout = this.logout.bind(this);
  }

  async componentDidMount() {
    const token = await signIn.authClient.tokenManager.get('idToken');
    if (token) {
      this.setState({user: token.claims.name});
    } else {
      // Token has expired
      this.setState({user: false});
      localStorage.setItem('isAuthenticated', 'false');
    }
  }

  logout() {
    signIn.authClient.signOut().catch((error) => {
      console.error('Sign out error: ' + error)
    }).then(() => {
      localStorage.setItem('isAuthenticated', 'false');
      this.setState({user: false});
      navigate('/');
    });
  }

  render() {
    if (!isAuthenticated()) {
      return (
        <Login/>
      );
    }

    return (
      <>
        <nav>
          <Link to="/">Home</Link>{' '}
          <Link to="/account">My Account</Link>{' '}
          <Link to="/account/settings">Settings</Link>{' '}
        </nav>
        <h1>My Account</h1>
        <React.Fragment>
          <p>Welcome, {this.state.user}. <button onClick={this.logout}>Logout</button></p>
        </React.Fragment>
        <Router>
          <Home path="/account"/>
          <Settings path="/account/settings"/>
        </Router>
      </>
    )
  }
}

export default Account
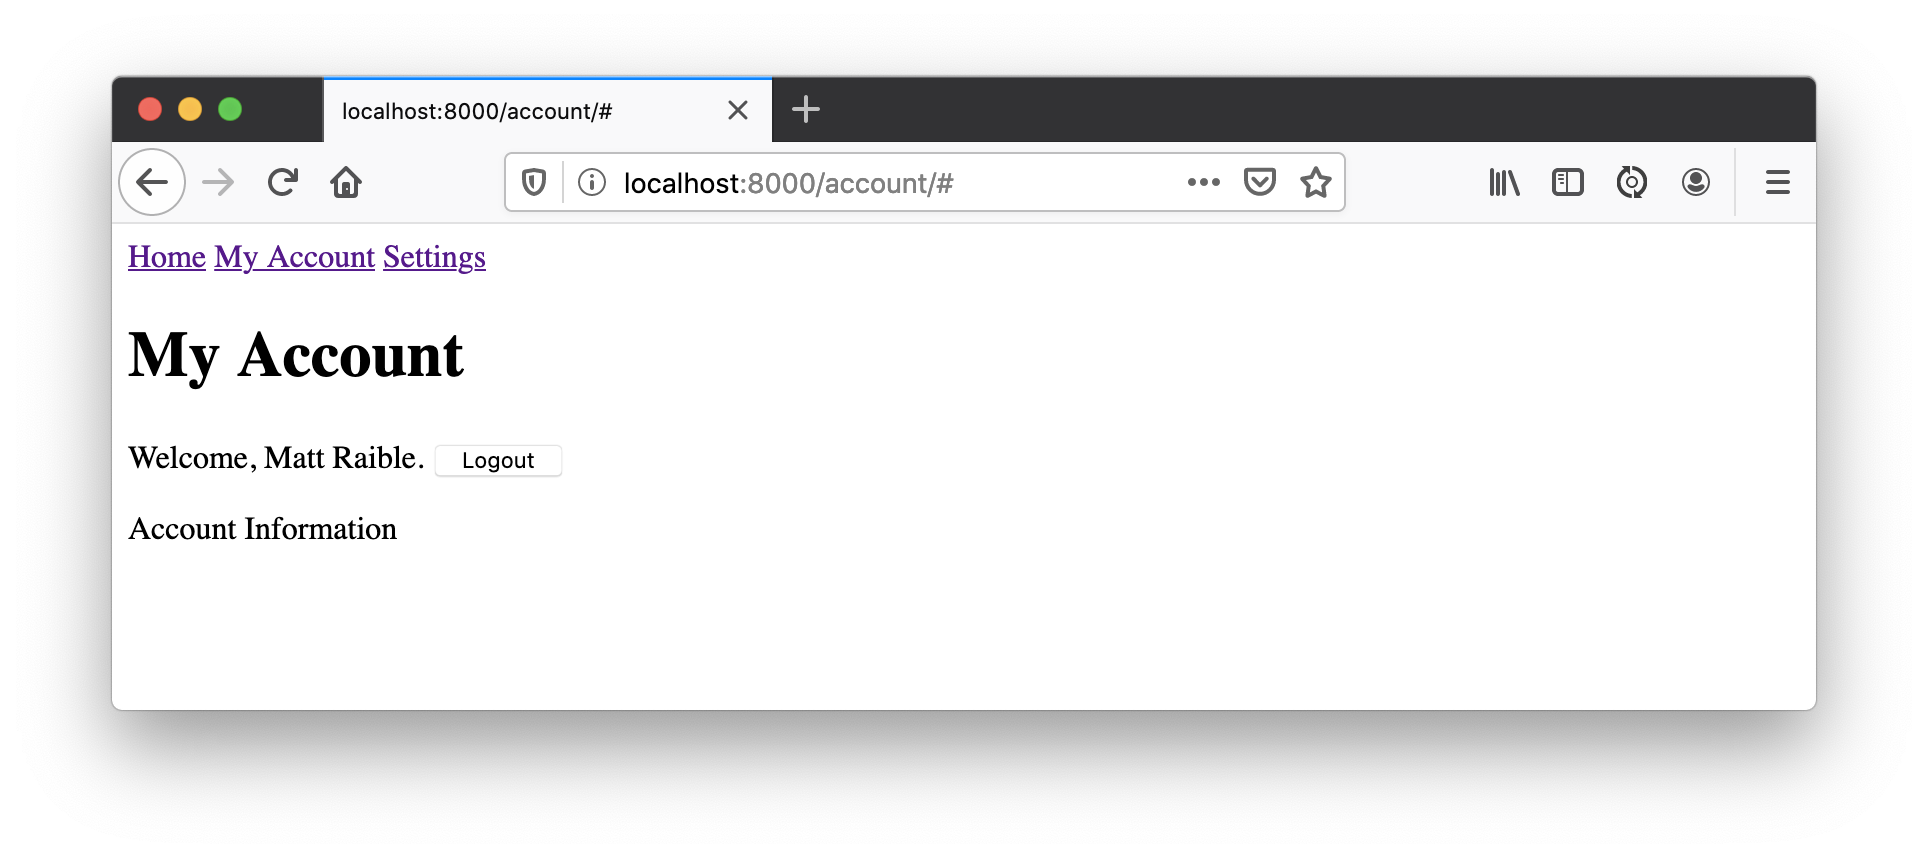
Restart your app with npm start, open http://localhost:8000 in a private window, and click on My Account. You’ll be prompted to log in.
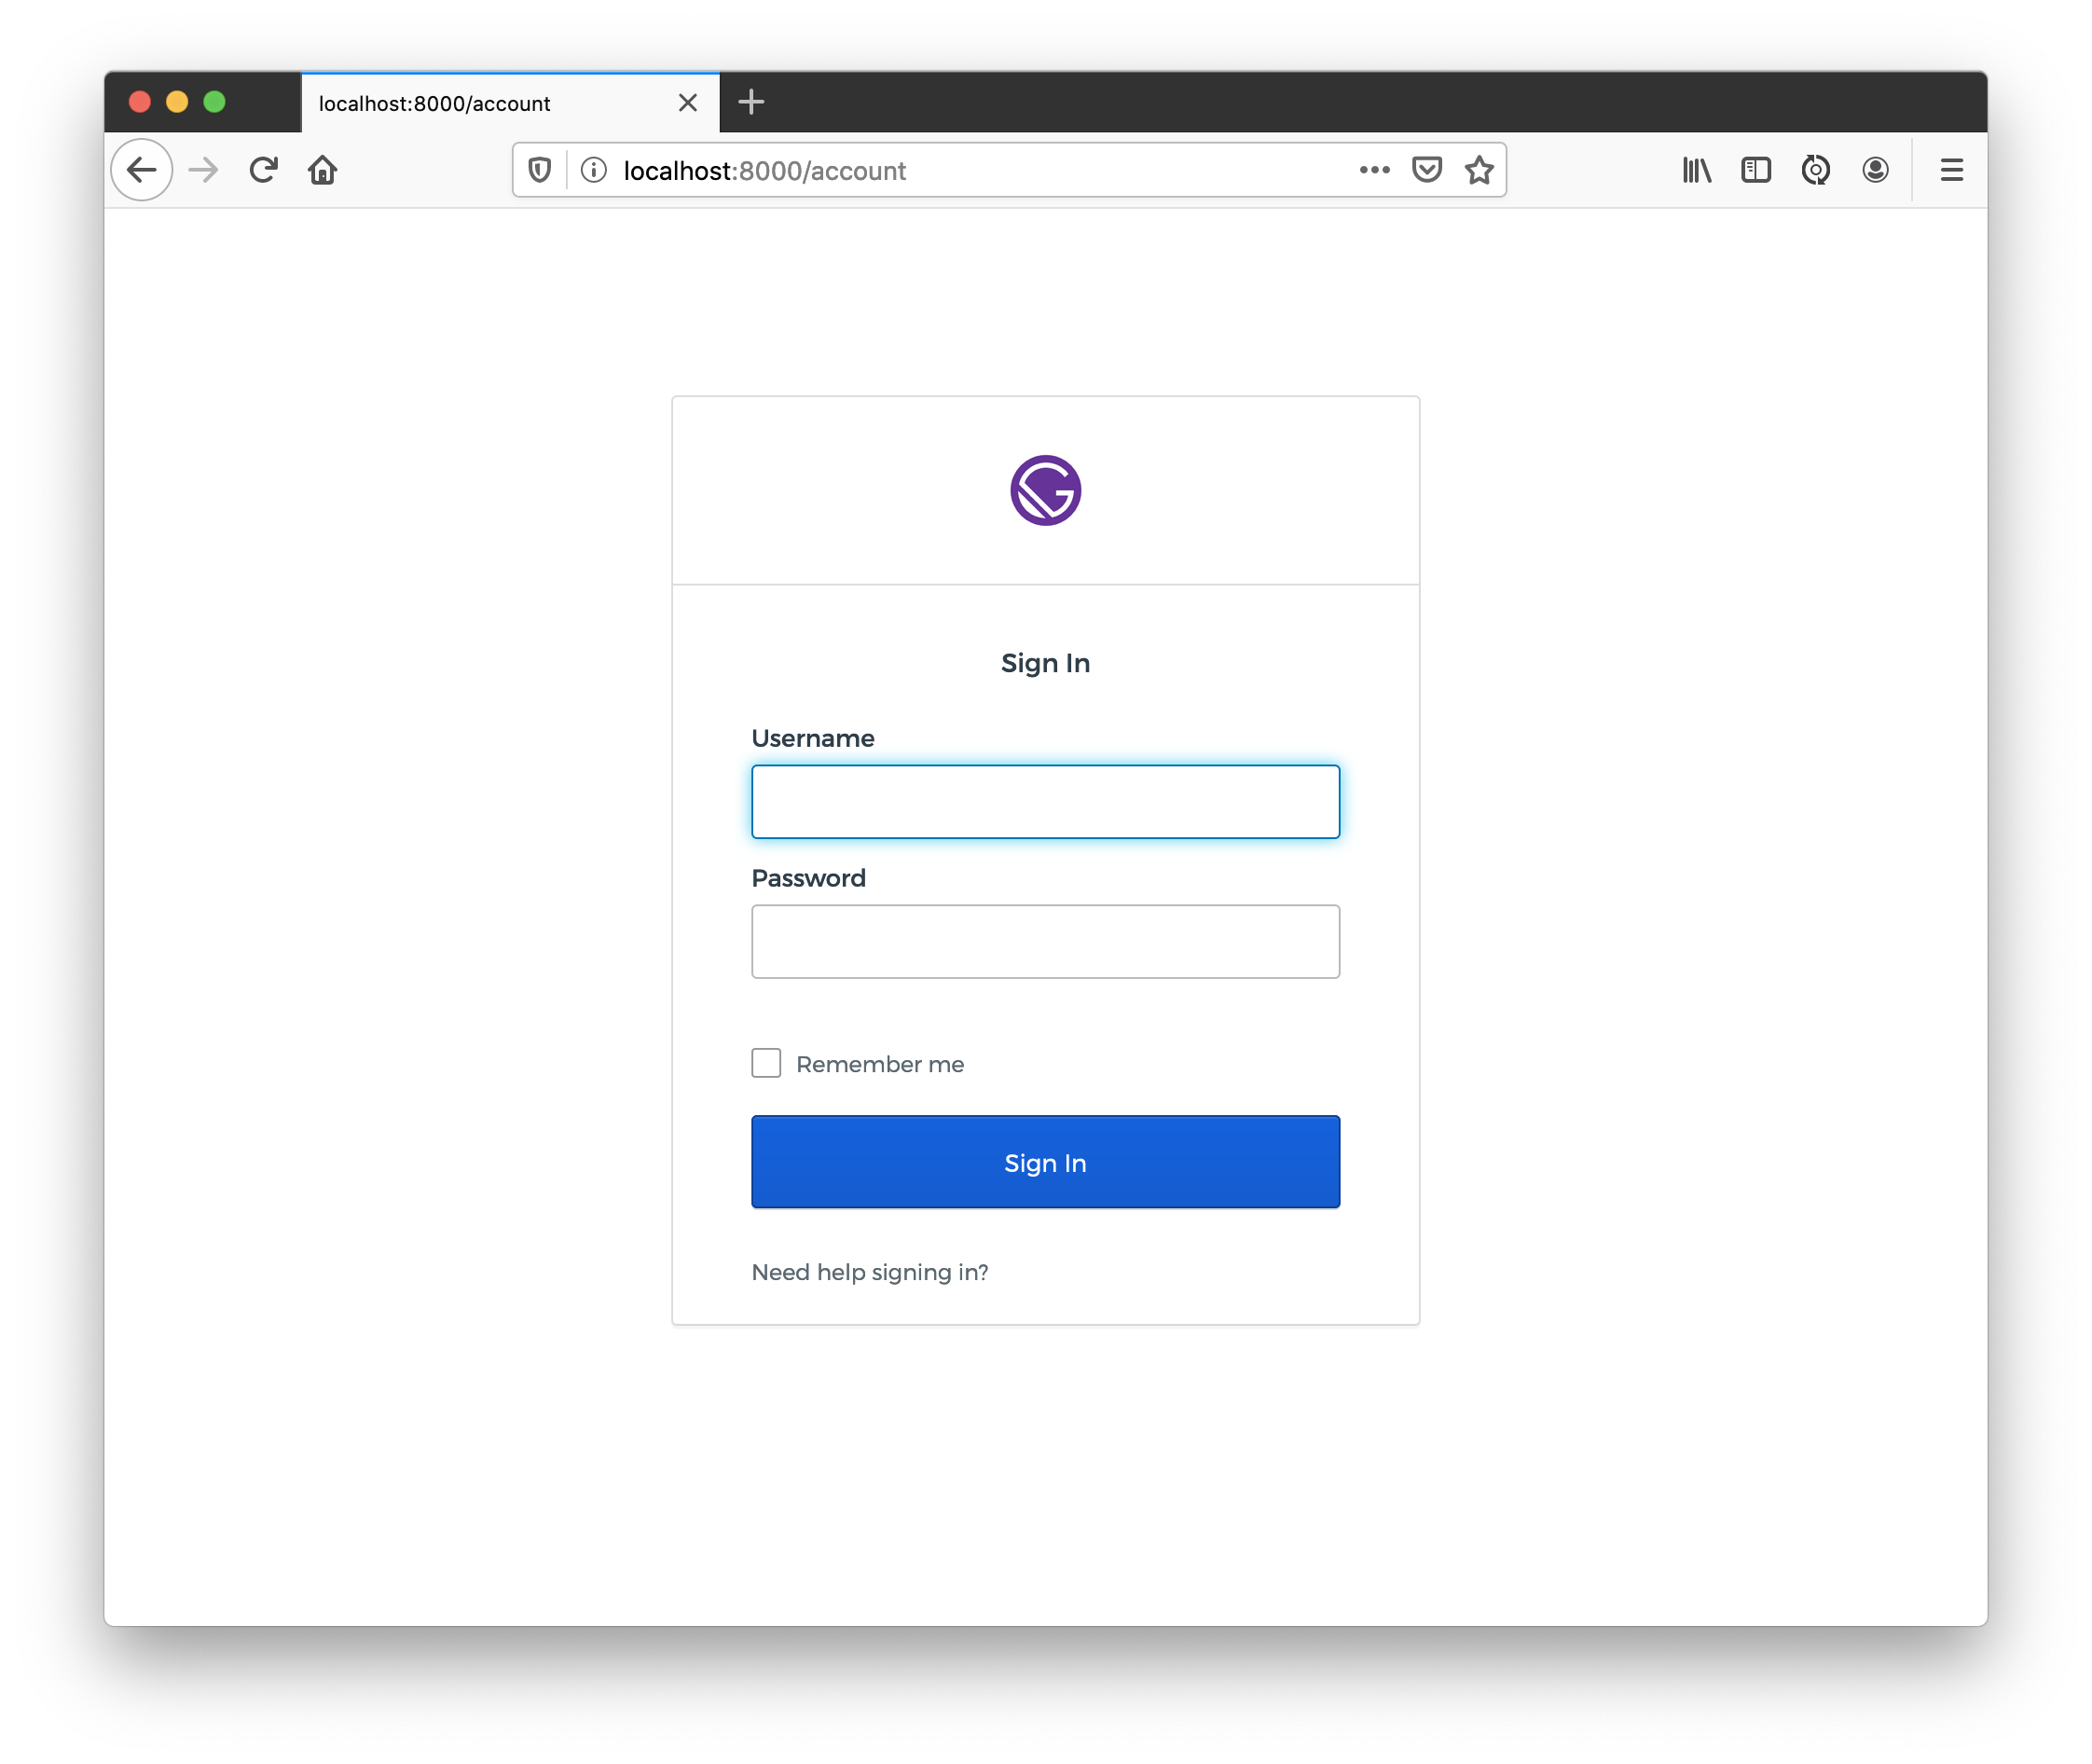
Enter your credentials and click Sign In to browse the account section. You should also see your name and be able to logout.
Fix Gatsby Production Build
To test building your app for production, run gatsby build. You’ll get an error because Okta’s Sign-In Widget doesn’t expect to be compiled for server-side rendering.
failed Building static HTML for pages - 1.730s

 ERROR #95312

"window" is not available during server side rendering.

See our docs page for more info on this error: https://gatsby.dev/debug-html

  12 |
  13 | (function (){
> 14 |   var isChrome = 'chrome' in window && window.navigator.userAgent.indexOf('Edge') < 0;
     | ^
  15 |   if ('u2f' in window || !isChrome) {
  16 |     return;
  17 |   }

  WebpackError: ReferenceError: window is not defined

  - u2f-api-polyfill.js:14
    node_modules/u2f-api-polyfill/u2f-api-polyfill.js:14:1

  - u2f-api-polyfill.js:754 Object../node_modules/u2f-api-polyfill/u2f-api-polyfill.js
    node_modules/u2f-api-polyfill/u2f-api-polyfill.js:754:2

  - okta-sign-in.entry.js:3 webpackUniversalModuleDefinition
    node_modules/@okta/okta-signin-widget/dist/js/okta-sign-in.entry.js:3:104

  - okta-sign-in.entry.js:10 Object../node_modules/@okta/okta-signin-widget/dist/js/okta-sign-in.entry.js
    node_modules/@okta/okta-signin-widget/dist/js/okta-sign-in.entry.js:10:2

  - Login.js:1 Module../src/components/Login.js
    src/components/Login.js:1:1

  - account.js:1 Module../src/pages/account.js
    src/pages/account.js:1:1
To fix this, you can exclude it from the compilation process. Modify the webpack build to exclude it from compilation by configuring webpack. Add the JavaScript below to the bottom of gatsby-node.js.
exports.onCreateWebpackConfig = ({ stage, loaders, actions }) => {
  if (stage === 'build-html') {
    // Exclude Sign-In Widget from compilation path
    actions.setWebpackConfig({
      module: {
        rules: [
          {
            test: /okta-sign-in/,
            use: loaders.null(),
          }
        ],
      },
    })
  }
};
Try gatsby build again and it should work this time. Run gatsby serve to see if the production build works on http://localhost:9000. Rejoice when it does!
Add User Registration
To give people the ability to sign-up for accounts, go to your Okta dashboard > Users > Registration, and enable it.
Modify src/components/Login.js to add Okta’s user registration feature.
const config = {
  ...
  authParams: {
    pkce: true,
    responseType: ['token', 'id_token']
  },
  features: {
    registration: true
  }
};
Then build for production and serve it up again.
gatsby build
gatsby serve
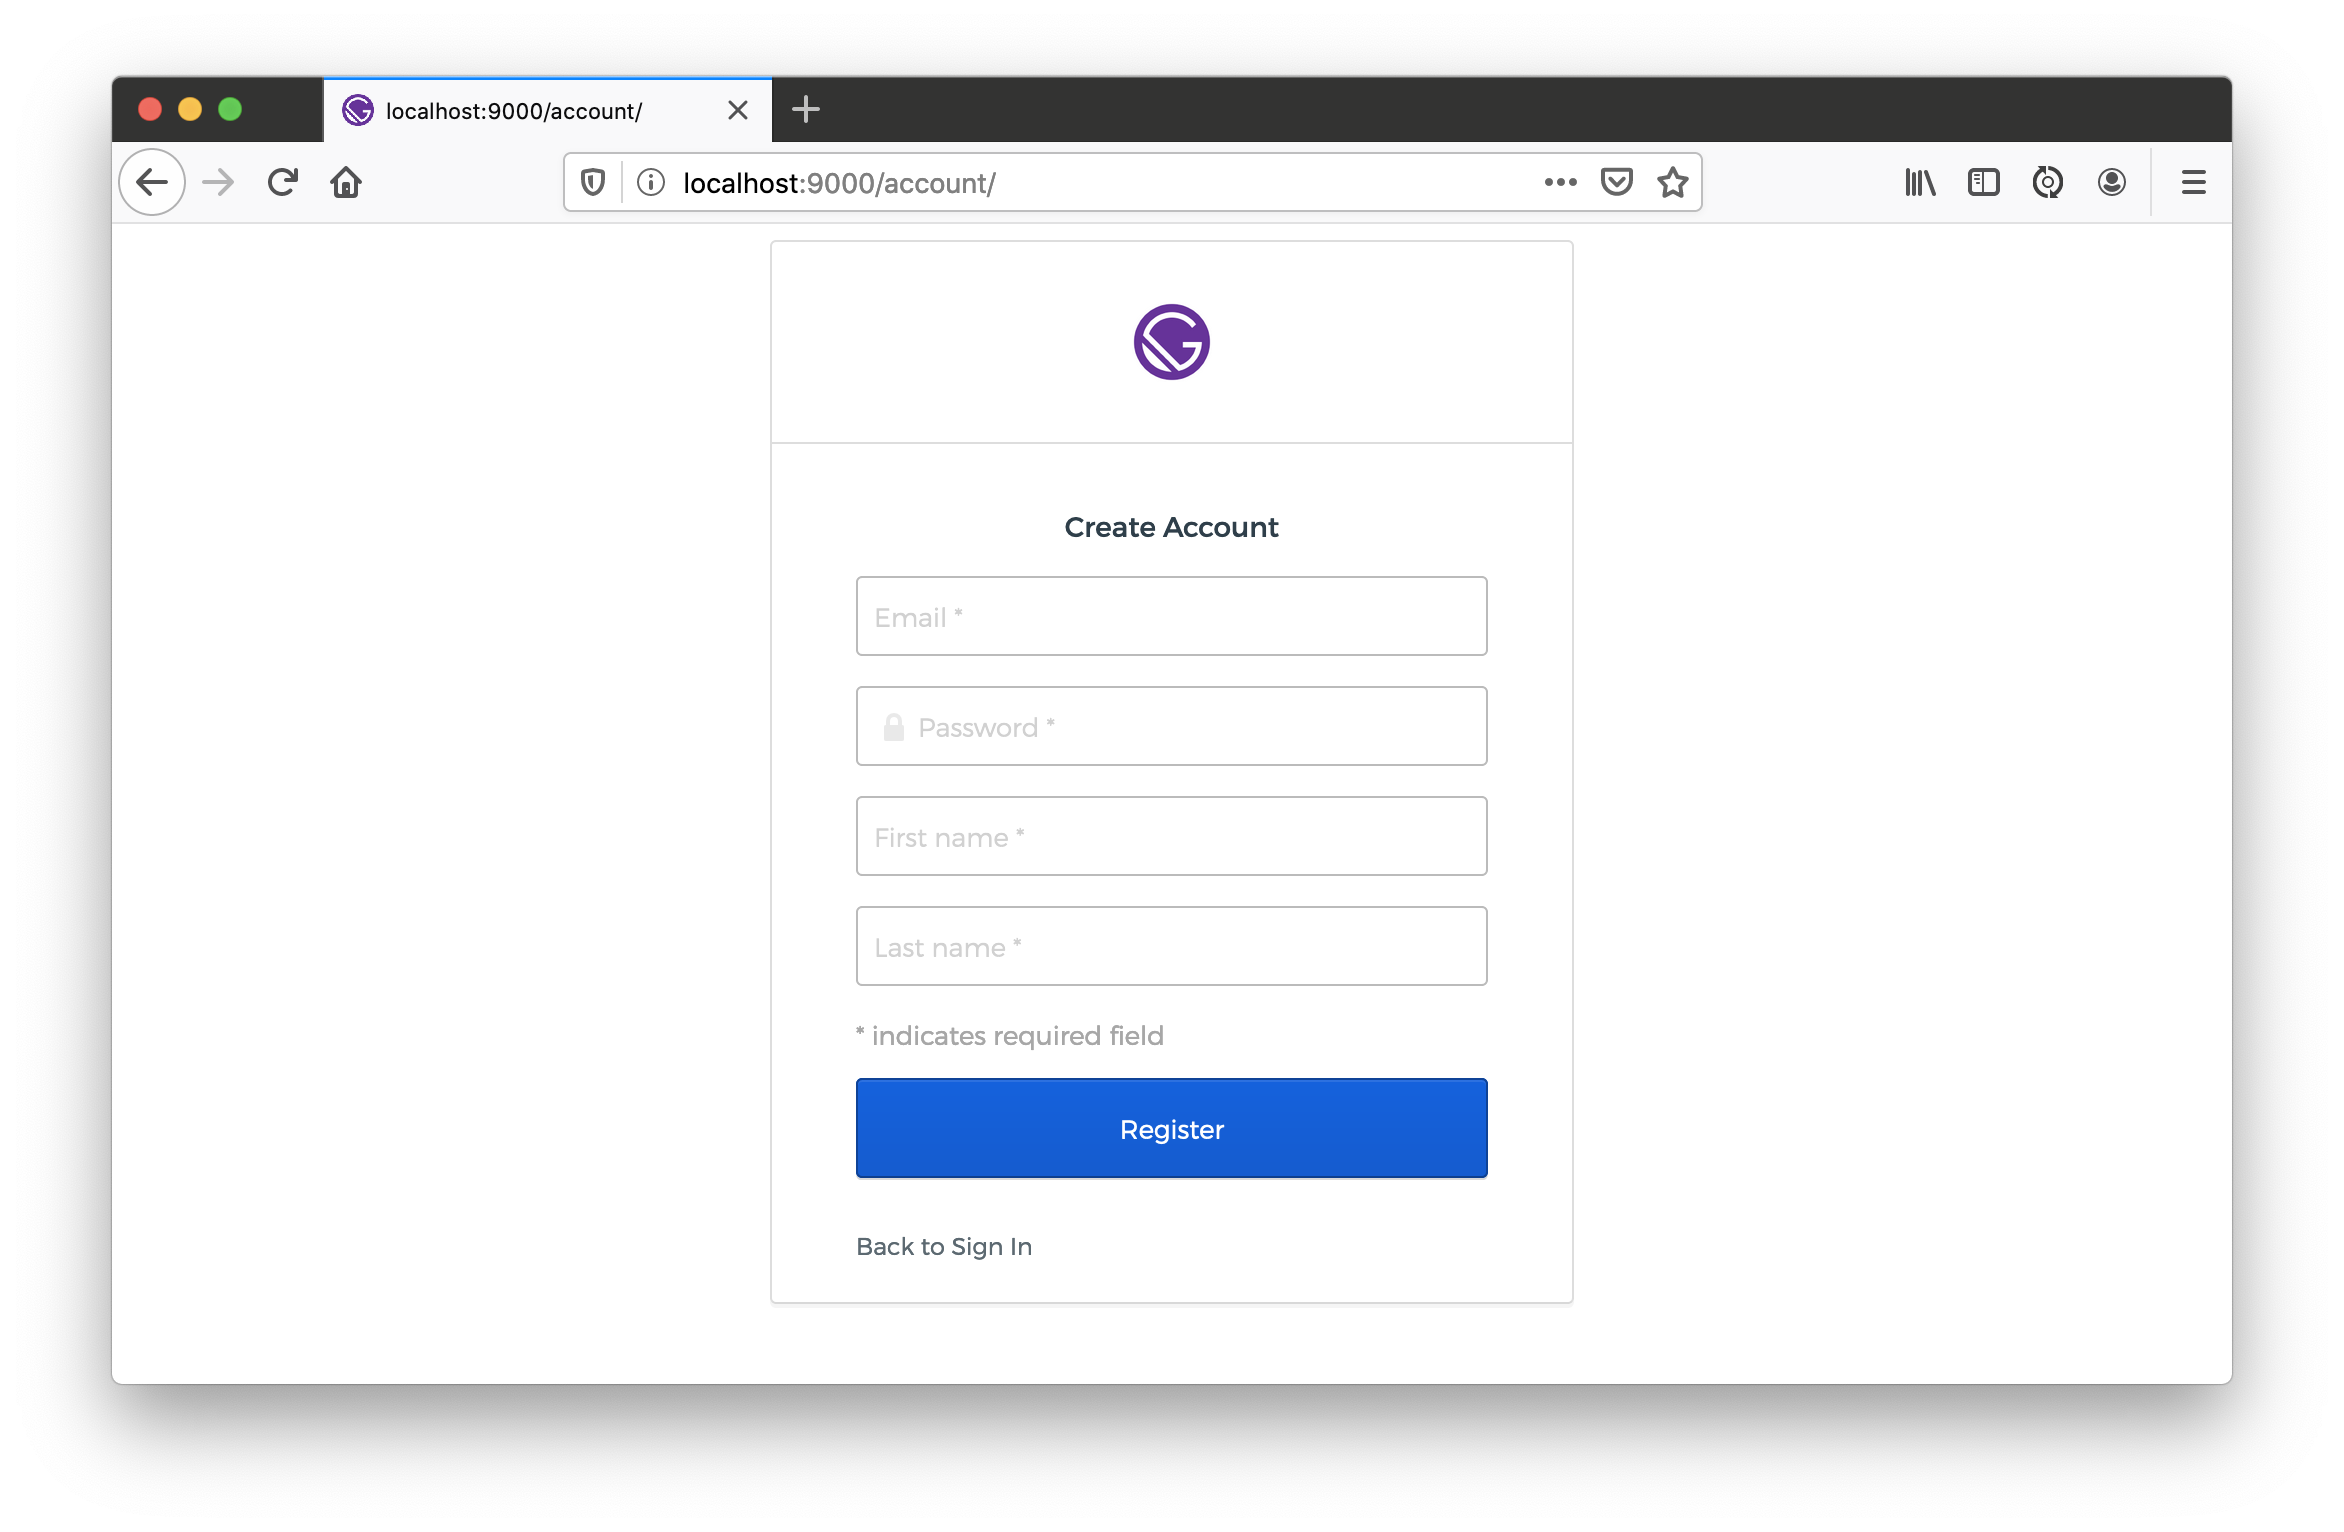
You will now see a Sign Up link at the bottom of the login form.
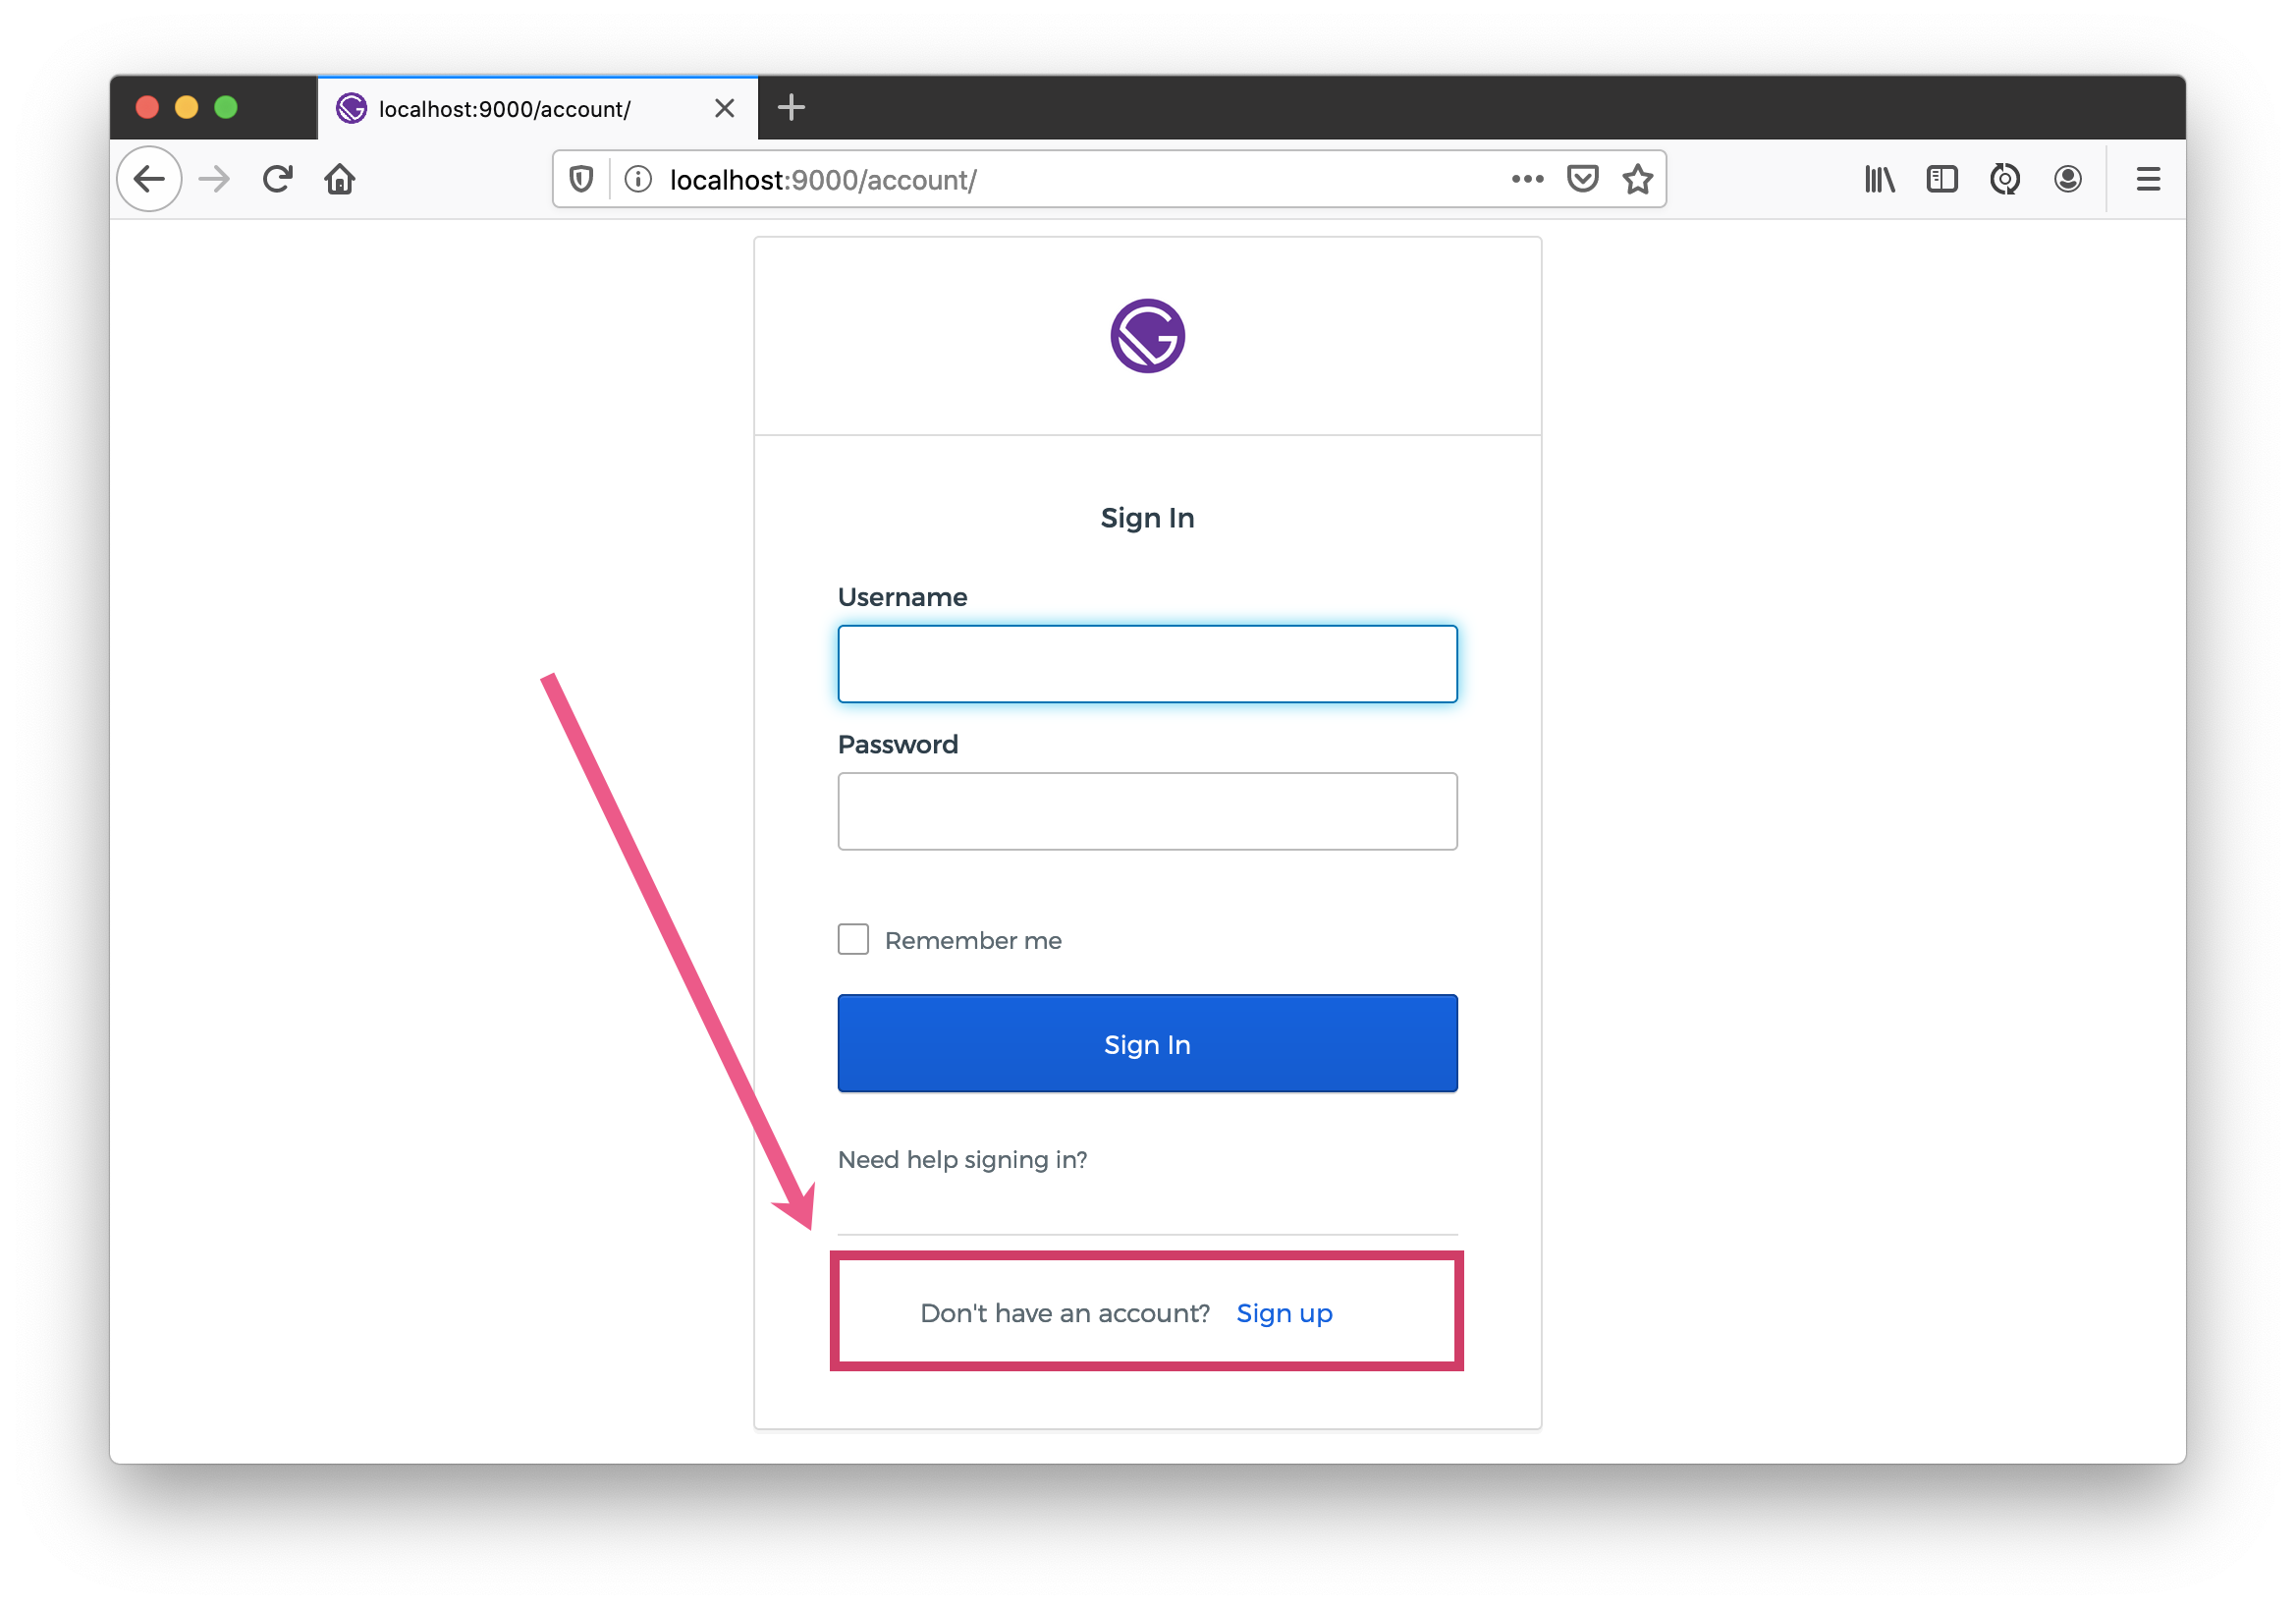
Click the link to see the user registration form.
Hooray - you did it! Check-in your code and rejoice in your new-found knowledge. 🥳
Extend Your Gatsby Account Functionality
Armed with Okta for authentication, you could develop features in the account settings of your application. For example, a setting where people can sign up for a newsletter (e.g., with TinyLetter). You could store this setting in Okta by creating a Node app that uses the Okta Node SDK to update user attributes.
In fact, you might even develop a Java or .NET backend to handle this and communicate to it from your Gatsby application using fetch() and an OAuth 2.0 access token retrieved from the Sign-In Widget.
async componentDidMount() {
  try {
    const response = await fetch('http://<node-server-url>/user/settings', {
      headers: {
        Authorization: 'Bearer ' + await signIn.authClient.tokenManager.get('accessToken')
      }
    });
    const data = await response.json();
    this.setState({ settings: data.settings });
  } catch (err) {
    // handle error as needed
    console.error(err);
  }
}
Originally published by Matt Raible at https://developer.okta.com
#reactjs #react-js #netlify #gatsby #web-development