Creating a simple WebSocket with Python
In this article, we will take a look at how a simple WebSocket can be built in Python
The Websocket API makes a two-way interactive communication session between the client and the server possible. With the API, you can send and receive messages in an event-driven manner without having to poll the server for data all the time. This leads to less overhead and allows real-time data transfer from and to the server.
Getting Started
WebSocket requires Python ≥ 3.6.1.
You can simply install the WebSockets API in Python with the following command:
pip install websockets
After reading this piece, you’ll understand what a WebSocket is exactly. I’m going to give you an intermediate example where the server synchronises all the messages it gets with its connected clients.
I won’t touch subjects like security — everything I’ll show will be written in Python. It’ll be simple enough to comprehend for everyone that’s at least a bit familiar with the language or with programming in general. This way, it’ll be easier for you to write a consumer, producer, or even a server in another language or for a front-end application.
I hope you’ll find the provided examples useful, and I encourage every developer out there to try out WebSocket at least once in your career — it’s awesome. There is more than REST, you know!
A Simple Message Consumer
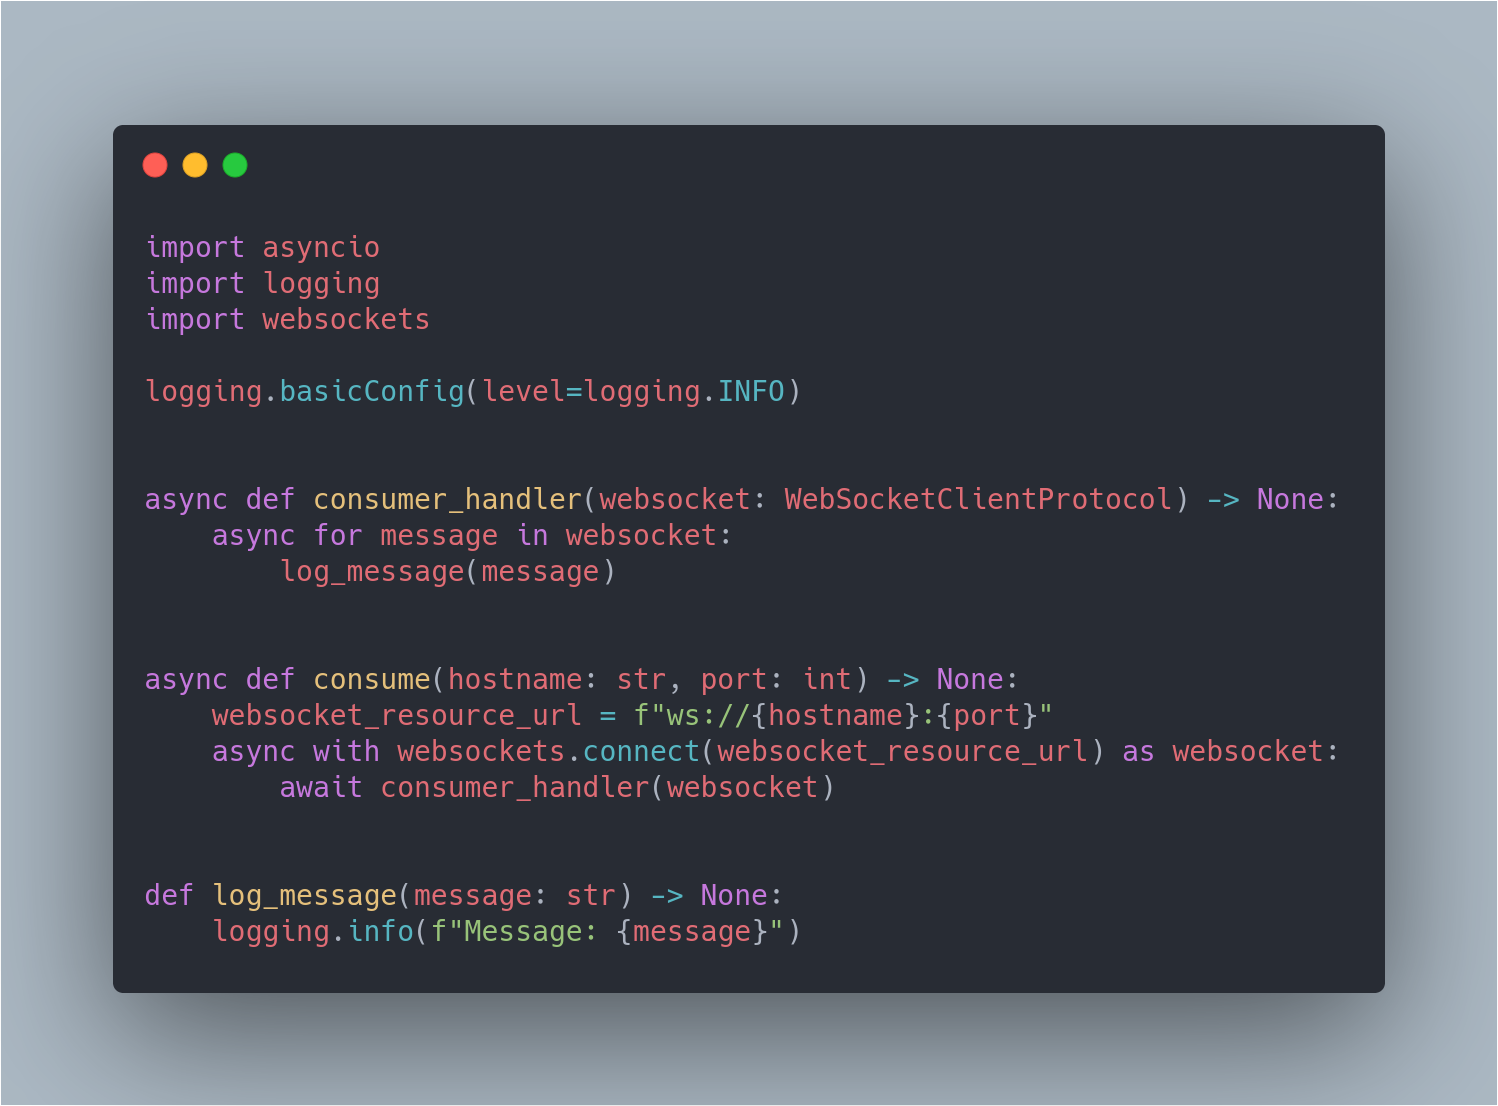
A simple message consumer
So first, let’s start with the consume coroutine I provide above. I’m going to explain every line of the code above so you’ll understand what happens really well. To shortly summarize what’s happening above: We connect to the WebSocket specified by a specific WebSocket URL. Every message that’s generated by the WebSocket server is logged.
I’ll now explain the three most important lines in detail. Feel free to skip this if you’re not interested in the syntactic sugar.
You might be a bit horrified if you’ve never seen the keywords async or await before. async/await is just a special syntax to work with promises in a comfortable fashion. A promise is nothing more than an object representing the eventual completion or failure of an asynchronous operation.
You can attach callbacks to this returned object instead as an alternative to passing callbacks into a function. You’d be surprised how easy it actually is to understand and use.
In Python, async ensures a function returns a promise and wraps nonpromises in it. During await calls, other unrelated code can execute.
websocket_resource_url = f"ws://{host}:{port}"
The WebSocket resource URL uses its own scheme starting with ws (or wss for a secure connection).
async with websockets.connect(websocket_resource_url) as ws:
The next line I’m explaining opens the connection with a WebSocket using websockets.connect. Awaiting connect yields a WebSocketClientProtocol, which can then be used to send and receive messages. This line uses async with, which works with an asynchronous context manager. The connection is closed when exiting the context.
Note: I’ve sometimes used an abbreviation for WebSocket (ws) to make the code examples more readable on Medium but always write the full name in production code. This increases readability. For instance, one could read it as WebSite or WebServer, which is something you should prevent as a good developer. After all, code should read as a good book.
async for message in websocket:
You might think, “Wait, what does async for do?” Well, it’s like a synchronous for loop, but it enables asynchronous comprehension.
Async IO enables us to iterate over an asynchronous iterator. This lets you call asynchronous code at each stage when it’s iterated over, while a regular for loop wouldn’t allow you to do so. You can see the WebSocket in this line of code as a generator of messages.
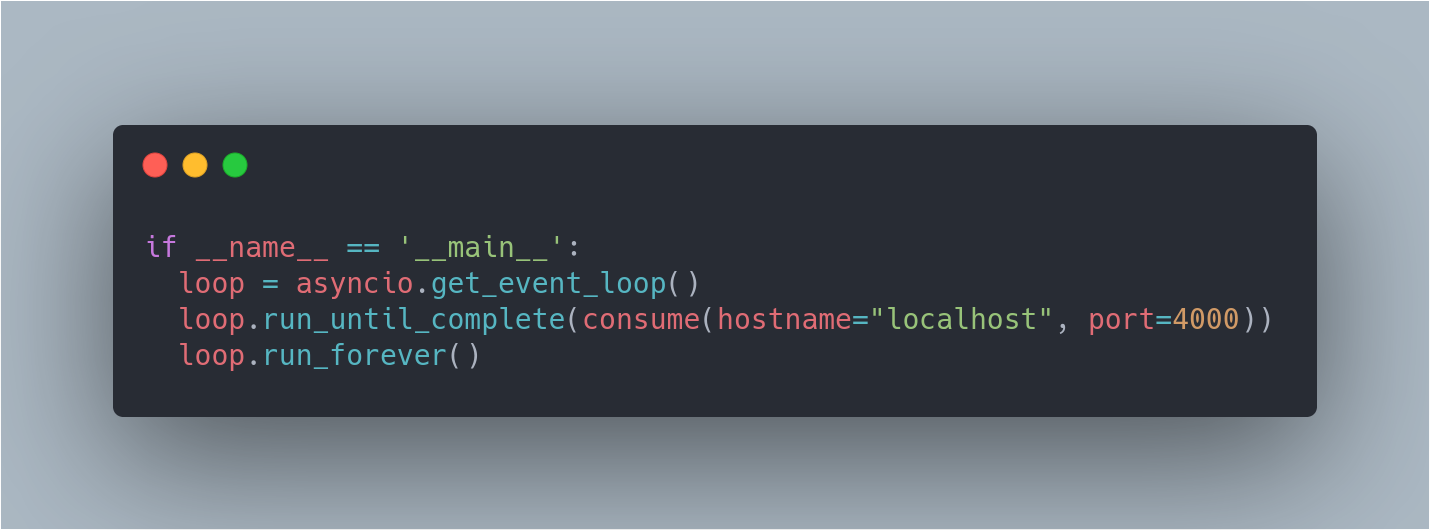
To run this simple consumer, just specify the hostname and the port, and make it run forever. It’s that simple. Don’t worry if there’s no event loop, asyncio will create a new event loop and set it as the current one.
That’s simple, right? This code example will start consuming messages from ws://localhost:4000. If there’s no server running, it’ll fail and throw a 404 Not Found.
A Simple Producer
I’m going to give an example of a producer that produces only one value. I’ll show you this is even easier than writing a consumer.
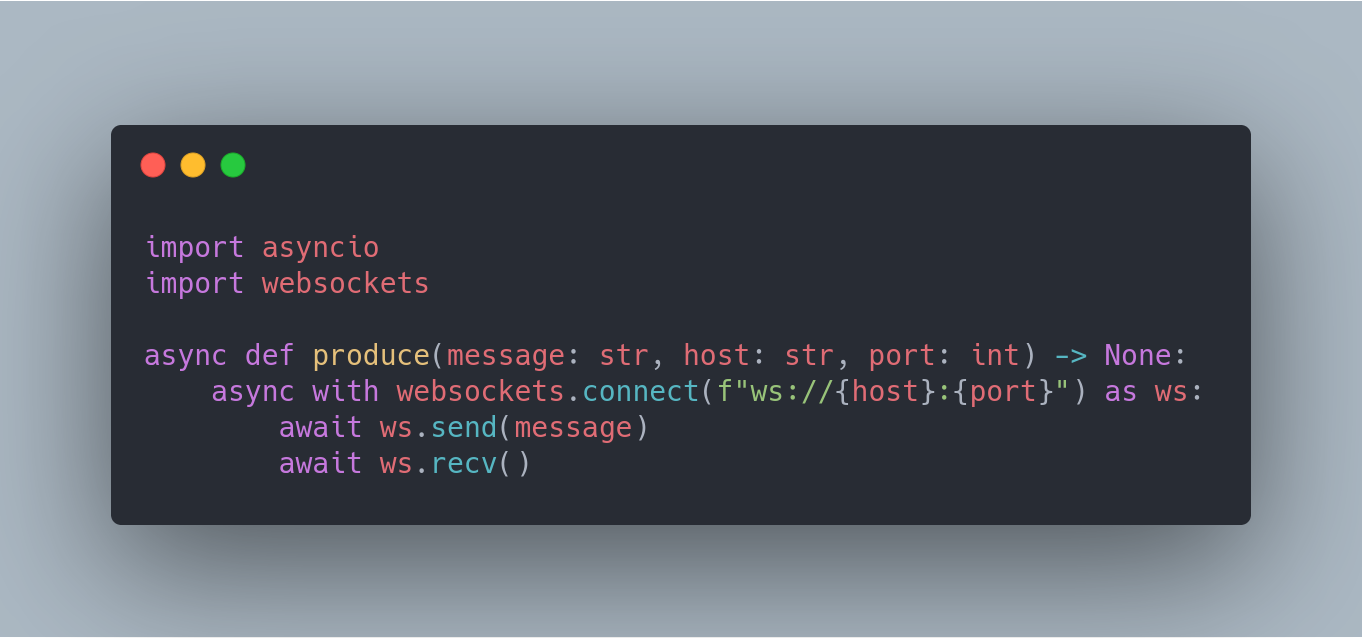
A simple producer
The code above speaks for itself. We connect to the WebSocket, like we did earlier in the consumer. We send one message to the server, and we await the response. When we receive a message from the server, we know that our message has been delivered.
Now, we only need a way to execute this produce coroutine only once.
loop = asyncio.get_event_loop()
loop.run_until_complete(produce(message='hi', host='localhost', port=4000))
Of course, we name it, and Python has an answer for it. We can simply use the event loop in the same way as we did for the consumer. The only difference is that we run it until it’s complete. As soon as we receive a response from the server, the task is finished.
In Python 3.7, it gets even better — we can now use the run function to execute the coroutine. Pretty neat, right?
asyncio.run(produce(message='hi', host='localhost', port=4000))
The Server: The Final Piece of the Puzzle
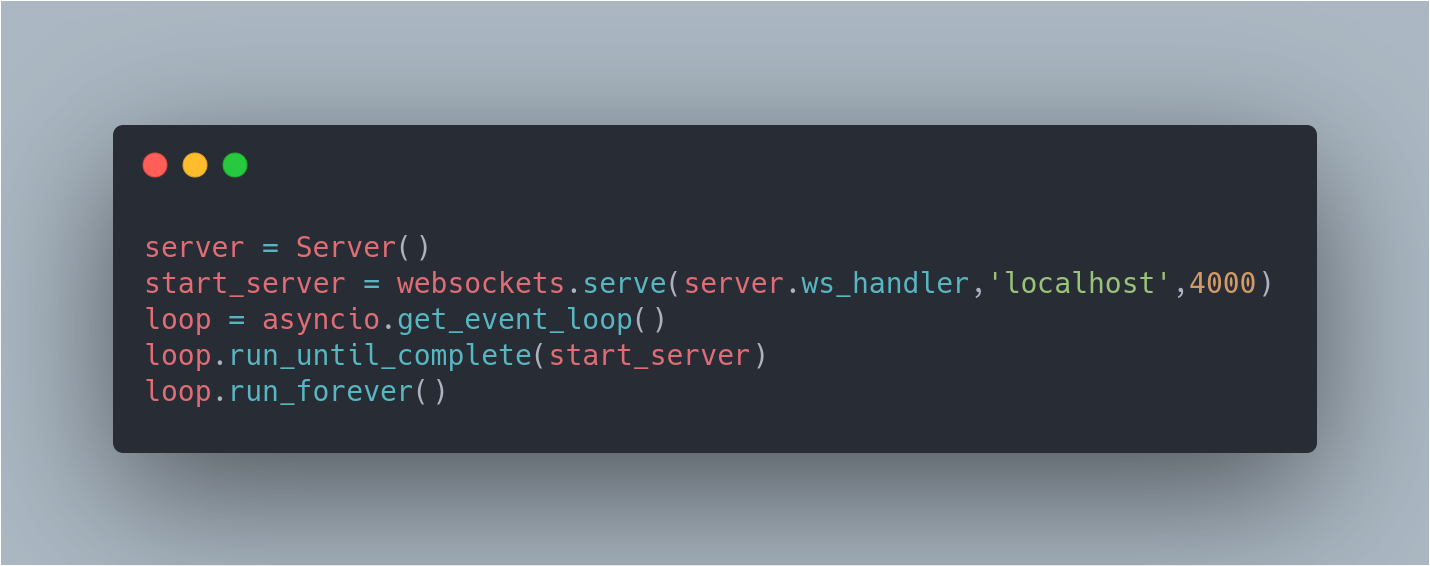
In this case, I wrote a server class that groups all the functionality of the server together. This server distributes the messages sent by a producer to all listening consumers.
The server is instantiated and defines a WebSocket handler coroutine. The WebSocket’s serve function is a wrapper around the event loop’s create_server() method. It creates and starts a server with create_server(). It takes a WebSocket handler as an argument.
Whenever the client connects, the server accepts the connection, creates a WebSocketServerProtocol, performs the opening handshake, and delegates to the connection handler defined by ws_handler. Once this handler completes, either normally or with an exception, the server performs the closing handshake and closes the connection.
This is all done for you. Since we specify the server has to run forever, it’ll just execute the coroutine ws_handler defined in the server class (that’s explained below) every time our producer produces something. It’ll then distribute a message to all connected clients.
The final piece of code is the longest one, but it’s the last part so hang in there.
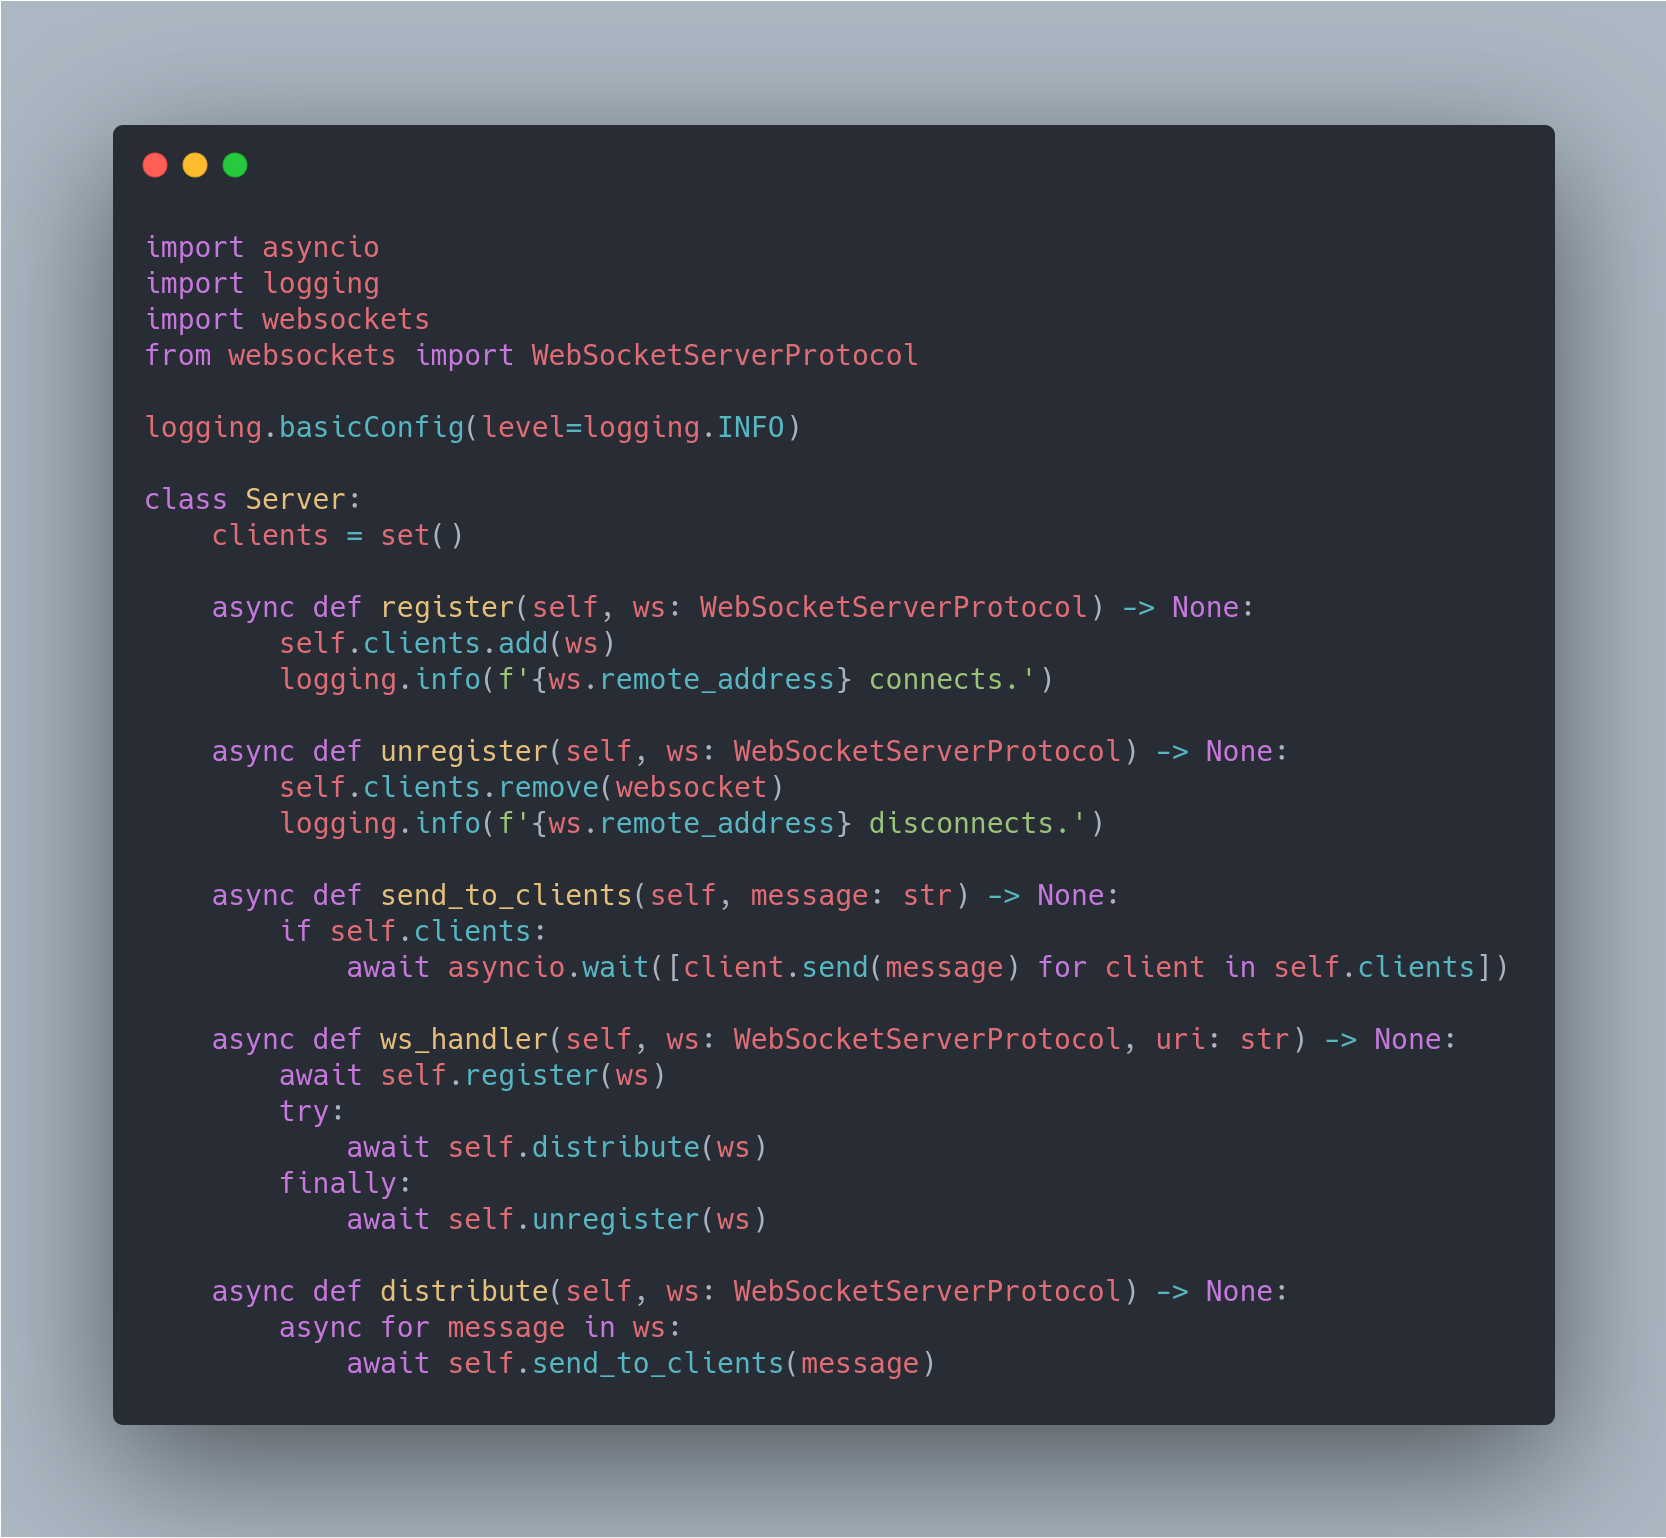
A server class that synchronizes messages to connected clients
The ws_handler registers a client, distributes the message to the connected clients, and, at the end, closes the connection. The consumer will stay in the try block, while the producer, on the other hand, unregisters himself. The distribute coroutine will send every message in the WebSocket to all clients in our set of connected clients.
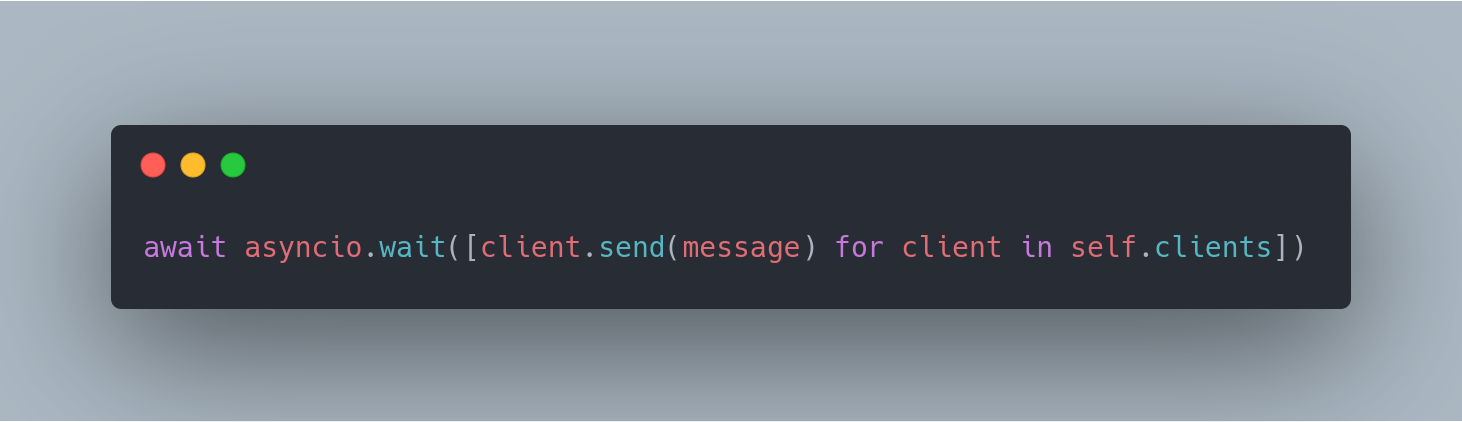
If there are any connected clients, the following piece of code is executed. The asyncio.wait makes sure we only continue after every client has been sent the message.
Conclusion
So to wrap it all up, here are some key advantages of WebSockets over HTTP long polling:
- The communication can be sent either way at any time during the lifetime of the WebSocket connection
- The client and the server are continuously connected — data can be sent to the clients all the time, without any need to request it
- It’s fairly easy to work with WebSockets in Python. This message synchronization example was realized without having to write a lot of code at all. Doing the same for HTTP long polling efficiently would be a rather complex thing to do.
Thank you for reading!
#python #WebSockets