Building beautiful presentations is hard. Often you’re stuck with Keynote or PowerPoint, and the templates are extremely limited and generic. Well not anymore.
Today, we’re going to learn how to create a stunning and animated presentation using HTML, CSS, and JavaScript.
If you’re a beginner to web development, don’t fret! This tutorial will be easy enough to keep up with. So let’s slide right into it!

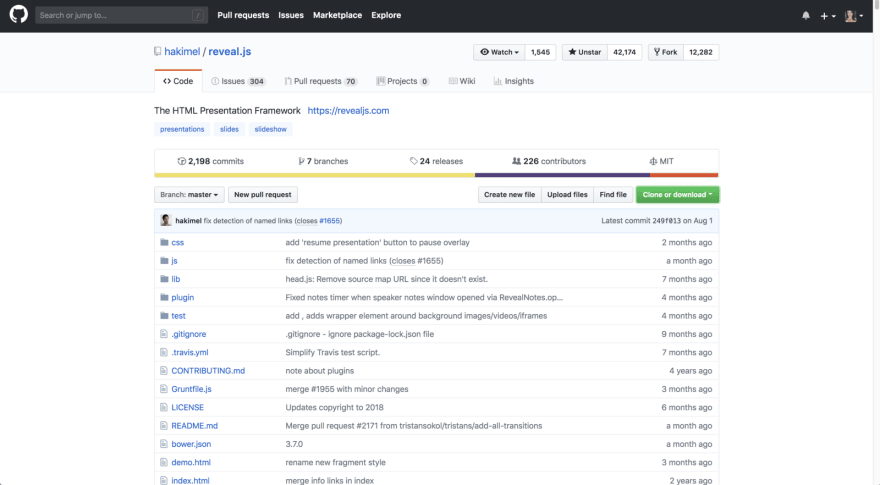
We’re going to be using an awesome framework called Reveal.js. It provides robust functionality for creating interesting and customizable presentations.
- Head over to the Reveal.js repository and clone the project (you can also fork this to your GitHub namespace).
- Head over to the Reveal.js repository and clone the project (you can also fork this to your GitHub namespace).
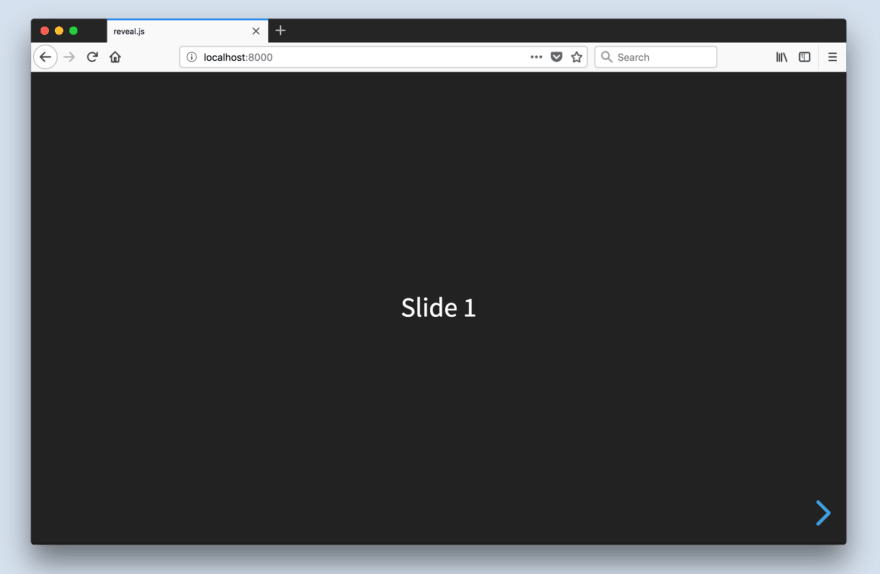
The index.html file holds all of the markup for the slides. This is one of the downsides of using Reveal.js; all of the content will be placed inside this HTML file.

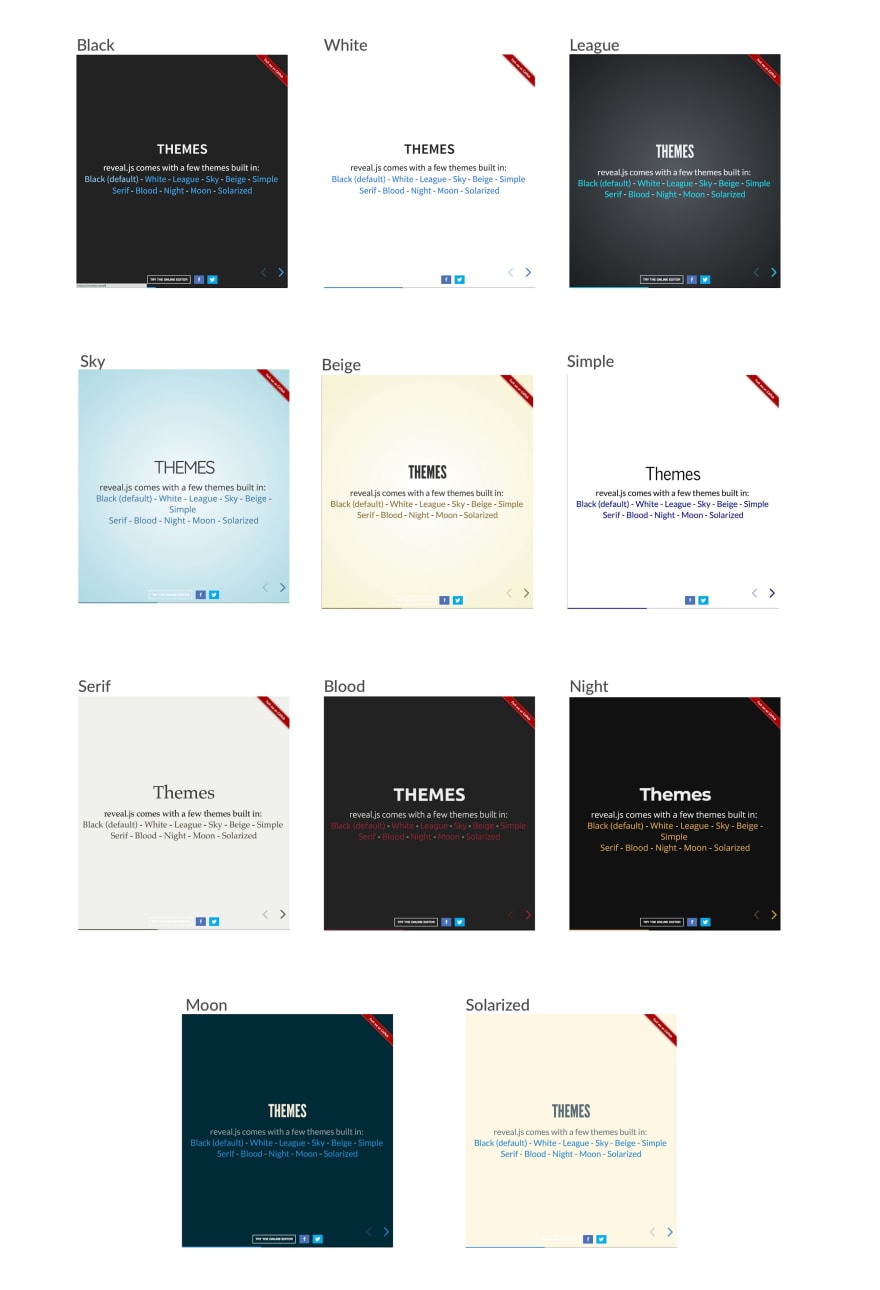
Built-In Themes
Reveal includes 11 built-in themes for you to choose from:
Changing The Theme
- Head over to the Reveal.js repository and clone the project (you can also fork this to your GitHub namespace).
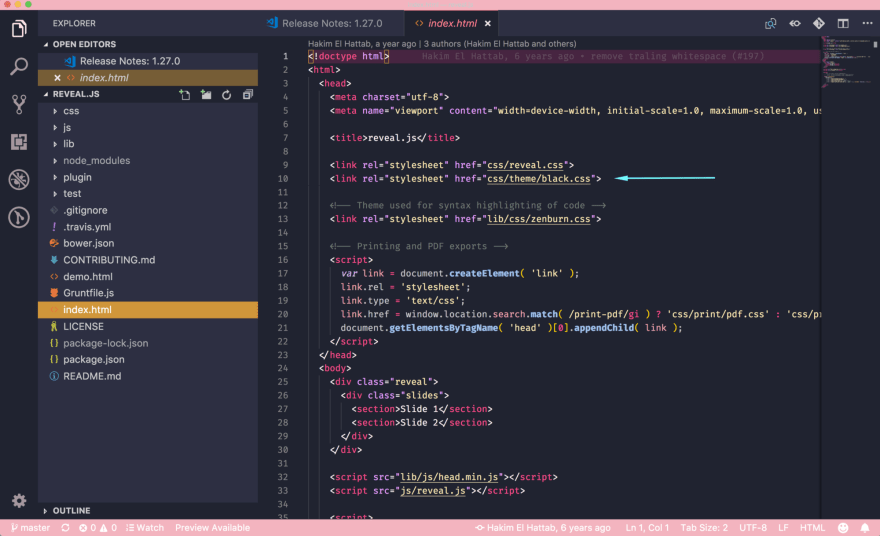
The theme files are:
- beige.css
- black.css
- blood.css
- league.css
- moon.css
- night.css
- serif.css
- simple.css
- sky.css
- solarized.css
- white.css
Custom Themes
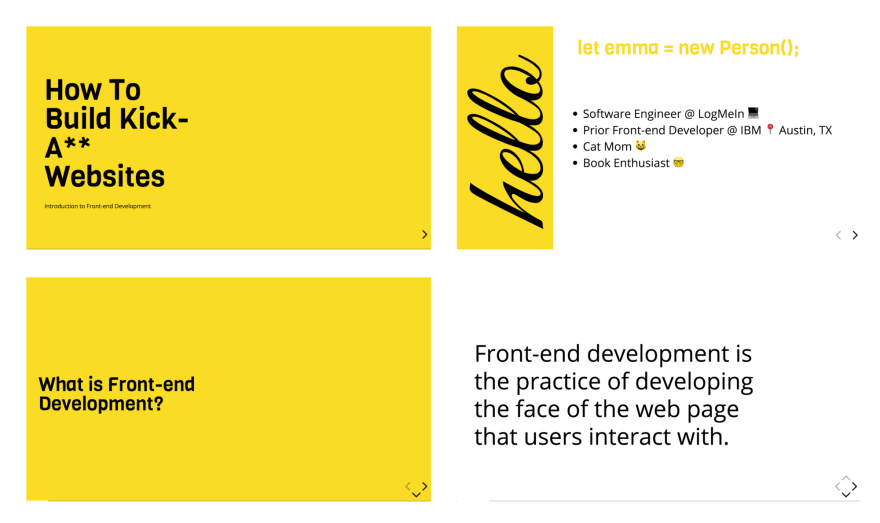
It’s quite easy to create a custom theme. Today, I’ll be using my custom theme from a presentation I gave called [“How To Build Kick-Ass Website: An Introduction To Front-end Development.”](https://emmawedekind.github.io/how-to-become-a-web-developer/ ““How To Build Kick-Ass Website: An Introduction To Front-end Development.””)
Here is what my custom slides look like:
Creating A Custom Theme
- Head over to the Reveal.js repository and clone the project (you can also fork this to your GitHub namespace).
Here are the variables I chose to use:
- beige.css
- black.css
- blood.css
- league.css
- moon.css
- night.css
- serif.css
- simple.css
- sky.css
- solarized.css
- white.css
- Head over to the Reveal.js repository and clone the project (you can also fork this to your GitHub namespace).
Unfortunately, due to time constraints, I’ll admit that I used quite a bit of !important overrides in my CSS. This is horrible practice and I don’t recommend it. The reveal.css file has extremely specific CSS styles, so I should have, if I had more time, gone back and ensured my class names were more specific so I could remove the !importants.
Mixins & Settings
Reveal.js also comes with mixins and settings you can leverage in your custom theme.
To use the mixins and settings, just import the files into your custom theme:
@import "../template/mixins";
@import "../template/settings";
Mixins
You can use the vertical-gradient, horizontal-gradient, or radial-gradient mixins to create a neat visual effect.
All you have to do is pass in the required parameters (color value) and voila, you’ve got a gradient!
Settings
In the settings file, you’ll find useful variables like heading sizes, default fonts and colors, and more!

Elements
The structure for adding new content is:
.reveal > .slides > section
The
Vertical Slides
To create vertical slides, simply nest sections.
Transitions
There are several different slide transitions for you to choose from:
- beige.css
- black.css
- blood.css
- league.css
- moon.css
- night.css
- serif.css
- simple.css
- sky.css
- solarized.css
- white.css
To use them, add a data-transition=“{name}” to the
Fragments
Fragments are great for highlighting specific pieces of information on your slide. Here is an example.
To use fragments, add a class=“fragment {type-of-fragment}” to your element.
The types of fragments can be:
- beige.css
- black.css
- blood.css
- league.css
- moon.css
- night.css
- serif.css
- simple.css
- sky.css
- solarized.css
- white.css
You can additionally add indices to your elements to indicate in which order they should be highlighted or displayed. You can denote this using the data-fragment-index={index} attribute.
There are way more features to reveal.js which you can leverage to build a beautiful presentation, but these are the main things which got me started.
To learn more about how to format your slides, check out the reveal.js tutorial.
All of the code for my presentation can be viewed on GitHub. Feel free to steal my theme!
*Originally published by **Emma Wedekind at *dev.to
========================
Thanks for reading :heart: If you liked this post, share it with all of your programming buddies! Follow me on Facebook | Twitter
Learn More
☞ Advanced CSS and Sass: Flexbox, Grid, Animations and More!
☞ Build Responsive Real World Websites with HTML5 and CSS3
☞ CSS - The Complete Guide (incl. Flexbox, Grid & Sass)
☞ Beginner Full Stack Web Development: HTML, CSS, React & Node
#html #html5 #css #css3 #javascript