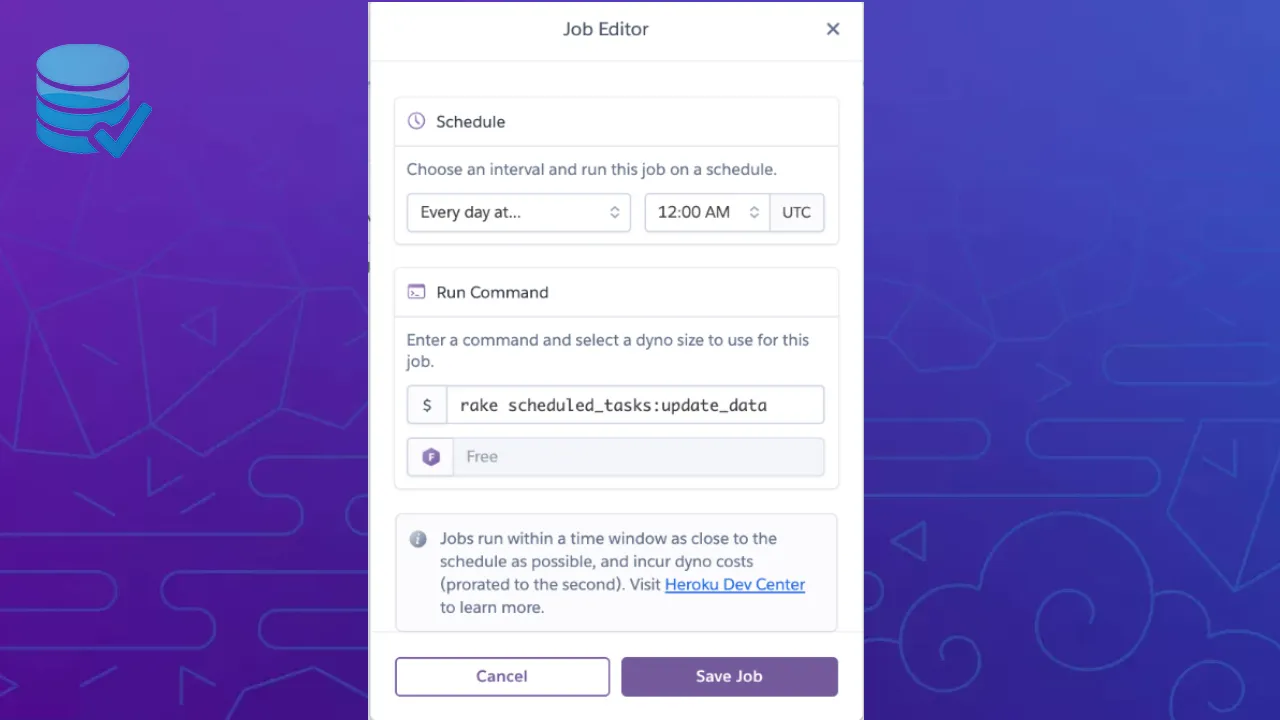
In my last blog , I went into how you can seed your database from an external API. This is great for grabbing information from a source other than your own backend and is a pretty essential tool for building a lot of projects. However, what happens once you’ve pushed your new project onto Heroku? What if the information you seeded is constantly updating (stocks, weekly sales, etc)? Do you plan on resetting your database every single day so your site information stays current? I mean, sure you could, but in the grand scheme of things this is going to spell out trouble for you and your project. Enter Heroku dynos and one-off dynos.
_ “Dynos are isolated, virtualized Linux containers that are designed to execute code based on a user-specified command.” -_Heroku
As the above quote mentions, dynos are containers filled with code that execute on a user-specified command. Meaning that for code bases of any size, you can store code that will simplify workflow and enhance productivity.
A one-off dyno is executable code that we can use to manage all of our administrative and maintenance tasks. Seeding our database falls into this category, but what else does? According to the Heroku website, one-off dynos can be used in the following ways:
- Initializing databases or running database migrations. (e.g.
rake db:migrateornode migrate.js migrate) - Running a console or a REPL shell to run arbitrary code or inspect the app’s models against the live database. (e.g.
rails console,irb, ornode) - One-time scripts committed into the app’s repo (e.g.
ruby scripts/fix_bad_records.rbornode tally_results.js).
For this guide, we’re going to be re-seeding our database, which falls under the first category. Also, like the previous guide, I’ll be using Ruby on Rails. Before we jump in, first make sure you’ve done the following.
- Attached your backend to a Heroku site.
- Installed the gem ‘database-cleaner’
- Install the Heroku Scheduler on your app (Very easy to do! Just follow the docs linked here. Once you have it set up, don’t worry about adding anything yet, we’ll get to it.)
Now that we have all of our pieces together, it’s time to build a one-off dyno! All we need to do to get started is to build a rake task. To do this, create a file called scheduler.rakein /app/db/lib/tasks. Once there, you can take a look at the following code.
#database #ruby-on-rails #heroku-scheduler #heroku #ruby #re-seed your heroku database everyday with one-off dynos
