One potential issue when running Python projects is that of conflicting versions. For instance, you may have Python 3.6 installed as the system-wide version of Python, but need to build a specific program that requires Python 3.8.
However, installing Python 3.8 as the system-wide version risks making much of your Python 3.6 code incompatible with the new version.
In this circumstance, the use of virtual environments is needed, i.e. an independent environment that runs a different Python version to the one running system-wide.
PyCharm is quite effective in serving as an IDE (Integrated Development Enviroment) for multiple Python versions. Using Ubuntu 18.04, let us see how Python 3.8 can be set up in a virtual environment through PyCharm.
Installing PyCharm
From the JetBrains website, one will see that PyCharm (at the time of writing) offers both a paid **Professional **version of PyCharm, as well as a free, open-source version titled Community.
By clicking Download, the file will be downloaded as a tar.gz file. At the time of writing, the file name is pycharm-community-2020.2.3.
This tar.gz file can then be extracted into a folder of your choosing:
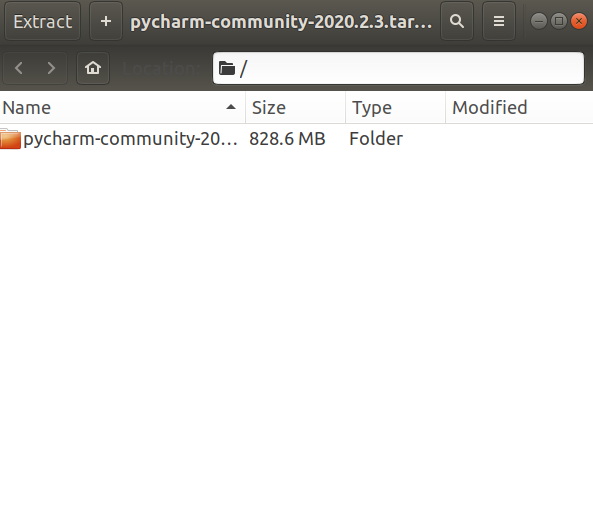
Source: Ubuntu 18.04
As described in another tutorial, navigate to the bin folder and open up a terminal. PyCharm can then be installed using:
sh pycharm.sh
A relevant window will then open, from which the default settings for PyCharm can be customised.
#linux #ubuntu #machine-learning #data-science #python3
