Rolling out new features and enhancements without breaking the existing systems is one of the important aspects of mature and well-crafted Web Services and APIs. We as developers, also commonly need to provide additional features to selected customers and it is important to learn how to support multiple versions of Web APIs to keep everyone happy. In this tutorial, I will show you different techniques for implementing versioning in ASP.NET Core Web APIs. You will learn how to run multiple versions in parallel and how to use a specific version using the version information in query strings, request URIs, HTTP request headers, or media types.
Implement the First Version of ASP.NET Core Web API
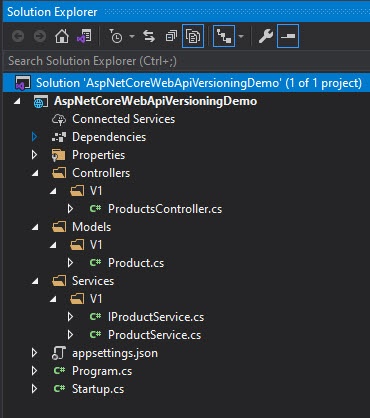
I am a big fan of doing things right the first time so I will create a proper folder structure for each version of the API. Every model, service, or API controller will be created in a folder named V1 that will be available inside folders such as Models, Services, and Controllers. This will make it easier for everyone to work on a file related to a specific API version in the future. The solution explorer will look something like this after the first version is complete.
Let’s create a new ASP.NET Core Web API project in Visual Studio 2019 and add Models and Services folders in the project. Inside both the Models and Services folders, create a folder named V1. Create the following Product class inside Models\V1 folder.
#web api #aspdotnet core